
'%20x='0'%20y='0'%20height='100%25'%20width='100%25'%20%0A%20%20%20%20%20%20%20%20%20%20xlink%3Ahref='data:image/jpg;base64,/9j/2wBDAAYEBQYFBAYGBQYHBwYIChAKCgkJChQODwwQFxQYGBcUFhYaHSUfGhsjHBYWICwgIyYnKSopGR8tMC0oMCUoKSj/2wBDAQcHBwoIChMKChMoGhYaKCgoKCgoKCgoKCgoKCgoKCgoKCgoKCgoKCgoKCgoKCgoKCgoKCgoKCgoKCgoKCgoKCj/wgARCAAGAAoDASIAAhEBAxEB/8QAFQABAQAAAAAAAAAAAAAAAAAABgf/2gAIAQEAAAAAbVD/xAAUAQEAAAAAAAAAAAAAAAAAAAAB/9oACAECEAAAAD//xAAUAQEAAAAAAAAAAAAAAAAAAAAB/9oACAEDEAAAAH//xAAiEAACAQMCBwAAAAAAAAAAAAACAwEEBQYABxIUISJBUpL/2gAIAQEAAT8Av23mXXXNKi00WWsprAweYCIKRYkfI8ID3fWqbE6NVMoGPa5ghAkwwCJOfaemv//EABQRAQAAAAAAAAAAAAAAAAAAAAD/2gAIAQIBAT8Af//EABQRAQAAAAAAAAAAAAAAAAAAAAD/2gAIAQMBAT8Af//Z'%3E%3C/image%3E%3C/svg%3E)
Installing RAM into a gaming PC is an easy task. According to most PC builders, installing a memory stick is the easiest step involved in putting a computer together. Obviously, users benefit greatly from installing extra memory into their systems. However, there is a limit to how much RAM upgrades can benefit overall performance.

In 2022, 16 GB of RAM is more than sufficient for different types of builds. In fact, most games will not benefit from more than 16 GB of memory. However, content creators and professionals can certainly utilize the increased flexibility of 32 GB of memory. But for the average user, anything above 32 GB is a waste of money, at least for the next few years.
A guide to installing a RAM stick
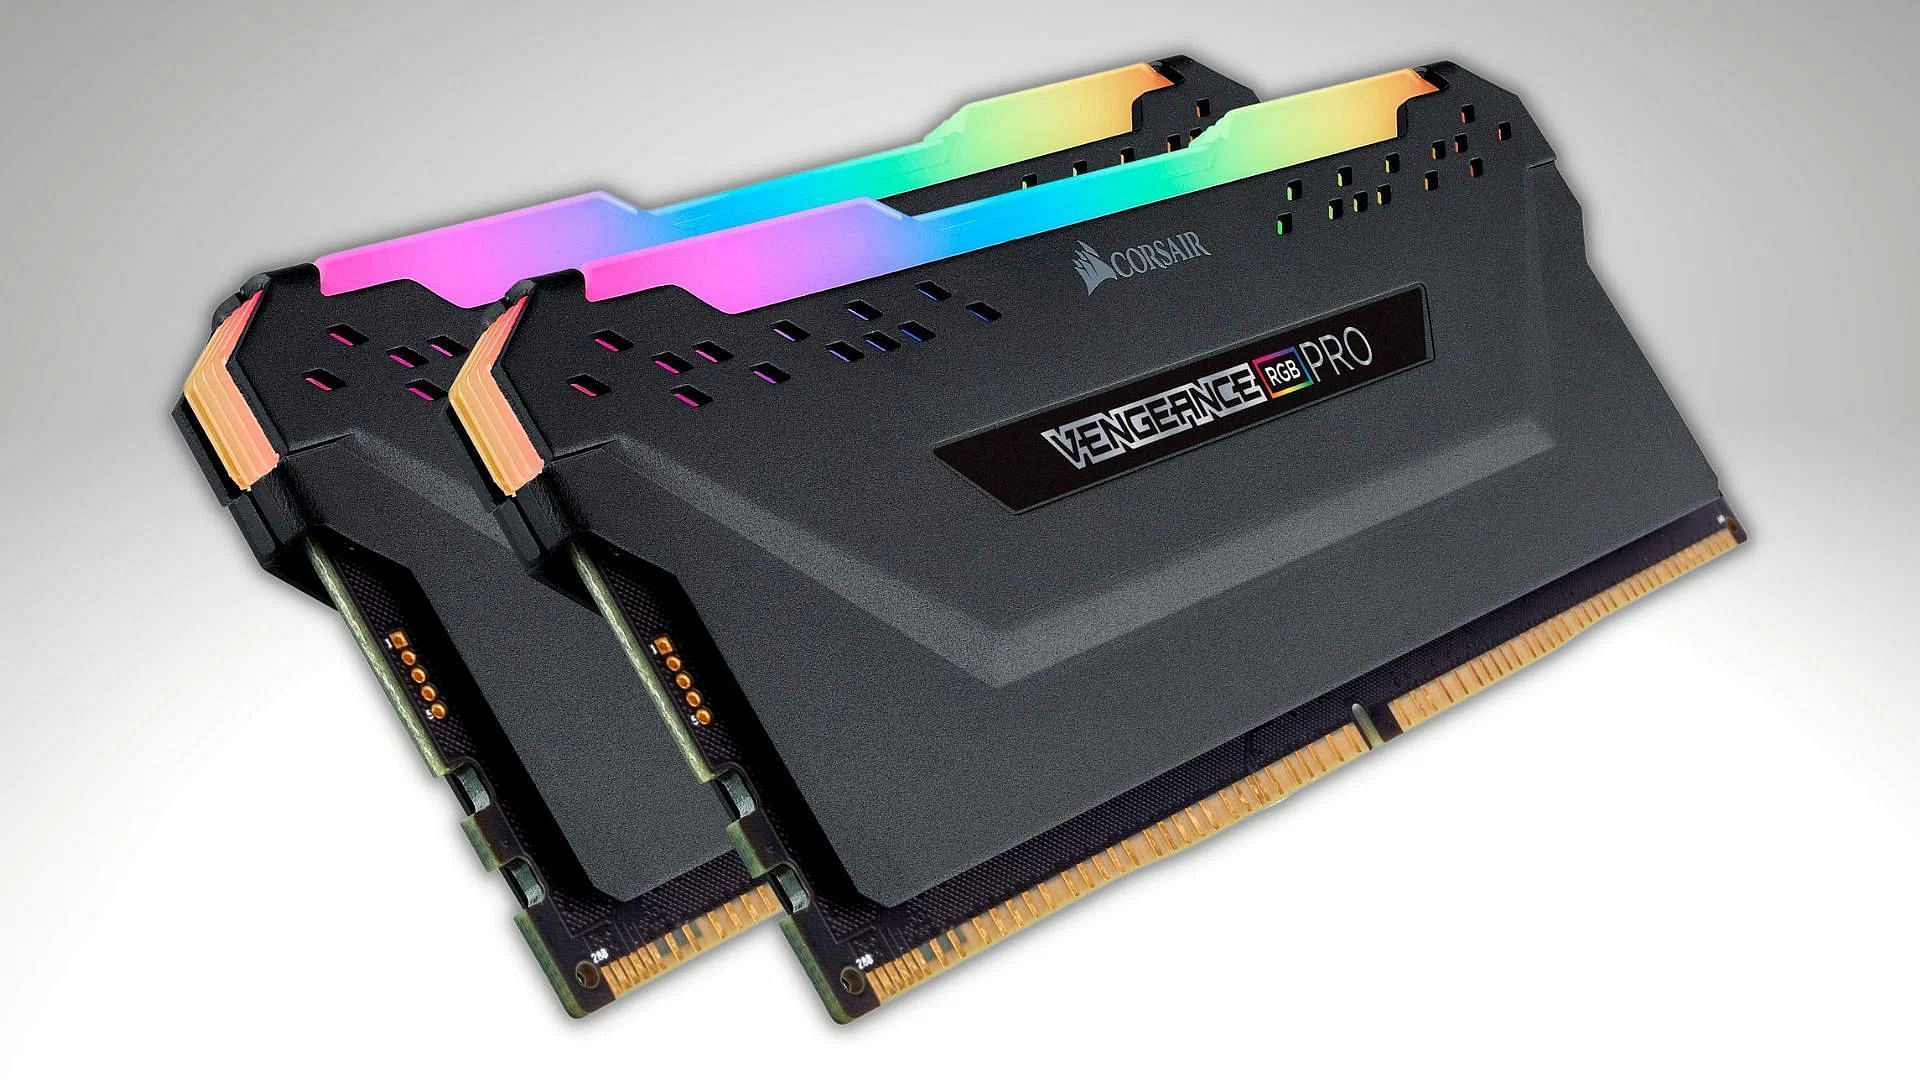
As mentioned before, installing a memory stick is a simple job. Before getting started, users will need the memory stick they wish to install and a #1 Philips head screwdriver. Users can also keep a piece of microfiber cloth handy.
Once they have all of the items listed above, follow the steps listed below to install a RAM stick effortlessly.
Step 1. Shut down the computer and unplug all cables from the system.
Step 1. Open the side panel of the case to gain access to the interior of the PC.
Step 2. Unplug the graphics card from the system.
Step 3. Unplug all power connections from the motherboard.
Step 4. Unscrew the standoff screws and take the motherboard out of your case. Place it on a flat anti-static surface.
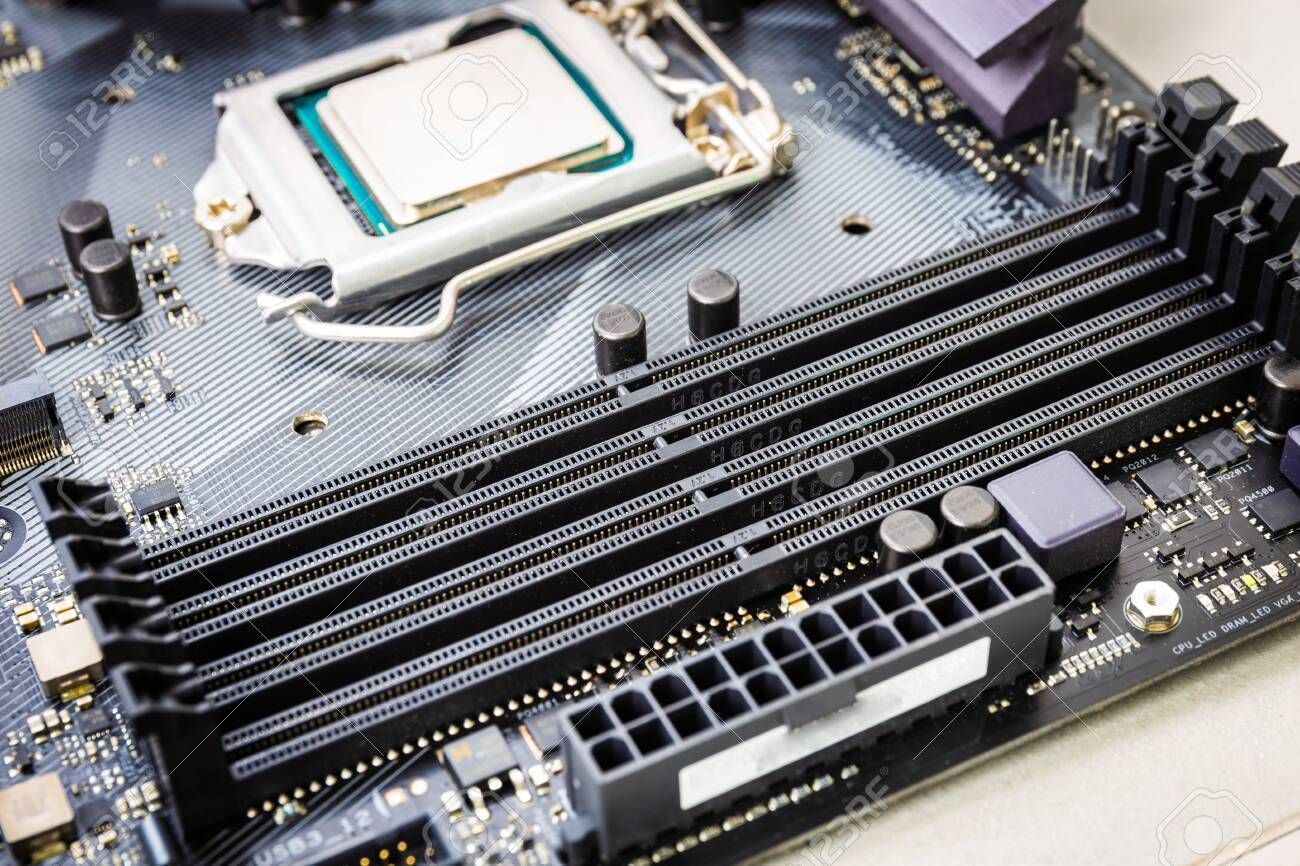
Step 5. Locate the RAM slots on the motherboard. They are usually right beside the CPU socket, often to the right side of it. In the case of E-ATX motherboards, they are on both sides of the CPU socket.
Step 6. If older sticks are installed, users will have to remove them from the system first. Users can unclip the plastic retention clips on either side of the RAM slots to get started. Some modern motherboards may only have one plastic retention clip.
Once the plastic retention clip is open, the memory stick will pop up. If the motherboard has a single retention clip, users can pull the stick out at this point. For motherboards with two retention clips, users will have to open both of them before pulling the stick out.
Step 7. With the retention clip(s) pulled out, users can put a new stick into the motherboard slot. Users must then align the stick with the notch and gently push it in. Once the stick has been installed correctly, there will be an audible click sound.
Step 8. Put the motherboard back in the system, reconnect all the power cables, and boot the computer. The new memory stick should pop up in the system information as well.
The above steps will help users get through the process of installing RAM without any issues. To be on the safe side, users should always check whether the new memory has been correctly installed on their PC using the free application CPU-Z. This software will display all relevant information about the newly installed RAM, allowing users to verify if it is working as expected.
