
'%20x='0'%20y='0'%20height='100%25'%20width='100%25'%20%0A%20%20%20%20%20%20%20%20%20%20xlink%3Ahref='data:image/jpg;base64,/9j/4AAQSkZJRgABAQAAAQABAAD/2wCEAAMDAwMDAwQEBAQFBQUFBQcHBgYHBwsICQgJCAsRCwwLCwwLEQ8SDw4PEg8bFRMTFRsfGhkaHyYiIiYwLTA+PlQBAwMDAwMDBAQEBAUFBQUFBwcGBgcHCwgJCAkICxELDAsLDAsRDxIPDg8SDxsVExMVGx8aGRofJiIiJjAtMD4+VP/AABEIAAYACgMBIgACEQEDEQH/xABcAAEBAQAAAAAAAAAAAAAAAAAACAkQAAEEAQMFAQAAAAAAAAAAAAECAwQGAAUHMRETIyQyUQEBAAAAAAAAAAAAAAAAAAAAAhEBAQEAAAAAAAAAAAAAAAAAAQAx/9oADAMBAAIRAxEAPwCrttLnoJ2zrS+w8kxtFiJc9KMskpjp/eQORmZl+sjEq9Wd8RGujutz1jxgfT6jwDjGMCLt/9k='%3E%3C/image%3E%3C/svg%3E)
Typing on an iPad can cause discomfort or pain, especially when performing long tasks. While it can be tempting to just live with the inconvenience, there is an easy way to improve your typing experience and make it more ergonomic.
By understanding how to split and move the iPad keyboard, you can reduce strain and increase your typing comfort. This article will provide you with information on how to take advantage of this feature and enhance the typing experience on your device.
In the modern age of technology, it is not unusual for people to use an iPad for work-related purposes. To increase productivity, ergonomics is key when using digital devices, and the iPad is no exception. In this article, we look at how iPad users can split and move their built-in keyboards for optimal typing comfort and efficiency.
(You can purchase the iPad here if you are in the United States, and from this link globally)
Read on to learn more about how to make the most out of your iPad with a few simple steps:
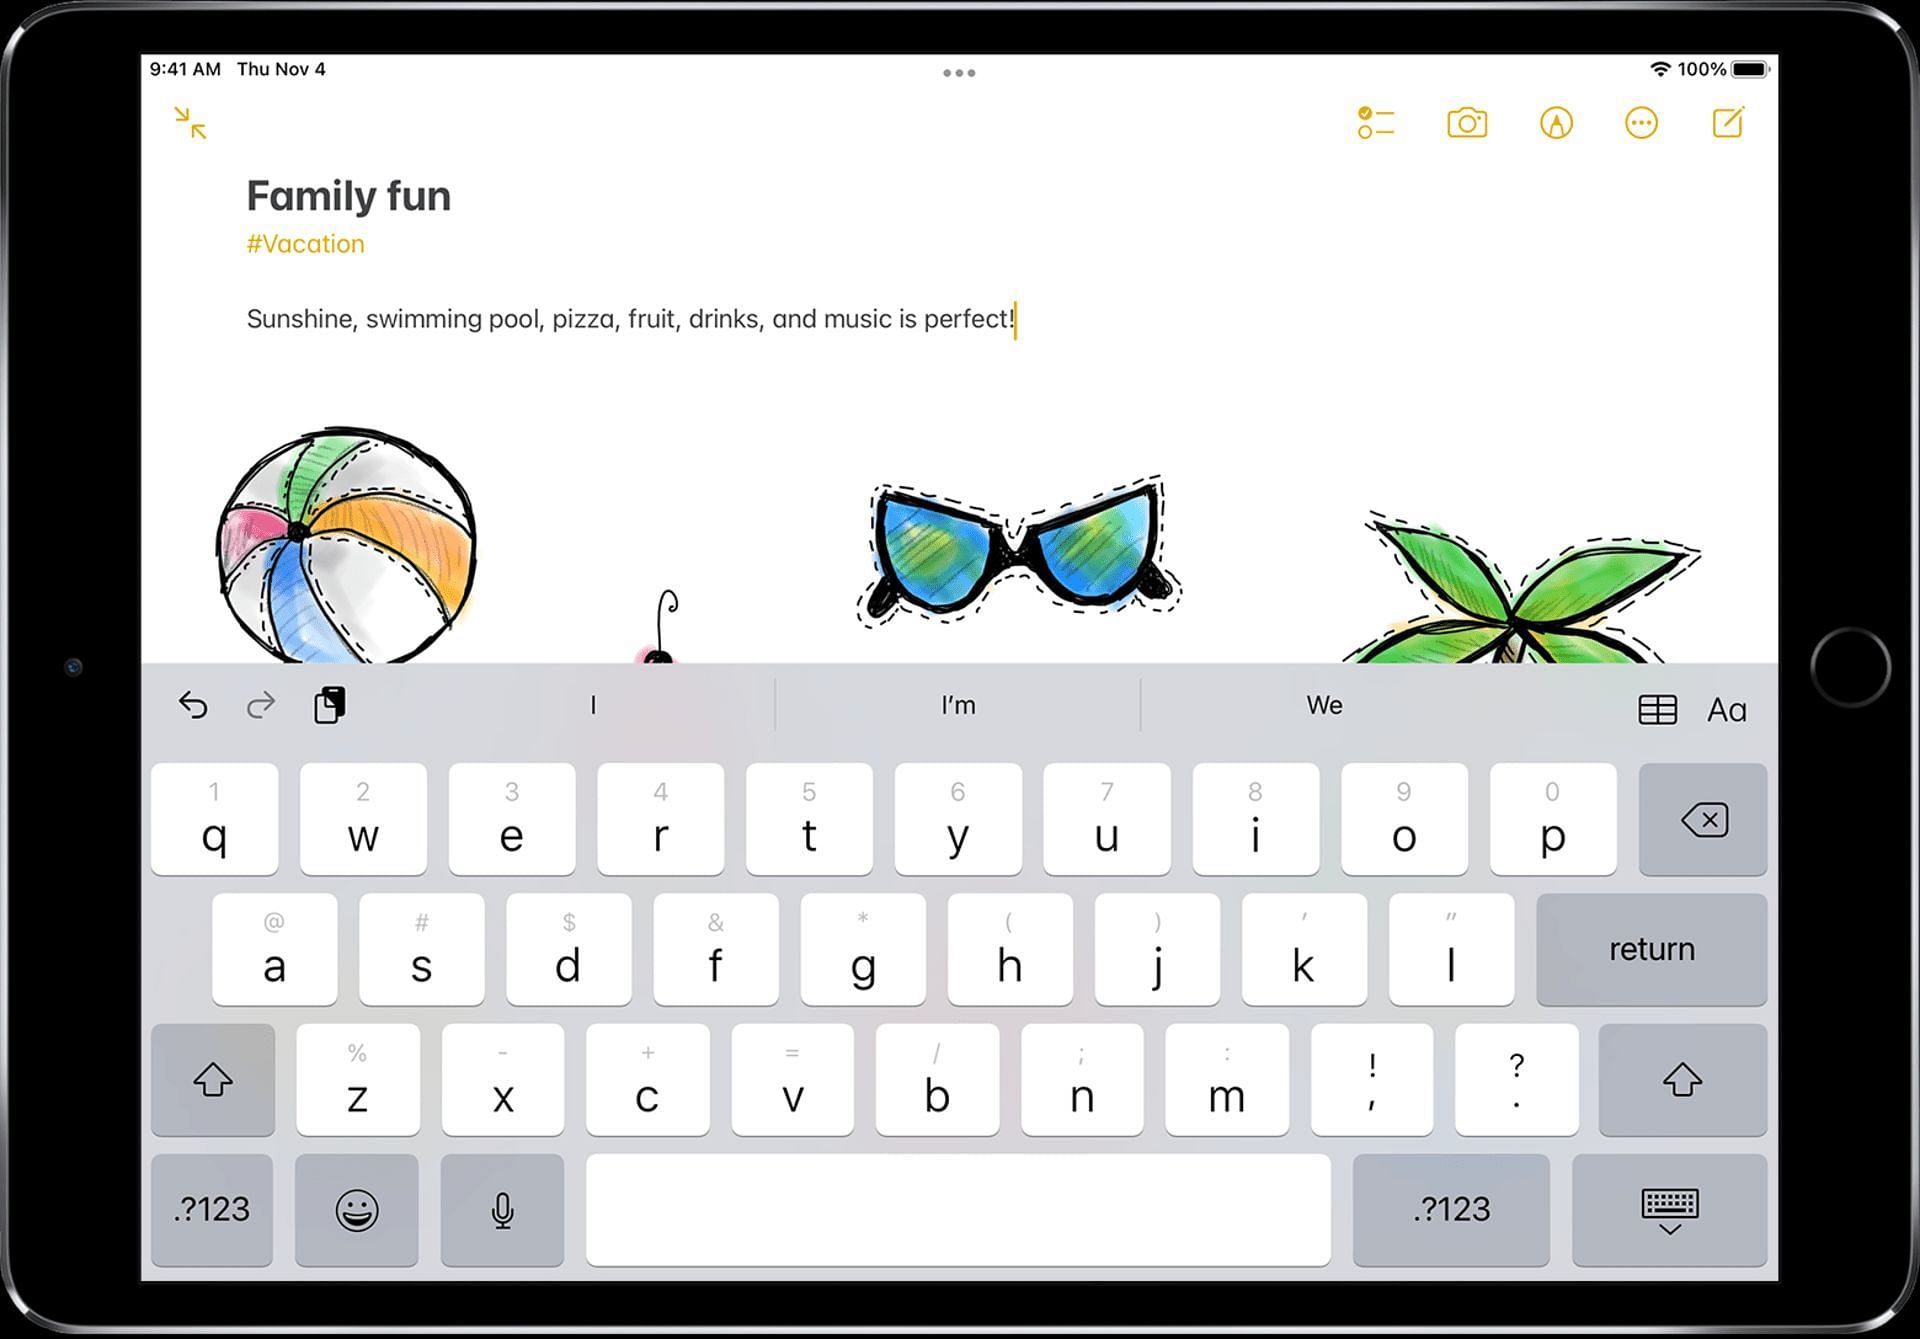
How to split the keyboard on your iPad?
Few people are aware that you can split the keyboard in two, allowing you to type more comfortably with two hands while holding the iPad like a large phone. The keyboard will be divided into two, and touch either side of the screen.
1. Launch the keyboard by tapping on a blank space while using an app that causes the keyboard to appear.
2. In the lower right corner of the keyboard, tap and hold the Minimize Keyboard button.
3. Slide your finger up to 'Split' when the menu opens.
4. A split keyboard is also movable. Lightly press the Minimize Keyboard button, then move the keyboard to the desired location by sliding it up or down.
How to move the keyboard on an iPad?
The keyboard, which is typically docked at the bottom of the screen and locked, can be unlocked and moved to another location, such as the center or the top.
1. Launch any keyboard-using app, and the keyboard will appear. You may launch the Mail app, for instance, and compose a brand-new email. To bring up the keyboard, tap the empty message field.
2. Press and hold the button labeled 'Minimize Keyboard,' which is located in the keyboard's lower right corner.
3. Slide your finger up to 'Undock' when the option opens. The keyboard will rise and appear at the center of the display.
4. To relocate the keyboard to a new location, click on the Minimize Keyboard button once again, and then drag the keyboard in the direction you desire.
Restore the keyboard to its original position
If you're not satisfied with the split keyboard feature, you can restore it back to its original settings.
1. Tap and hold the Minimize Keyboard button in the lower right corner of the keyboard while it is visible on the screen.
2. Slide your finger up to 'Merge' to undo the divided keyboard.
3. Slide up to 'Dock' or 'Dock and Merge' to return the keyboard to the bottom of the screen.
More tricks on the keyboard
With Apple's keyboard, you can type emails, documents, and notes more quickly and efficiently.
A tiny (and lighter) number or symbol may appear above each letter. For instance, the letter K might have a little, grayed-out apostrophe there. Swipe down on the letter to enter the secondary character for that key instead of hitting the Numpad and symbol key on either side of the spacebar. This will allow access to the secondary keyboard for typing symbols.
When you double-tap the spacebar to end a sentence, it will automatically type a period (.) and begin capitalizing the following words at the beginning of the new sentence.
Press and hold the spacebar to bring up the cursor if you need to edit something you've already entered in an email or document. Like you would with a mouse, drag it to the desired location and then release it.
