
'%20x='0'%20y='0'%20height='100%25'%20width='100%25'%20%0A%20%20%20%20%20%20%20%20%20%20xlink%3Ahref='data:image/jpg;base64,/9j/2wBDAAYEBQYFBAYGBQYHBwYIChAKCgkJChQODwwQFxQYGBcUFhYaHSUfGhsjHBYWICwgIyYnKSopGR8tMC0oMCUoKSj/2wBDAQcHBwoIChMKChMoGhYaKCgoKCgoKCgoKCgoKCgoKCgoKCgoKCgoKCgoKCgoKCgoKCgoKCgoKCgoKCgoKCgoKCj/wgARCAAGAAoDASIAAhEBAxEB/8QAFQABAQAAAAAAAAAAAAAAAAAAAAb/xAAVAQEBAAAAAAAAAAAAAAAAAAACBP/aAAwDAQACEAMQAAAAsLEVf//EACMQAAEDAwIHAAAAAAAAAAAAAAIBBAUAAxIHERMUFSEycrL/2gAIAQEAAT8AYaqMHUfN3XLV+Ti0Z3Exwx7+HztUbqrE9Oa8w0kCvcIM1EQRFLb2r//EABcRAAMBAAAAAAAAAAAAAAAAAAACESH/2gAIAQIBAT8AXaf/xAAYEQACAwAAAAAAAAAAAAAAAAAAAQUSMv/aAAgBAwEBPwCQVMn/2Q=='%3E%3C/image%3E%3C/svg%3E)
One Piece episode 1106 titled Trouble Occurs! Seek Dr. Vegapunk! was released on Sunday, May 26, 2024, in Japan. This episode sheds light on why the Straw Hats are not able to leave Egghead just yet. They are, in fact, trapped in the Labophase, with Kizaru and an Elder on their way to the island, as revealed in the previous installment.
Meanwhile, Bonney gets transported to a field after touching Kuma's paw bubble and Morgans gets to know about World Government's plan to assassinate Vegapunk.
The last episode also depicted how the Straw Hats, along with Vegapunk's satellites, managed to gain control over the situation on Egghead. Viewers also got to learn more about Stussy and her longstanding alliance with Vegapunk.
Disclaimer: This article contains spoilers of One Piece episode 1106.
One Piece episode 1106 shows the Straw Hats being trapped in Egghead
Brief episode highlights

One Piece episode 1106 begins with CP0 soldiers, having taken over the Fabriophase, preparing to destroy the Vacuum Rocket tube and every other means of Vegapunk escape route. However, a Pacifista Mk. III arrives on the scene.
This model, which is more superior to the one used in Marineford, is equipped with Vegapunk's invention, the Bubble Shield, which is the world's strongest shield. After witnessing a few blasts and realizing the impenetrability of the Bubble Shield, the CP0 soldiers surrender and are thrown into Factory B.
Sentomaru, now in better health, is revealed to be the one commanding the Pacifista. As he receives no word from Vegapunk, Sentomaru decides to deploy more Pacifistas. He instructs them to help Vegapunk escape on Luffy's ship.
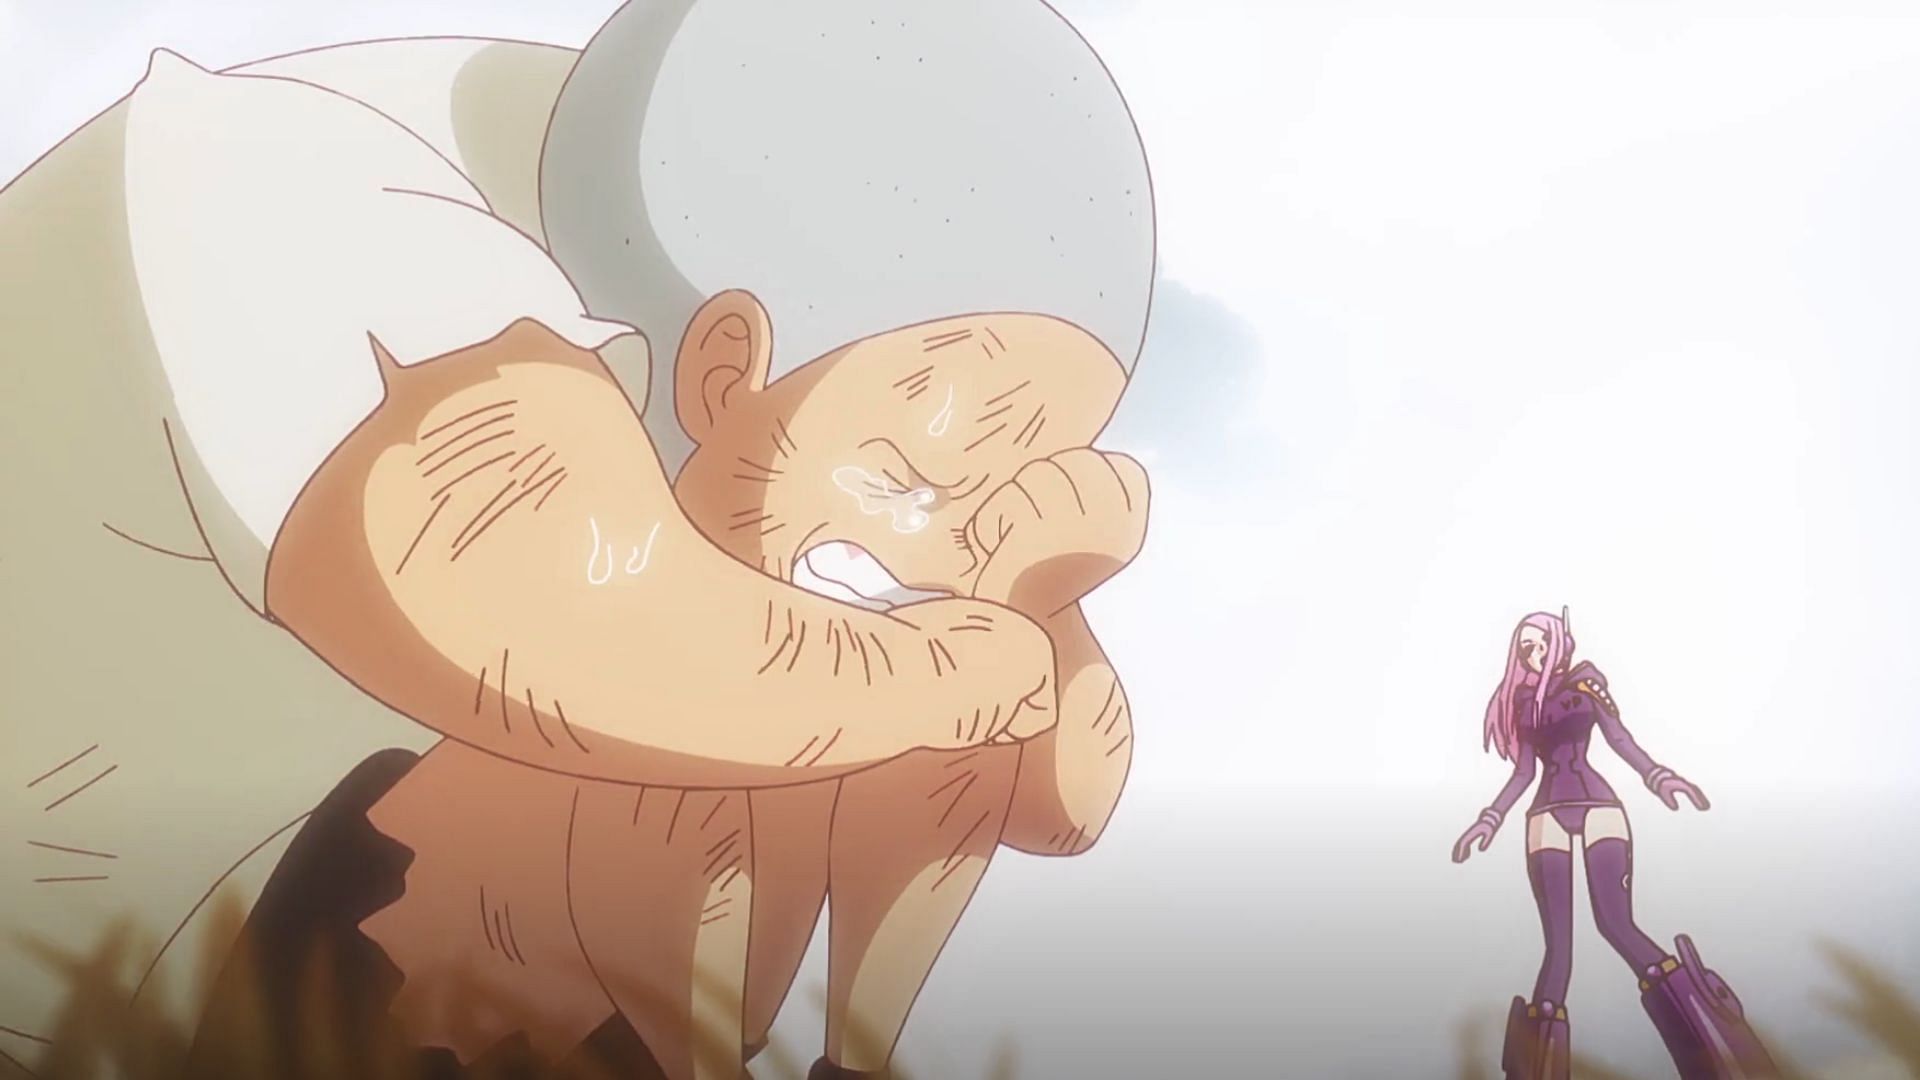
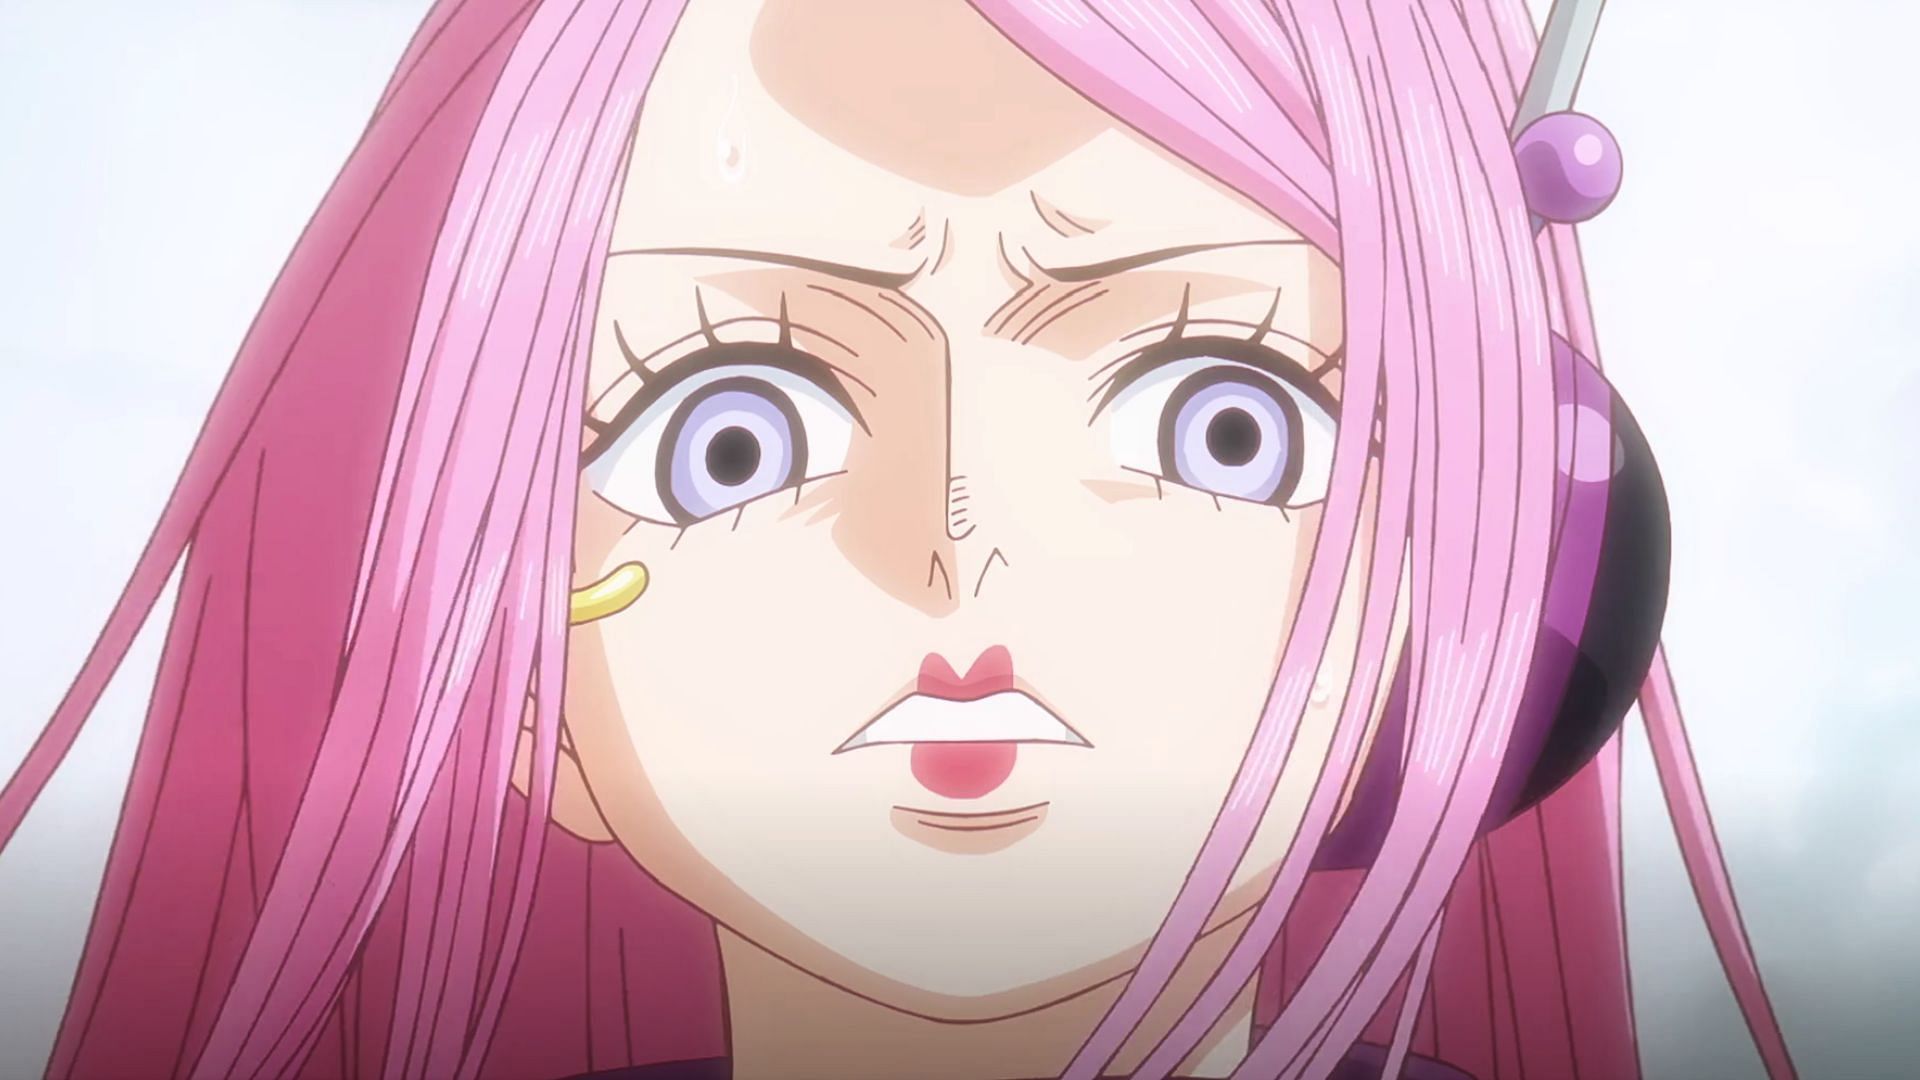
Meanwhile, Bonney touches Kuma’s paw bubble and is transported to a field where she spots a boy, curled up, and crying. There are scratches all over his body. She recognizes that this is none other than Kuma.
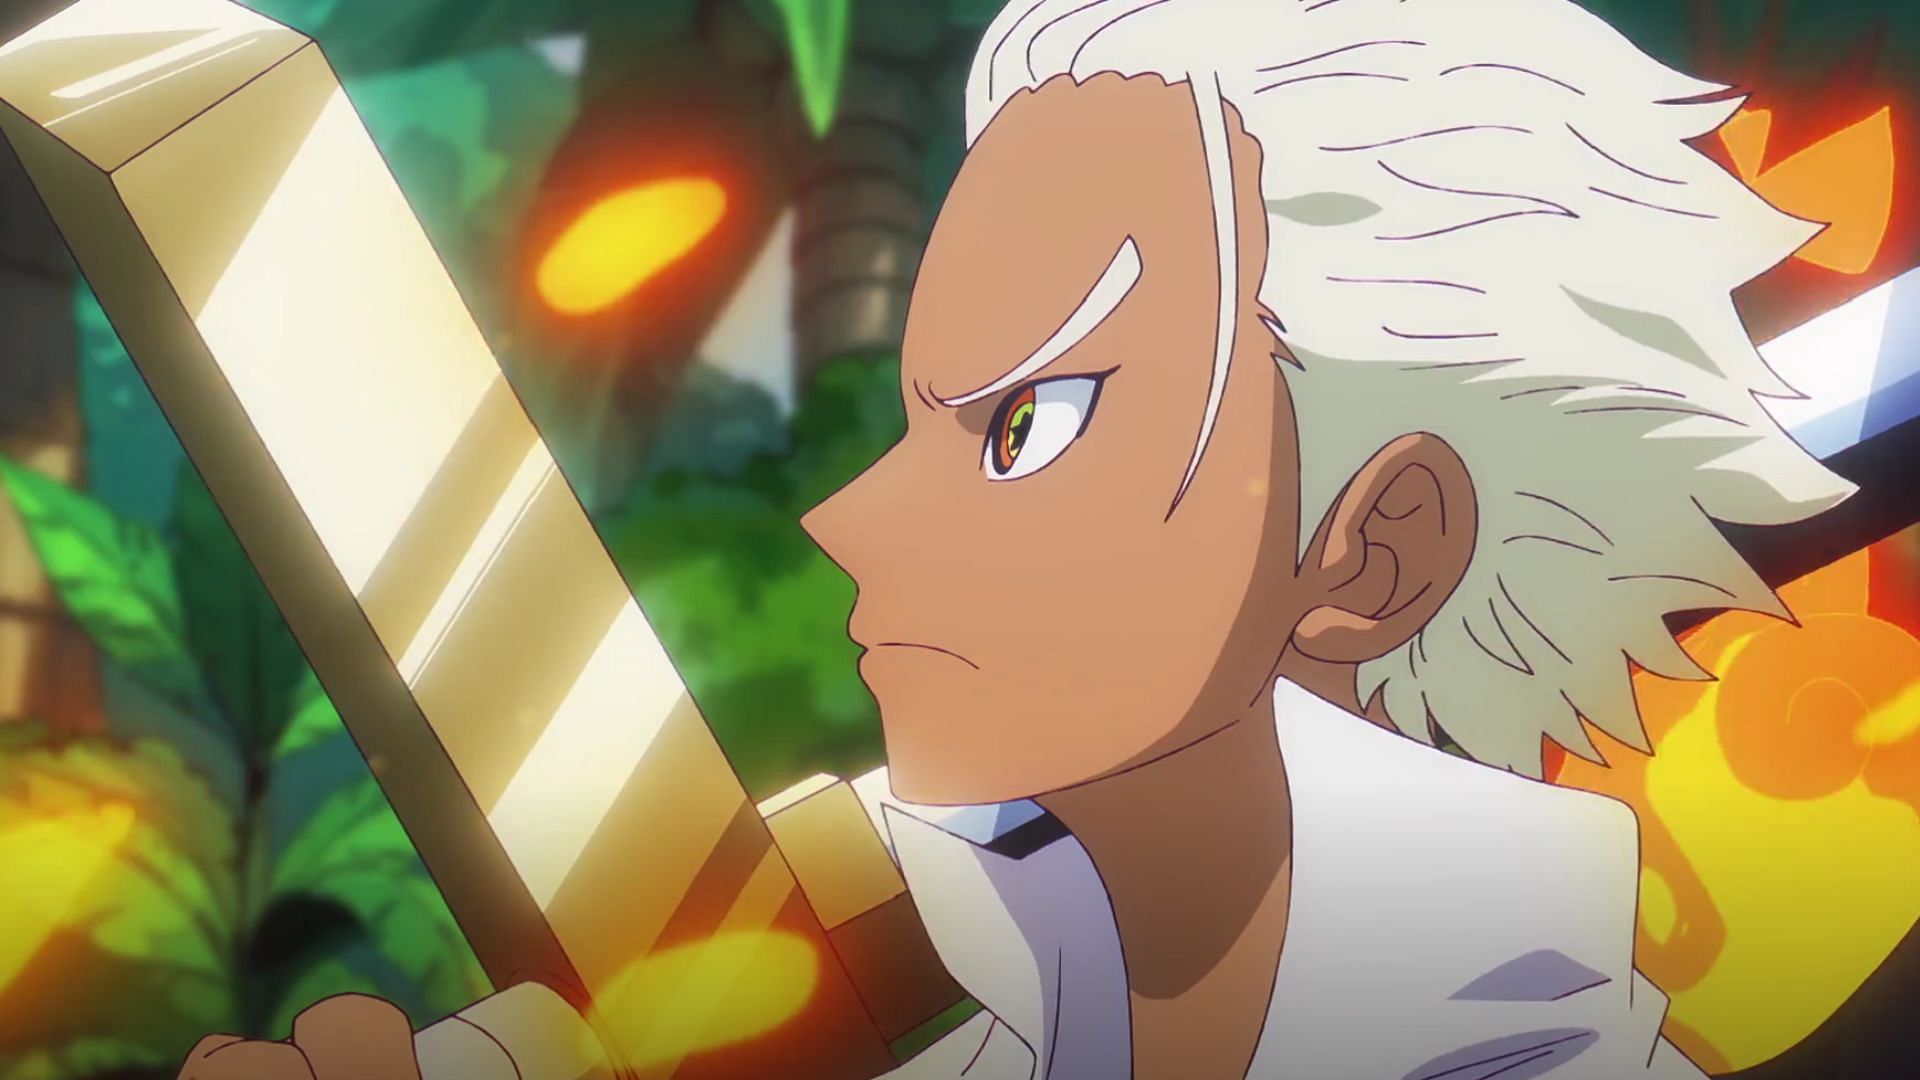
One Piece episode 1106 moves to Vegapunk's lab, where Zoro, Brook, and Stussy join the rest of the Straw Hats. Shaka locates Bonney on his monitor, but Vegapunk remains missing. Shaka suggests that Vegapunk might be in one of the blindspots in the lab created by the Seraphim's attacks. Moreover, they have lost control of the frontier dome, making escape impossible for the moment.
Atlas, now fully repaired and energized, appears. Thereafter, the Straw Hats and the Satellites split up and search for Vegapunk.
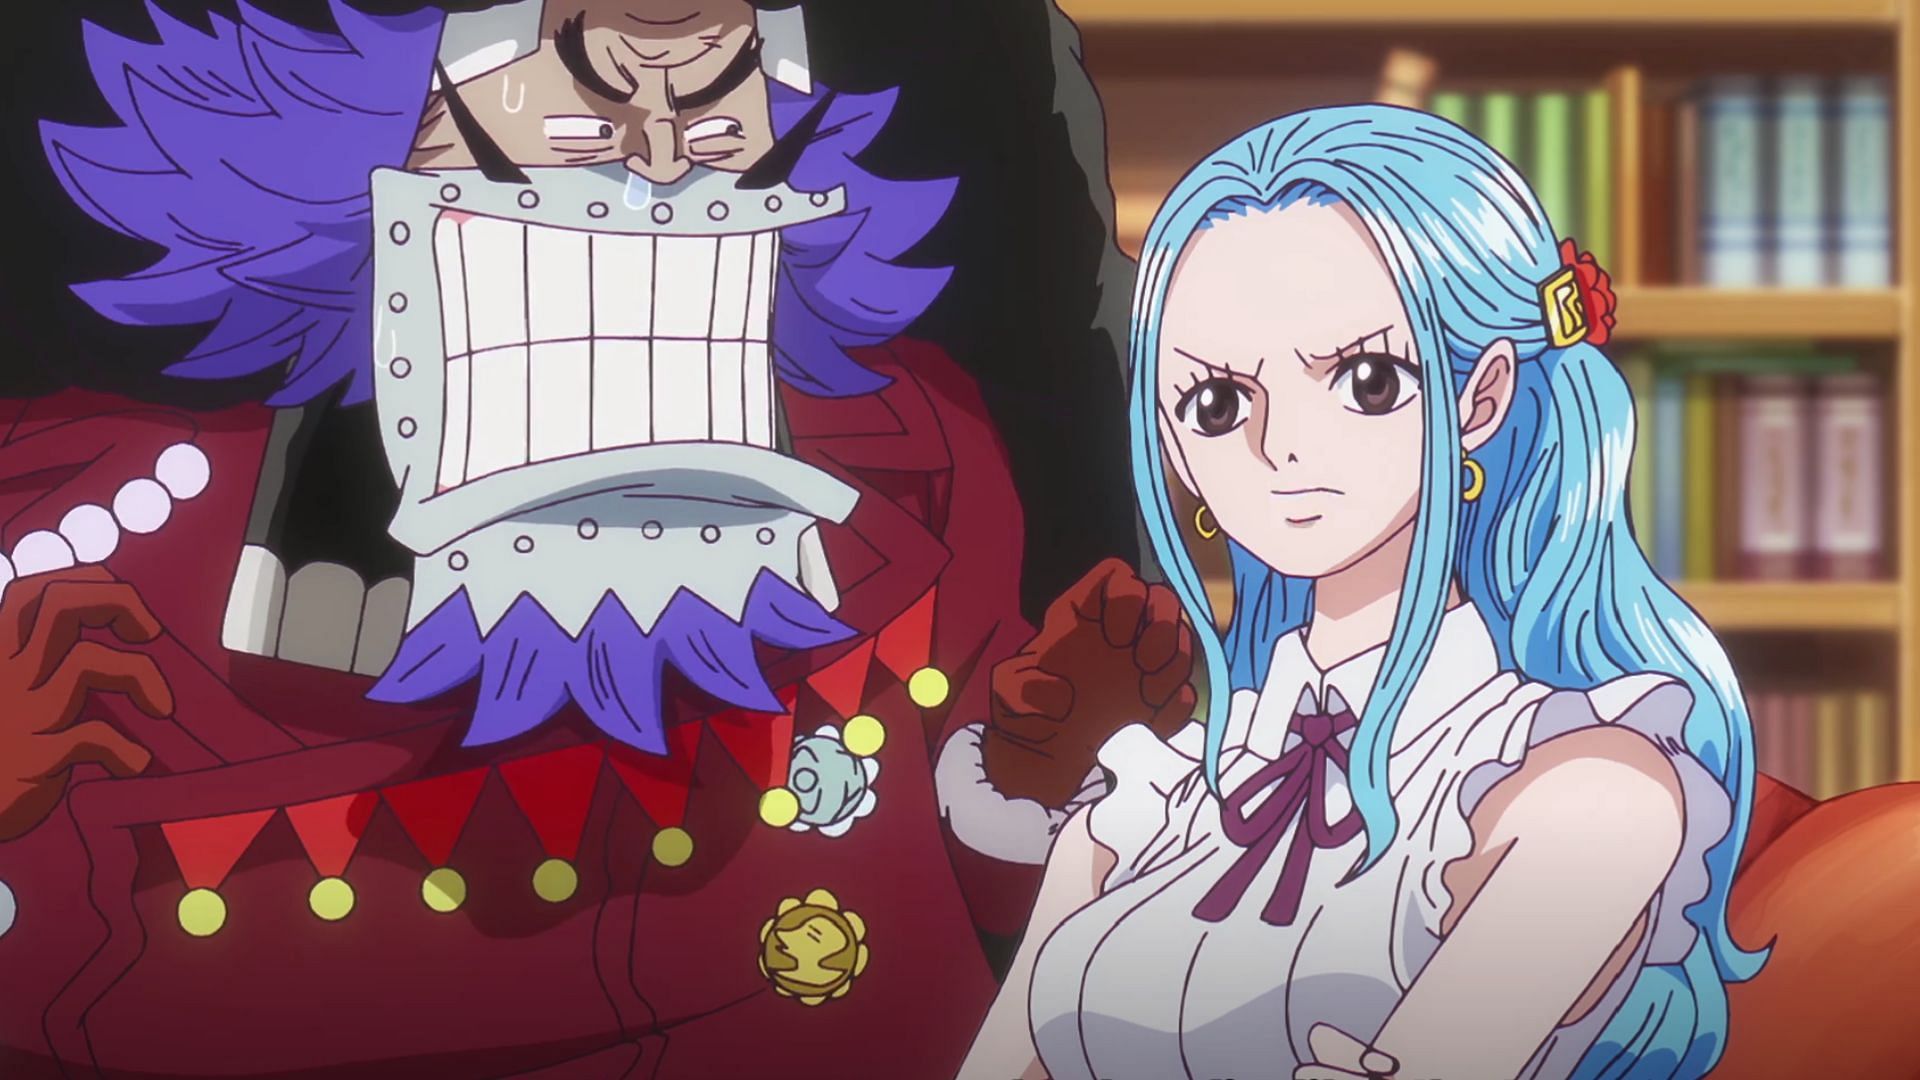
One Piece episode 1106 then shows Morgans, who has learned of the World Government's plan to assassinate Vegapunk. He sees the similarity between this situation and the Ohara incident. Still, he chooses the headline of the next World Economic Journal issue to portray that Luffy is holding Vegapunk hostage on Egghead Island, leading to a full-scale war with the Navy.
Morgans believes involving a pirate would somewhat absolve the World Government of killing Vegapunk, a beloved genius. He expects a reward from the Government for his help.
However, Vivi is annoyed as Luffy would never do such a thing. Wapol, who is with her, tries to hush her as he fears their location might be discovered by a Government Transponder Snail bug. Meanwhile, Morgans declares he is indifferent to the veracity of the news, as he sees it purely as entertainment.
One Piece episode 1106 review
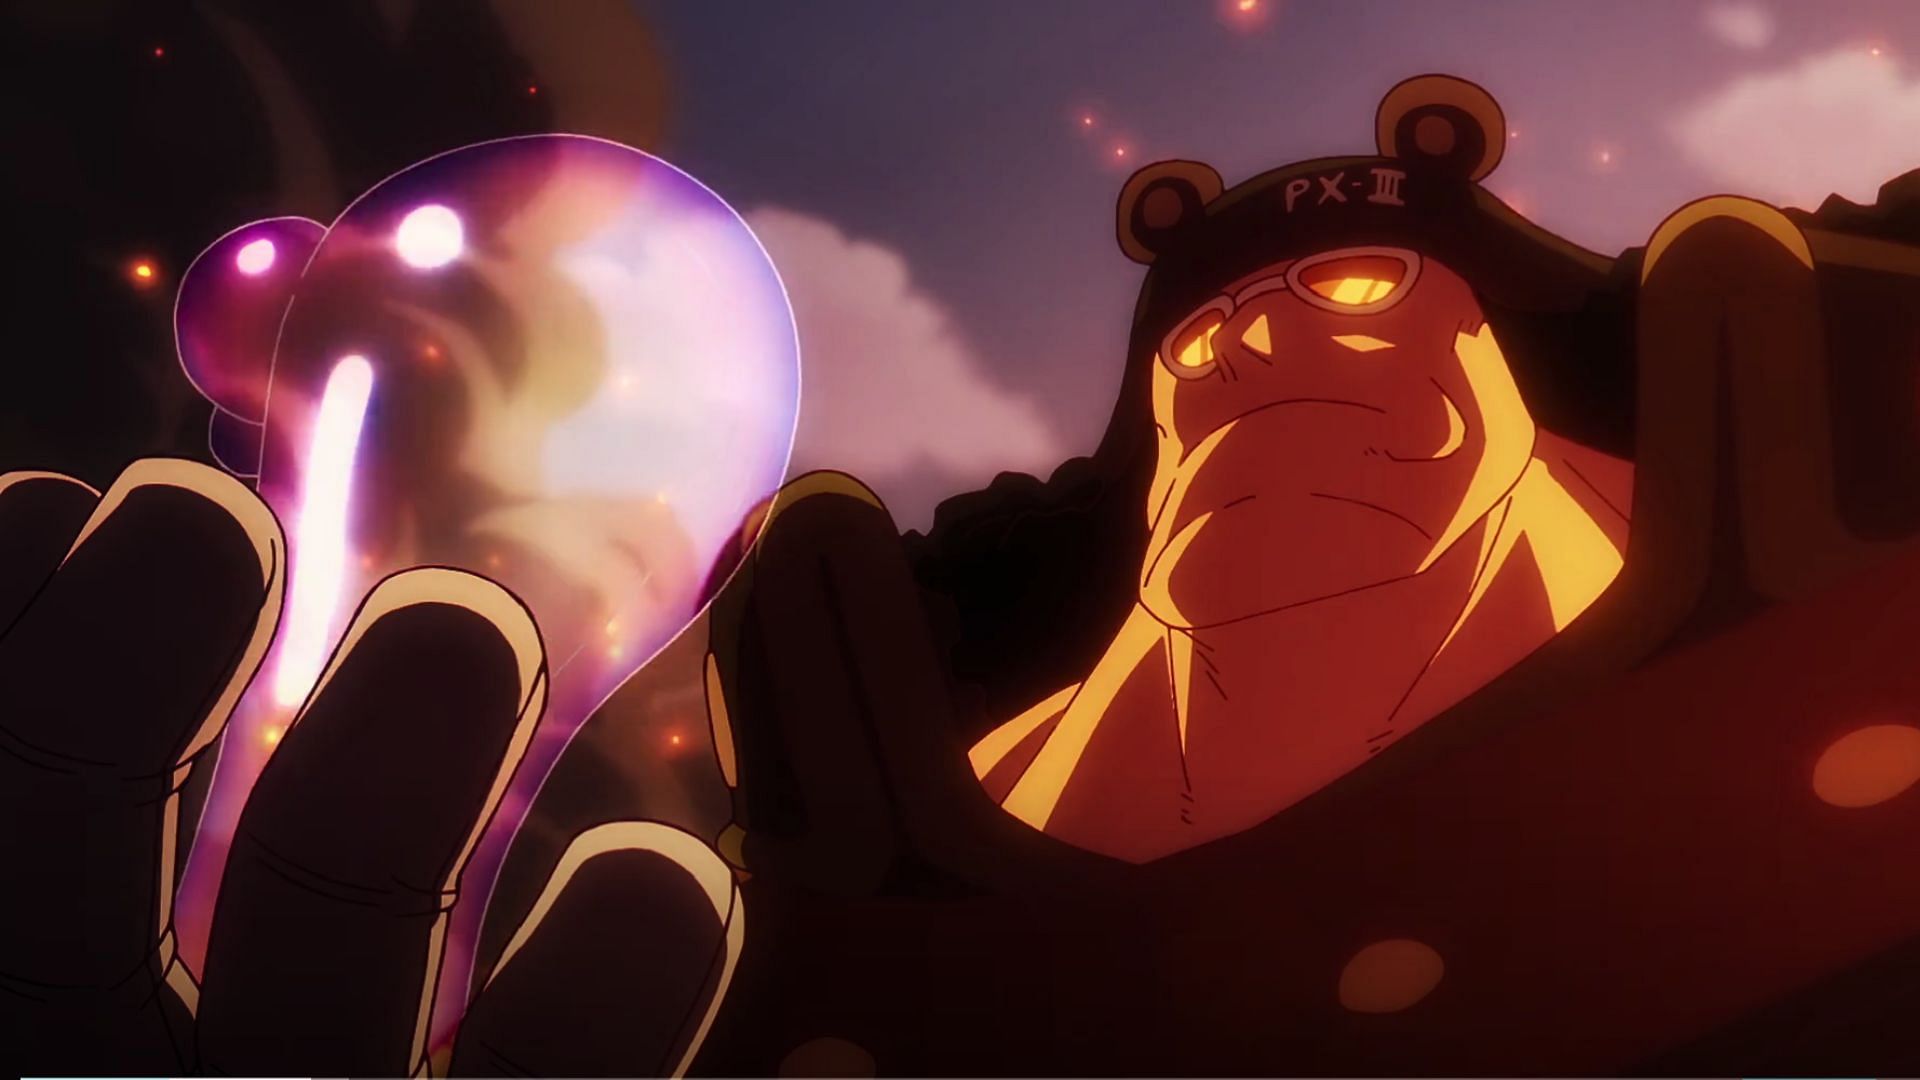
The latest episode's direction is impressive, particularly the anime-original scenes like the introduction of the Pacifista. Its towering presence over the CP0 soldiers, unscathed by attacks, with fire in the background creates an ominous aura.
While plot wise nothing significant takes place, the appeal of the episode lies in the play of colors. Scenes with the Pacifista are painted with intense hues, contrasting with Vegapunk's brief flashback scene which is presented in grey. In the present, the color returns with the glowing orange paw bubble.
On the other hand, Bonney's disorientation upon being transported to a field after touching Kuma's paw is depicted through the overpowering presence of the black color. The episode balances these intense moments with the light-hearted banter between the Straw Hats and the Vegapunk Satellites.
One Piece episode 1105 recap
In the previous episode, viewers saw Zoro cross blades with S-Shark to stop the Seraphim from causing anymore damage to the island. This continued until the Satellites regained control over the Seraphim. In the meantime, Stussy restrained Lucci and Kaku with handcuffs made of Sea Prism Stone.
Elsewhere, in Sphinx, the hometown of Whitebeard and Marco, Marco found out that the Navy had come searching for Whitebeard's treasure. They would have shown no mercy to the locals if it was not for Weevil's intervention. However, Admiral Ryokugyu managed to capture Weevil later on, and now Miss Buckingham Stussy wanted Marco's help to free him.
The episode ended with the revelation that St Jaygarcia Saturn of the Five Elders was aboard Kizaru's ship. He was displeased with Vegapunk’s betrayal.
Related links:
- How to watch the One Piece anime?
- 10 best anime to watch if you like One Piece
- What was Oda's inspiration for the One Piece series?
