
'%20x='0'%20y='0'%20height='100%25'%20width='100%25'%20%0A%20%20%20%20%20%20%20%20%20%20xlink%3Ahref='data:image/jpg;base64,/9j/2wBDAAYEBQYFBAYGBQYHBwYIChAKCgkJChQODwwQFxQYGBcUFhYaHSUfGhsjHBYWICwgIyYnKSopGR8tMC0oMCUoKSj/2wBDAQcHBwoIChMKChMoGhYaKCgoKCgoKCgoKCgoKCgoKCgoKCgoKCgoKCgoKCgoKCgoKCgoKCgoKCgoKCgoKCgoKCj/wgARCAAGAAoDASIAAhEBAxEB/8QAFgABAQEAAAAAAAAAAAAAAAAAAAIF/8QAFQEBAQAAAAAAAAAAAAAAAAAAAQP/2gAMAwEAAhADEAAAANGAp//EAB8QAAICAgIDAQAAAAAAAAAAAAMEAQIFEQATFCEysf/aAAgBAQABPwA2DjJ4pZ9+BecsxdcfXQfWSZrO7XiR/Xv6/eJ5YiaYFhAS6wjqOu1BzOojXP/EABYRAQEBAAAAAAAAAAAAAAAAAAEAEf/aAAgBAgEBPwDVBb//xAAZEQACAwEAAAAAAAAAAAAAAAABIQACUcH/2gAIAQMBAT8Aogt4J//Z'%3E%3C/image%3E%3C/svg%3E)
One Piece episode 1124 finally clarifies a long-debated event from the Egghead Arc. Following Dr Vegapunk’s sudden disappearance, the Straw Hat Pirates, the three elite CP0 agents, who had been sent to kill the scientist, and the remaining Vegapunk bodies formed an unexpected alliance to engage the Seraphim cyborgs operating on Vegapunk York’s behalf.
Secretly plotting to exchange Vegapunk’s head for a coveted chance to ascend to Celestial Dragon status, York activated the Seraphim, formidable cyborgs equipped with the former Seven Warlords’ genes and further empowered with King’s Lunarian DNA. She further commanded them to sow destruction throughout Egghead.
This led the Straw Hats, the CP0 agents, and Vegapunk’s remaining satellite bodies to split into subgroups to confront the Seraphim in different locations of Egghead’s laboratory. After a night-long struggle, the Seraphim were subdued and gathered in one place, neutralizing York’s plot.
While the manga only showed the end result of the battle, the anime has delved into the matter more profoundly, showing how the fight’s conclusion was reached.
Latest One Piece anime episode complements the manga to reveal how the Seraphim were defeated
The Seraphim’s attack on Egghead

Several years before the present narration, Dr Vegapunk conducted experiments on Alber– who would eventually rise to fame as King, Kaido’s right-hand man and strongest subordinate– to measure the potential of his innate Lunarian powers.
Under orders from the World Government, Vegapunk explored and tested King’s resilience. The scientist later took King’s Lunarian DNA to implant it into his newest creation, the Seraphim.
A vastly upgraded version of the old Pacifista cyborgs, the Seraphim were modeled after the former Seven Warlords, resembling their childhood versions although in a larger size.
Vegapunk imprinted the Seraphim with the Lineage Factor of the Warlords, granting the access to the genetic memories of the Warlords’ fighting skills. He also equipped the Seraphim with artificial versions of certain Devil Fruits.
To eradicate all potential hindrances to his plan, Vegapunk York deployed four Seraphims of Egghead, namely S-Hawk (the cyborg based on Dracule Mihawk), S-Bear (the cyborg based on Bartholomew Kuma), S-Snake (the cyborg based on Boa Hancock), and S-Shark (the cyborg based on Jinbe).

These Seraphim never showcased the same fiery, magma-like techniques used by King, yet they remained formidable foes. King’s DNA provided the Seraphim with the same immense durability characteristic of Lunarians, allowing the cyborgs to endure consecutive barrage of devastating attacks without suffering any real damage.
Monkey D. Luffy and Roronoa Zoro teamed up with Rob Lucci and Kaku, who had asked them for a temporary alliance against the common enemy, to take on S-Hawk and S-Bear. At one point, S-Hawk left the battle to pursue other targets, prompting Zoro to go after him. Luffy, wary of Zoro’s unreal sense of direction, sent Kaku to follow the green-haired swordsman to ensure he wouldn’t get lost.
On a different front, S-Snake easily dominated Franky, Usopp, Vegapunk Pythagoras, and Vegapunk Lilith. Elsewhere, Sanji, Brook, and Nami engaged S-Shark. Luffy, amazed by the Seraphim’s ability to withstand every assault, likened their toughness and natural durability to that of the all-powerful Kaido.

The One Piece manga skipped the rest of the fight, cutting away from its progression to abruptly show the aftermath. Vegapunk York was shown making a call to Mary Geoise, begging the Five Elders for help as she revealed that the Straw Hat Pirates had taken her captive inside Egghead’s laboratory.
The Elders, expecting that York would have everything under control thanks to the strength of the Seraphim, were taken aback by her panicked plea.
As for the Seraphim, they were shown to be imprisoned in the special bubbles crafted by Vegapunk. S-Hawk and the others were incapacitated, as the Seastone-coated bubbles would weaken and restrain them due to their anti-Devil Fruit users effect.
The manga did not explicitly reveal how they ended up in that state, leaving the resolution of the fight up to interpretation. These details were unveiled in One Piece episode 1124, that finally shed light on the issue.
How S-Hawk, S-Bear, S-Snake, and S-Shark were stopped

Titled Completely Surrounded! The Operation to Escape Egghead, episode 1124 of the One Piece anime dives into the long-awaited details of the Seraphim’s defeat. Due to the time constraints caused by his involvement in Netflix’s One Piece live-action project, the author Eiichiro Oda had to accelerate the pacing of the Egghead Arc and could not properly focus on every detail.
Hence, Oda skipped over this battle’s progress, relegating it to off-panel, and only showing its consequences. The mangaka entrusted the anime adaptation to fill these gaps and reveal the unseen moments. In One Piece episode 1124, this happened through a series of brief flashbacks, which finally clarified how York was neutralized and the Seraphim cyborgs were subdued.

As Nico Robin was wandering through the chaos, she ran into York, who had captured and imprisoned Vegapunk’s main body, the “Stella”. Robin used her Flower-Flower Fruit to free Vegapunk and bind York in retaliation. However, the situation escalated when S-Hawk and S-Bear emerged out of nowhere. The two Seraphim easily defeated Nico Robin as well as Chopper and Vegapunk Atlas.
Kaku stepped in to protect Robin and the others from S-Hawk and S-Bear, but was soon overwhelmed and injured. At the most critical moment, Roronoa Zoro stormed in and saved everyone. The “Pirate Hunter” took down both S-Hawk and S-Bear single-handedly, performing a lightning-fast attack that defeated the two Seraphim at once.

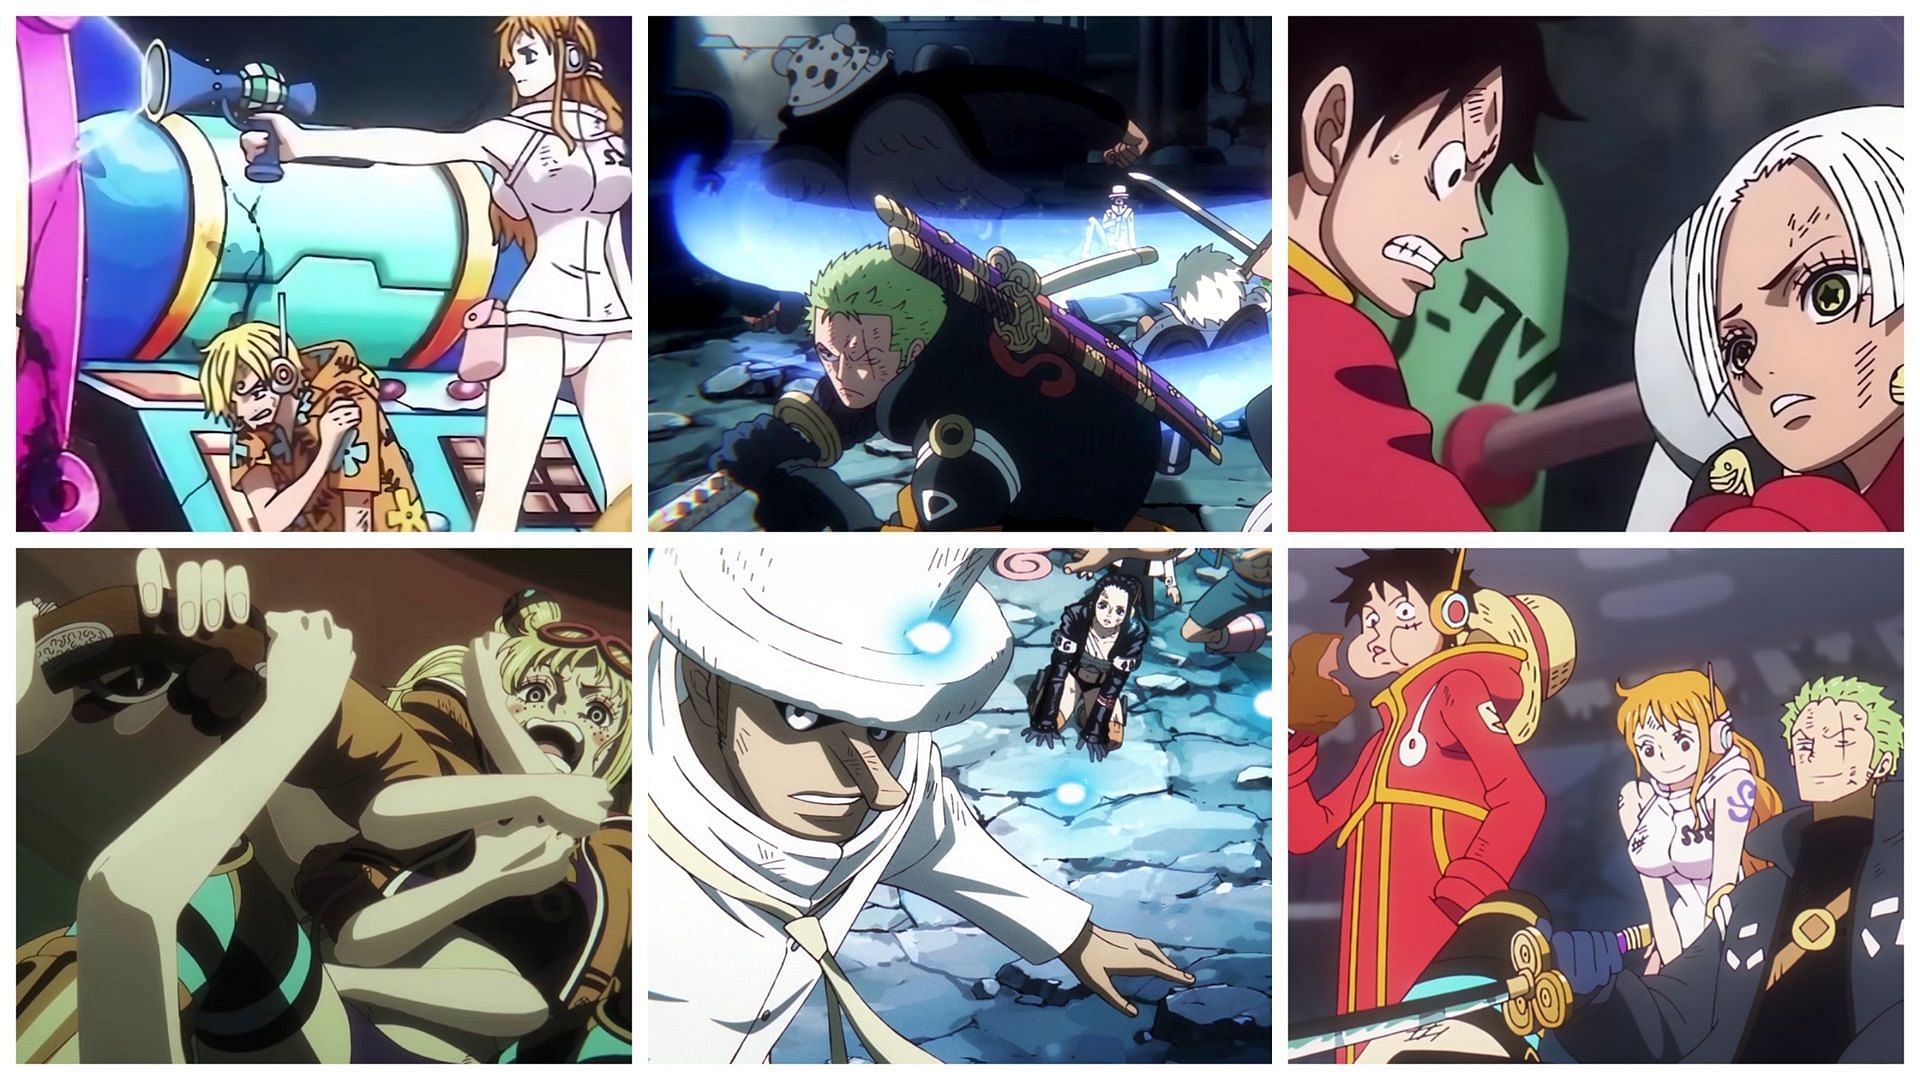
In a different section of Egghead’s laboratory, Nami intervened to help Sanji against S-Shark. She used Vegapunk’s special gun to fire a Seastone-coated bubble at S-Shark, trapping him instantly. As for S-Snake, her downfall at the hands of Luffy was pure comedy. Simple-minded as usual, Luffy mistook S-Snake for Boa Hancock and asked her to release his friends.
S-Snake, who had used her Love-Love Fruit replica to turn Franky, Usopp, and Vegapunk Lilith into stone, found herself swayed by Luffy’s goofy charm and decided to unpetrify Franky and the others just like Hancock would have done.
Curiously enough, the One Piece manga dropped some subtle cues about these outcomes all along. Nami was shown gripping the bubble gun, hinting that she had used it previously, while Sanji had bandages on his arm, a throwback to the injury he received in his showdown with S-Shark.

The fact that Sanji had already seen the bubble gun in action also explains how he could get the idea to use it to neutralize Kaku later on. With regards to Kaku, the manga stated that he ended up injured and defeated while fighting two Seraphim cyborgs at once, a moment that the anime delved into in episode 1124.
One Piece author Eiichiro Oda added other hints in the manga, such as Zoro’s role in the panel that revealed York’s defeat– Zoro was holding his sword at York’s neck, suggesting he had been instrumental in her capture– and Luffy’s nonchalant relationship with S-Snake.
The One Piece manga is often criticized for skipping over fights off-panel, so fans can only hope that the Egghead Arc’s anime adaptation will continue to explore and flesh out these unseen battles, revealing the off-screen clashes.
Related Links
- 20 strongest characters in One Piece Log – Fish-Man Island Saga, ranked
- One Piece battles have a huge flaw no one talks about enough
- 4 darkest One Piece arcs (& 4 that are the most lighthearted)
- One Piece episode 1124: Release date and time, where to watch, and more
- One Piece episode 1124: The escape from Egghead Island begins as Admiral Kizaru vs Sentomaru begins
