
'%20x='0'%20y='0'%20height='100%25'%20width='100%25'%20%0A%20%20%20%20%20%20%20%20%20%20xlink%3Ahref='data:image/jpg;base64,/9j/2wBDAAYEBQYFBAYGBQYHBwYIChAKCgkJChQODwwQFxQYGBcUFhYaHSUfGhsjHBYWICwgIyYnKSopGR8tMC0oMCUoKSj/2wBDAQcHBwoIChMKChMoGhYaKCgoKCgoKCgoKCgoKCgoKCgoKCgoKCgoKCgoKCgoKCgoKCgoKCgoKCgoKCgoKCgoKCj/wgARCAAGAAoDASIAAhEBAxEB/8QAFgABAQEAAAAAAAAAAAAAAAAAAAQG/8QAFAEBAAAAAAAAAAAAAAAAAAAABP/aAAwDAQACEAMQAAAAkzAI3//EACEQAAEDBAEFAAAAAAAAAAAAAAECAwQABRESEyIjMUGh/9oACAEBAAE/AGbRNc7km5Sn+cYkBb6usAfcHxSrbC2OyFbe6//EABcRAAMBAAAAAAAAAAAAAAAAAAABAzH/2gAIAQIBAT8AV6Naf//EABURAQEAAAAAAAAAAAAAAAAAAAEA/9oACAEDAQE/AAL/2Q=='%3E%3C/image%3E%3C/svg%3E)
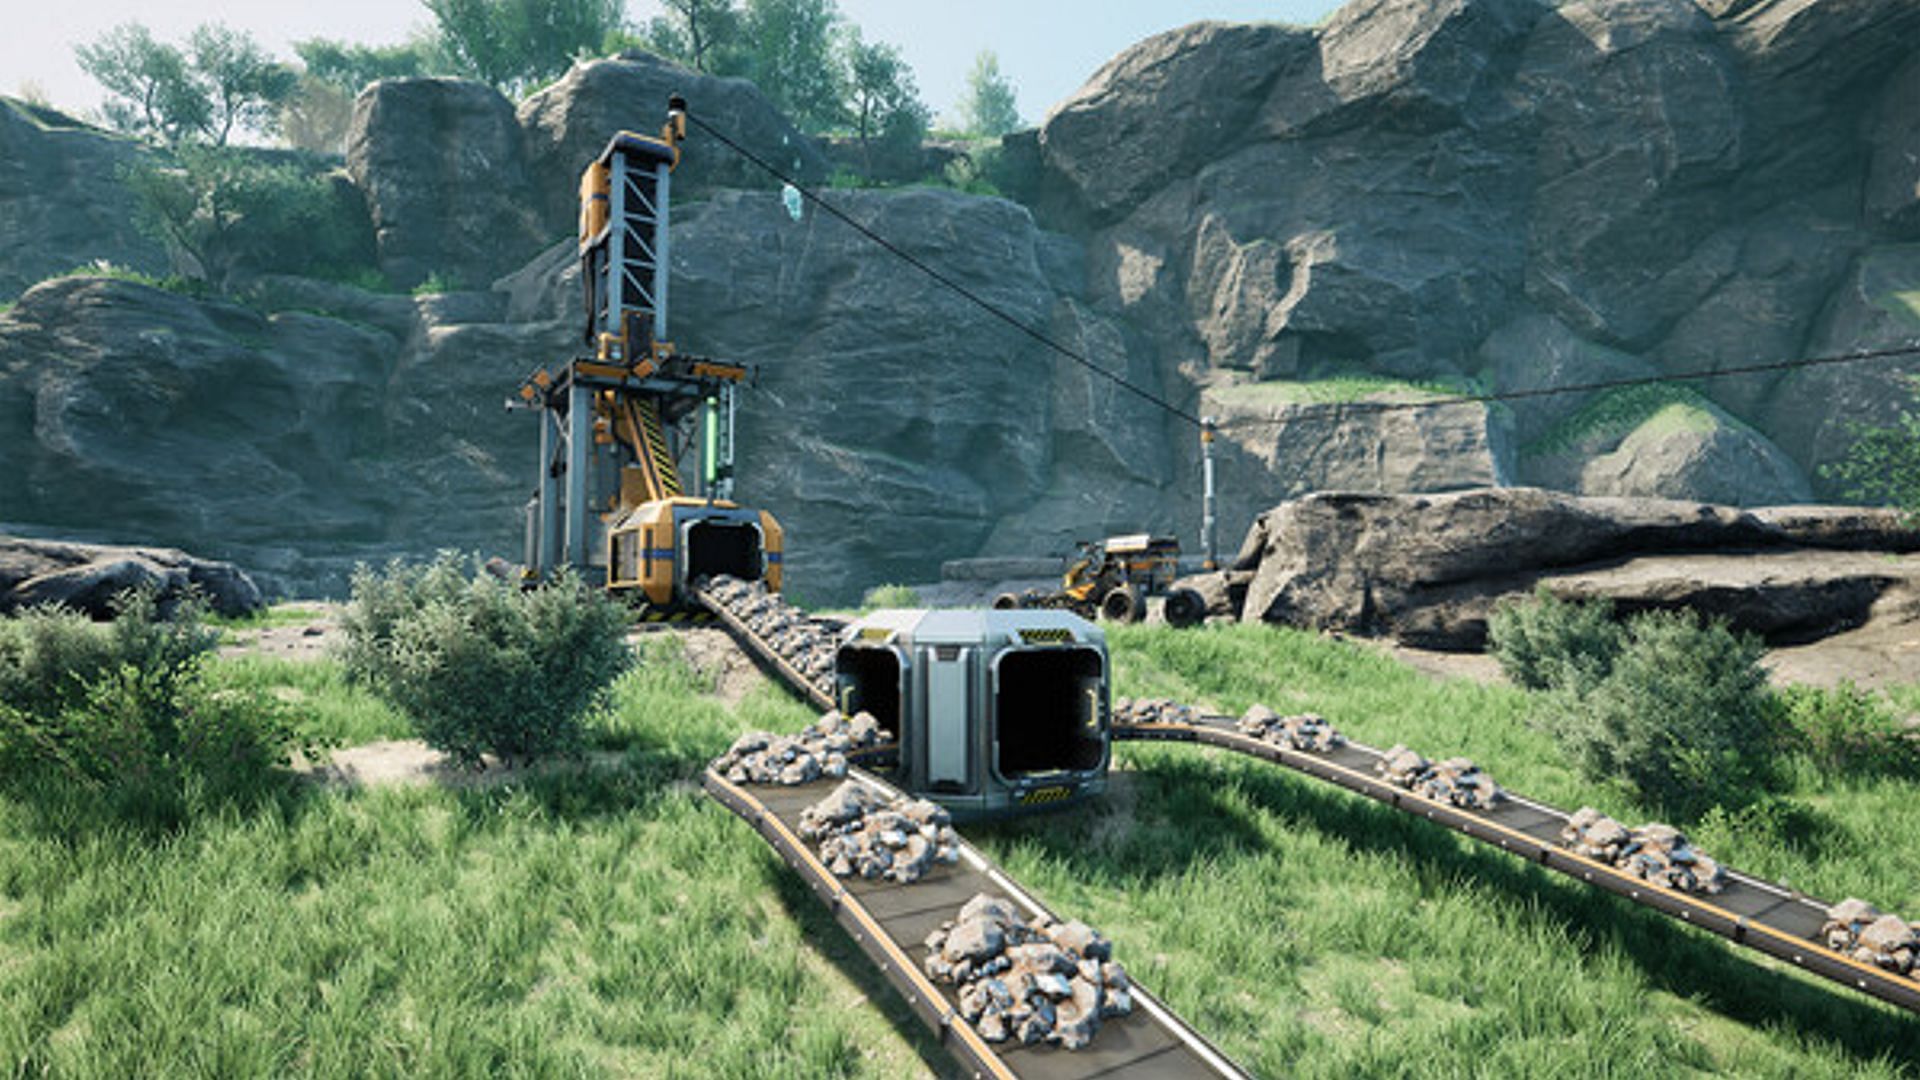
There are several hard drive locations scattered around Satisfactory's world, which you can explore to uncover hidden blueprints. These blueprints can then be used to build fancy structures, boosting your quest to build the factory of your dreams. However, do note that in order to build said structures, you also need to farm the required resources alongside the blueprints.
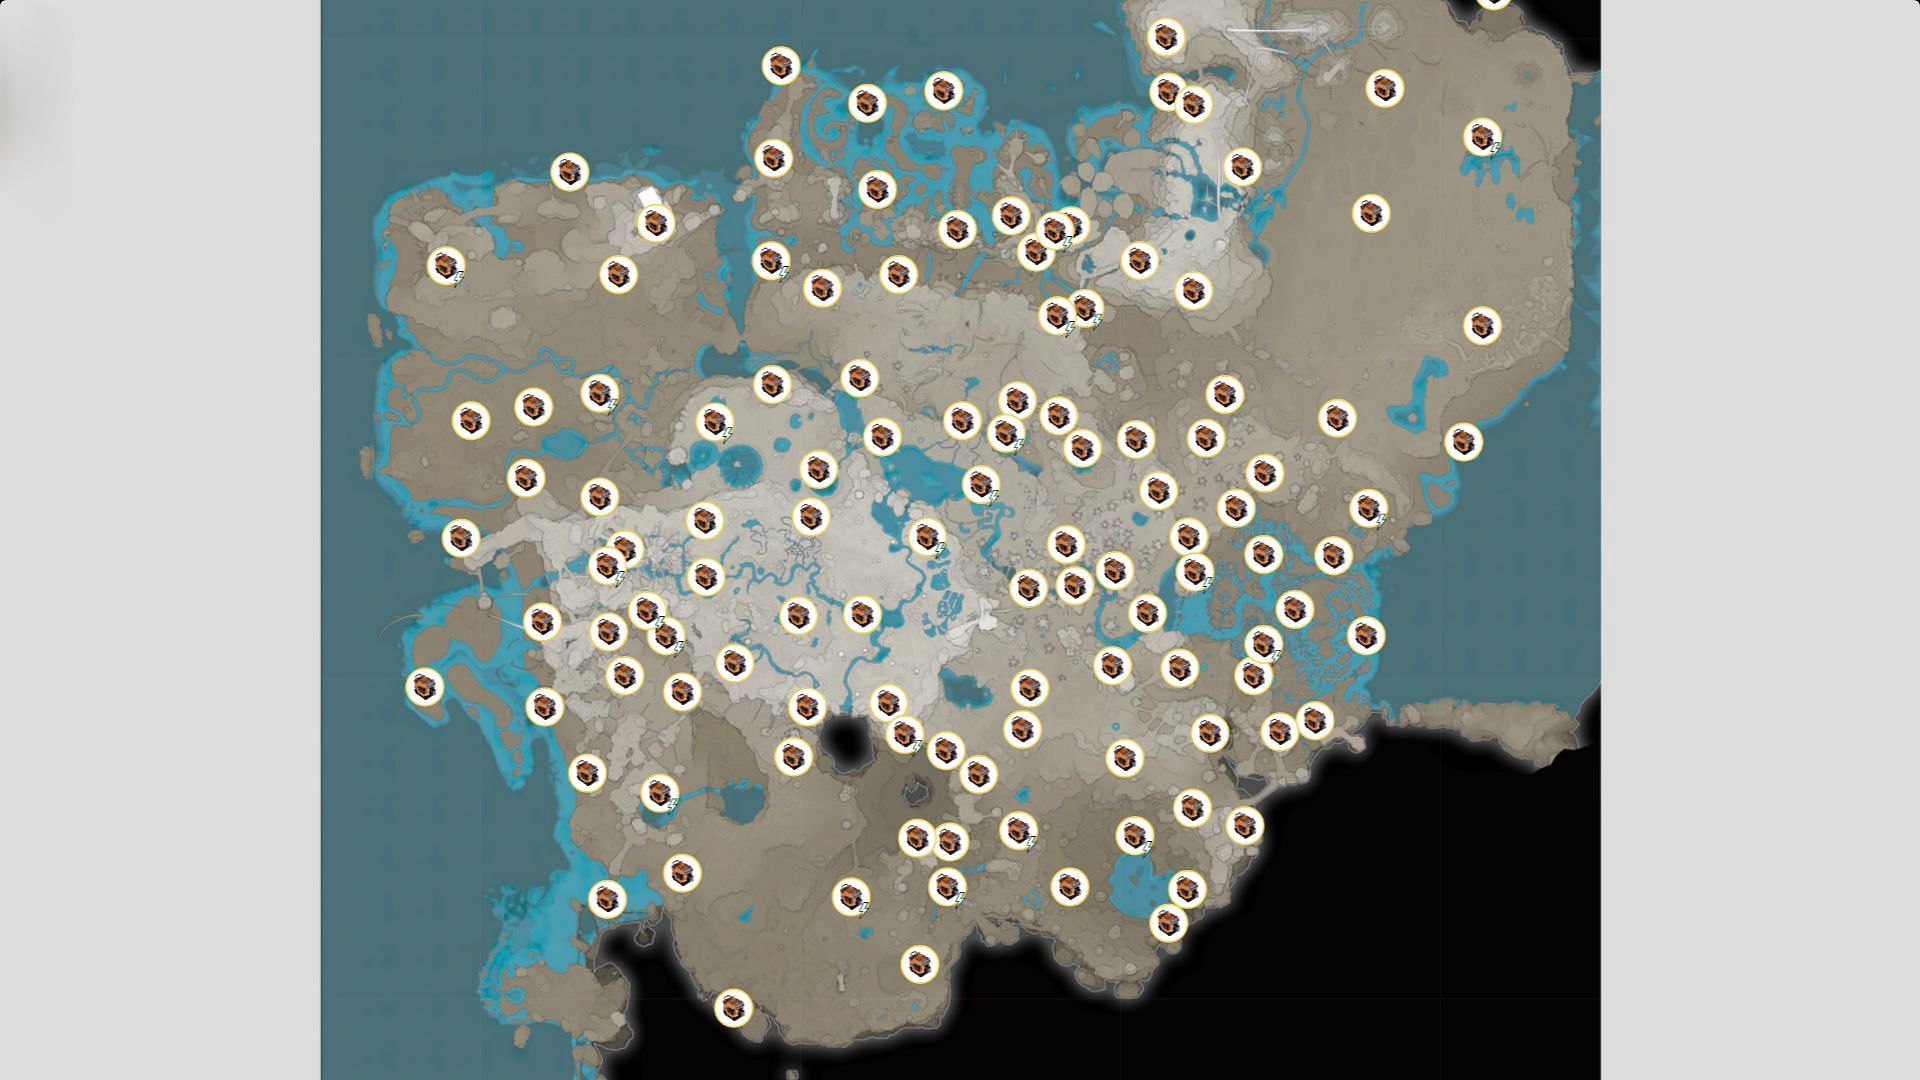
Nevertheless, when searching for hidden blueprints in Satisfactory, you have to be on the lookout for crash sites that contain these hard drives. This article will cover the location of all Hard Drives in Satisfactory so that you can spend more time planning your dream factory instead of grinding for it.
Satisfactory Abyss Cliffs all Hard Drive locations
Looking for Crossword hints & solutions? Check out latest NYT Mini Crossword Answers, LA Times Crossword Answers, and Atlantic Crossword Answers
1) First Hard Drive
- Position: 226,418 / 98,110
- Height: 73m
2) Second Hard Drive
- Position: 261,798 / 124,617
- Height: -26m
3) Third Hard Drive
- Position: 241,532 / 131,343
- Height: 172m
4) Fourth Hard Drive
- Position: 200,510 / 131,912
- Height: 63m
5) Fifth Hard Drive
- Position: 221,070 / 185,915
- Height: 116m
Satisfactory Blue Crater Area all Hard Drive locations
1) First Hard Drive
- Position: 118,350 / 221,905
- Height: -71m
2) Second Hard Drive
- Position: 156,570 / 191,768
- Height: -93m
3) Third Hard Drive
- Position: 176,423 / 243,274
- Height: -98m
4) Fourth Hard Drive
- Position: 187,056 / 223,657
- Height: -32m
5) Fifth Hard Drive
- Position: 190,459 / 176,105
- Height: 115m
Satisfactory Crater Lakes Area all Hard Drive locations
1) First Hard Drive
- Position: -89,284 / -50,630
- Height: 160m
2) Second Hard Drive
- Position: -56,144 / -72,864
- Height: 277m
3) Third Hard Drive
- Position: -29,069 / -22,640
- Height: 174m
Satisfactory Desert Canyons Area all Hard Drive locations
1) First Hard Drive
- Position: 125,497 / -34,949
- Height: 82m
2) Second Hard Drive
- Position: 157,250 / -40,206
- Height: 137m
3) Third Hard Drive
- Position: 198,418 / -41,186
- Height: 138m
4) Fourth Hard Drive
- Position: 209,272 / -66,917
- Height: 140m
Satisfactory Dune Desert Area all Hard Drive locations
1) First Hard Drive
- Position: 366,637 / -303,549
- Height: -73m
2) Second Hard Drive
- Position: 303,169 / -246,169
- Height: 55m
3) Third Hard Drive
- Position: 360,285 / -217,559
- Height: 39m
4) Fourth Hard Drive
- Position: 295,167 / -173,140
- Height: 81m
5) Fifth Hard Drive
- Position: 360,115 / -106,614
- Height: 118m
6) Sixth Hard Drive
- Position: 275,070 / -52,585
- Height: 60m
7) Seventh Hard Drive
- Position: 349,295 / -38,832
- Height: -15m
Satisfactory Eastern Dune Forest Area all Hard Drive locations
1) First Hard Drive
- Position: 12,250 / 114,177
- Height: 267m
2) Second Hard Drive
- Position: 21,373 / 132,336
- Height: 25m
3) Third Hard Drive
- Position: 46,048 / 141,933
- Height: 131m
4) Fourth Hard Drive
- Position: 64,697 / 156,039
- Height: 141m
5) Fifth Hard Drive
- Position: 90,314 / 129,584
- Height: 91m
6) Sixth Hard Drive
- Position: 94,940 / 105,483
- Height: 99m
7) Seventh Hard Drive #31
- Position: 143,672 / 92,573
- Height: 250m
8) Eighth Hard Drive
- Position: 150,634 / 146,699
- Height: 77m
9) Ninth Hard Drive
- Position: 182,825 / 93,880
- Height: 178m
Satisfactory Grass Fields Area all Hard Drive locations
1) First Hard Drive
- Position: -152,279 / 229,520
- Height: 11m
2) Second Hard Drive
- Position: -108,813 / 214,051
- Height: 32m
3) Third Hard Drive
- Position: -78,884 / 292,640
- Height: -48m
4) Fourth Hard Drive
- Position: -9,988 / 227,626
- Height: -10m
5) Fifth Hard Drive
- Position: 30,384 / 266,976
- Height: -10m
Satisfactory Lake Forest Area all Hard Drive locations
1) First Hard Drive
- Position: 8,680 / -41,778
- Height: 131m
2) Second Hard Drive
- Position: 55,248 / -51,316
- Height: 144m
3) Third Hard Drive
- Position: 66,652 / -13,642
- Height: 134m
4) Fourth Hard Drive
- Position: 80,980 / -44,100
- Height: 83m
Satisfactory Jungle Spires Area all Hard Drive locations
1) First Hard Drive
- Position: -190,866 / 66,921
- Height: 238m
2) Second Hard Drive
- Position: -164,591 / 155,611
- Height: 124m
3) Third Hard Drive
- Position: -151,842 / 72,468
- Height: 99m
4) Fourth Hard Drive
- Position: -142,173 / 97,937
- Height: 185m
5) Fifth Hard Drive
- Position: -108,774 / 107,811
- Height: 102m
Satisfactory Northern Forest Area all Hard Drive locations
1) First Hard Drive
- Position: -56,988 / -144,928
- Height: 22m
2) Second Hard Drive
- Position: -26,327 / -129,047
- Height: 78m
3) Third Hard Drive
- Position: -4,707 / -76,302
- Height: 136m
4) Fourth Hard Drive
- Position: 17,808 / -136,923
- Height: 136m
5) Fifth Hard Drive
- Position: 87,740 / -62,975
- Height: 134m
6) Sixth Hard Drive
- Position: 111,479 / -54,515
- Height: 171m
Satisfactory Red Bamboo Fields Area all Hard Drive locations
1) First Hard Drive
- Posiition: -95,228 / 6,971
- Height: 251m
2) Second Hard Drive
- Position: -33,340 / 5,176
- Height: 235m
3) Third Hard Drive
- Position: -3,512 / 62,315
- Height: 221m
4) Fourth Hard Drive
- Position: 35,096 / 16,492
- Height: 227m
Satisfactory Red Jungle Area all Hard Drive locations
1) First Hard Drive
- Position: -152,677 / 33,865
- Height: 193m
2) Second Hard Drive
- Position: -142 / 23,970
- Height: 327m
3) Third Hard Drive
- Position: -129,115 / 60,165
- Height: 48m
4) Fourth Hard Drive
- Position: -118,481 / 74,930
- Height: 170m
5) Fifth Hard Drive
- Position: -94,709 / 40,338
- Height: 198m
6) Sixth Hard Drive
- Position: -78,236 / 90,857
- Height: 203m
7) Seventh Hard Drive
- Position: -40,194 / 62,957
- Height: 263m
Satisfactory Rocky Desert Area all Hard Drive locations
1) First Hard Drive
- Position: -174,495 / -197,135
- Height: -15m
2) Second Hard Drive
- Position: -146,044 / -137,135
- Height: 24m
3) Third Hard Drive
- Position: -123,677 / -167,107
- Height: 297m
4) Fourth Hard Drive
- Position: -247,304 / -142,348
- Height: 45m
5) Fifth Hard Drive
- Position: -232,498 / -51,432
- Height: -4m
6) Sixth Hard Drive
- Position: -195,756 / -59,210
- Height: -1m
7) Seventh Hard Drive
- Position: -157,080 / -67,028
- Height: 118m
8) Eighth Hard Drive
- Position: -200,203 / -17,767
- Height: 122m
9) Ninth Hard Drive
- Position: -157,078 / -6,313
- Height: 251m
Satisfactory Spire Coast Area all Hard Drive locations
1) First Hard Drive
- Position: -55,111 / -204,858
- Height: 78m
2) Second Hard Drive
- Position: -50,656 / -259,272
- Height: -17m
3) Third Hard Drive
- Position: -136 / -237,257
- Height: -18m
4) Fourth Hard Drive
- Position: 5,302 / -187,091
- Height: -16m
5) Fifth Hard Drive
- Position: 44,579 / -244,344
- Height: -9m
6) Sixth Hard Drive
- Position: 52,687 / -163,605
- Height: 154m
7) Seventh Hard Drive
- Position: 84,256 / -171,123
- Height: -3m
8) Eighth Hard Drive
- Position: 98,306 / -149,782
- Height: 26m
Satisfactory Southern Forest Area all Hard Drive locations
1) First Hard Drive
- Position: 28,696 / 193,441
- Height: 175m
2) Second Hard Drive
- Position: 46,952 / 221,859
- Height: 59m
3) Third Hard Drive
- Position: 47,767 / 195,703
- Height: 29m
4) Fourth Hard Drive
- Position: 88,324 / 188,914
- Height: 14m
Satisfactory Spire Coast Mountains all Hard Drive locations
1) First Hard Drive
- Position: 236,508 / -312,236
- Height: 100m
2) Second Hard Drive
- Position: 174,948 / -276,436
- Height: 212m
3) Third Hard Drive
- Position: 176,245 / -243.985
- Height: 72m
4) Fourth Hard Drive
- Position: 190,785 / -236,810
- Height: 231m
5) Fifth Hard Drive
- Position: 219,146 / -199,880
- Height: 65m
6) Sixth Hard Drive
- Position: 119,339 / -165,711
- Height: -2m
7) Seventh Hard Drive
- Position: 109,775 / -162,730
- Height: 156m
8) Eighth Hard Drive
- Position: 159,088 / -145,116
- Height: 232m
9) Ninth Hard Drive
- Position: 190,865 / -127,670
- Height: 160m
10) Tenth Hard Drive
- Position: 127,216 / -116,867
- Height: -14m
Satisfactory Swamp Area all Hard Drive locations
1) First Hard Drive
- Position: 232,516 / -20,519
- Height: 90m
2) Second Hard Drive
- Position: 293,299 / 52
- Height: 5m
3) Third Hard Drive
- Position: 216,097 / -268
- Height: -16m
4) Fourth Hard Drive
- Position: 232,138 / 27,191
- Height: -16m
5) Fifth Hard Drive
- Position: 272,715 / 28,088
- Height: -16m
6) Sixth Hard Drive
- Position: 249,920 / 59,534
- Height: 24m
7) Seventh Hard Drive
- Position: 291,822 / 74,782
- Height: -16m
8) Eighth Hard Drive
- Position: 232,255 / 79,926
- Height: -13m
Satisfactory Titan Forest Area all Hard Drive locations
1) First Hard Drive
- Position: 94,267 / 47,237
- Height: 94m
2) Second Hard Drive
- Position: 115,978 / 21,424
- Height: 155m
3) Third Hard Drive
- Position: 121,061 / 45,324
- Height: 174m
4) Fourth Hard Drive
- Position: 144,457 / 36,294
- Height: 173m
5) Fifth Hard Drive
- Position: 163,999 / 61,333
- Height: 215m
6) Sixth Hard Drive
- Position: 170,058 / -10,580
- Height: 188m
7) Seventh Hard Drive
- Position: 188,304 / -17,056
- Height: 129m
8) Eighth Hard Drive
- Position: 191,366 / 37,694
- Height: 57m
Satisfactory Western Beaches Area all Hard Drive locations
1) First Hard Drive
- Position: -259,577 / 105,049
- Height: -15m
2) Second Hard Drive
- Position: -238,334 / 17,322
- Height: 197m
3) Third Hard Drive
- Position: -189,258 / 116,331
- Height: -18m
Satisfactory Western Dune Forest & Snaketree Forest Area all Hard Drive locations
1) First Hard Drive
- Position: -121,994 / 166,916
- Height: 0m
2) Second Hard Drive
- Position: -43,144 / 145,820
- Height: 75m
3) Third Hard Drive
- Position: -35,360 / 116,594
- Height: 218m
Conclusion
That is all you need to know about the Hard Drives obtainable in Satisfactory. We hope this guide will make your journey a little easier, as you build the factory of your dreams.

Are you stuck on today's Wordle? Our Wordle Solver will help you find the answer.