
'%20x='0'%20y='0'%20height='100%25'%20width='100%25'%20%0A%20%20%20%20%20%20%20%20%20%20xlink%3Ahref='data:image/jpg;base64,/9j/2wBDAAYEBQYFBAYGBQYHBwYIChAKCgkJChQODwwQFxQYGBcUFhYaHSUfGhsjHBYWICwgIyYnKSopGR8tMC0oMCUoKSj/2wBDAQcHBwoIChMKChMoGhYaKCgoKCgoKCgoKCgoKCgoKCgoKCgoKCgoKCgoKCgoKCgoKCgoKCgoKCgoKCgoKCgoKCj/wgARCAAGAAoDASIAAhEBAxEB/8QAFgABAQEAAAAAAAAAAAAAAAAAAAQF/8QAFQEBAQAAAAAAAAAAAAAAAAAAAQX/2gAMAwEAAhADEAAAAMKQmH//xAAdEAABBQADAQAAAAAAAAAAAAABAgMEBRIAE0Ex/9oACAEBAAE/AIF1YXcGTIct5W4LQc0qM3opB+Aj0ni65by1OuWdmVrOlHv9PP/EABcRAAMBAAAAAAAAAAAAAAAAAAADIQT/2gAIAQIBAT8AdoZKf//EABYRAQEBAAAAAAAAAAAAAAAAAAEAAv/aAAgBAwEBPwAyX//Z'%3E%3C/image%3E%3C/svg%3E)
If you're looking for a complete mission walkthrough of Atomfall, you're in the right place. Atomfall is an action-survival game inspired by real-life events. It takes place five years after the Windscale disaster but is set in a fictional world. As expected, the game has objectives you must fulfill to complete it.
Unlike traditional games, Atomfall doesn’t have predefined objectives. You need to investigate, gather clues, and piece together the full story. The game features six different endings, and in this walkthrough, we’ll cover the simplest one — achieved by following the random telephone caller.
Note: Atomfall has multiple endings. This article follows the Telephone Caller storyline. To learn about other endings, click here.
Looking for Crossword hints & solutions? Check out latest NYT Mini Crossword Answers, LA Times Crossword Answers, and Atlantic Crossword Answers
Atomfall main story complete walkthrough
All Atomfall endings are tied to a different character: the Unknown Telephone Caller, Captain Sims, Dr. Garrow, Dr. Alan Holder, Joyce Tanner, and Mother Jago. If you want the most complete storyline experience, it’s best to follow Dr. Garrow and Dr. Alan Holder’s paths.
In this walkthrough, we will follow the Unknown Telephone Caller’s approach. He is a shadowy figure who knows your every move, who you talk to, and where you go. His only advice: trust no one besides him.
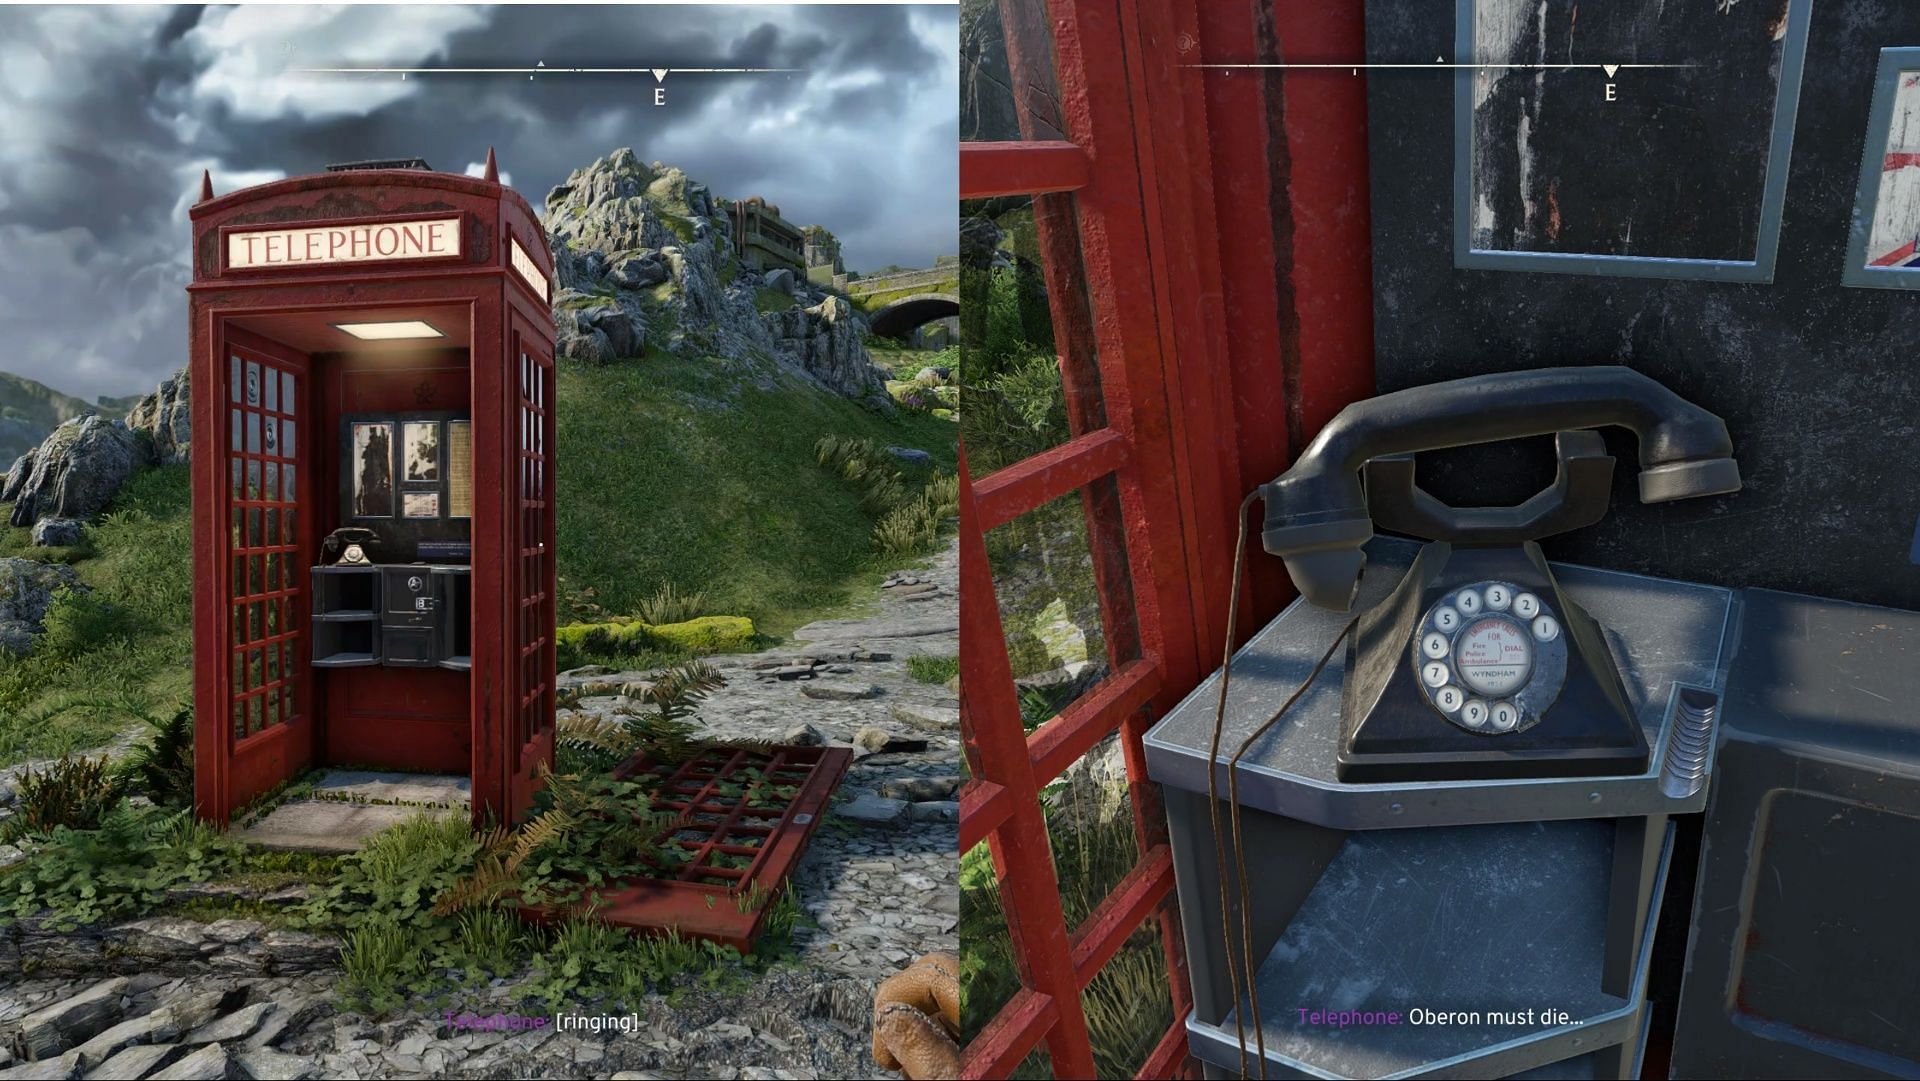
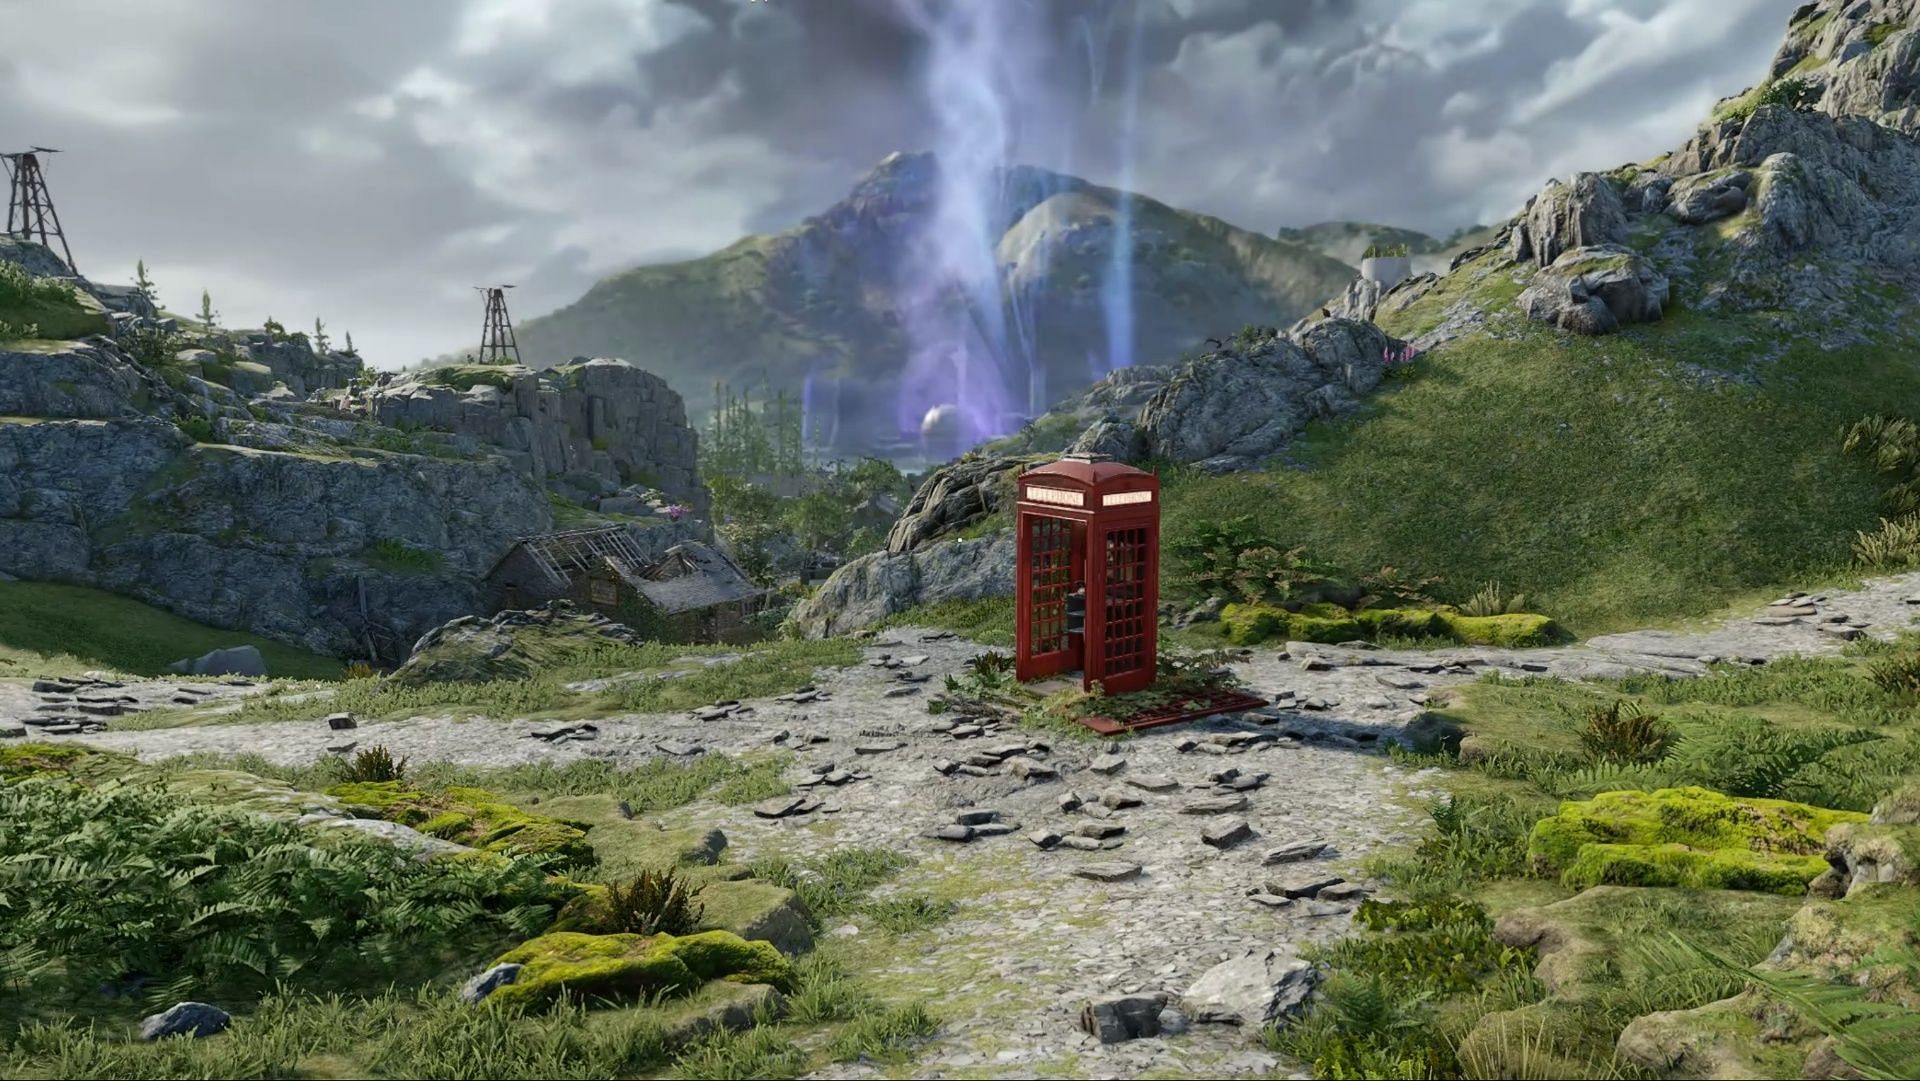
Upon exiting the Derelict Bunker and stepping into Slatten Dale, a red telephone booth in front of you will ring. Answering it introduces you to the mysterious caller, who cryptically states, “Oberon must die.” This sets the stage for your objective.
The approach is straightforward. Your only tasks are to enter the Interchange, activate it, open the entrance to the Windscale Plant, and ultimately destroy Oberon.
Step 1: Entering the Interchange
Your first objective is to reach the Interchange. Head to coordinates 26.5 E, 79.0 N in Slatten Dale. Once inside, unlock the massive door using the modified keycard and proceed to the Central Processing Center room.
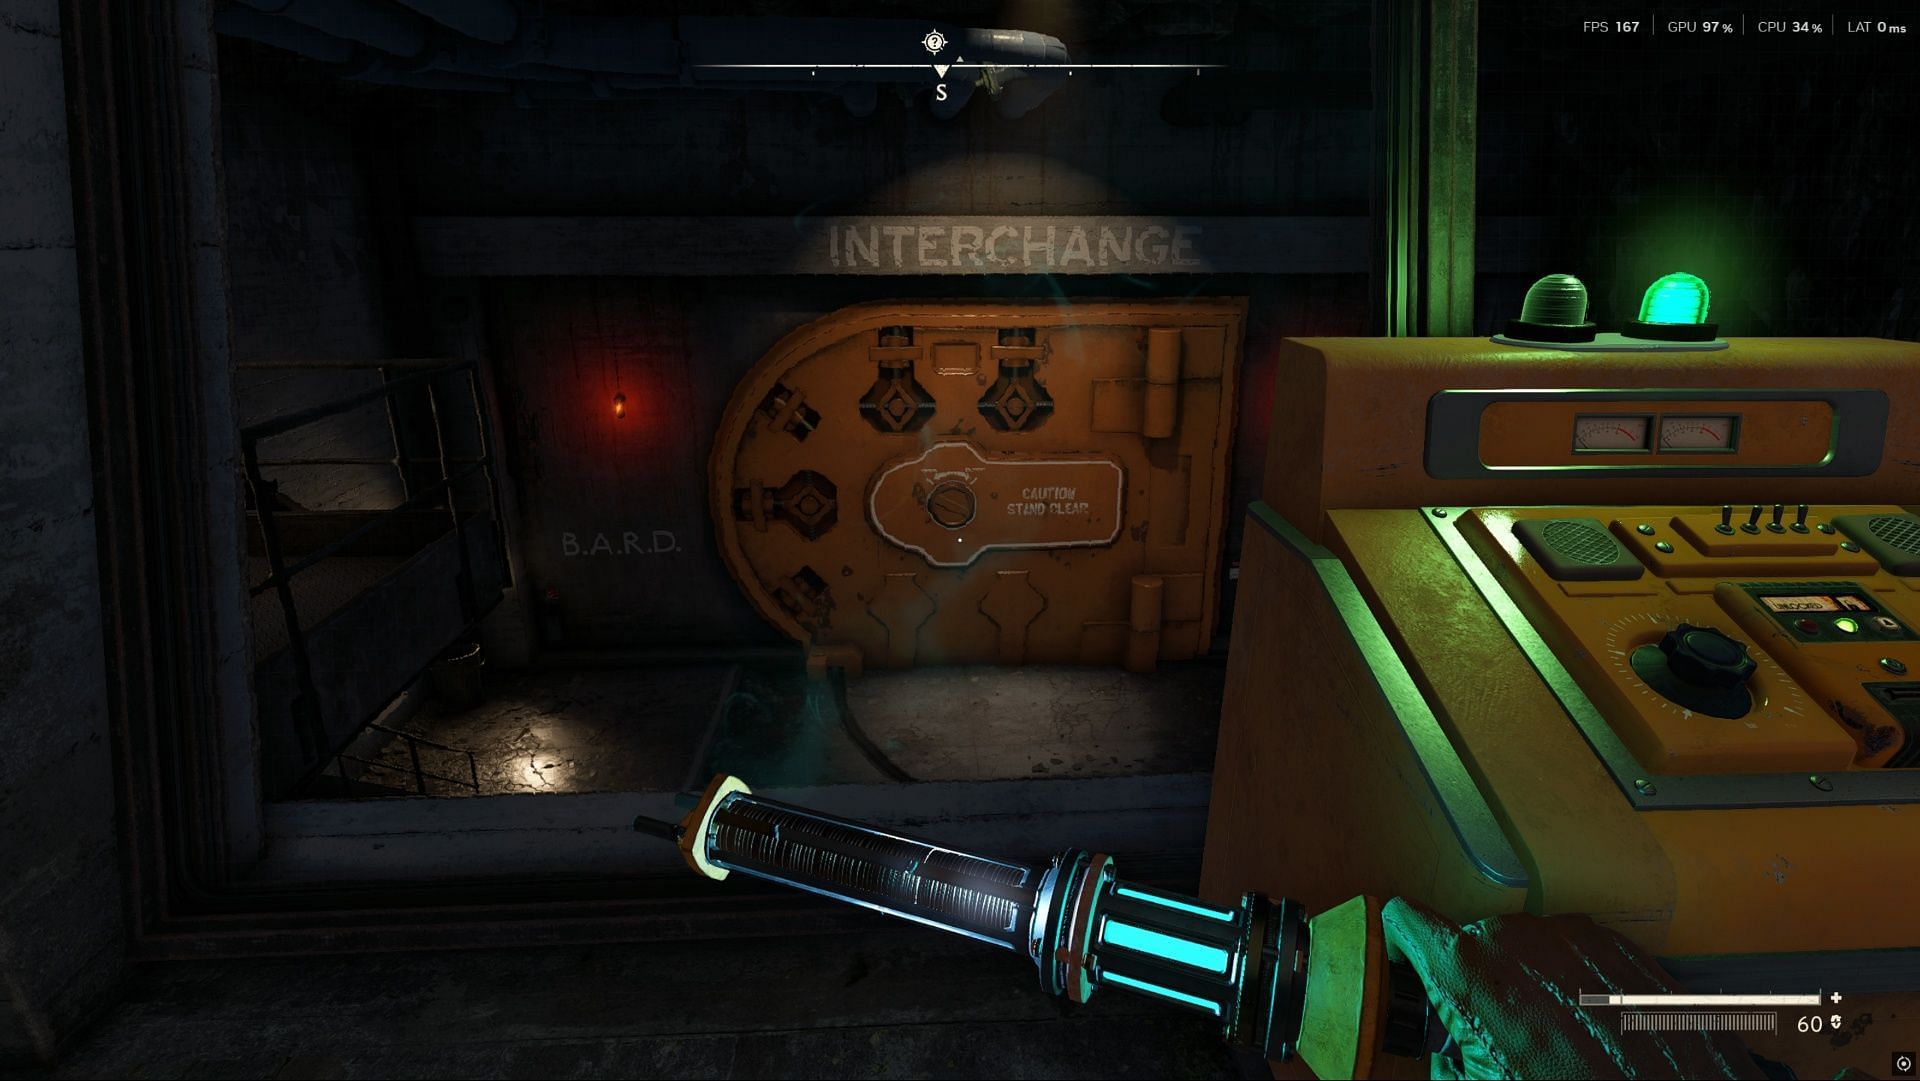
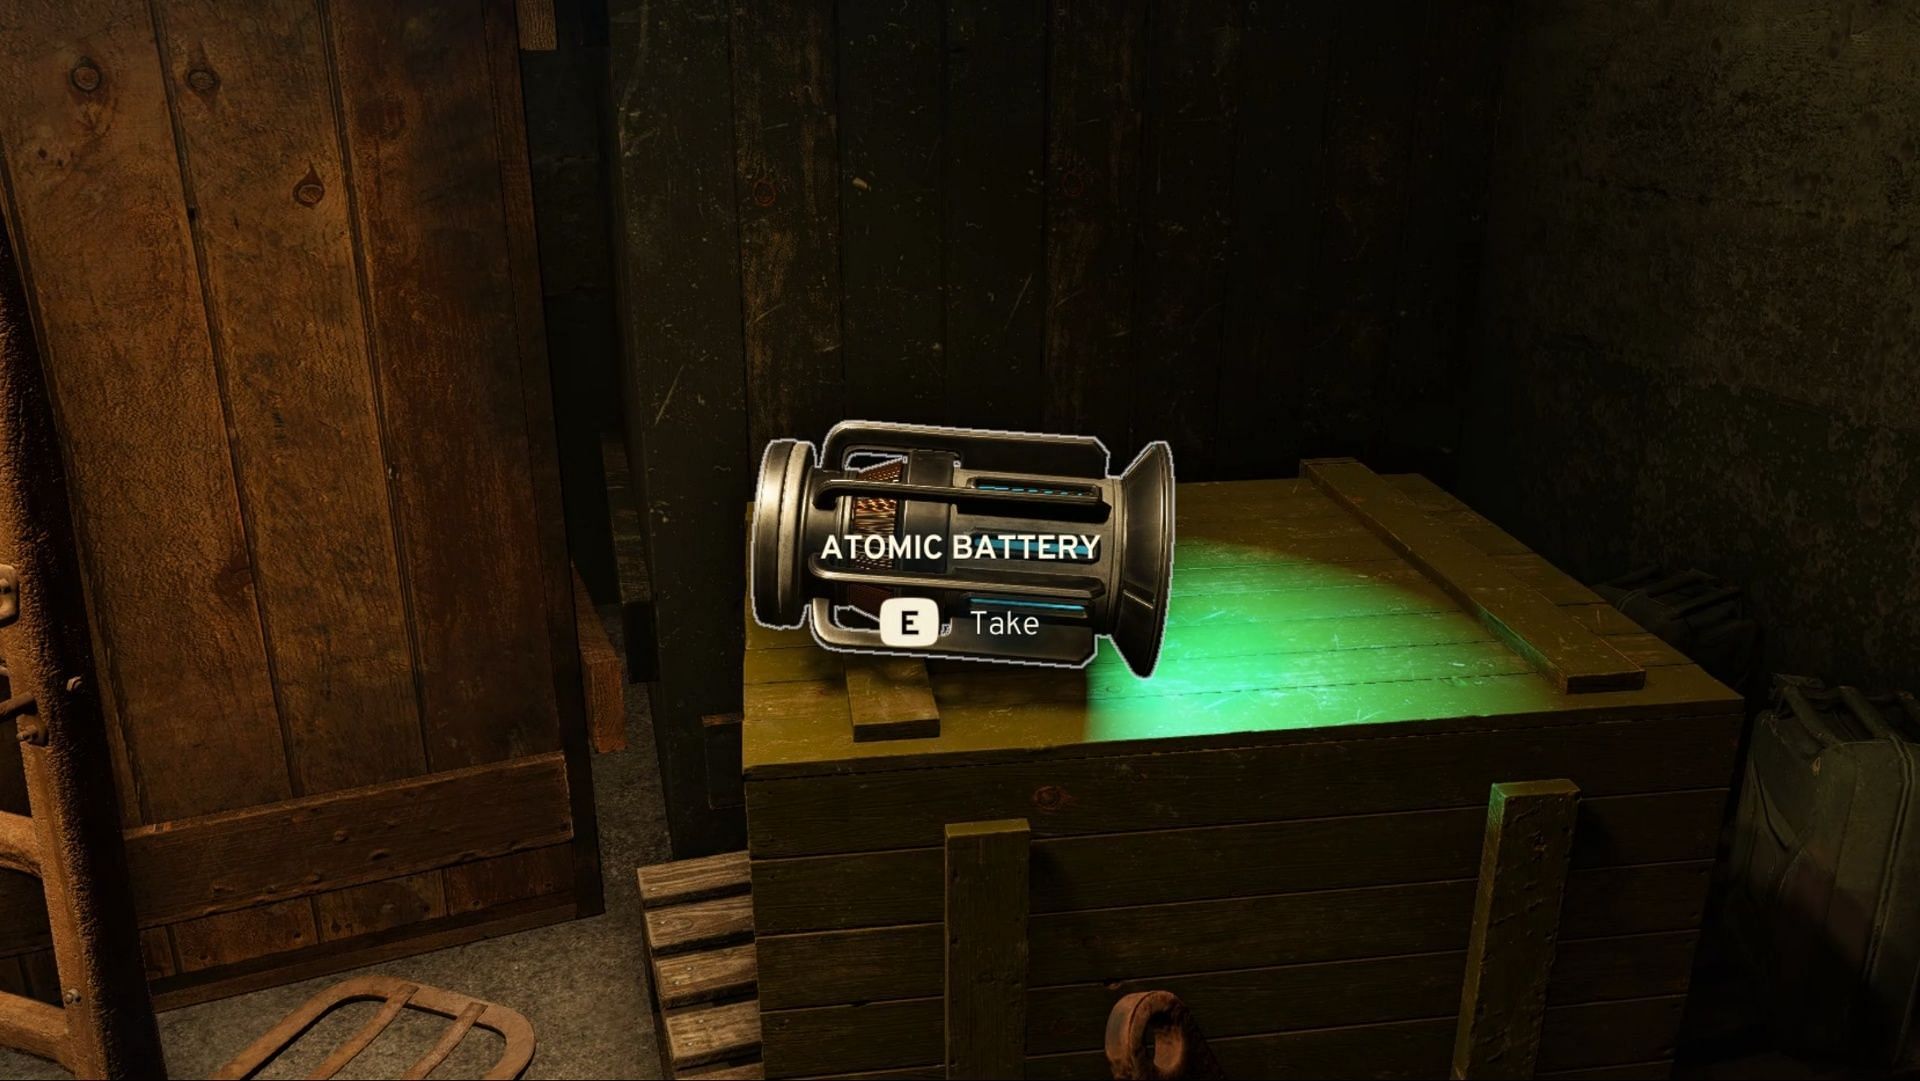
To activate the Interchange’s bootstrap system, locate a dead person in Hazmat nearby. Beside the body, you’ll find an Atomic Battery, collect it and insert it into the console to power up the system.
At this point, all data centers will be offline. Your next objective is to restore power to them.
Step 2: Powering up the Data Centers
Each region has an entrance to the Interchange:
- Slatten Dale: 31.0 E, 77.8 N
- Wyndham Village: 33.8 E, 78.3 N
- Skethermoor: 39.6 E, 73.1 N
- Casterfell Woods: 27.6 E, 83.6 N
There are four data centers (Alpha, Bravo, Charlie, and Delta) — each requiring an Atomic Battery to function. You’ll need to gather at least four.
Before proceeding, it’s highly recommended to acquire the Signal Redirector, which will be crucial later.
Signal Redirector Location
The Signal Redirector can be found in two places:
- Skethermoor Prison
- A Windfall Crate
The easiest method to obtain it without combat is by cooperating with Captain Sims in Wyndham Village.
- Head to the Village Hall and speak with him.
- Gain his trust by investigating a murder at St. Katherine’s Church and reporting back.
- He will assign another task of retrieving information from Dr. Garrow at Skethermoor Prison.
- Once inside the prison, interact with Dr. Garrow and locate the Signal Redirector on a shelf in the Security Room.
Also read: Atomfall Wyndham Village Entrance mission walkthrough (Interchange chapter)
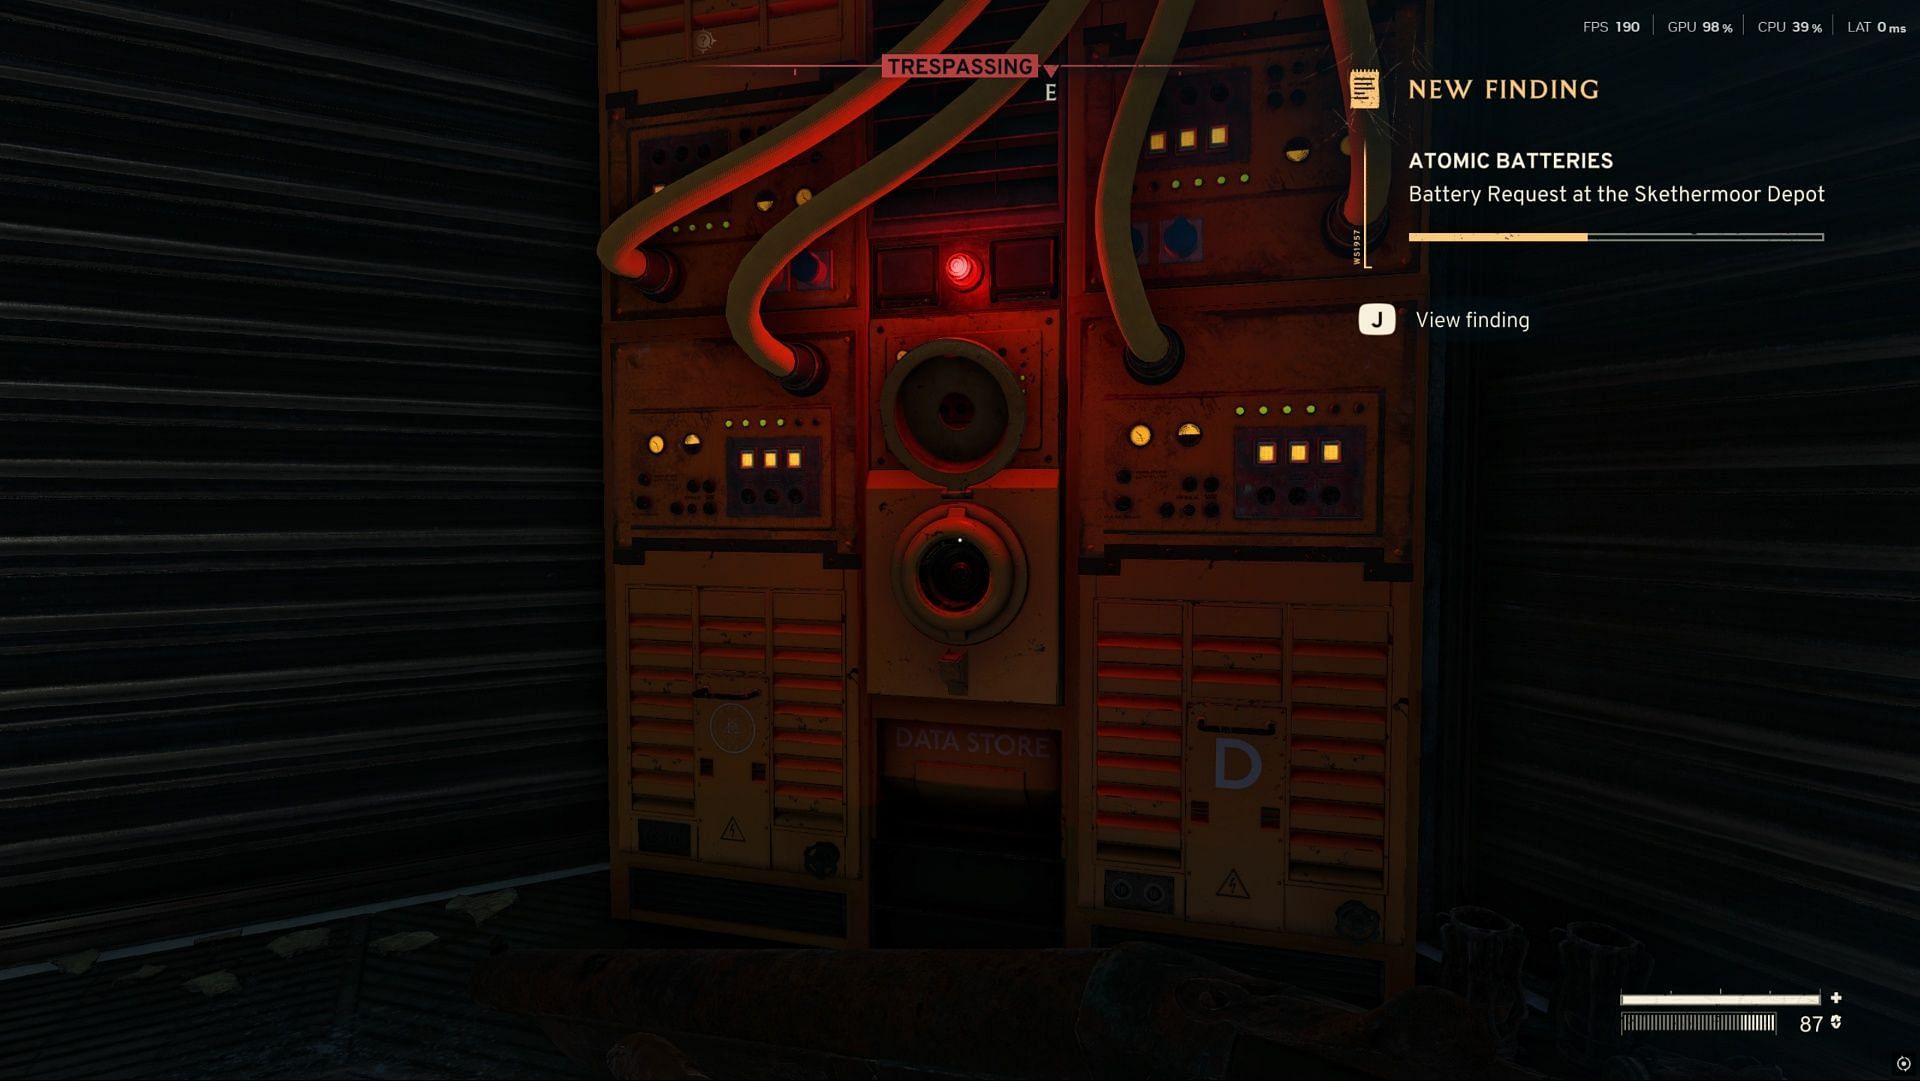
Step 3: Finding Atomic Batteries
Atomic Batteries are valuable and can be obtained in the following ways:
- From Robots – All robots in the game are powered by Atomic Batteries. Defeating them will yield one, but they are difficult to take down.
- Trader Molly (Slatten Dale) – Trade an Atomic Battery from her or kill her to loot from her body.
- Vicar at St. Katherine’s Church – Solve the murder mystery and receive a chest key as a reward. The chest on the upper floor contains an Atomic Battery. Alternatively, you can kill the Vicar and loot the key from his body.
- Skethermoor Region – Find a broken robot near Nora’s Camp (map coordinates: 41.2 E, 78.2 N). Retrieve the Atomic Battery from it.
- Nora (Skethermoor) – Trade with her or kill her to loot it from her body.
- Greenhouse Landmark (Vehicle Storage Bunker) – Inside, locate the Storage Room Keycard on a bunker bed. Use it to unlock the storage room located on the far right end of the bunker, where another Atomic Battery is stored.
Step 4: Restoring power to the data centers
Once you have four Atomic Batteries, return to the data centers and insert a battery into each console.
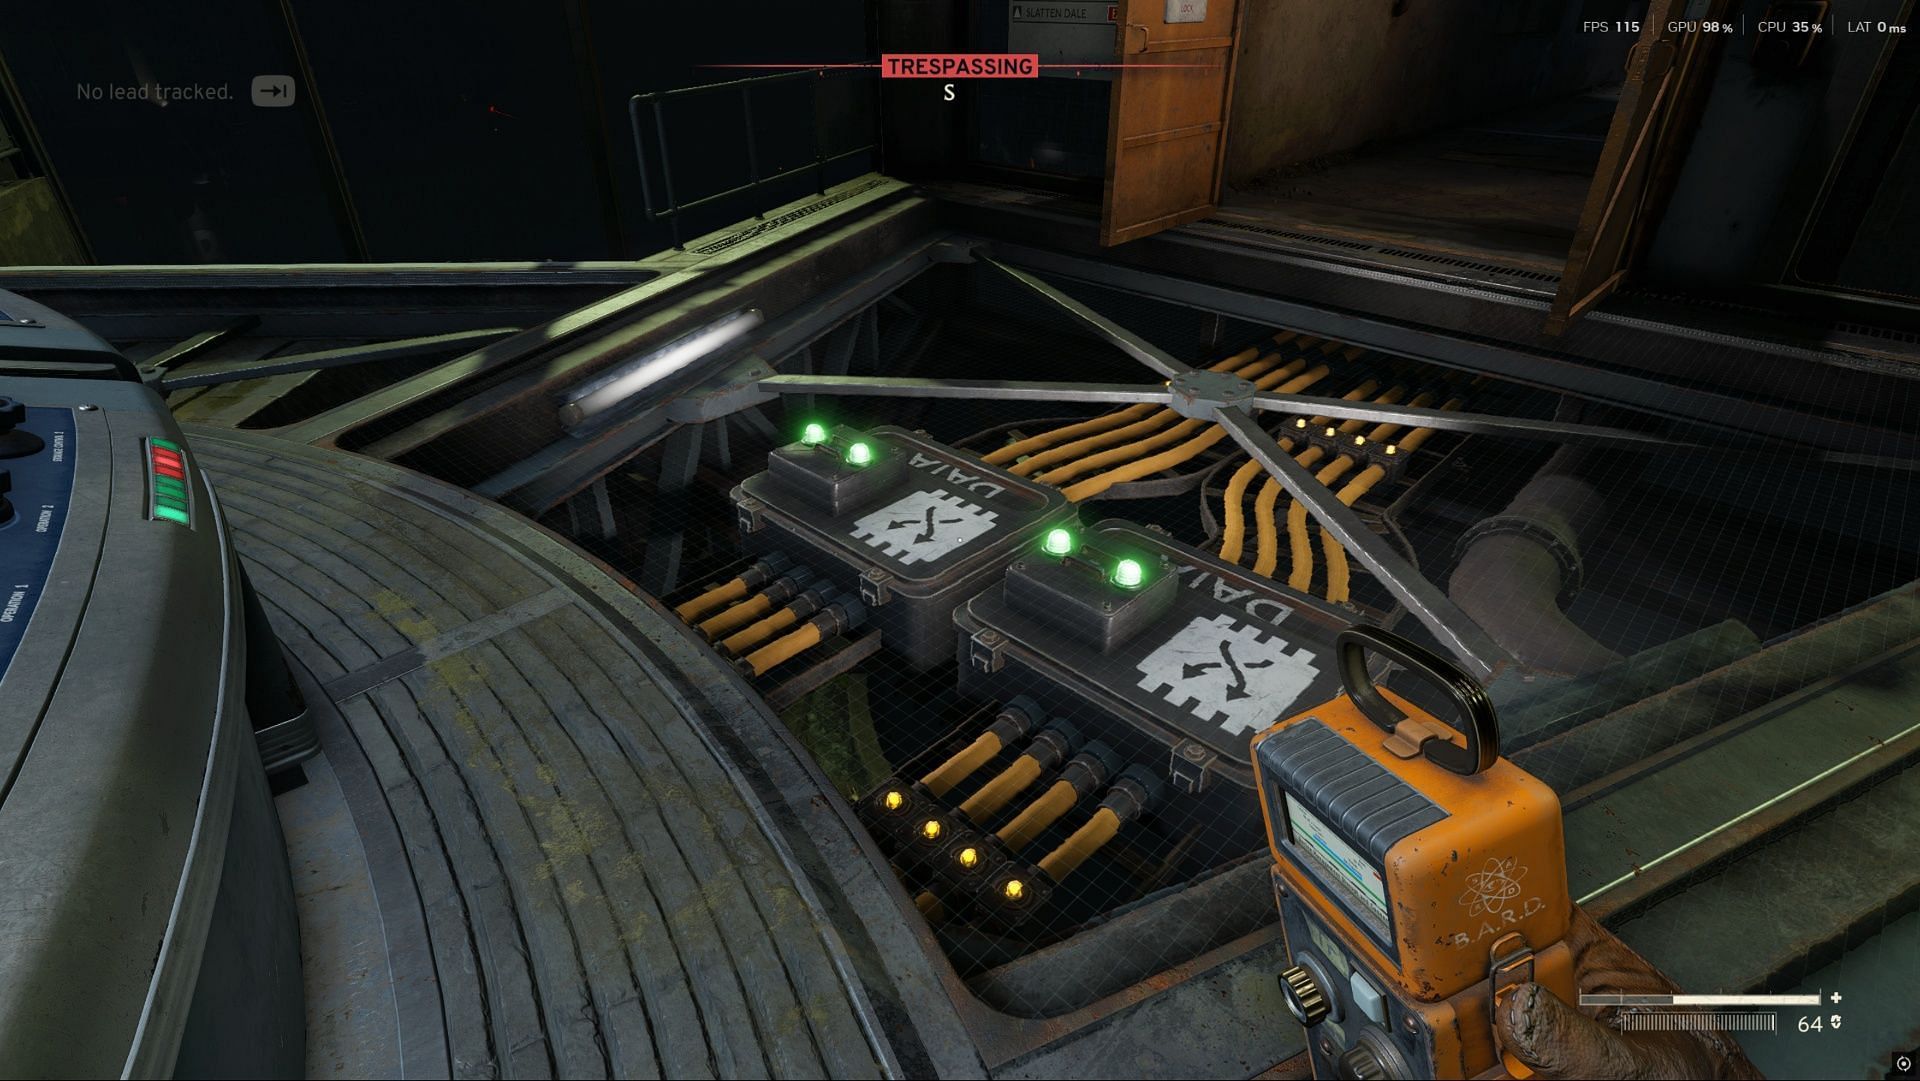
Now, head back to the Central Processing Center room. To activate the system, use the Signal Redirector to reroute power. Follow the power lines on the ground and redirect them to the Processing Center.
Once all four power lines are connected, pull the lever at the console to activate the unit. This will unlock the entrance to Windscale Plant.
Also read: Is Atomfall inspired by a real life event?
Step 5: Destroying Oberon
With the Windscale Plant now accessible, proceed inside. Be cautious — high exposure to a strange infection can be lethal.
Mitigating the Infection (Optional)
If you have helped Mother Jago, she will ask you to retrieve her book. Near it, you will also find a recipe for a Strange Tonic, which can counteract the infection. If you want to explore safely, complete her quest and visit Druid’s Castle in Casterfell Woods to collect the recipe.
Reaching the Dig Site
As you progress through the Windscale Plant, you’ll reach a door leading to the Oberon Dig Site. Enter and proceed carefully, as robots will be guarding the area.
- Locate the building on the left and make your way inside.
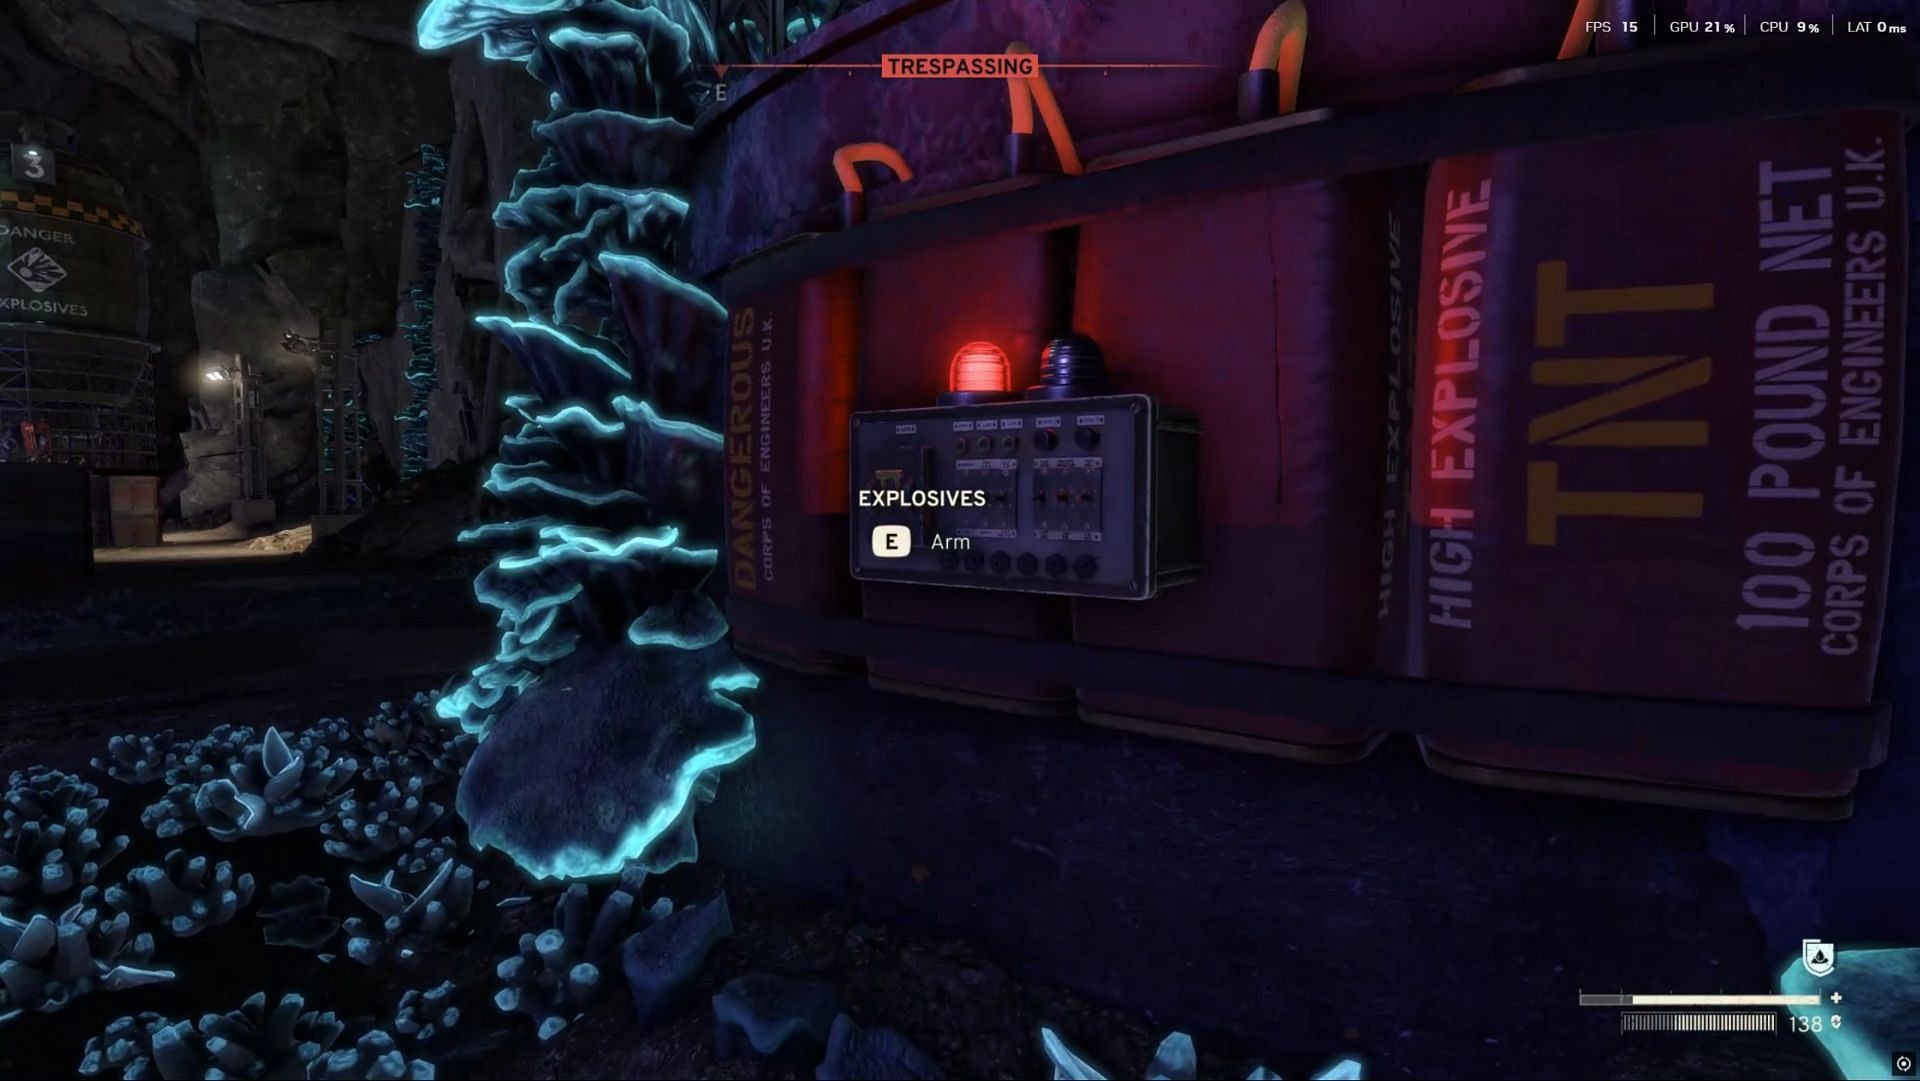
- At the Dig Site, find four explosives planted at different locations. Activate all four.
- Enter the control room inside the building and pull the self-destruct lever to destroy the Oberon Site.
Also read: Where to find all Garden Gnomes in Atomfall
Step 6: Returning to the Derelict Bunker
After destroying Oberon, the Telephone Caller will provide an escape route — return to the Derelict Bunker and go back to the room where you first woke up.
As you arrive, gas will be released, rendering you unconscious and marking the end of the mission
That covers everything there is to know about the ending in Atomfall.

Are you stuck on today's Wordle? Our Wordle Solver will help you find the answer.