

If you are looking to round out Act 2 in Baldur’s Gate 3 and learn the source of Ketheric Thorm’s immortality, you will be required to complete the Gauntlet of Shar. The quest starts off in a mausoleum located to the north of Reithwin in the Shadow-Cursed Lands, and while the quest is very much tied to Shadowheart’s progression, you might want to bring her along in the party if you are looking to experience her ending.
The Gauntlet of Shar is one of the more complicated quests to complete in BG3 because of the number of steps involved in rounding it out. It’s one of the longest missions in the campaign that you will be required to go through if you wish to complete Act 2 by defeating Ketheric Thorm.
Hence, today’s Baldur’s Gate 3 guide will go over some of the things that you will be required to do to complete the Gauntlet of Shar in the table-top RPG.
Looking for Crossword hints & solutions? Check out latest NYT Mini Crossword Answers, LA Times Crossword Answers, and Atlantic Crossword Answers
Completing the Gauntlet of Shar in Baldur’s Gate 3
To complete the Gauntlet of Shar in Baldur’s Gate 3, here is everything that you will need to do:
Open the entrance to the Gauntel of Shar in Baldur’s Gate 3
To start the Gauntlet of Shar questline in Baldur’s Gate 3, you will first be required to reach the share altars themselves. You can do this by opening the entrance to the mausoleum by passing a test.
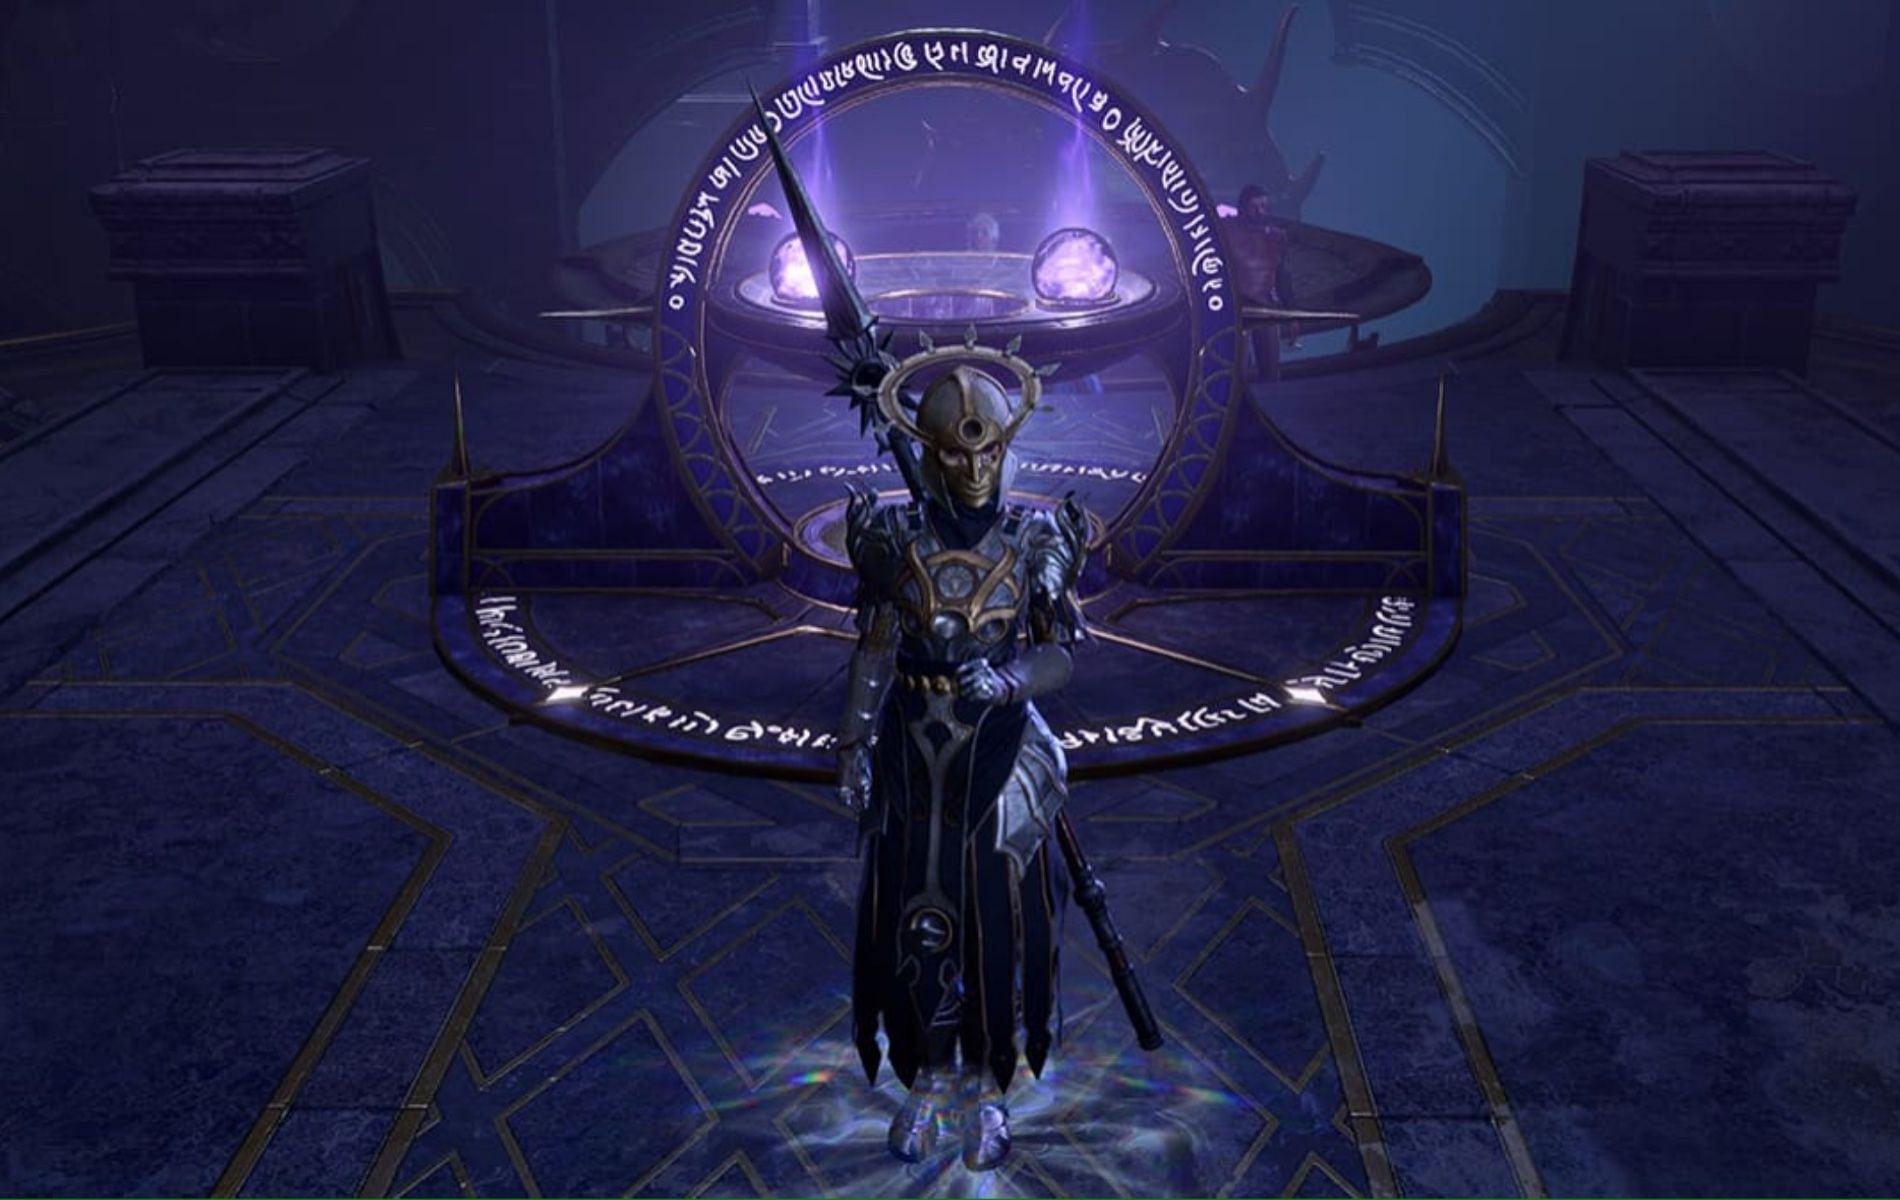
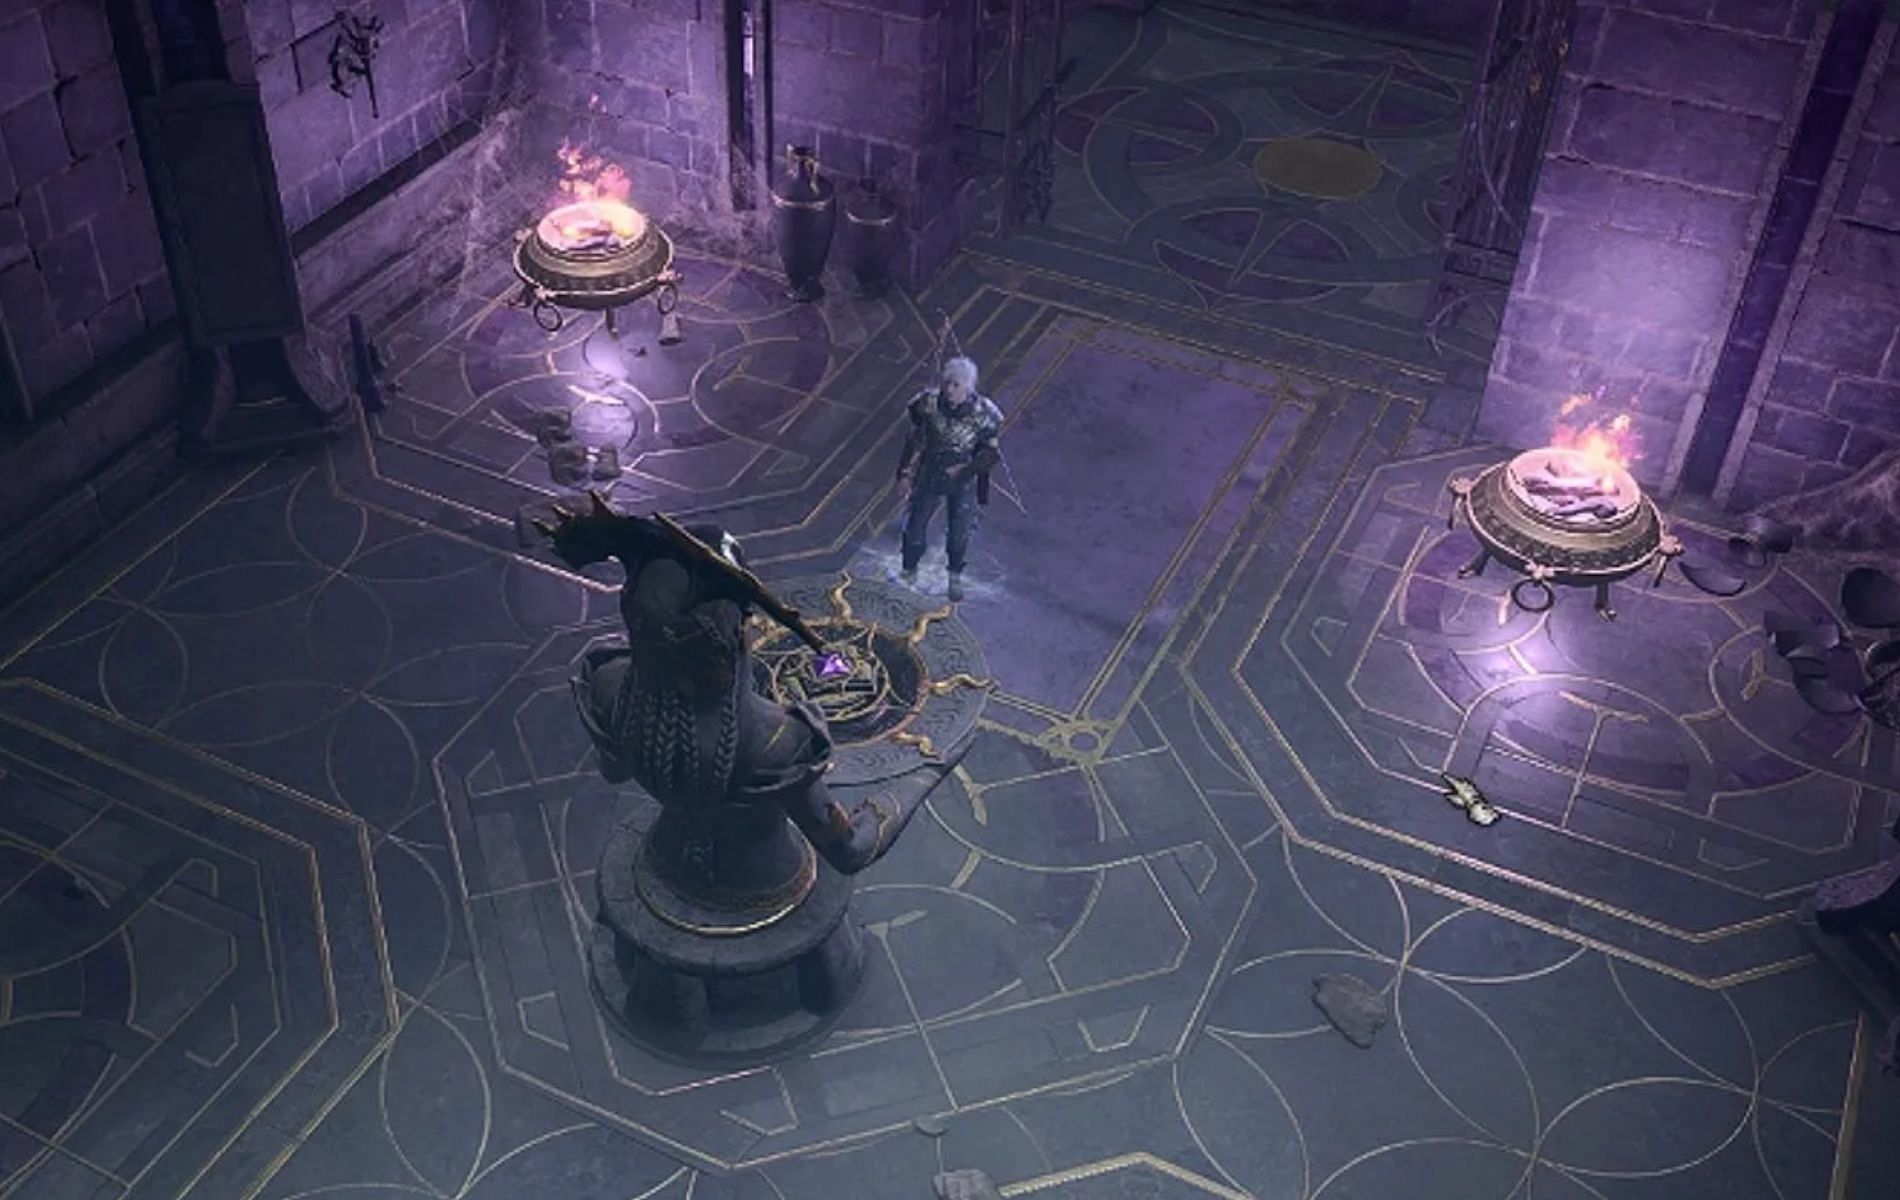
You will notice a statue of Shar located in the center of a large room there (glows purple); however, if you try to advance into the room, you will be forced back by a force that will repel your advances and not let you progress.
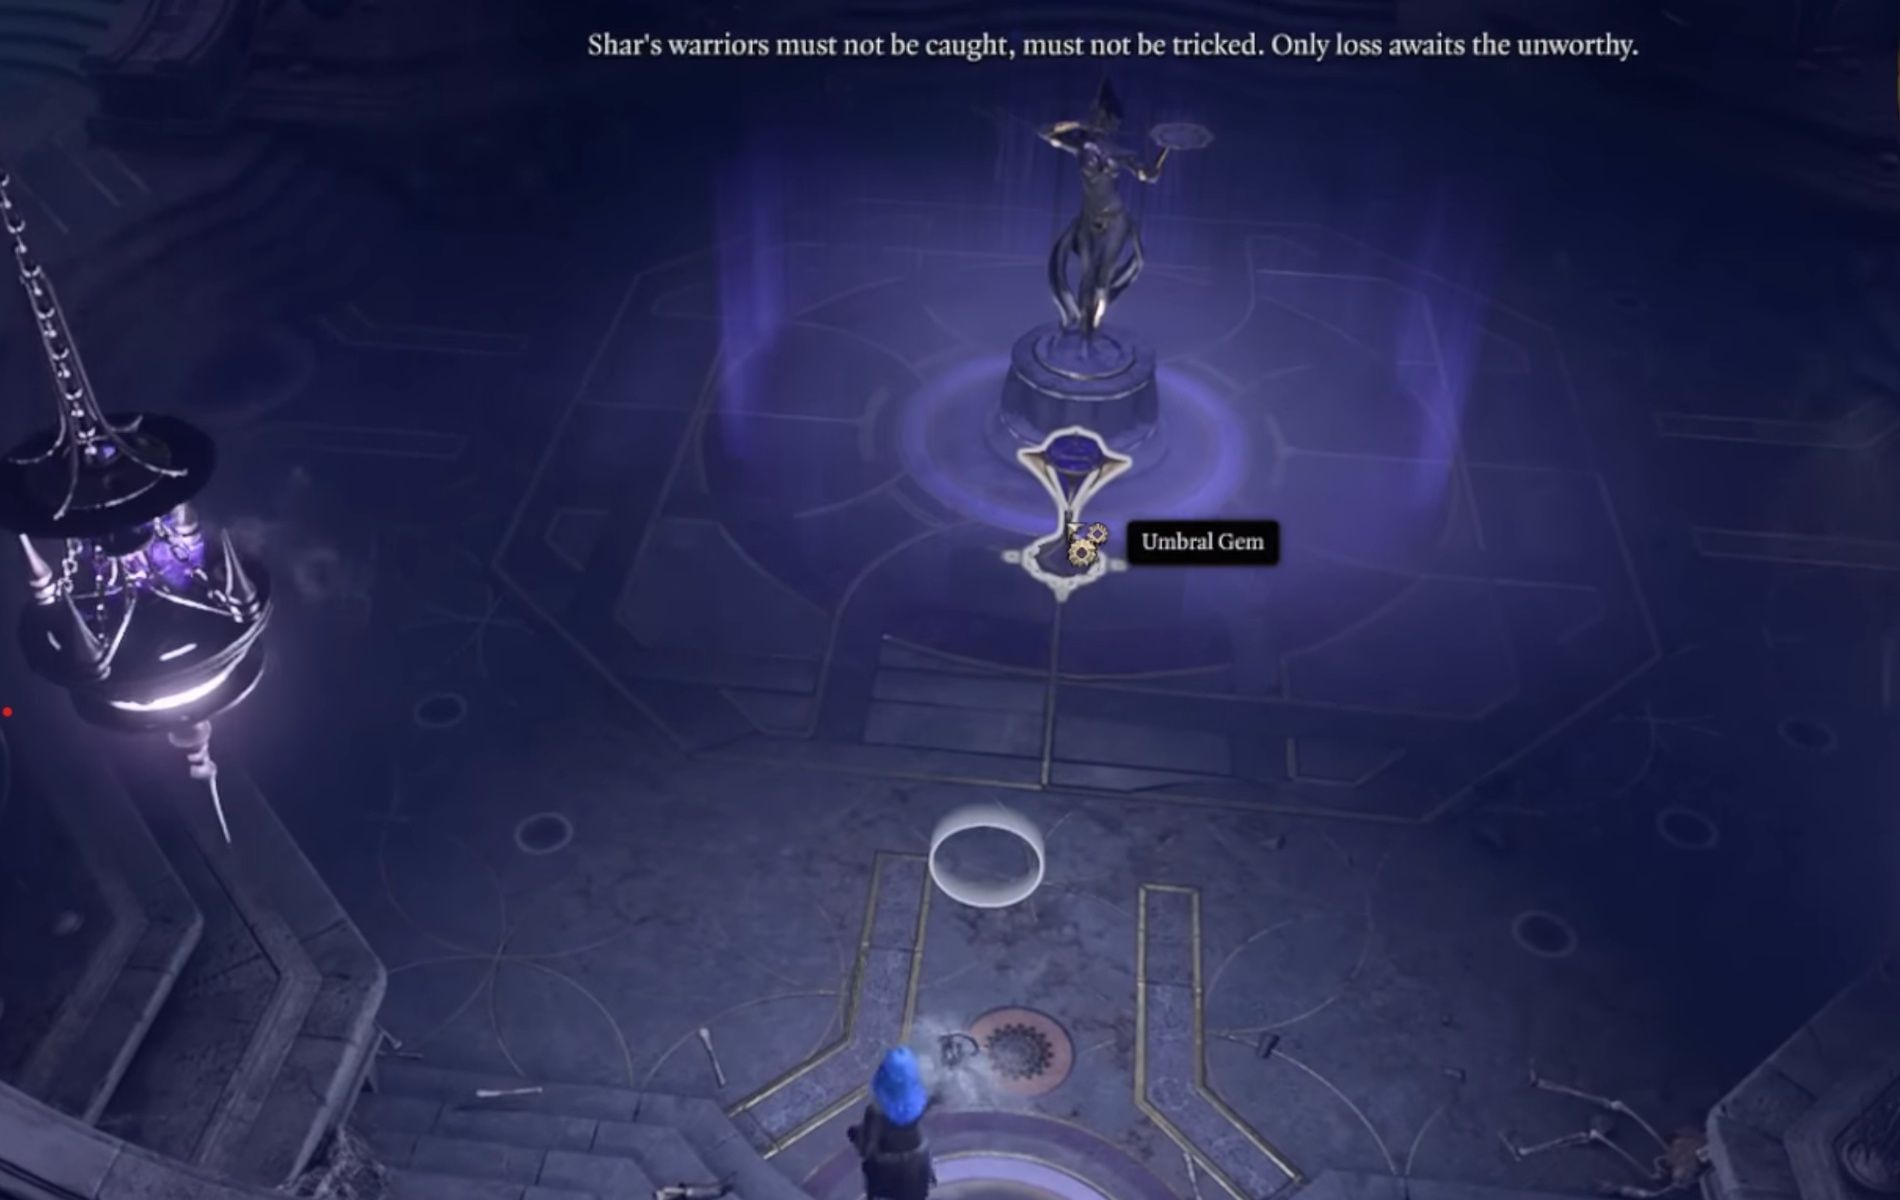
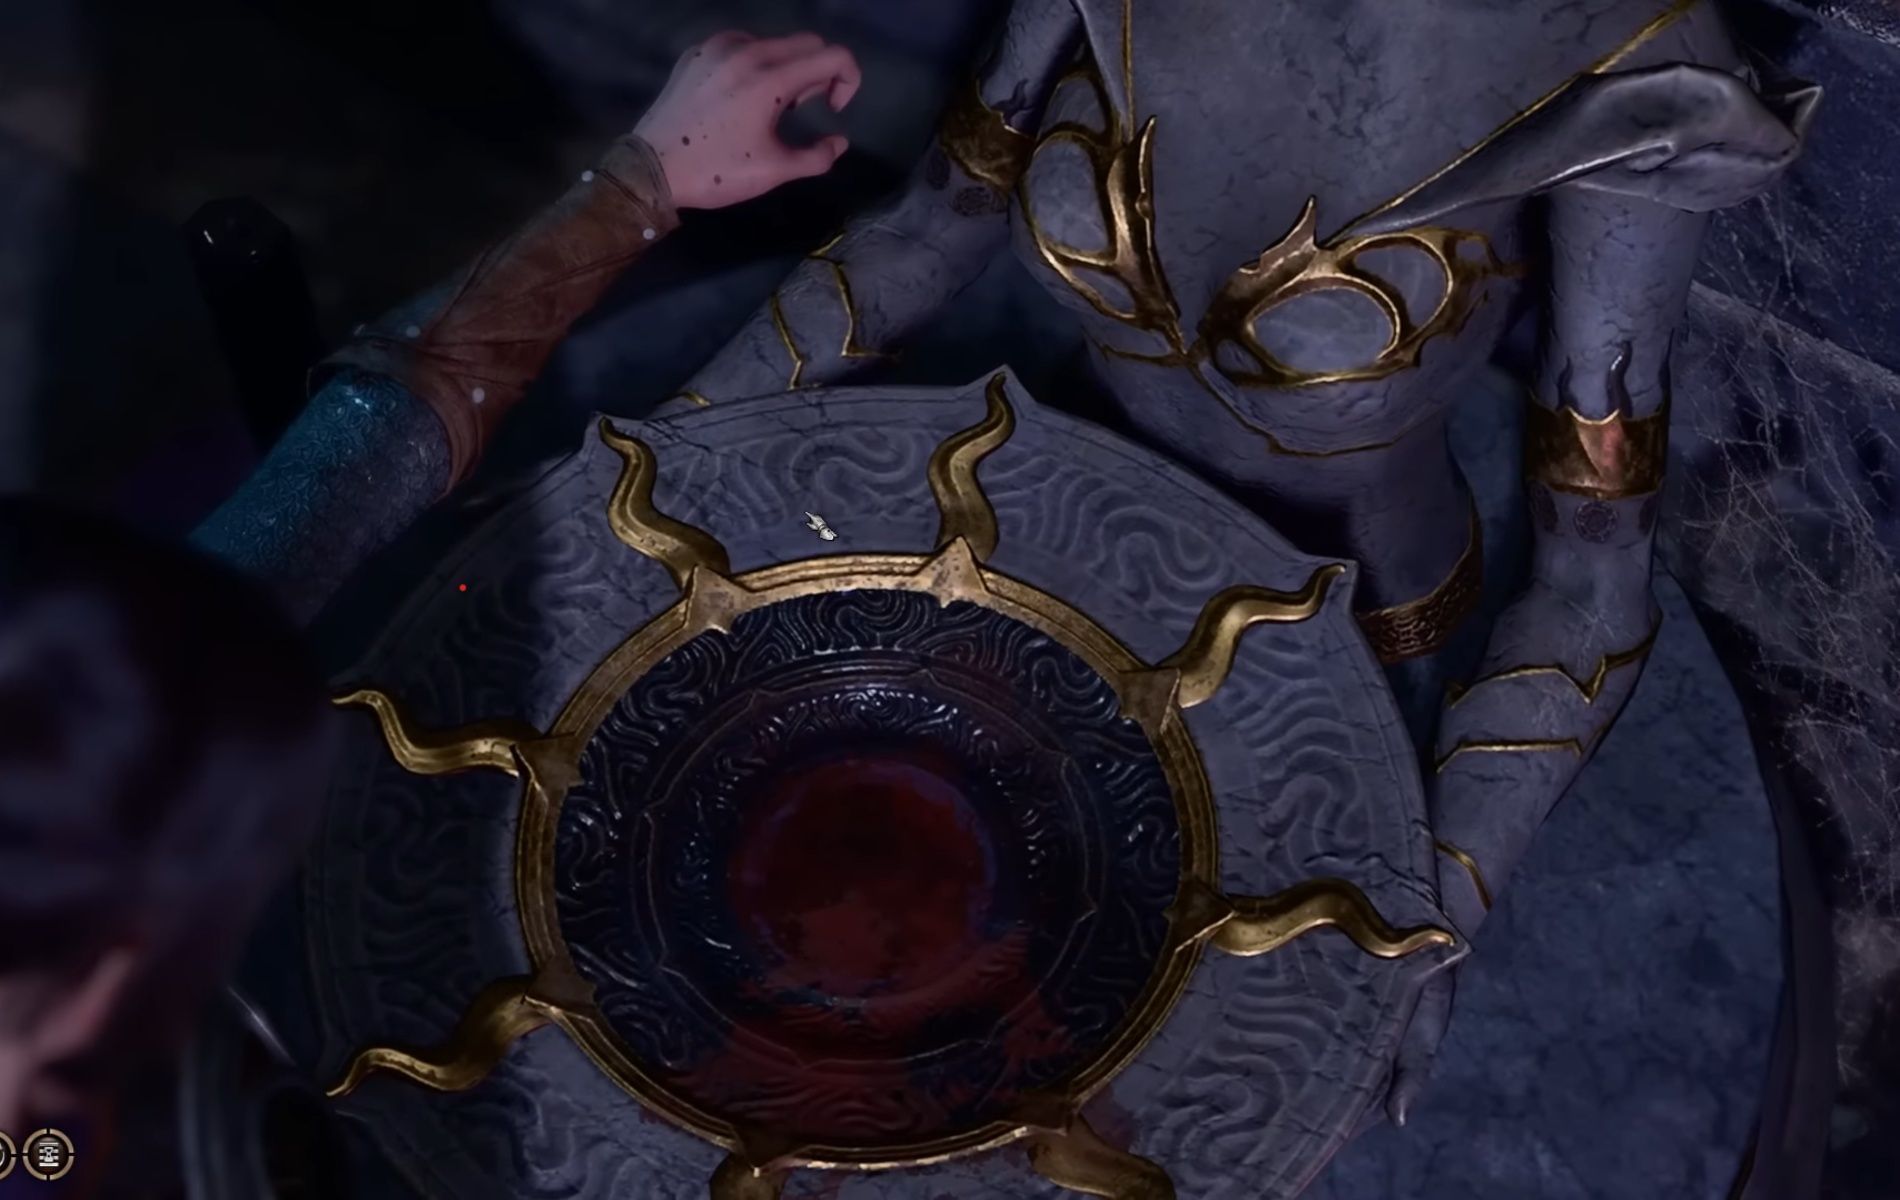
There will also be a door to the other side of the room, which will have a magic seal over it. Now, to solve the puzzle, you will need to touch the Umbral Gem located near the statue. However, you can’t reach it directly because of the force and will need to rely on an alternate method.
To solve the puzzle, you will need to do the following:
- Make your way to either of the small rooms located to the left or the right. After reaching there (beware of traps, lead with Astarion if required). You will spot a lever in the rooms, each lowering two Mystic Thuribles.
- Lower all of the Mystic Thuribles by accessing the levers in the four small rooms and then interacting with them to switch them off. Once all eight thuribles are turned off, you will notice a second set of purple lights activating. These are runes that can only be accessed after turning the Thuribles off.
- Now make one member of your party make their way through the gaps of the runes, and touch the Umbral Gem on the other end. This time, you will not find a force repulsing your advances.
- Once the Gem is touched, your next way forward will open up to the Gauntlet of Shar in Baldur’s Gate 3.
Defeat Balthazar the Necromancer in Baldur’s Gate 3
Balthazar is one of the harder boss fights in the game, and you will be required to take him down if you wish to progress through the quest and beat Ketheric Thorm. Once you have touched the Umbral Gem and made your way inside the room, then a lot of undead soldiers will start spawning, all of which are controlled by Balthazar.
They are called the Dark Justiciars, and the portals will start spawning more of them with every round. The objective will be to keep destroying the large Umbral portals, which will keep spawning every now and then till only one large portal is left.

Destroy that, and Balthazar will then open the doors to his chamber. You will make your way in to find the Necromancer, who will automatically assume that you are there to help his cause. He will ask you to help him progress through the temple. Here, you will have three choices: to help him, to attack him, or to ignore him and move on to the Gauntlet of Shar in Baldur’s Gate 3.
It’s recommended you strike him and start an encounter, as Balthazaar grants a great deal of XP and rewards. However, you can make the fight easier if you pickpocket him with Astarion and steal his Potion of Speed.
Balthazar will always have the ability to go first in a round, along with drinking the Potion of Speed as soon as the fight begins. You can make things easier by stealing it away and being wary of his Cloudkill ability.
After beating him, make sure you loot the place. Make your way to the north room where there is a vault with a tough lock. There will be a lot of amazing loot inside it; hence, use the character with the most stats in sleight-of-hands to get the Ability Check.
Complete the Riddle of the Night in Baldur’s Gate 3
Now that Balthazar is dead, make your way north till they reach a set of stairs going down, leading to an elevator with a broken lever. To fix this, you will be required to use the elevator and make your way up. Place the lever in the lever base; this will automatically make the device completely functional.
Now, make your way into the Silent Library of Baldur’s Gate 3. You will find the area by identifying a white magical field at the entrance instead of a normal door. The white field applies the Silence effect to all characters that pass through it, which means that no one can cast a verbal spell, making it incredibly difficult to take down the newly spawned Dark Justicars in the Library.
Take out the Librarian first instead of taking on the Justicars with no Incantation Spells. This will kill the Silence spell in the area, allowing you to use verbal spells again, making the encounter significantly more manageable.
After the encounter is down, you will need to dust off some bust and read the books in the library. There are many books there. However, the ones in particular that you will be required to interact with are located on five shelves. Four of them are to the north wall, while one is to the south.
Make sure you grab each of them, as they will be required to progress further.
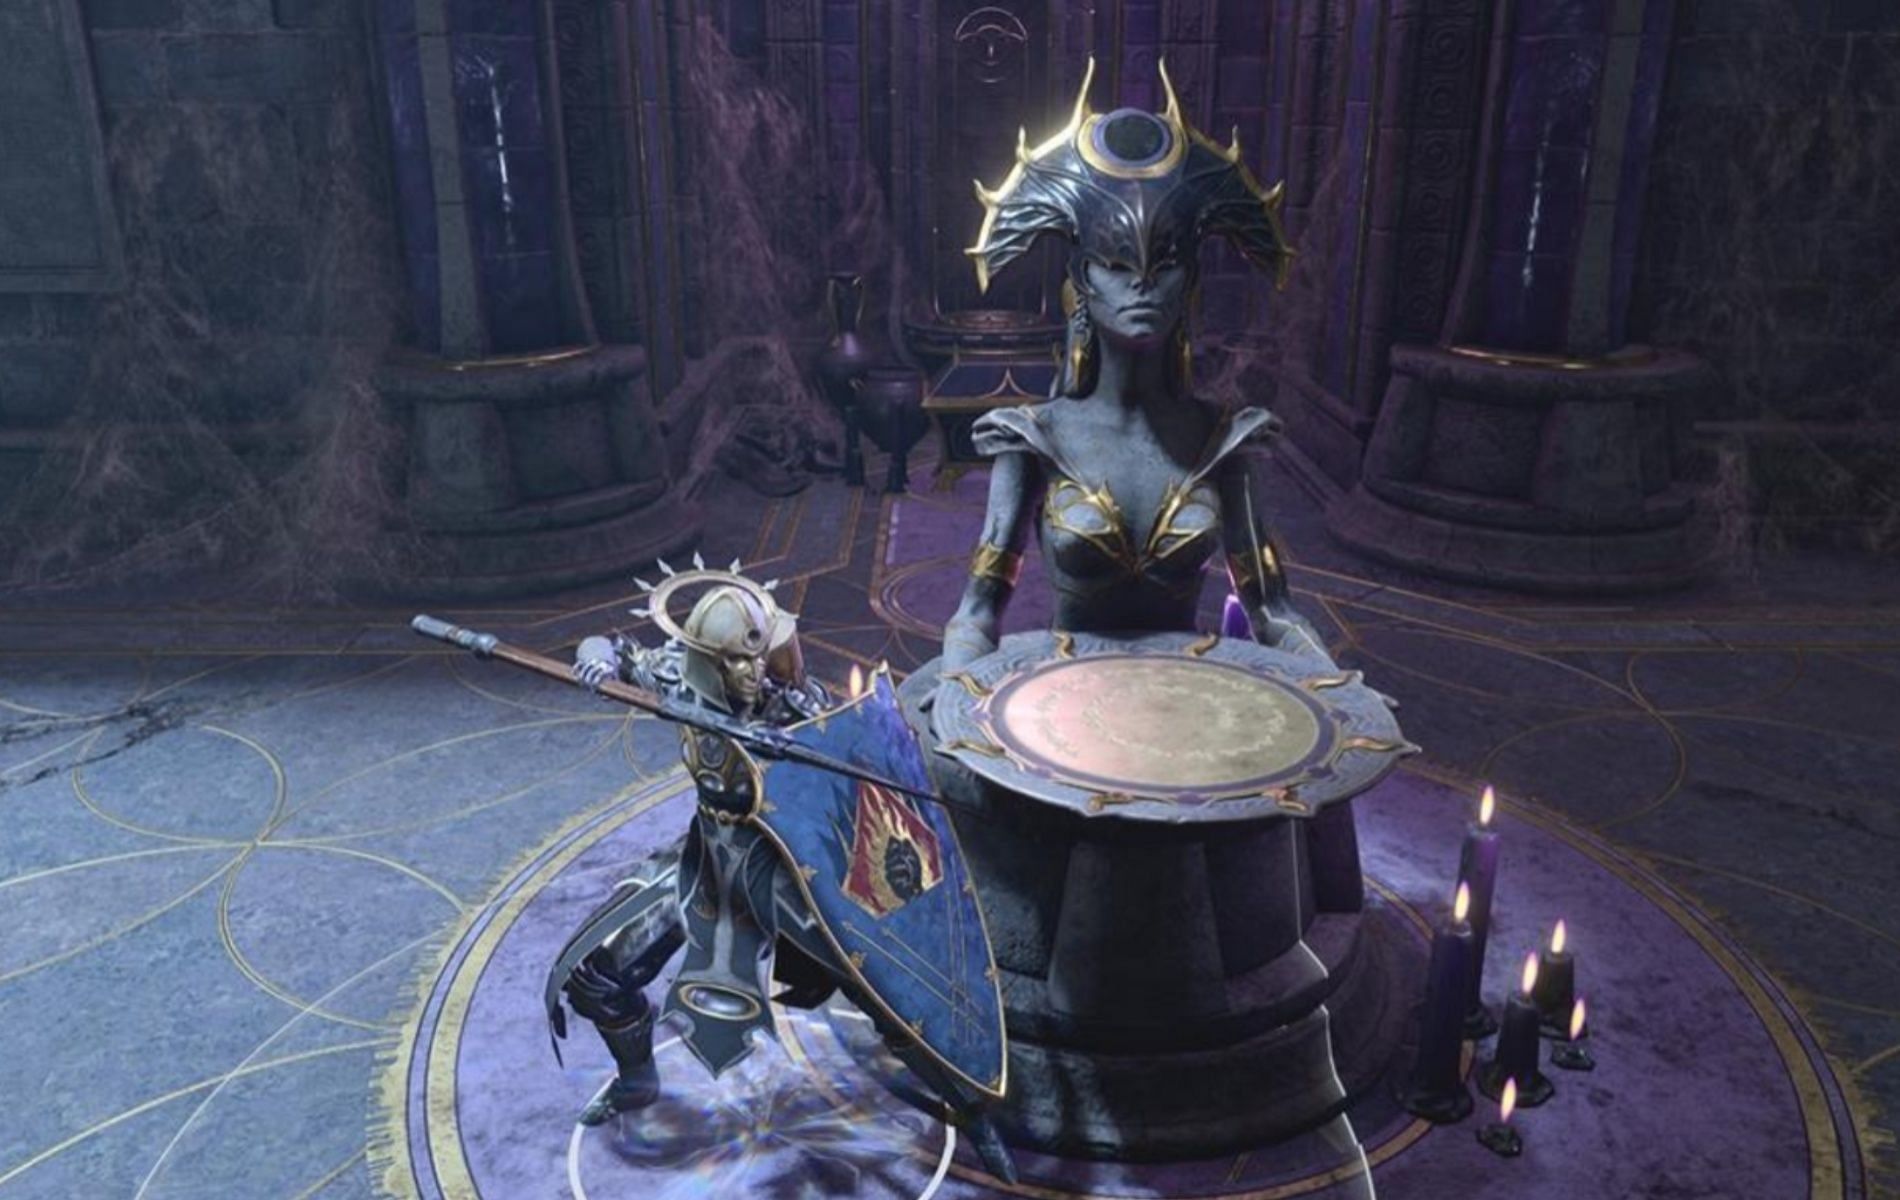
After you make your way past the Library, you will come across a cage room holding a pedestal, which will pop the following upon interaction - Riddle of the Night: "What can silence the Nightsong?"
Now, to solve the riddle, you must place the Nightsinger that you picked up on the pedestal. Make sure you do not experiment with the riddle by putting it in anything else, as the chamber will start to fill up with gas.
Now, make your way out of the cage till you reach the Altar to find the Spear of the Night, along with a Dark Justiciar Half-Plate suit. Also, look for a gilded chest behind the Altar, as it will contain a Dark Justicar Helmet, one of the rarer armaments in the RPG.
Complete the Faith-Leap Trial in Baldur’s Gate 3
After the Library and the Altar comes the Faith-Leap trial, where you will have to “Tread only where Lady Shar bids you." This bit of hint will be present in one of the books that you have picked up previously, and to know where to step on, you will need to wait by the entrance and hover the camera to the area located past the Altar.
There, you will notice purple blocks. These are what you will be required to step on if you wish to make your way to the Gauntlet.
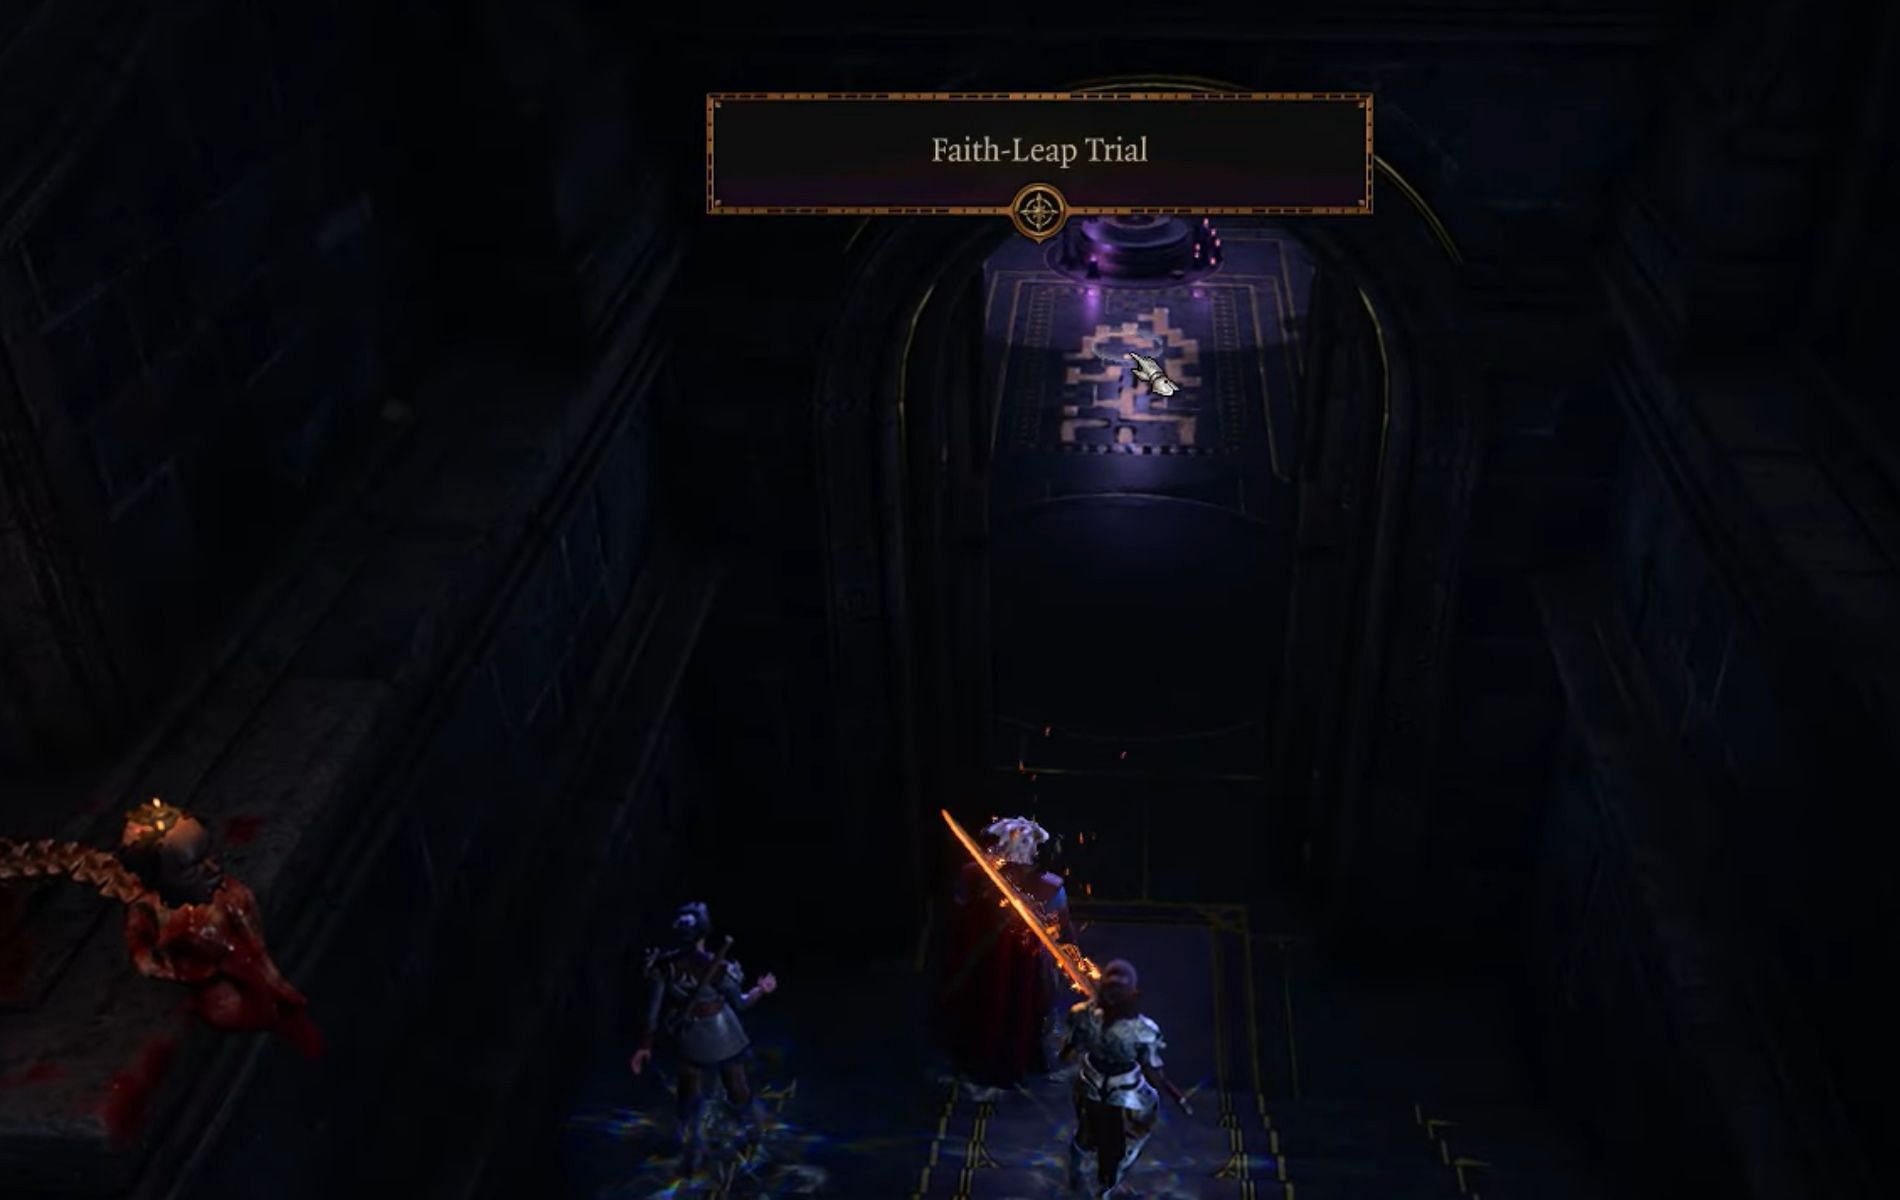
However, there is a catch, as the purple block will disappear if players approach them. So memorize where they are, and then carefully make your way forward.
If you step on a space that was not a purple block, the puzzle will teleport you and your party to the nearest statue and take away one-third of your HP.
If you have poor memory, you can find a solution in the floor mural that is right in front of the Altar. You can keep hovering your camera back to it to make sure that you are progressing in the right way.
Make sure that you only send one character for this. All they will need to do is to cross over to the other end, get the Umbral Gem, and then make their way back to the Altar. To make things convenient, you can use the Umbral Transporter there to teleport directly back to the Altar.
Complete the Self-Same Trial in Baldur’s Gate 3
After the Faith-Leap Trial comes the Self-Same Trial in Baldur’s Gate 3. So once you have gotten the Umbral gem, make your way north till you reach the upper hall.
Interact with Shar’s Altar, which will ask you for blood. Give it some and make your way past till you reach a room, where a copy of all the party members will appear.
This is the start of the trial. Each of these cloned party members will hide and ambush you to start an encounter if you get close. However, you can do a Perception check to reveal each of their locations.
While they are clones, they will have the same stats and gears as that of your party members. However, their HP will be much lower, and they won't use anything more than a generic set of abilities.
If you wish to take them out, your party members must only attack their own clones. If they attack another clone, they will receive a -1 penalty on all stat, checks, and attacks. This penalty will remain before the next long rest. Moreover, the penalty can stack, so hitting all clones with an AOE will leave you at a -3.
The hint for what needs to be done will be found in one of the books that you picked up from the Library.
To make things easier, you should win the Perception check, reveal their location, then send the corresponding party member to the clone from behind and then pull for a surprise attack.
The objective will be to kill all the clones, which will spawn an Umbral Gem. You must collect it and then take the Umbral Pransporter again back to the entrance.
Complete the Soft-Step Trial in Baldur’s Gate 3
The next trial you will need to complete to get to the Gauntlet of Shar in Baldur’s Gate 3 is the Soft-Step which will require you to make the most of your trap-detection character. Astarion or a rogue will be the best pick for it, as you will need to make past a good many numbers of marble plate traps to complete the trial.
After making your way to the trial room, you will notice that there are several levers that can move walls as well as open doors. There will also be a key on the table. You will need to open the right door, which will lead to the Umbral Gem. At the same time, you must avoid all the traps.
The trial is pretty straightforward, and after you have pocketed the gem, use the Umbral Teleporter to make your way back to the entrance.
Baldur’s Gate 3: Complete Yurgir guide
Once you have the three Gems, you will need a fourth to complete the Gauntlet and open a portal to Shadowfell to learn more about Ketheric Thorm’s immortality.
To get the fourth one, head to the Pedestal of Reckoning and then make your way east over the broken staircase till you meet a displacer beast.
You can chase the beast, which will eventually lead you to a room where there is an Umbral Gem placed in front of a throne. However, this is a trap, and Yurgir, the devil, is waiting for you there with his minions, all with their crossbows drawn. Here are a few things you can do to deal with Yurgir in Baldur’s Gate 3:
1) Get ambushed and start an encounter
You can choose to get ambushed, and while you will be at a disadvantage, you will be able to take down Yurgir if you have the right party balance. However, the fight is not easy, and Yurgir loves relying on his grenades. He and his merregons will toss them every now and then that deal a good amount of aoe damage.
Additionally, when he drops to a certain health threshold, he will drop a lot of grenades around him. The fight can get rather tricky to navigate, but it’s possible to pull off.

2) Ambush the ambushers
You can get the jump on Yurgir by ignoring the displacer beast and making your way across another set of broken stairs. This will get you the advantageous spot if you are looking to defeat Yurgir and further Astarion’s questline in Baldur's Gate 3.
The grenades will still be a problem, however. So scatter your team and keep repositioning them with every round.
3) Persuade Yurgir to kill himself
During certain conversation routes, you will get the option to persuade Yurgir to kill himself if you win the Ability Check. While it's a bit hard to pull off, it is possible.
4) Help Yurgir against Raphael
If you are having trouble taking Yurgir down, the best way to deal with the encounter is to help him deal with Raphael in Baldur’s Gate 3. However, this is something that your party members might oppose, especially Astarion, who had struck a bargain with Raphael to kill Yurgit.
Astarion's quest line, which is to find the secret behind the scars on his back, is tied to his favor for Raphael, and taking down Yurgir will be the way to go about obtaining his endings.
However, if you do wish to side with the devil, you will be required to help him kill every last Dark Justicar present in the Gauntlet of Shar. While you deal with the visible ones, you will not be able to complete his request as one of the Justicars is disguised as a rat.
You will need to use the Speak with Animals potion to unlock more hints and then make your way to three separate locations to kill three rats. The encounter will see rats in swarms attacking you, but killing them will not take much effort.

Once you have dealt with all of them, the final rat in Baldur’s Gate 3’s Gauntlet of Shar will be the final Dark Justicar, Lythindor. Slay Lythindor, who is a much easier fight than Yurgir, and you will get the fourth and final Umbral Gem.
Unfortunately, by the end of the narrative, Raphael will still get what he wants, as Yurgir will eventually be killed. However, as it was not with Astarion’s help, you will not be able to further his questline anymore.
Hence, only go for this route if defeating Yurgir seems like an impossibility with how you have made your party.
Opening the portal to Shadowfell in Baldur’s Gate 3
The final step to completing the Gauntlet of Shar in Baldur’s Gate 3 will be to take the four Umbral Gems and the Spear of Night to the Pedestal of Reckoning and place them on the Ancient Altar located right behind it.
This will automatically open the portal to Shadowfell, where you can forward your progression in Act 2 and find the source of Ketheric Thorm’s powers. Ketheric Thorm is the final boss of the act, and you will need to learn why he is immortal before you can challenge him in combat.
Disclaimer: The guide follows a rather straightforward route to clearing the Gauntlet of Shar in Baldur's Gate 3. With how much freedom Larian has added to their RPG, there are many other ways to complete each step of the puzzles or the order in which you complete the puzzles. You are advised to make the most of what Baldur's Gate 3 offers and explore other ways of completing the goals in the Gauntlet of Shar.

Are you stuck on today's Wordle? Our Wordle Solver will help you find the answer.