
'%20x='0'%20y='0'%20height='100%25'%20width='100%25'%20%0A%20%20%20%20%20%20%20%20%20%20xlink%3Ahref='data:image/jpg;base64,/9j/2wBDAAYEBQYFBAYGBQYHBwYIChAKCgkJChQODwwQFxQYGBcUFhYaHSUfGhsjHBYWICwgIyYnKSopGR8tMC0oMCUoKSj/2wBDAQcHBwoIChMKChMoGhYaKCgoKCgoKCgoKCgoKCgoKCgoKCgoKCgoKCgoKCgoKCgoKCgoKCgoKCgoKCgoKCgoKCj/wgARCAAGAAoDASIAAhEBAxEB/8QAFgABAQEAAAAAAAAAAAAAAAAAAAQH/8QAFAEBAAAAAAAAAAAAAAAAAAAABP/aAAwDAQACEAMQAAAAzSoKv//EACAQAAEEAgEFAAAAAAAAAAAAAAIBAwQSAAUTBhFBgYP/2gAIAQEAAT8A0vVE5uAbRMxJZ1M1OY3yrWqIiesDVcwo65tpdzSxdmfK/TP/xAAYEQACAwAAAAAAAAAAAAAAAAAAAwECMv/aAAgBAgEBPwBtpXk//8QAGBEAAgMAAAAAAAAAAAAAAAAAAAIBAzL/2gAIAQMBAT8AqWH0f//Z'%3E%3C/image%3E%3C/svg%3E)
The release of Counter-Strike 2 (CS2) has brought forth significant alterations that trigger a foundational shift in the core mechanics of CS:GO. These modifications include adjustments to smoke dynamics, server tick rates, and, most notably, enhancements to maps. Achieving success in-game goes beyond mere map knowledge; it hinges on your utilization of resources like smokes and flashes.
Given below are all the detailed lineups for optimal smoke, grenade, and flash placements on the Overpass map.
Note: This article is subjective and reflects the opinions of the writer
Looking for Crossword hints & solutions? Check out latest NYT Mini Crossword Answers, LA Times Crossword Answers, and Atlantic Crossword Answers
Everything you need to know about succeeding in CS2’s Overpass map

Overhaul maps experience a significant makeover in CS2. These maps, whether they're from CS:GO or even older incarnations, get a lot of upgrades. You can expect updated lighting, new textures, structural adjustments, and perhaps even altered gameplay dynamics from them.
Map callouts
Overpass callouts are as follows: A-Site, B-site, and Mid. It’s crucial to familiarize yourself with these locations in order to successfully win every round.
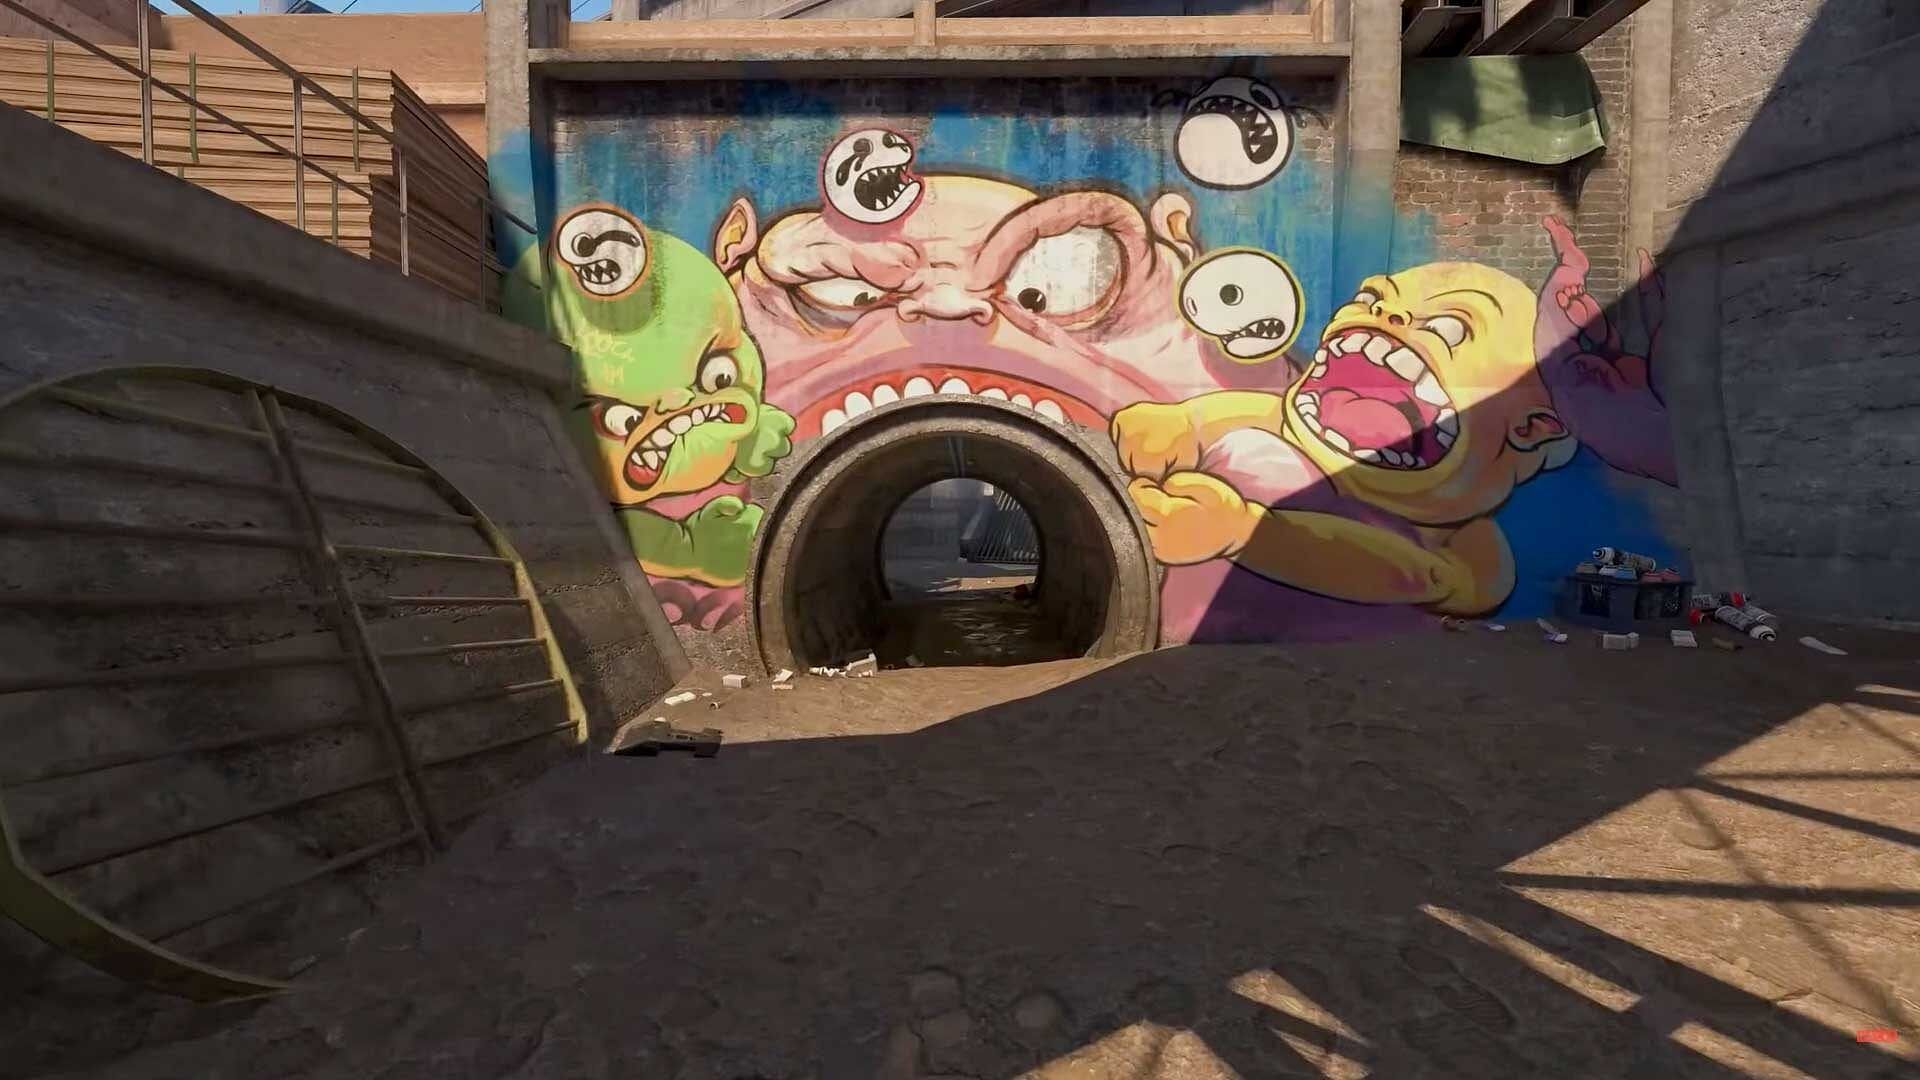
Overpass’ A-Site
Smokes:
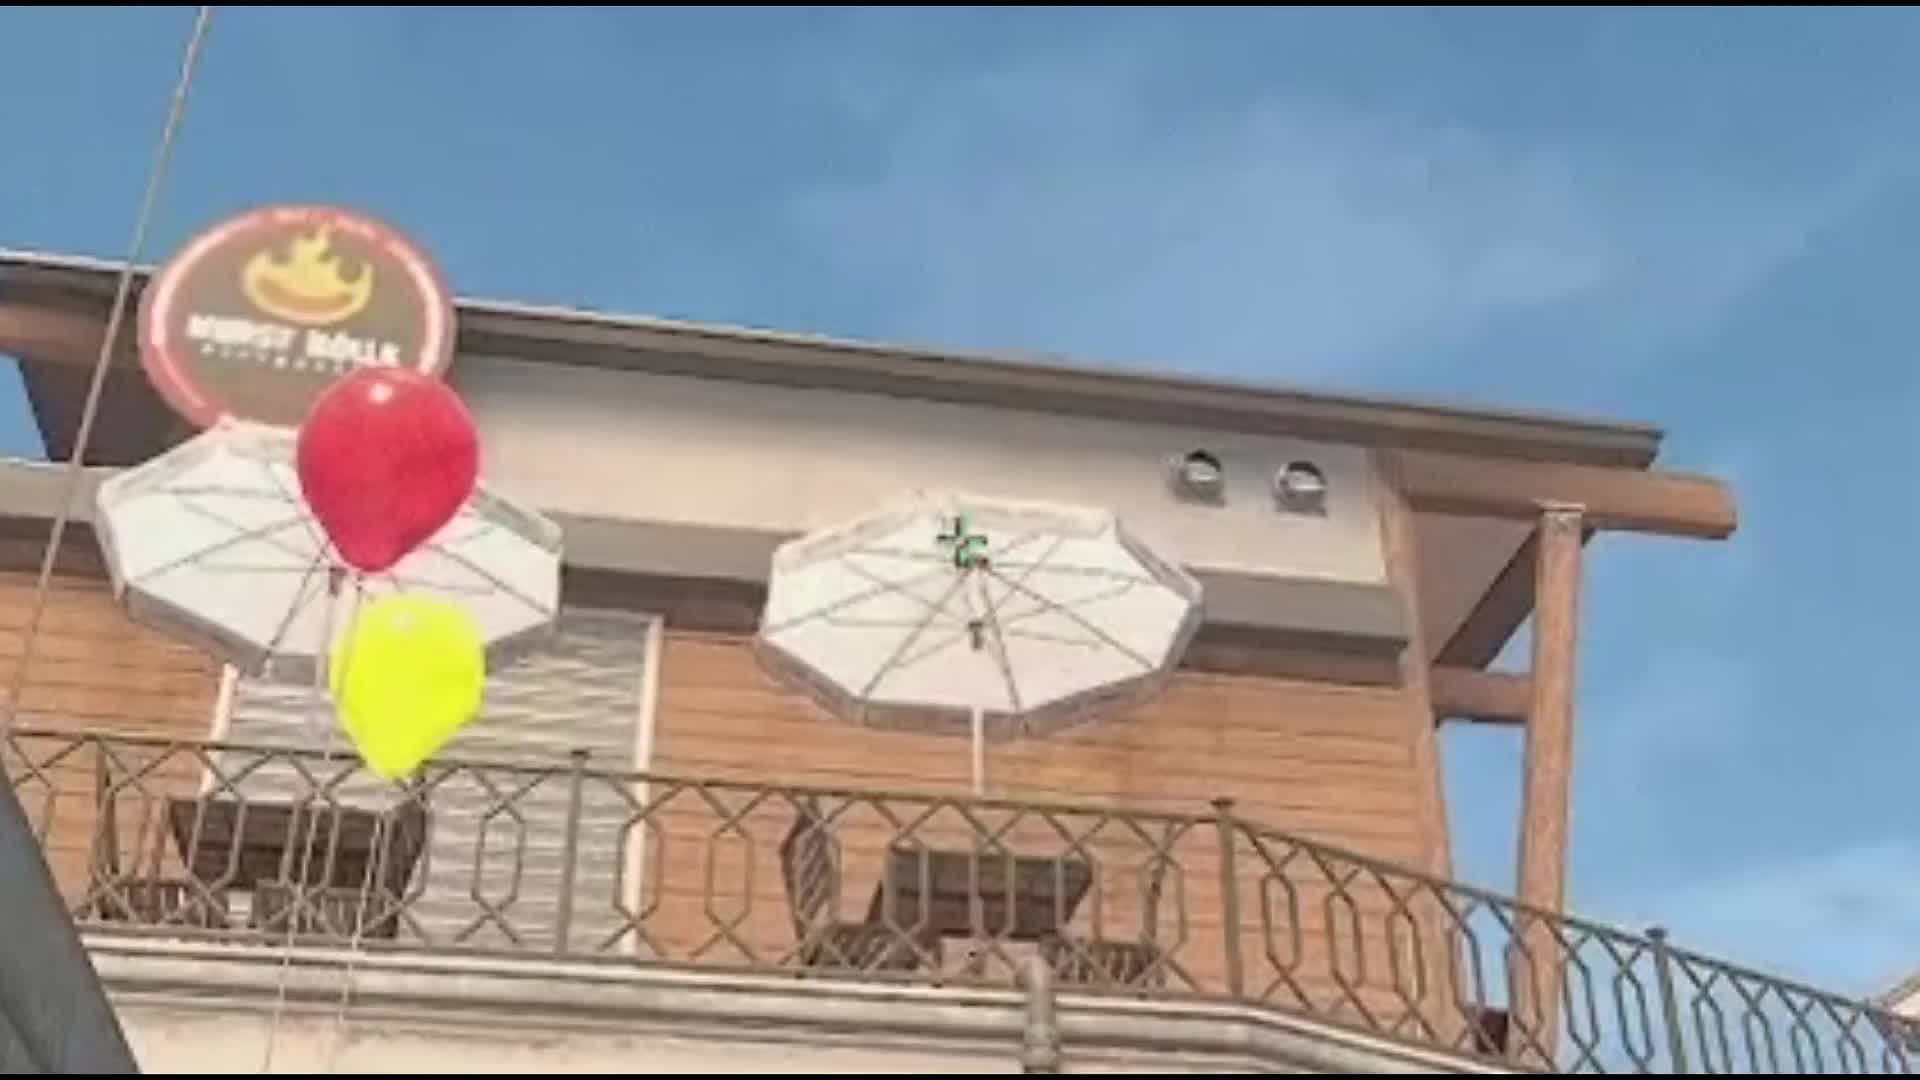
Balloons to A-Bank: This allows a precise smoke that blocks the vision of A-bank, providing a safe entrance to the A-bombsite. Stand by the brick pillar, aim above the blue balloon, and throw.
Balloons to A-Trash: This cuts off a common angle held by CTs, making a smoother A-site take. Stand by the brick pillar again, aim at the left side of the yellow balloon in the middle, and then throw.
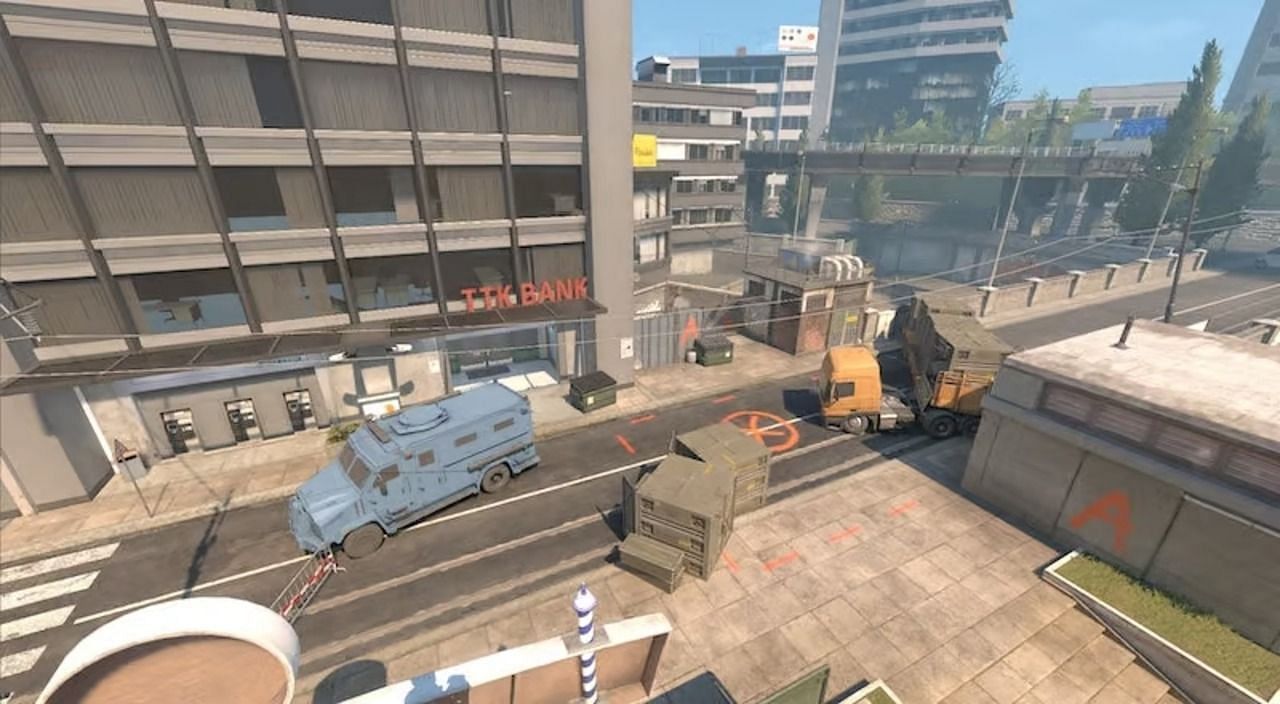
Long to CT A-Bank: This makes A-long takes safer by blocking off defenders positioned at the A-bank. Stand by the edge of the brick pillar, aim in between the steel fences, and throw.
Long to CT-Trash: This neutralizes threats from the trash area. Stand by the edge of the brick pillar, aim above the steel fence, and throw.
Overpass’ B-Site
Smokes:
CT to Monster Entrance Smoke: This denies early vision and control of the monster tunnel.
Short-to-heaven B Smoke: This blinds players from Heaven, providing a safer B-site entry. Stand in between the tunnels and do a jump throw aimed at the roof of the shed.
T to Heaven B Smoke: Stand at the corner of the building, run, and do a jump-throw aimed between the elevated ramps.
Nades:

Short to B-Heaven: Stand in between the tunnels and do a jump throw aimed at the roof of the shed.
Short to B-barrels: Stand by the corner beside the green door, aim below the overpass, and do a jump-throw.
T to Barrels B-fast: Run and do a jump throw towards the location of the tunnel.
T to B-fast short: Run towards the left side of the tunnel entry and do a jump-throw.
Overpass’ Mid
Smokes:
Mid to CT A-Bank smoke: This is great for mid-takes, and smokes at A-bank are ineffective with this lineup. Stand at the edge of the bench, aim at the middle part of the umbrella, and throw.
Mid to CT A-Trash smoke: This helps gain control without unnecessary risks. Stand at the edge of the bench, aim in between the wooden pillars, and then throw.
Nades:
CT to T-stairs: Blocks early aggressive pushes, providing the initial map control. Stand on the bench and do a running jump throw aimed at the entry location.
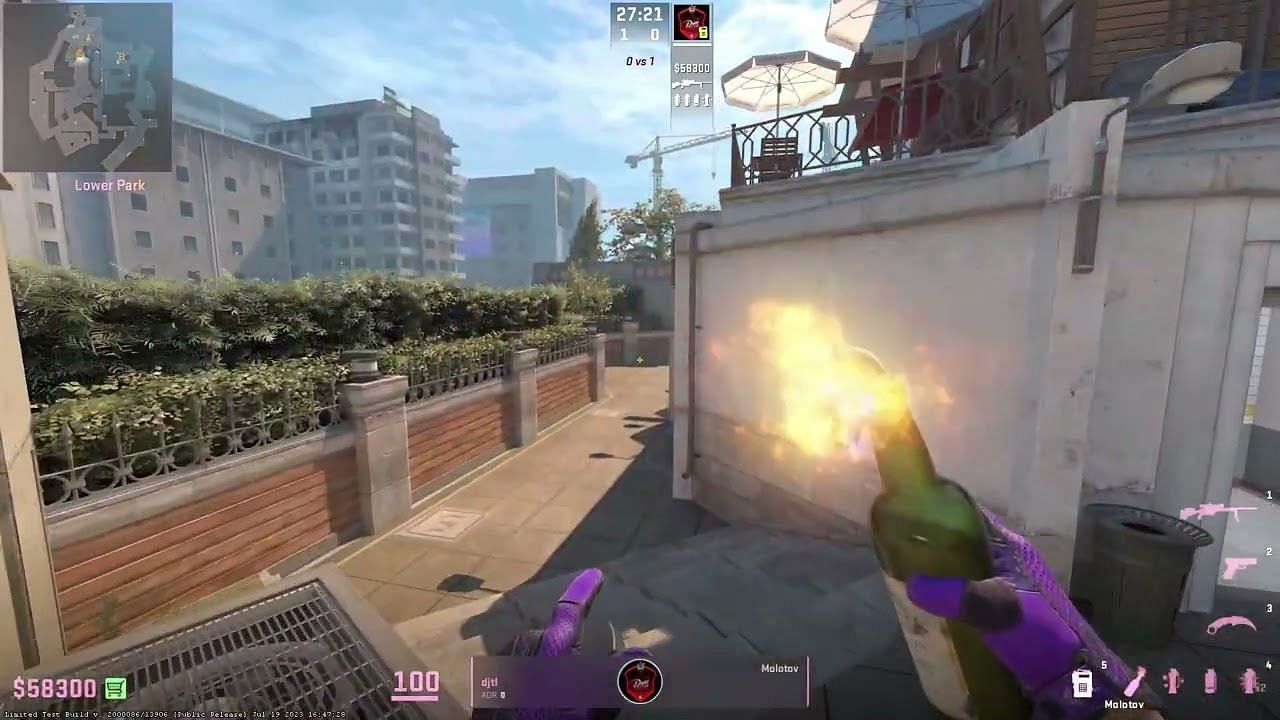
When it comes to the deployment of flash grenades on the Overpass map in CS2, there isn't a predetermined set of precise strategies you should commit to memory. It is generally recommended to employ flashes by directing them toward your adversaries in a manner that catches them off guard.
Nonetheless, this doesn't preclude the possibility of devising a unique lineup that you believe could prove advantageous in combat situations.
That being said, these are the existing lineups at your disposal for CS2's Overpass. Given the evolving nature of first-person shooters, it's expected that new flash strategies will emerge over time. In the interim, you are free to employ these presently recognized lineups in the game.

Are you stuck on today's Wordle? Our Wordle Solver will help you find the answer.