
'%20x='0'%20y='0'%20height='100%25'%20width='100%25'%20%0A%20%20%20%20%20%20%20%20%20%20xlink%3Ahref='data:image/jpg;base64,/9j/2wBDAAYEBQYFBAYGBQYHBwYIChAKCgkJChQODwwQFxQYGBcUFhYaHSUfGhsjHBYWICwgIyYnKSopGR8tMC0oMCUoKSj/2wBDAQcHBwoIChMKChMoGhYaKCgoKCgoKCgoKCgoKCgoKCgoKCgoKCgoKCgoKCgoKCgoKCgoKCgoKCgoKCgoKCgoKCj/wgARCAAGAAoDASIAAhEBAxEB/8QAFQABAQAAAAAAAAAAAAAAAAAAAAb/xAAVAQEBAAAAAAAAAAAAAAAAAAACA//aAAwDAQACEAMQAAAAk4wi/wD/xAAeEAACAgIDAQEAAAAAAAAAAAACAwEEBREABhMhIv/aAAgBAQABPwDo/d8x1nFWqVE0JDJWwXLPL0MfwX2NzoJ5cr2X23tdkXsaZkRmY7IpmfszO+f/xAAVEQEBAAAAAAAAAAAAAAAAAAAAEf/aAAgBAgEBPwCv/8QAFREBAQAAAAAAAAAAAAAAAAAAABH/2gAIAQMBAT8Aj//Z'%3E%3C/image%3E%3C/svg%3E)
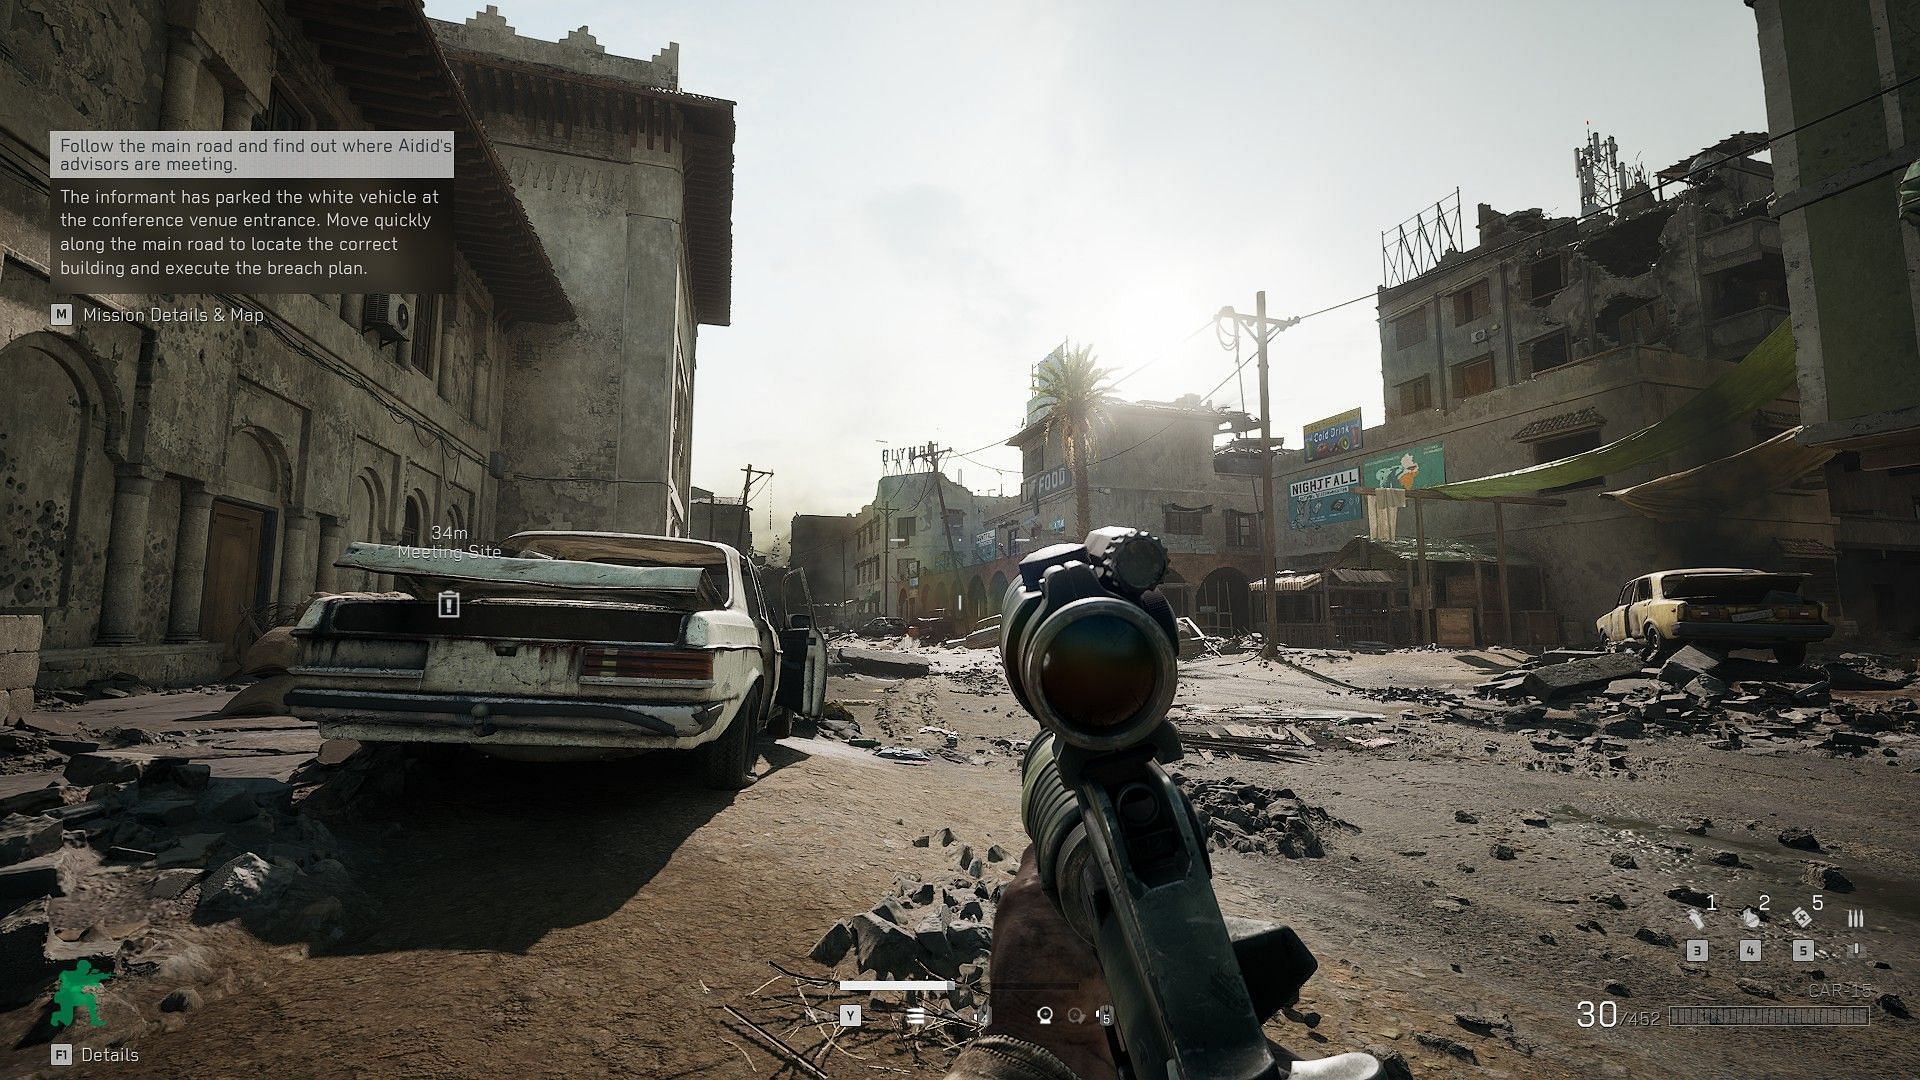
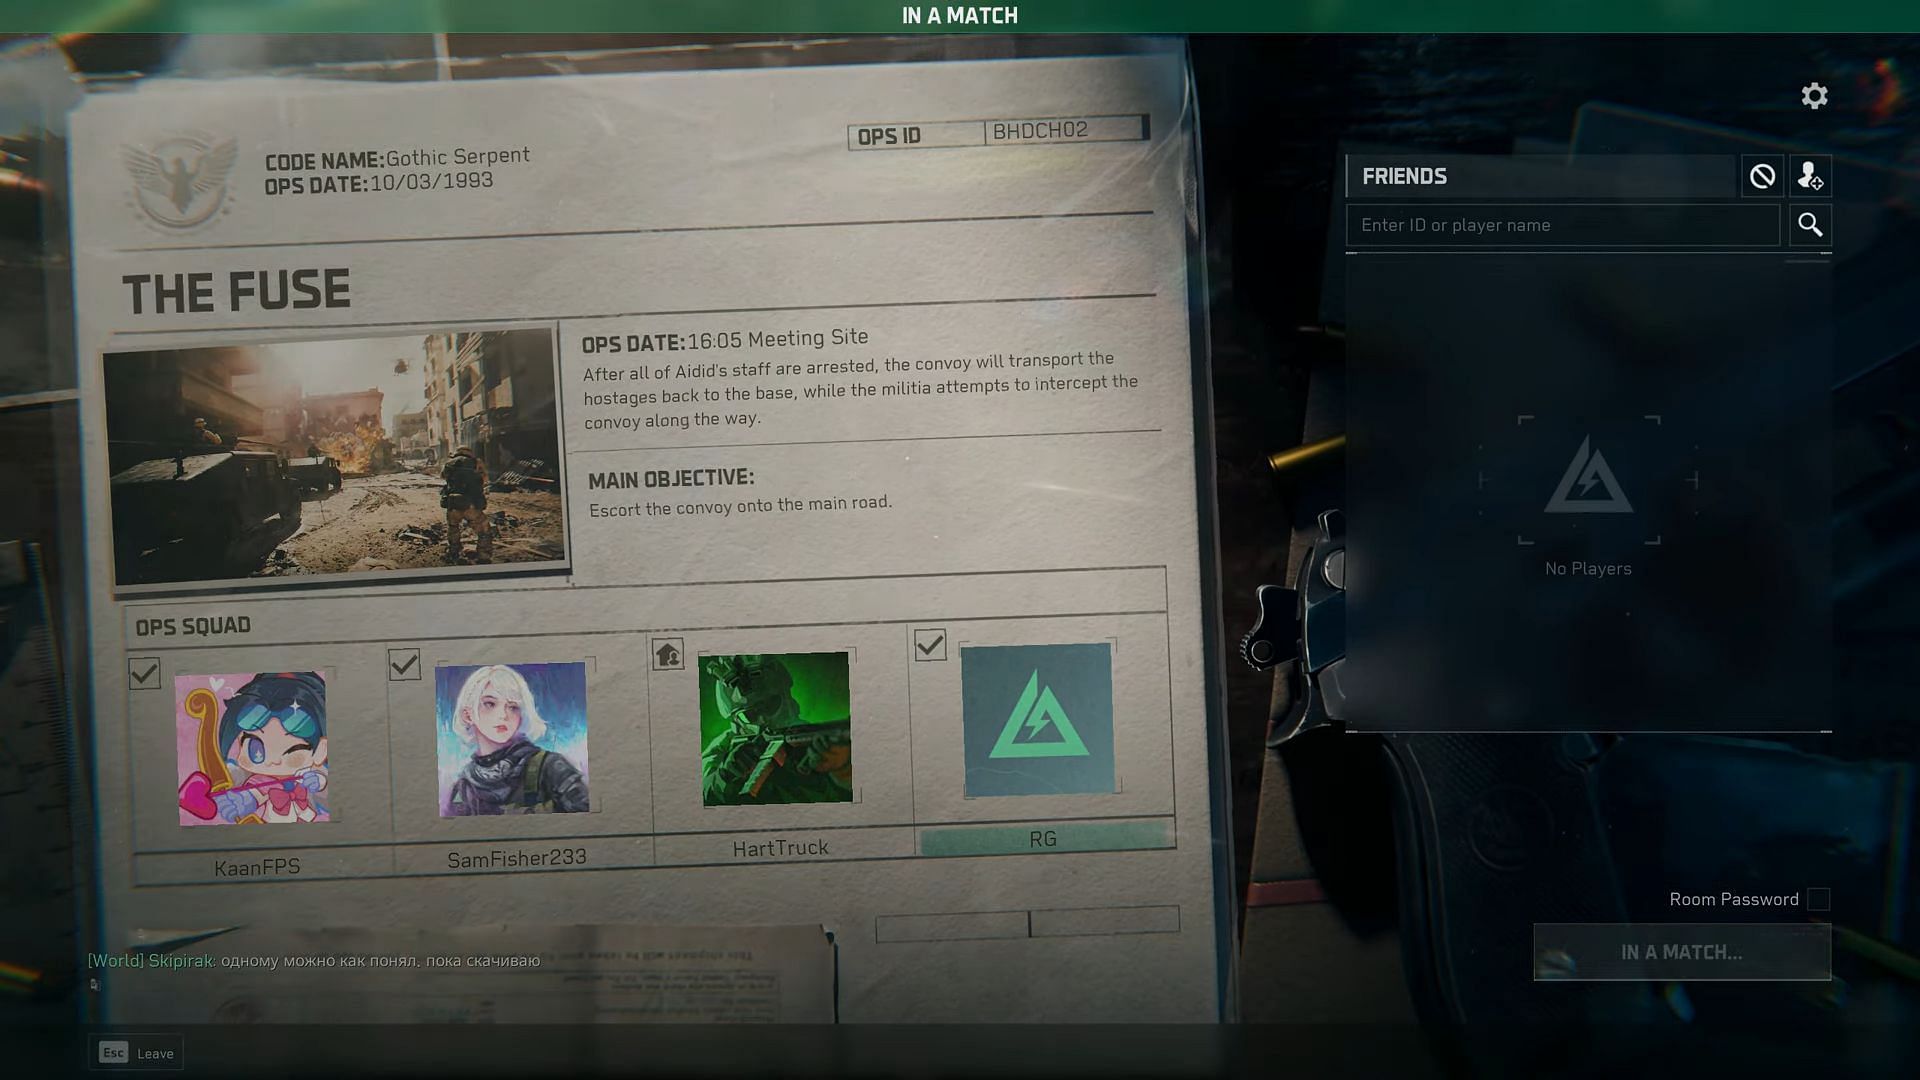
Delta Force campaign chapter 2 "The Fuse" is live. The Black Hawk Down campaign is free-to-play and lets you experience the remake of the original from 2003. In this chapter, your mission is to escort a convoy transporting arrested members of Aidid's staff back to base. The militia is determined to intercept the convoy, making your role crucial in ensuring its safe passage.
Read on for a detailed walkthrough of Delta Force campaign chapter 2 "The Fuse."
How to complete Delta Force campaign chapter 2 "The Fuse"
Looking for Crossword hints & solutions? Check out latest NYT Mini Crossword Answers, LA Times Crossword Answers, and Atlantic Crossword Answers
You'll navigate through complex alleys and face hostile ambushes, requiring strategic planning and precise execution. Considering how many ranged combats you will face in this mission, a scoped rifle is the best option.
Part 1: Escorting the convoy
Step 1
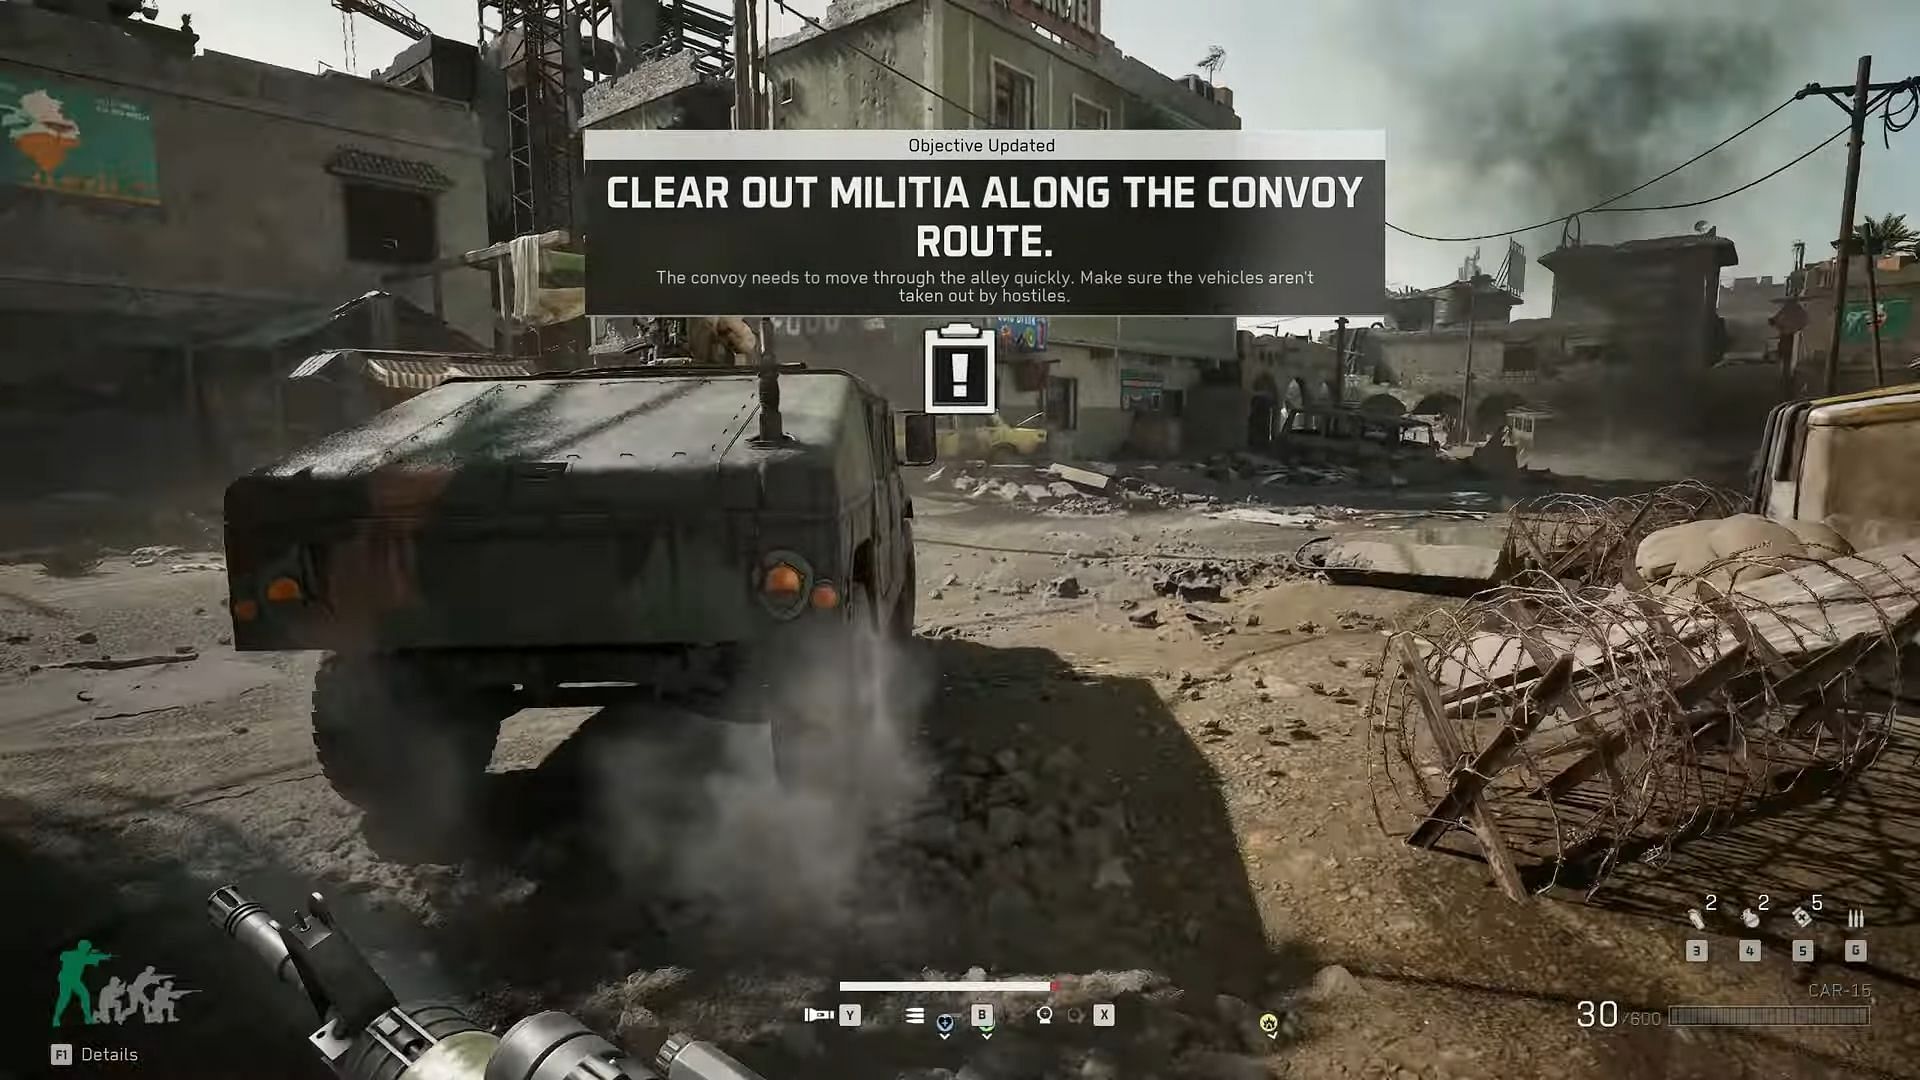
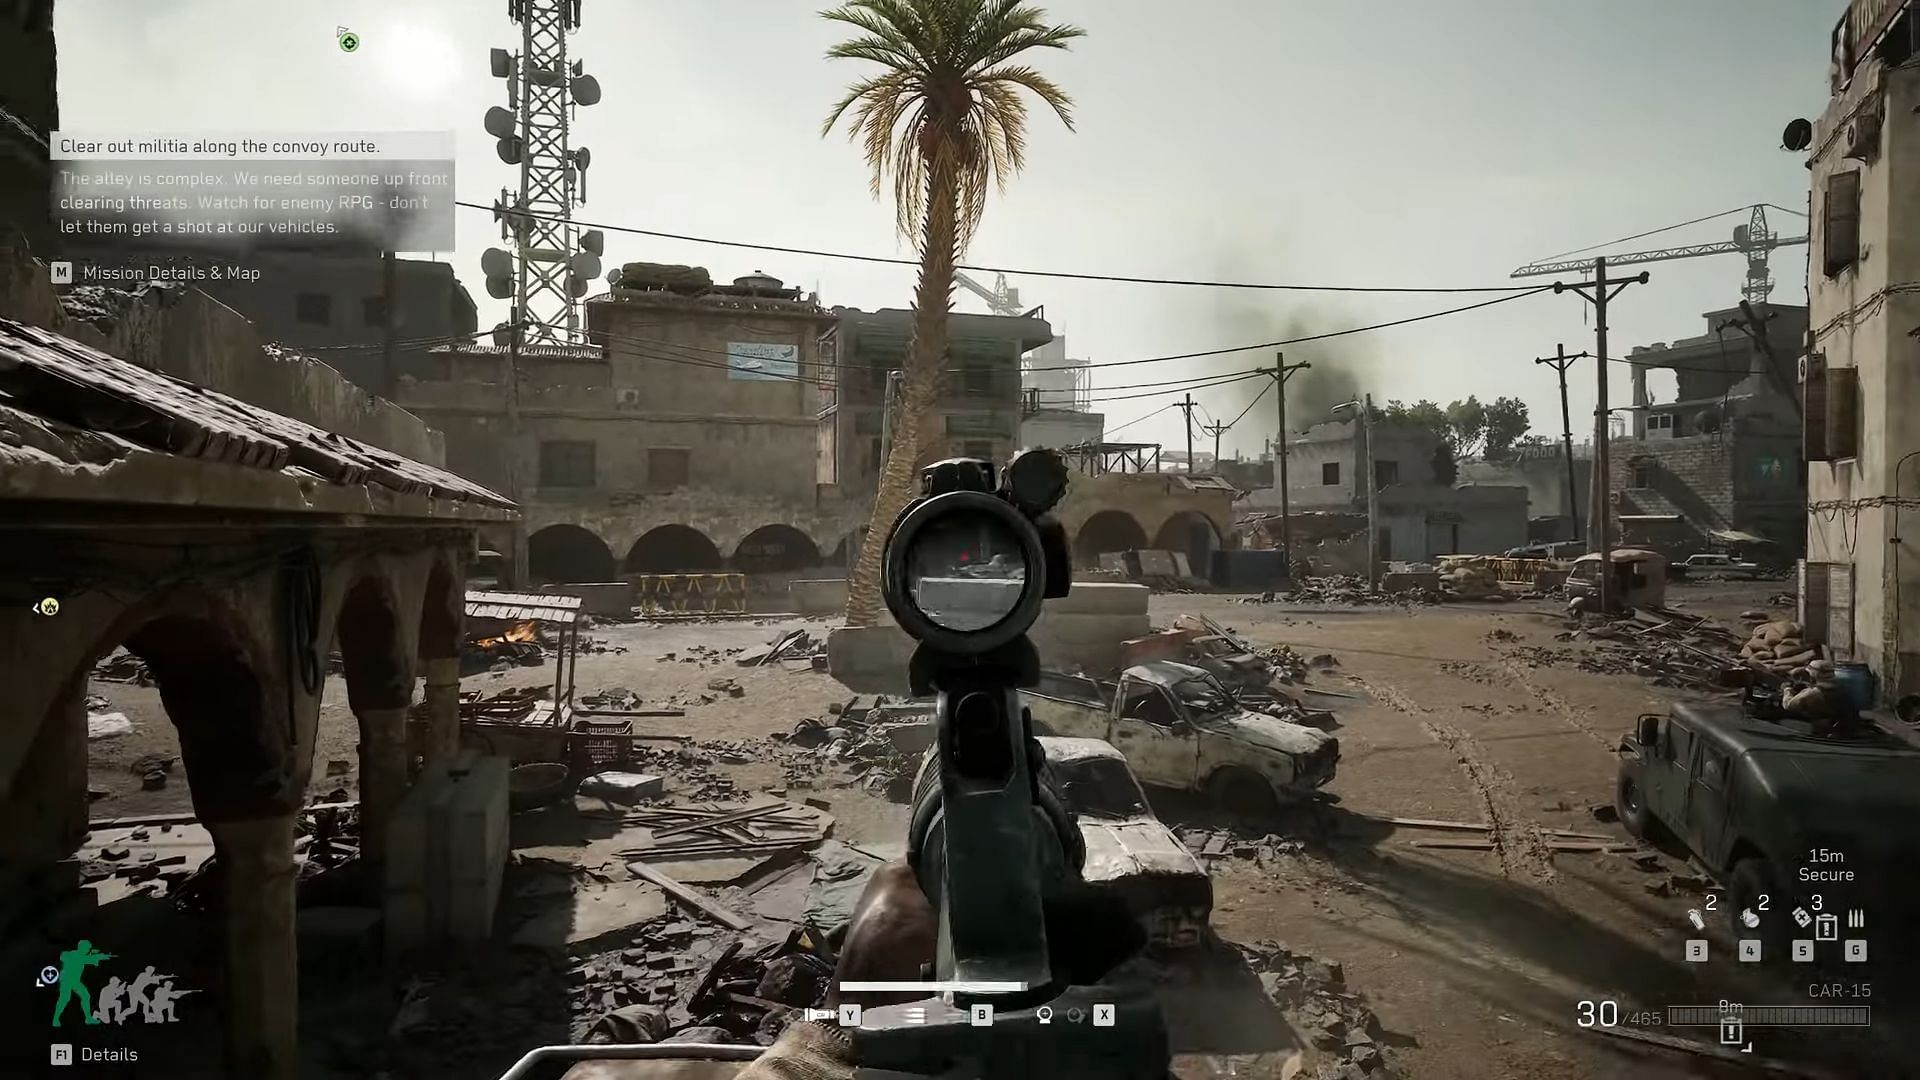
Begin by openly escorting the trucks alongside your allies. As you move through the narrow alley, anticipate hostile ambushes ahead. Utilize your scoped rifle to eliminate enemies from a distance, ensuring the convoy's safe passage.
Step 2
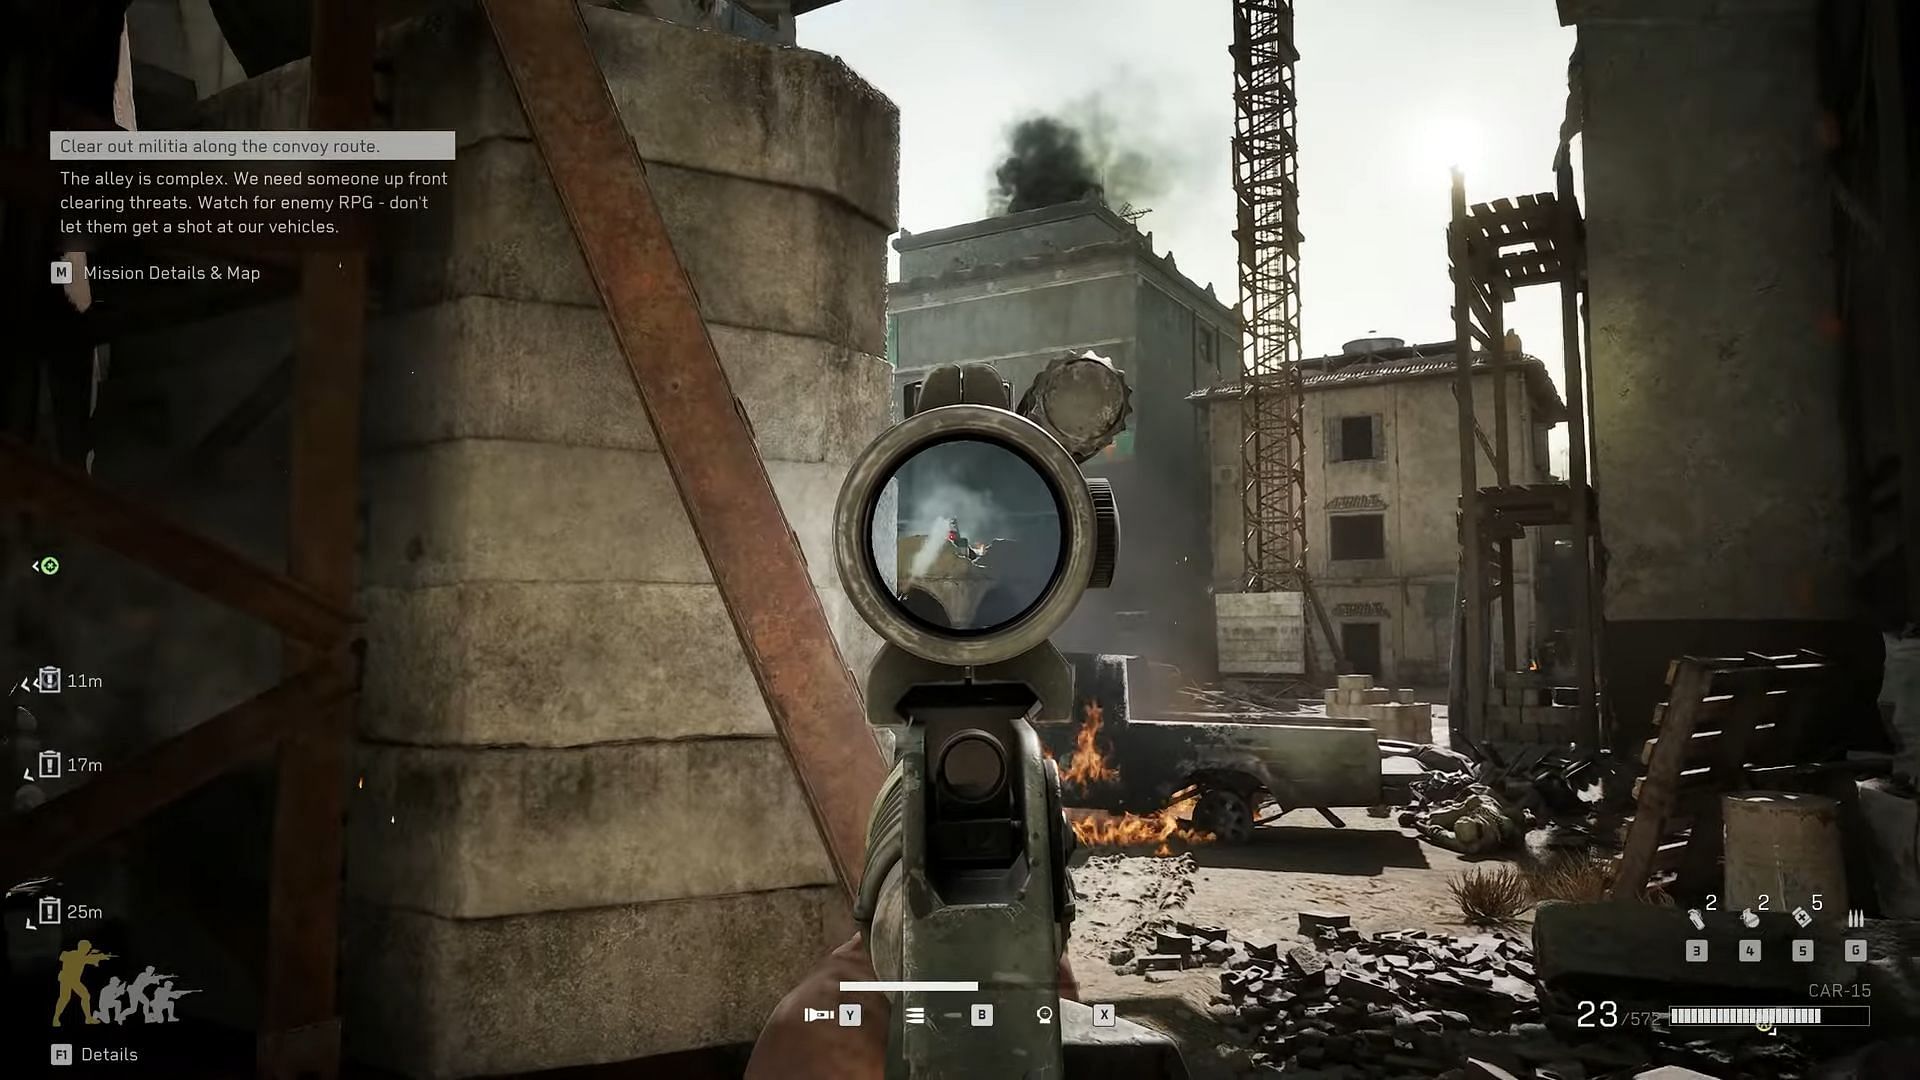
After clearing the initial ambush, you'll encounter militia equipped with RPGs taking cover in surrounding buildings. Engage these threats carefully, using available cover to protect yourself and the convoy. Precision is key to prevent the vehicles from being destroyed.
Part 2: Clearing the path
Step 1
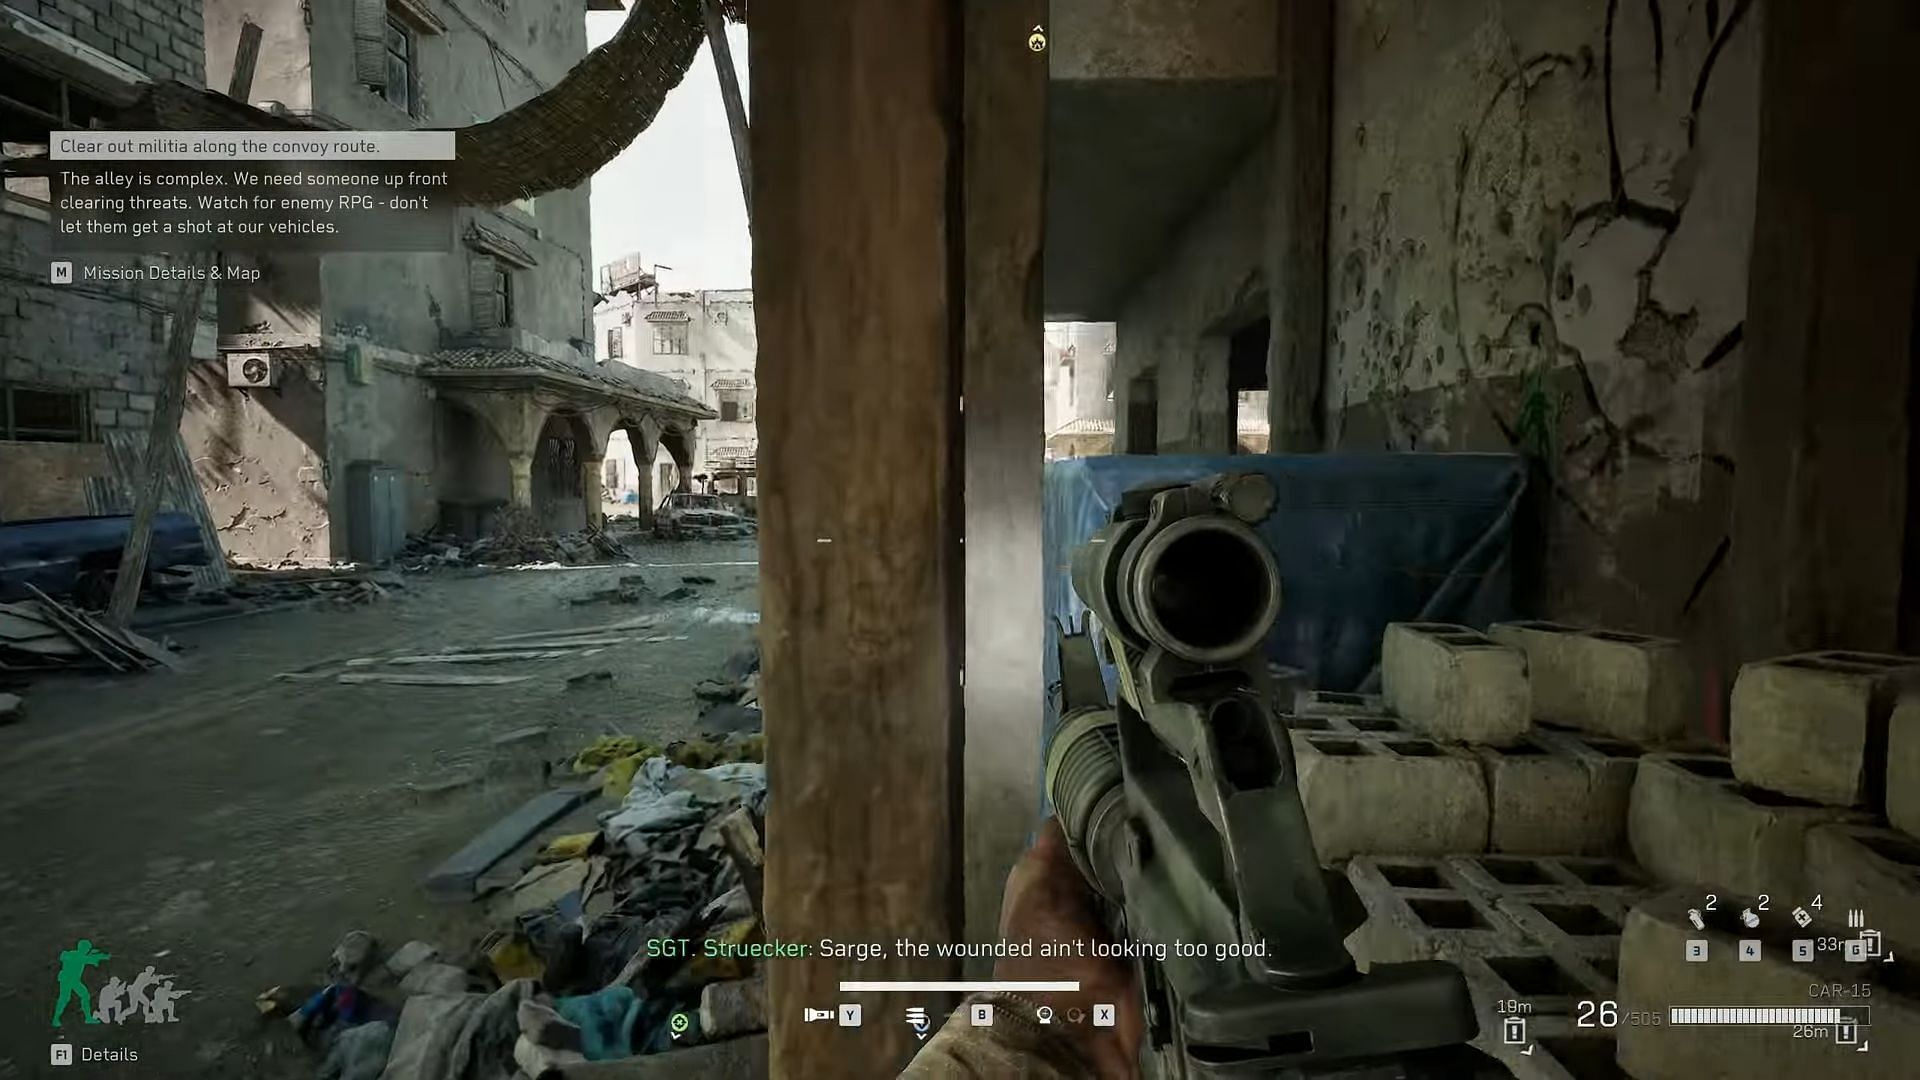
During the mission, a wounded team member's condition will deteriorate. However, there's no time to stop, and you are ordered to keep pushing with the convoy. Maintain defensive positions while ensuring the safety of all personnel.
Step 2
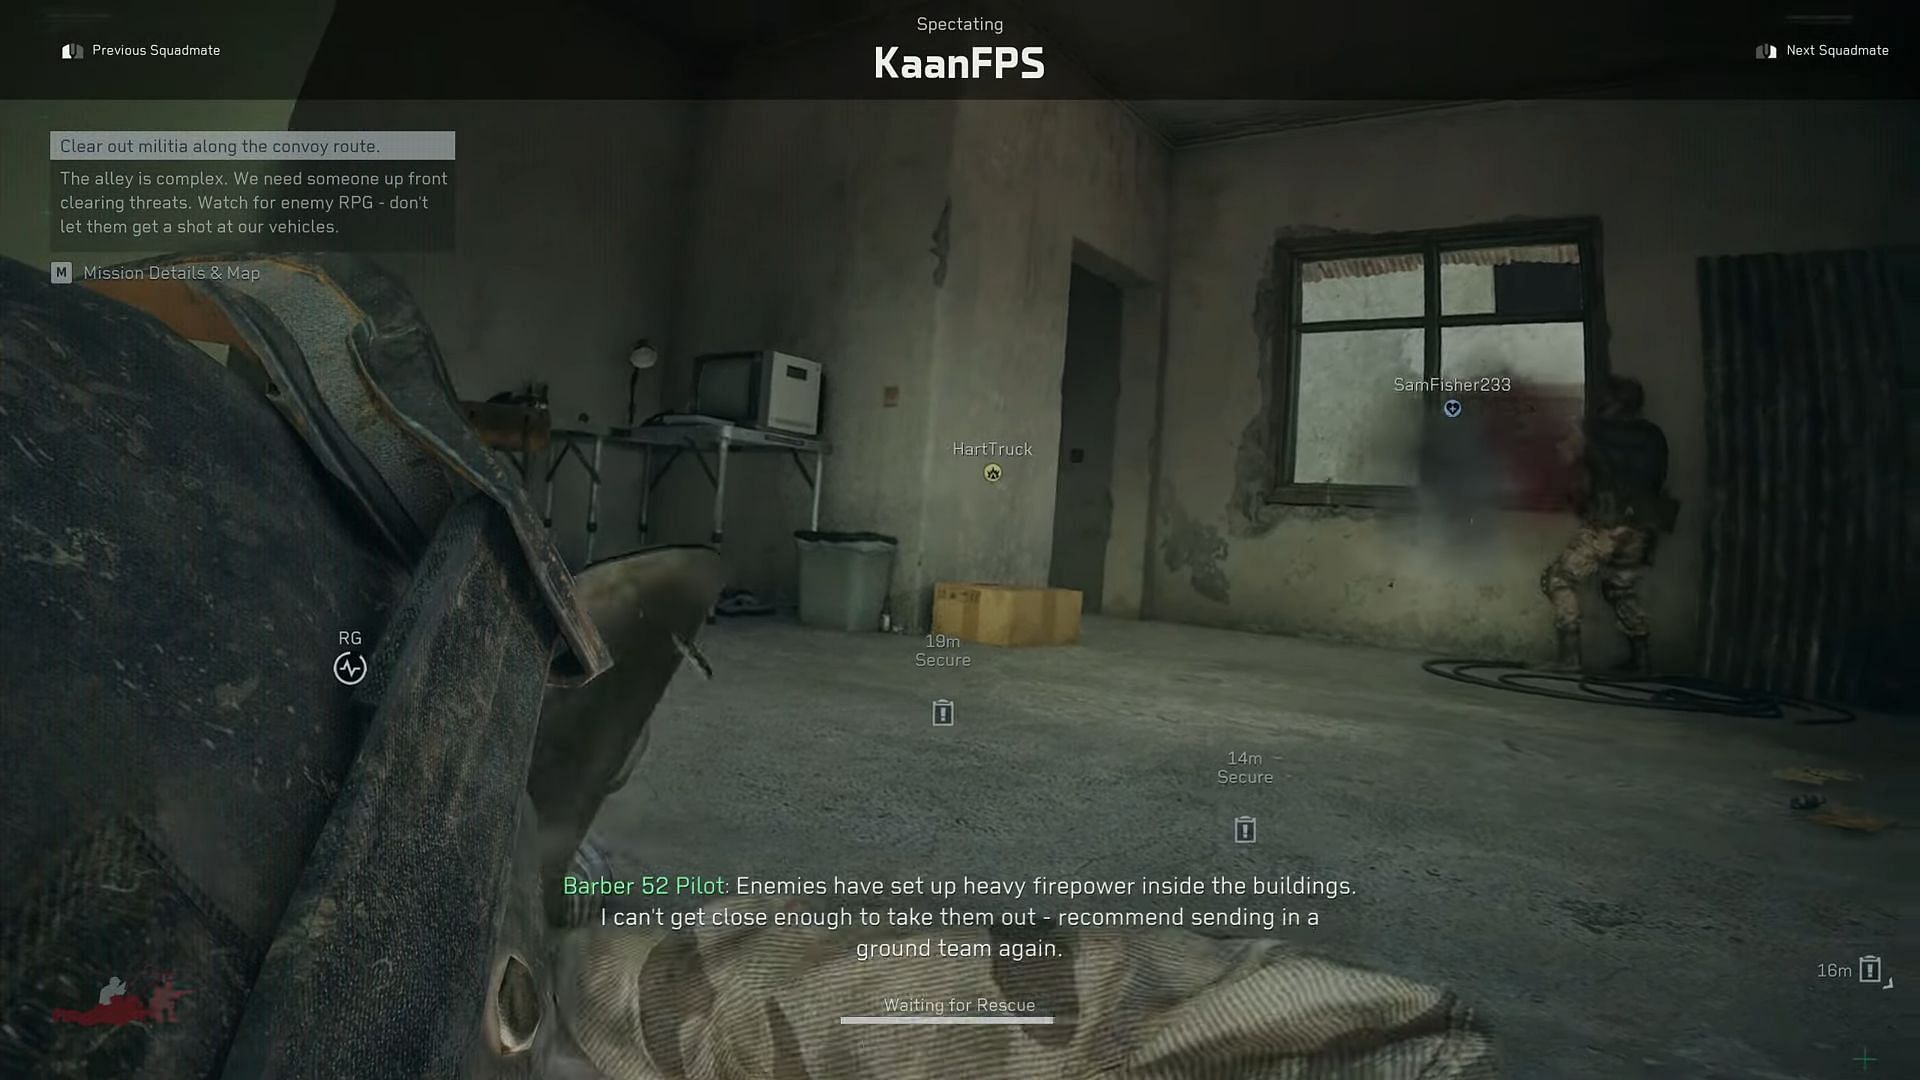
As you advance, Barber 52 pilot will inform you of enemies with heavy firepower inside nearby buildings, preventing aerial support. It's imperative for the ground team to infiltrate these structures and neutralize the threats. Proceed with caution, clearing each room methodically. Look for covers wherever possible.
Also read: Delta Force February 18 patch notes: Weapon buffs, bug fixes, and more
Part 3: Reaching the main road
Step 1
As you near the main road, the situation intensifies. The enemy attacks become more aggressive, and there's a heightened risk of losing convoy vehicles. A critical warning will alert you to swiftly eliminate all RPG threats as failure to do so may result in mission failure if the convoy sustains significant losses. Maintain constant communication with your team, coordinate attacks, and prioritize high-threat targets to ensure the convoy's safety.
Step 2
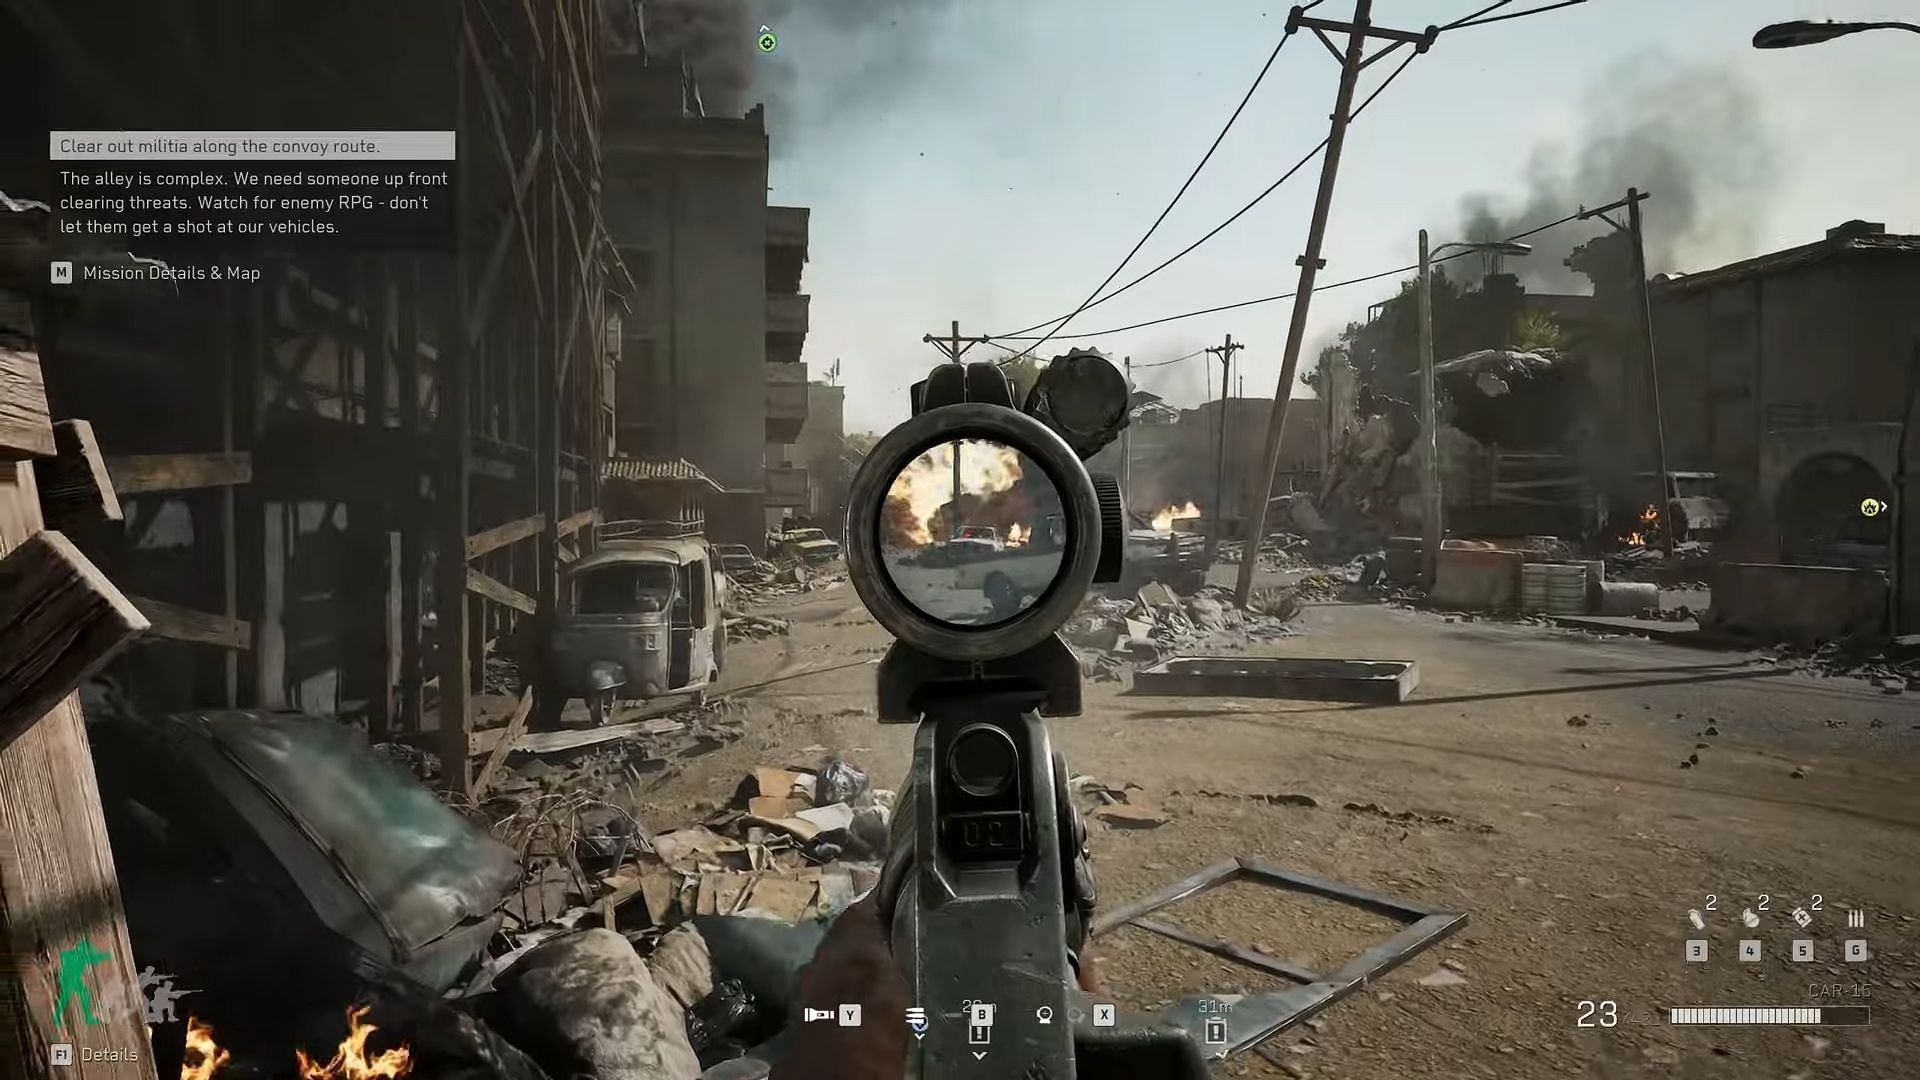
Upon reaching the main road, focus on clearing all remaining hostiles. Enemy pickup trucks will approach from both sides, attempting to flank the convoy. Use your scoped rifle to disable these vehicles before they pose a significant threat, keep spamming on the engines as that would destroy the pickups sigficantly faster.
Step 3
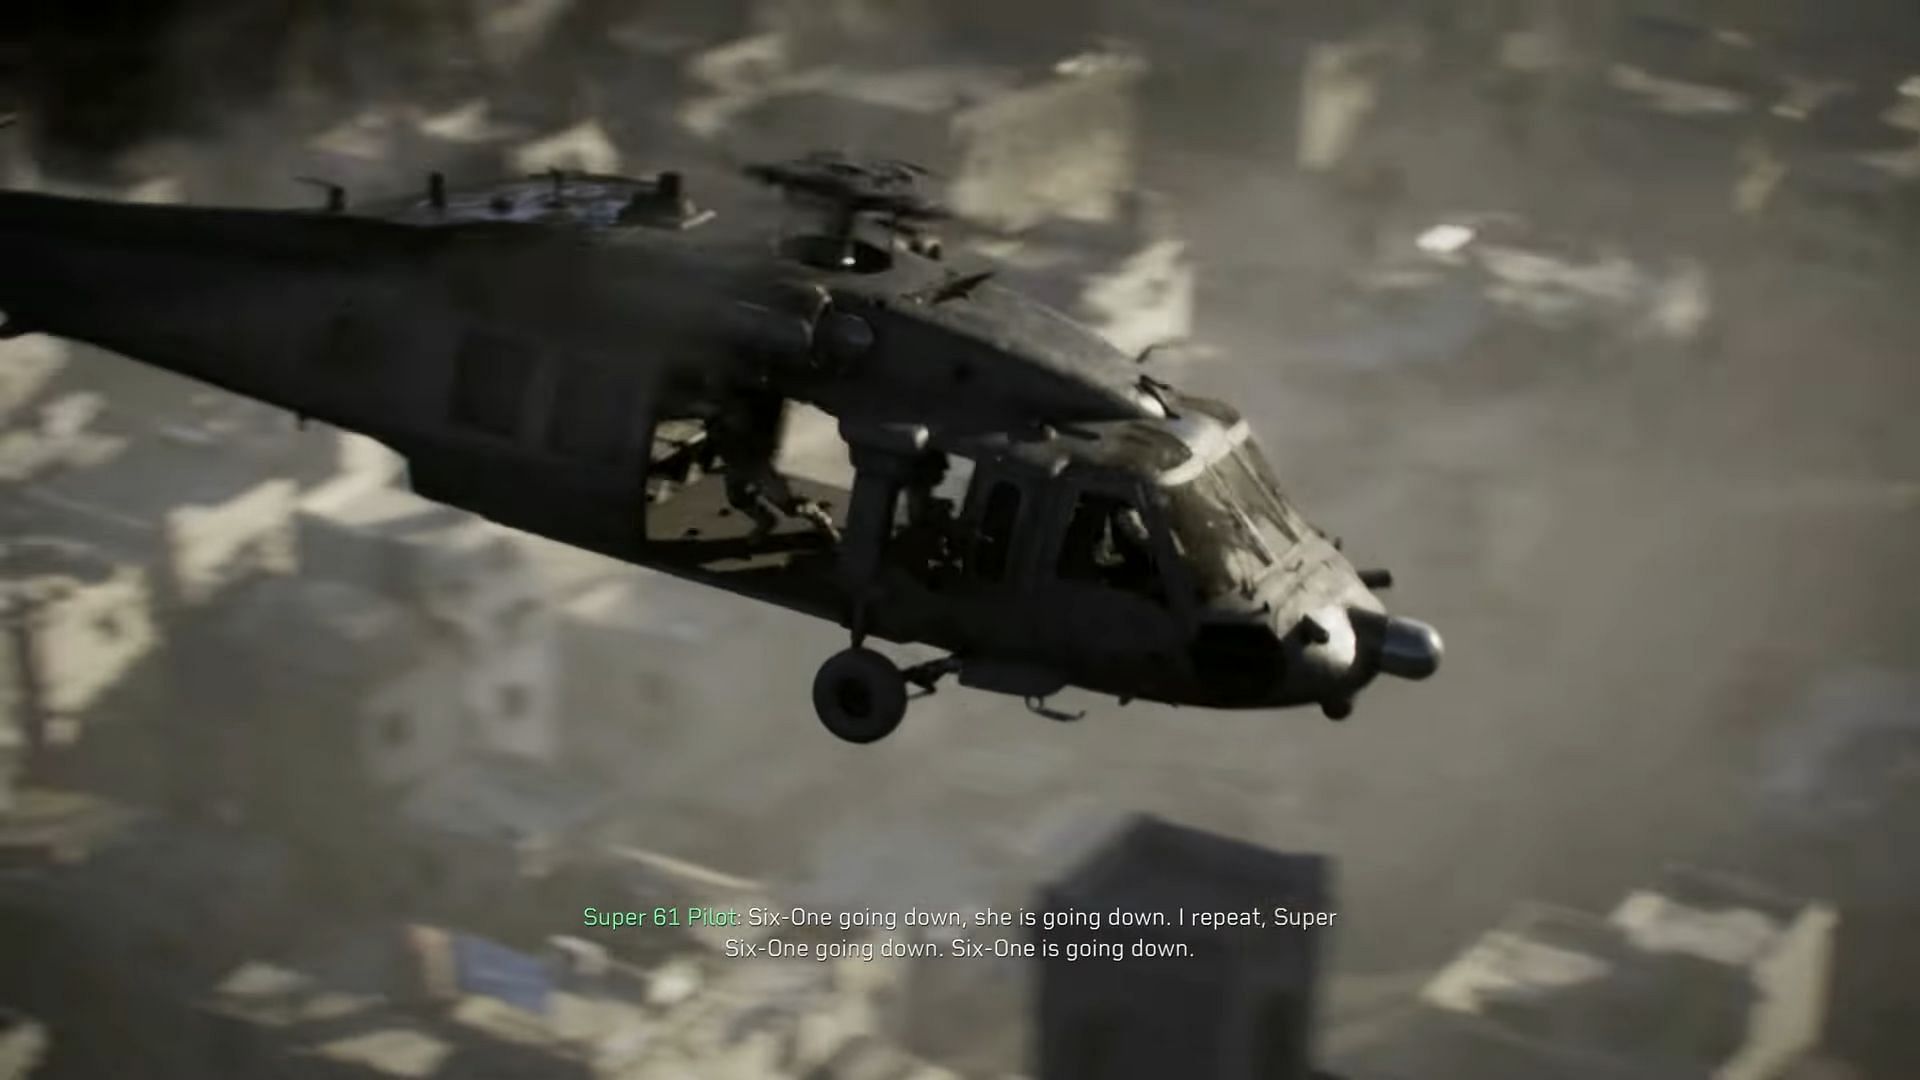
Once the area is secure, a cutscene will trigger, revealing that Super 61, a friendly helicopter, has been downed. This pivotal moment is marked by the iconic line from COL. Matthews:
"We got a Black Hawk down. We got a Black Hawk down."
The mission is now completed. Successfully completing Delta Force campaign Chapter 2 "The Fuse" requires strategic thinking, precise marksmanship, and effective team coordination. By following this guide, you'll enhance your chances of ensuring the convoy's safe return to base.
Also read: Delta Force Black Hawk Down campaign preview
Read more Delta Force articles:
- All Delta Force campaign rewards and how to get them
- Delta Force campaign chapter 1 "Irene" walkthrough: How to complete
- All Delta Force campaign missions list

Are you stuck on today's Wordle? Our Wordle Solver will help you find the answer.