
'%20x='0'%20y='0'%20height='100%25'%20width='100%25'%20%0A%20%20%20%20%20%20%20%20%20%20xlink%3Ahref='data:image/jpg;base64,/9j/2wBDAAYEBQYFBAYGBQYHBwYIChAKCgkJChQODwwQFxQYGBcUFhYaHSUfGhsjHBYWICwgIyYnKSopGR8tMC0oMCUoKSj/2wBDAQcHBwoIChMKChMoGhYaKCgoKCgoKCgoKCgoKCgoKCgoKCgoKCgoKCgoKCgoKCgoKCgoKCgoKCgoKCgoKCgoKCj/wgARCAAGAAoDASIAAhEBAxEB/8QAFQABAQAAAAAAAAAAAAAAAAAAAAb/xAAVAQEBAAAAAAAAAAAAAAAAAAADBP/aAAwDAQACEAMQAAAAmZYnb//EAB8QAAIBAwUBAAAAAAAAAAAAAAECAwAEBQYHEhMxEf/aAAgBAQABPwDbXOZbDaZyln3pFaDyGMc+2Tj65NPpVpHZ2ukDMfpAir//xAAWEQEBAQAAAAAAAAAAAAAAAAABEQD/2gAIAQIBAT8AWLN//8QAFhEBAQEAAAAAAAAAAAAAAAAAASEA/9oACAEDAQE/ACl3/9k='%3E%3C/image%3E%3C/svg%3E)
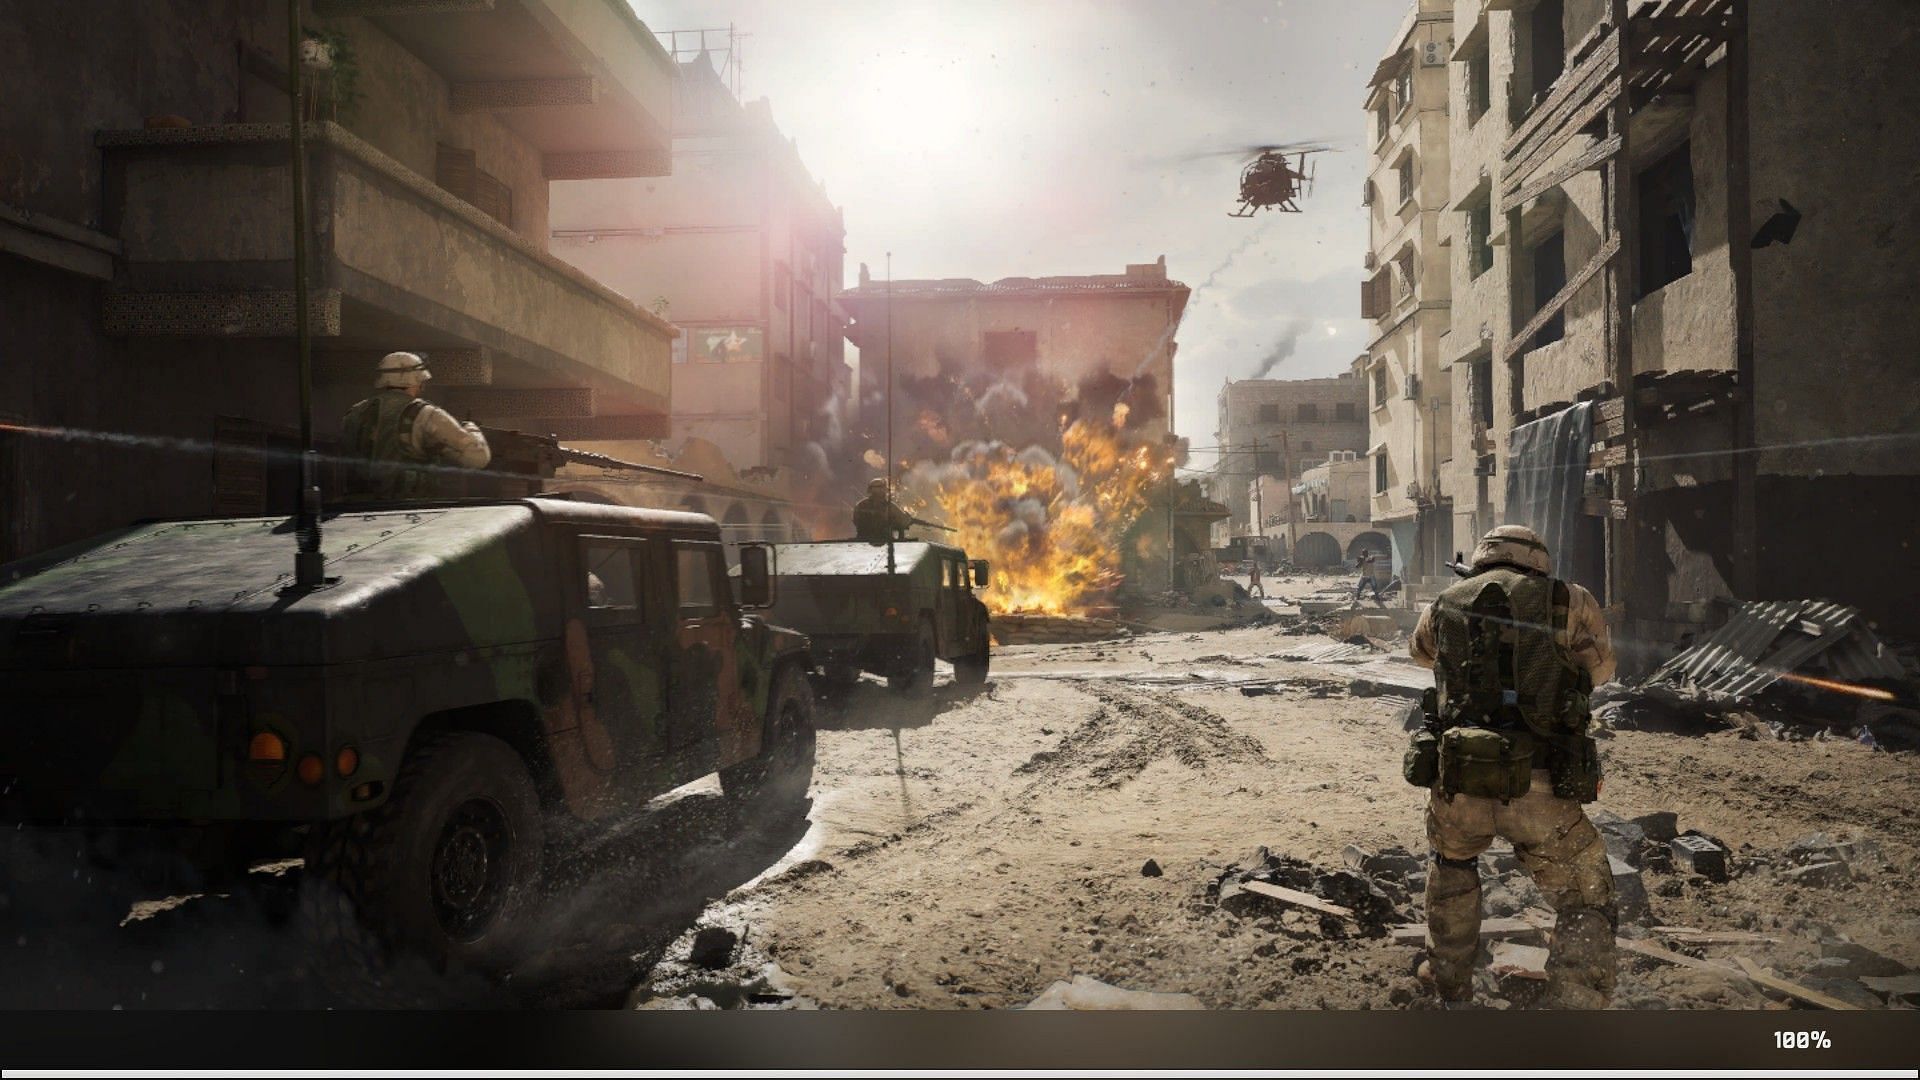
The free-to-play Delta Force campaign's third chapter, titled Black Hawk Down is live, directly following the catastrophic events of the previous one. The mission begins moments after a friendly helicopter is shot down, leading to a dangerous rescue operation. Your squad is now split, with some soldiers moving alongside the convoy while others rush through hostile territory to secure the crash site.
Here's walkthrough for the Delta Force campaign chapter 3, Black Hawk Down.
Also read: All Delta Force campaign missions list
Looking for Crossword hints & solutions? Check out latest NYT Mini Crossword Answers, LA Times Crossword Answers, and Atlantic Crossword Answers
How to complete Delta Force campaign chapter 3 "Black Hawk Down"
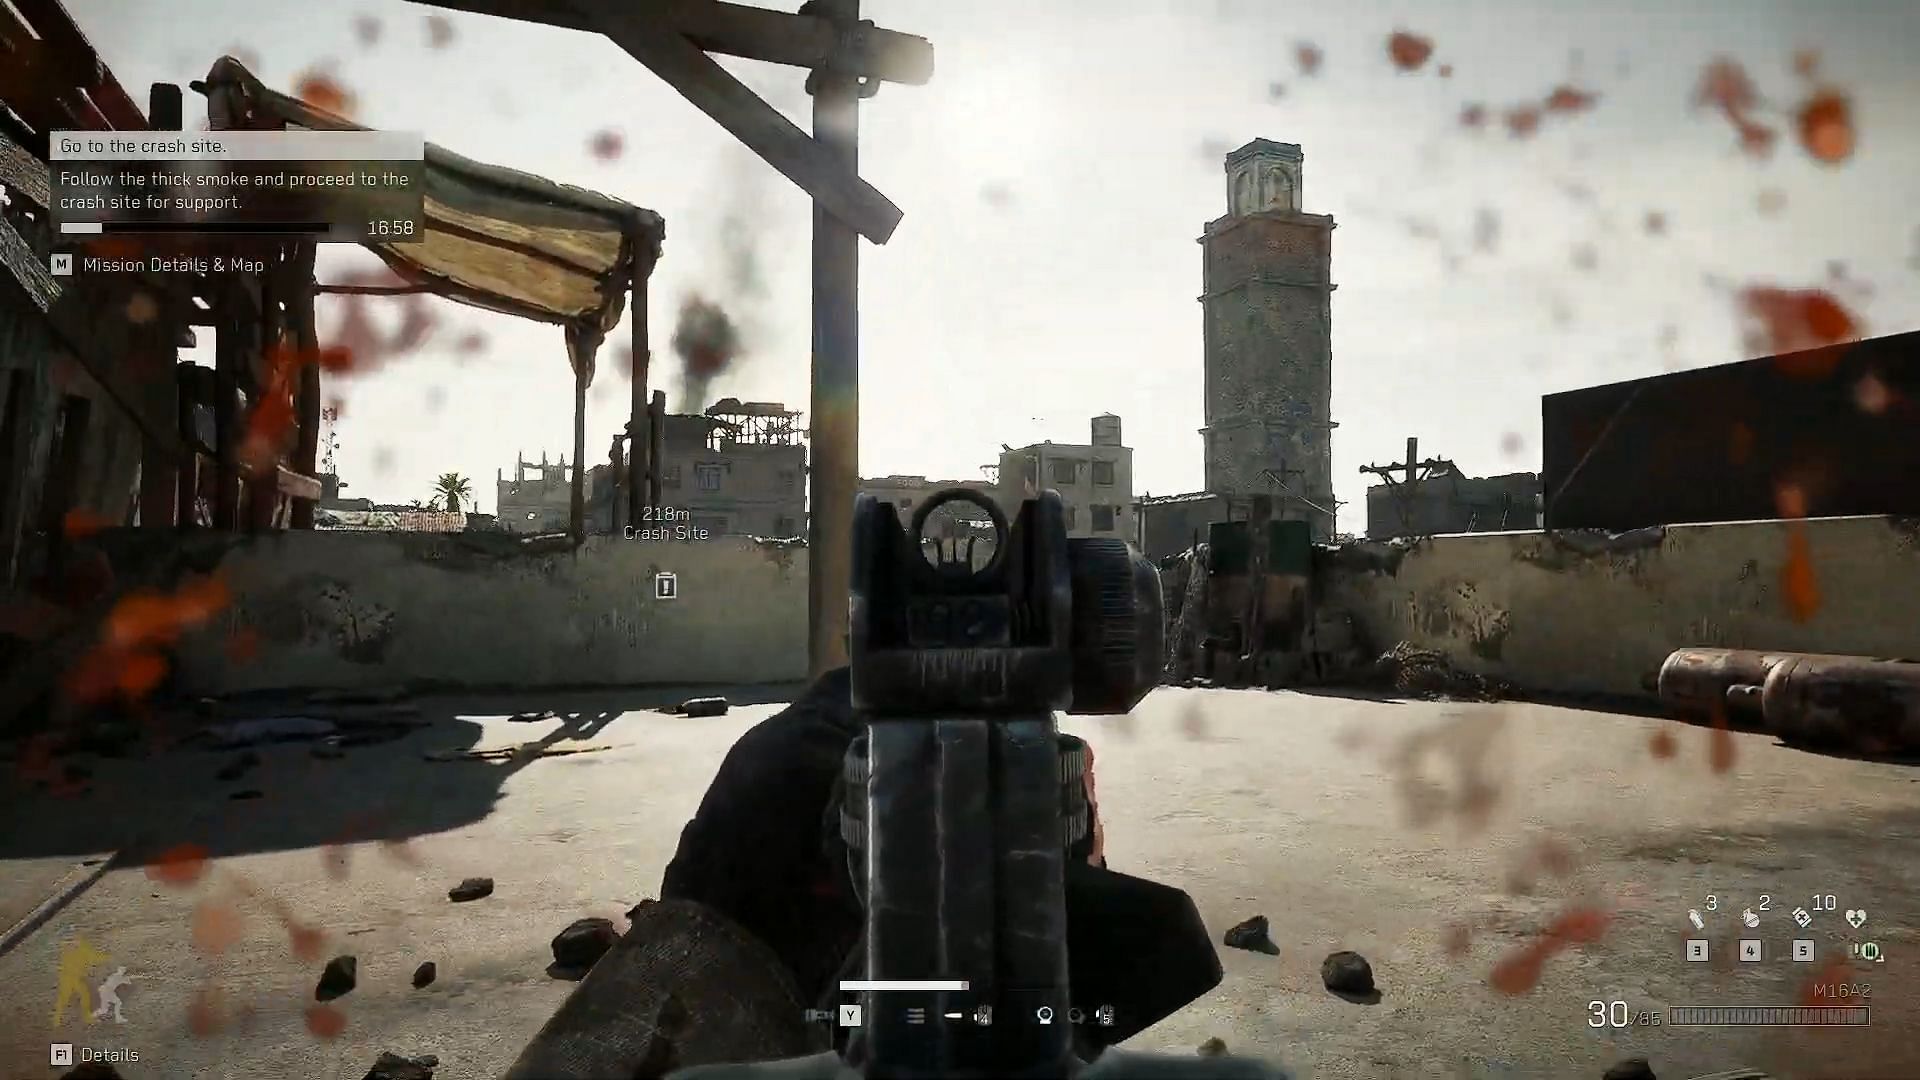
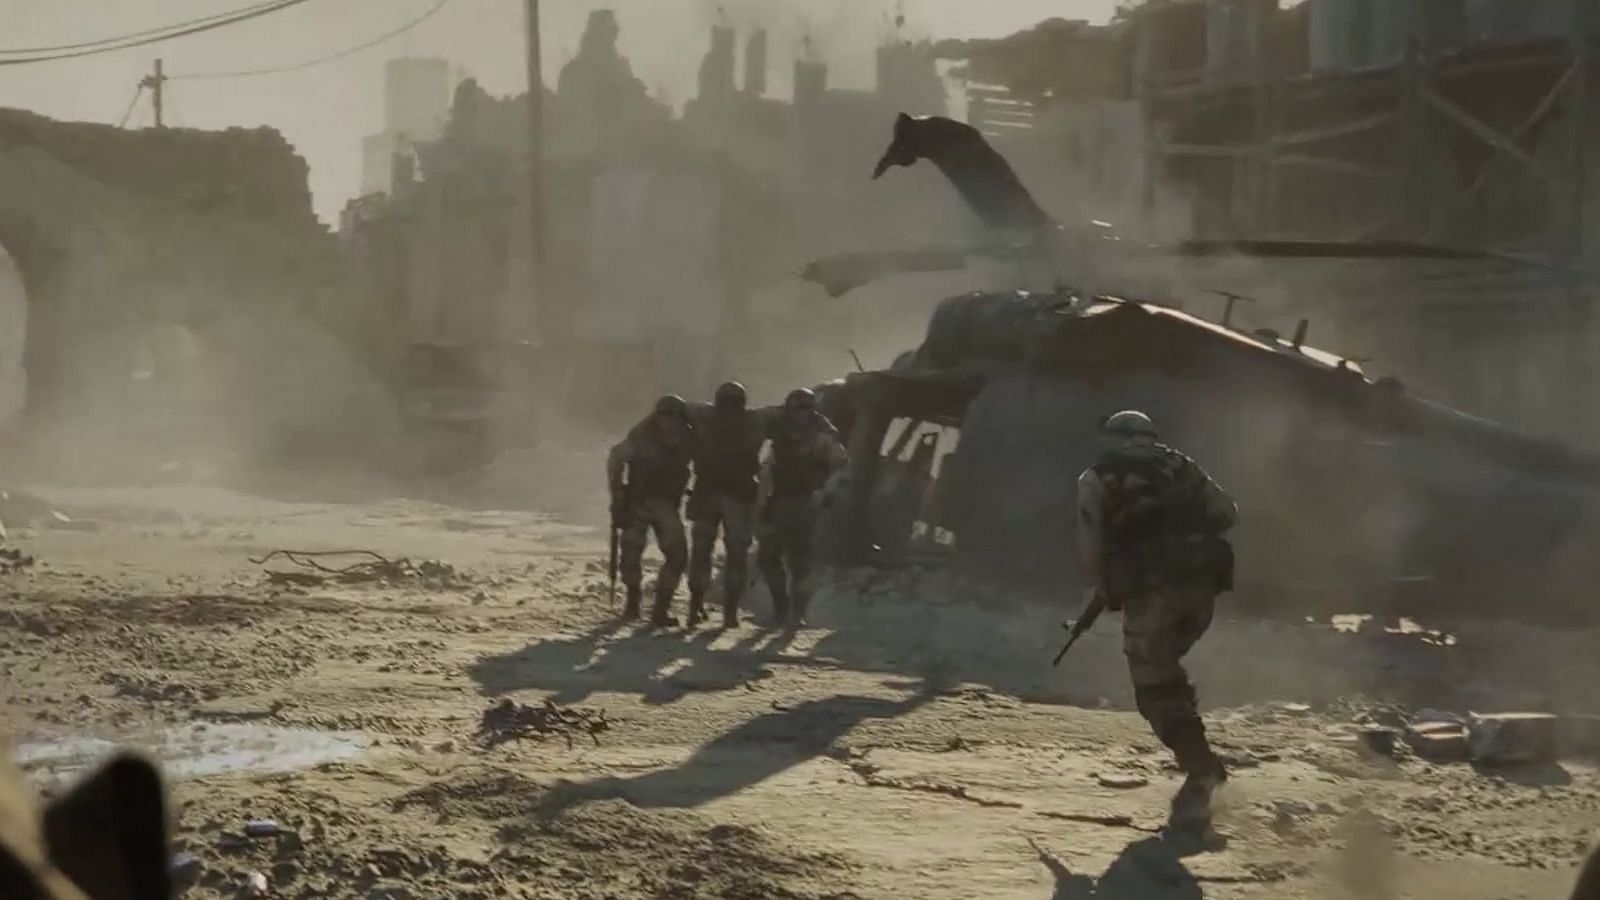
Your main objective is clear: follow the thick smoke and reach the crash site within 20 minutes. However, getting there won’t be easy. The team has been split, with some moving alongside the convoy while the rest take a direct route through Bakaara Market.
Part 1: Navigating Bakaara Market
Step 1

The mission starts in Bakaara Market, a densely packed area filled with tight alleyways and lots of cover. However, the cover also favors enemies, as they can attack from any direction while hiding. Considering this, play safe and keep an eye on your surroundings.
As you move deeper into the market, enemies will attack from various directions, using stalls, rooftops, and abandoned vehicles for cover. Keeping a steady pace while maintaining defensive positions is key to survival.
Step 2
About halfway through the market, COL. Matthew warns over the radio that snipers have taken position near the bazaar. While air support is en route, it will take time to arrive, so you need to strategically enter these buildings and try to take down the snipers. Moving through open areas without cover is risky.
Part 2: Navigating to the crash site
Step 1
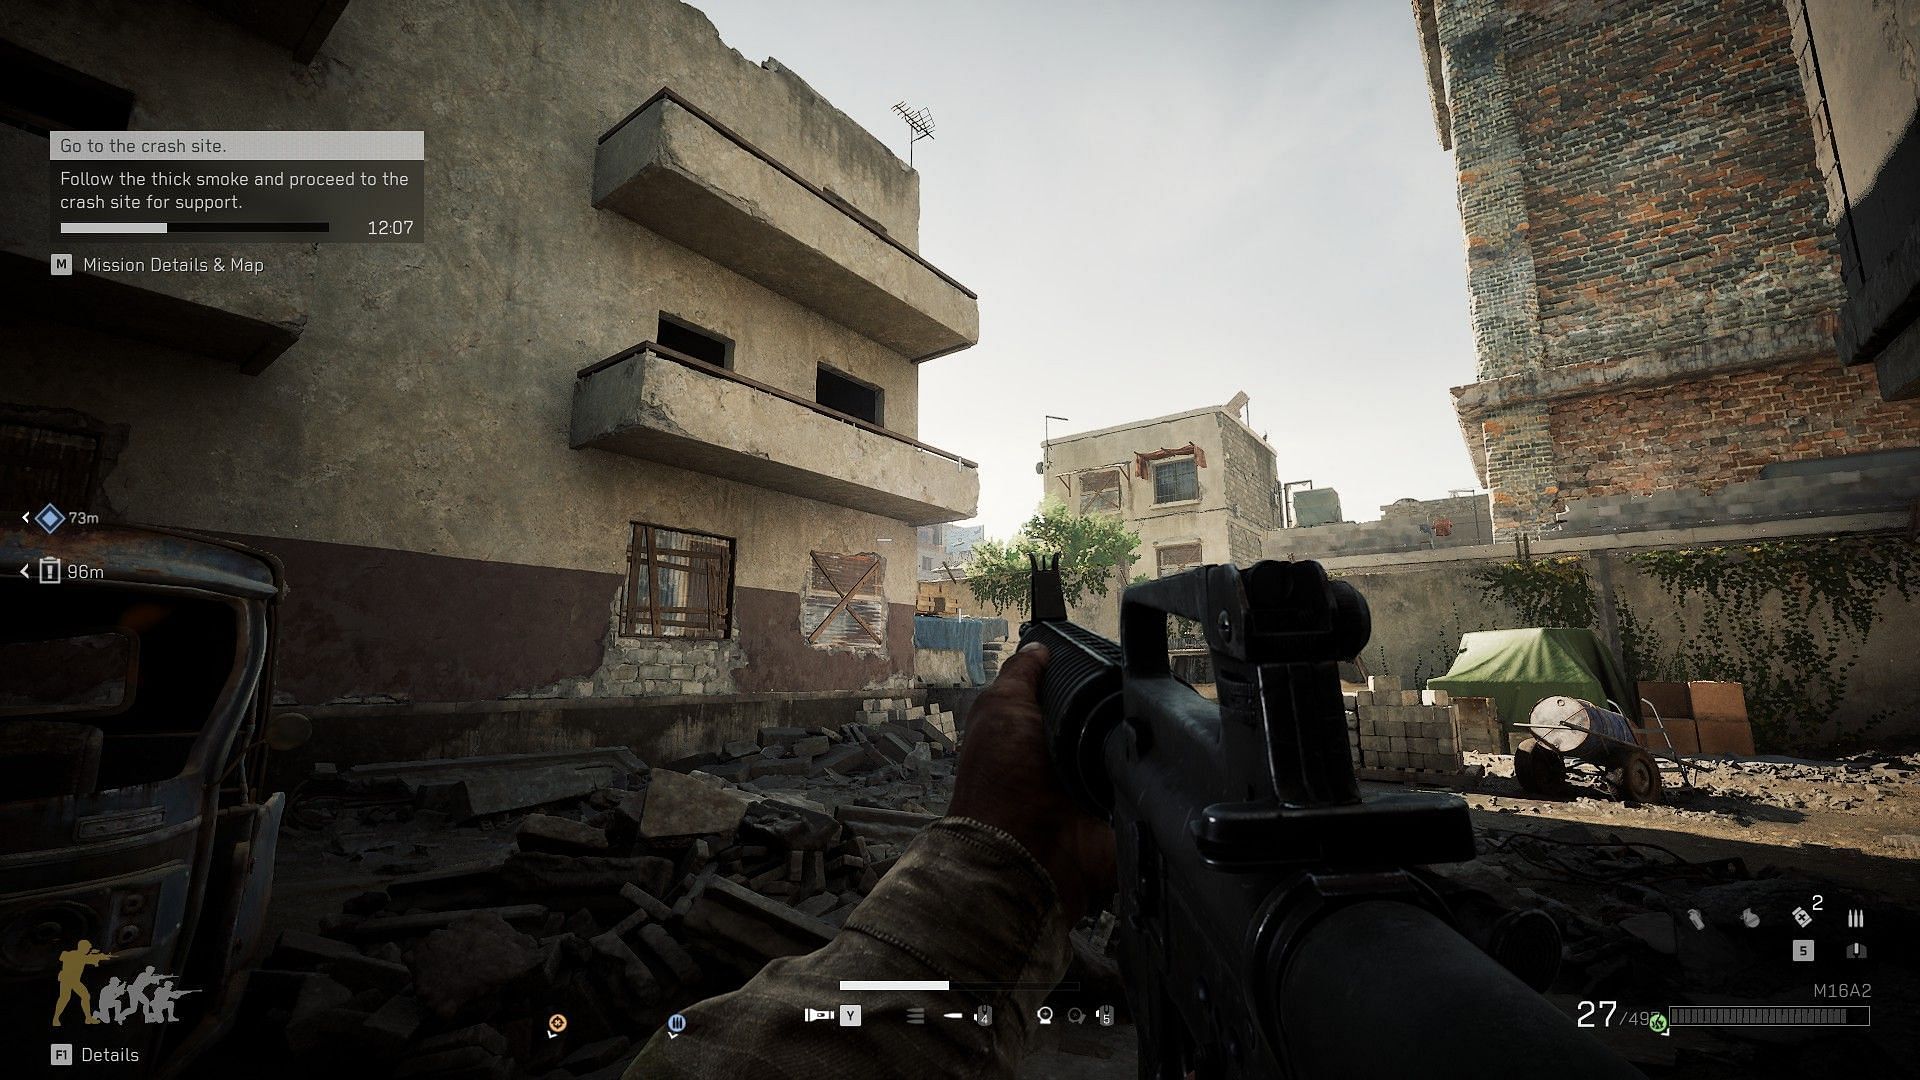
Exiting the market leads to a narrow street that connects to a broader road. Here, enemies positioned inside buildings fire down from windows and balconies, making it difficult to push forward without taking heavy fire. The key to survival is picking off distant enemies before proceeding further.
Using scoped weapons to clear out snipers and suppressive fire to keep enemy forces pinned down is recommended. Any rush forward without clearing hostiles first could result in a deadly crossfire.
Step 2
As the squad nears the main road, approximately 100 meters from the crash site, enemy forces deploy smoke grenades and hand grenades. With limited visibility, direct assault is no longer an option.
Instead, enter the nearby building on the right to gain a better vantage point. Clearing each floor while watching for close-quarters threats is essential. Once the area is secure, the squad can exit through the back alley. Now, it's time for the final push.
Part 3: Final stand and cutscene
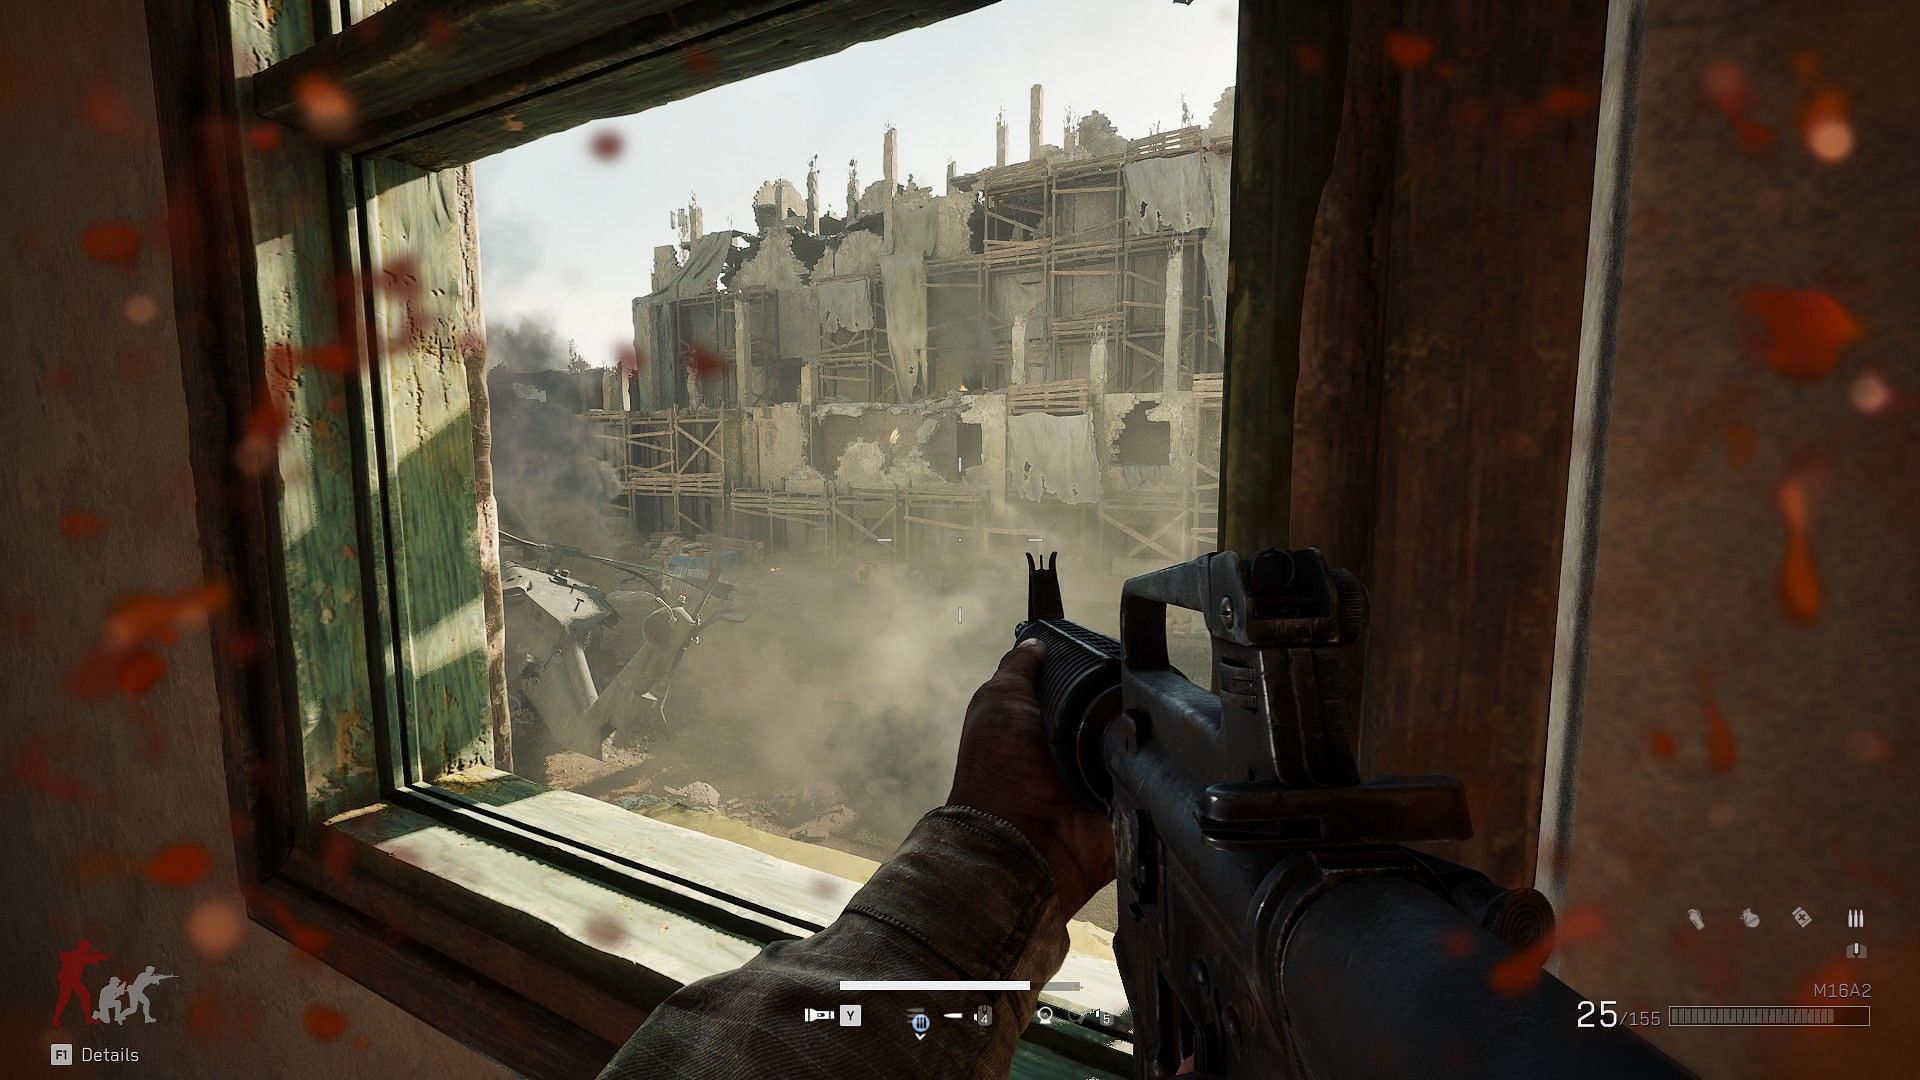
When you almost reach the crash site, you will see that Militia forces are equipped with RPGs. The priority is handling these threats to ensure the evacuation team can arrive safely. Keep eliminating as many enemies as possible while in cover until the help arrives.
As the squad eliminates the final waves, a cutscene will start that concludes the third chapter of the Delta Force campaign. In this scene, a wounded pilot sits outside the crashed chopper, desperately fighting off the last few attackers with his assault rifle. The squad rushes to assist him, after which SGT. Eversmann confirms the casualties:
- One pilot is dead.
- One pilot survived but was severely injured.
- Two crew members are still alive but wounded.
As the injured are loaded onto an evacuation chopper, Eversmann radios in, asking about the location of the convoy, but receives no response. Confusion sets in as he looks back and sees that the helicopter carrying his squad has already taken off. This scene now sets up the next chapter titled Lost Convoy.
Read more Delta Force campaign walkthroughs here:
- Delta Force campaign chapter 1 "Irene" walkthrough
- Delta Force campaign Chapter 2 "The Fuse" walkthrough
- Delta Force campaign chapter 7 "Mogadishu Marathon" walkthrough

Are you stuck on today's Wordle? Our Wordle Solver will help you find the answer.