
'%20x='0'%20y='0'%20height='100%25'%20width='100%25'%20%0A%20%20%20%20%20%20%20%20%20%20xlink%3Ahref='data:image/jpg;base64,/9j/2wBDAAYEBQYFBAYGBQYHBwYIChAKCgkJChQODwwQFxQYGBcUFhYaHSUfGhsjHBYWICwgIyYnKSopGR8tMC0oMCUoKSj/2wBDAQcHBwoIChMKChMoGhYaKCgoKCgoKCgoKCgoKCgoKCgoKCgoKCgoKCgoKCgoKCgoKCgoKCgoKCgoKCgoKCgoKCj/wgARCAAGAAoDASIAAhEBAxEB/8QAFQABAQAAAAAAAAAAAAAAAAAAAwf/2gAIAQEAAAAAkZ//xAAUAQEAAAAAAAAAAAAAAAAAAAAD/9oACAECEAAAAC//xAAUAQEAAAAAAAAAAAAAAAAAAAAB/9oACAEDEAAAAH//xAAfEAABAwQDAQAAAAAAAAAAAAACAQMEBQYSIgARITP/2gAIAQEAAT8ApVOp91XTHpESnjGOZHRWHDd+ZiK5EWu3eJcYtVhWG1ViKWqerl2vP//EABgRAAIDAAAAAAAAAAAAAAAAAAABAgMS/9oACAECAQE/ALJPTP/EABYRAAMAAAAAAAAAAAAAAAAAAAACMf/aAAgBAwEBPwBYf//Z'%3E%3C/image%3E%3C/svg%3E)
Evil Dead: The Game has different missions. Unlike the online mode that pits a group of four Survivors against the Kandarian Demon and their hordes of Deadites, these missions can help players unlock special items. Certain characters are only unlockable through these missions.
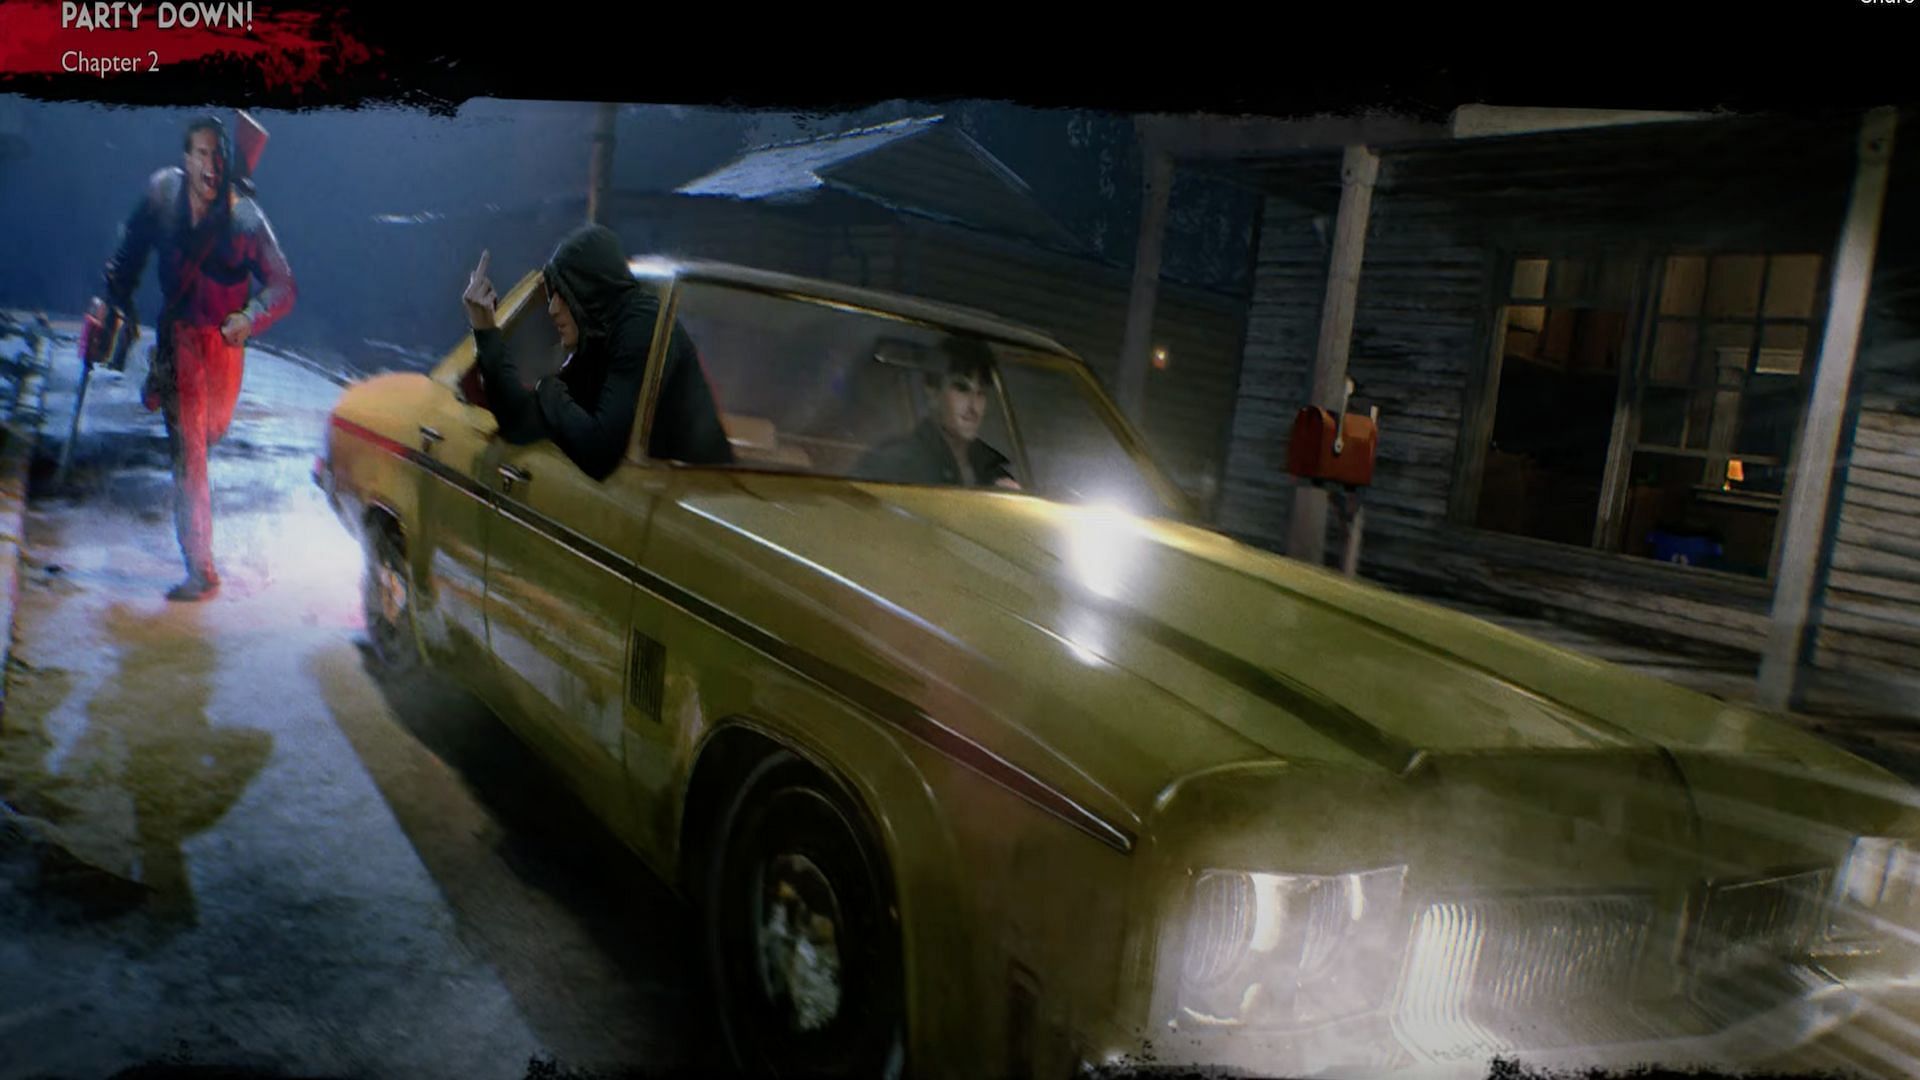
The Party Down mission is the second mission in the game, and players will have to have their wits about them if they are going to make it through. Every single-player mission in the campaign has a special feel. This will task players to go around the map, locate multiple items, and face off against the Deadites. Players should come prepared for some large fights.
Completing the Party Down mission in Evil Dead: The Game
Looking for Crossword hints & solutions? Check out latest NYT Mini Crossword Answers, LA Times Crossword Answers, and Atlantic Crossword Answers
The Party Down mission in Evil Dead: The Game tasks players to locate five different Wiseman’s Brew scattered throughout the map. As players collect more of it, they will begin to face off against more and more hordes of Deadites. Therefore, they will want to prepare themselves with good loot for the battles ahead and get started by looking around for weapons.
The first location
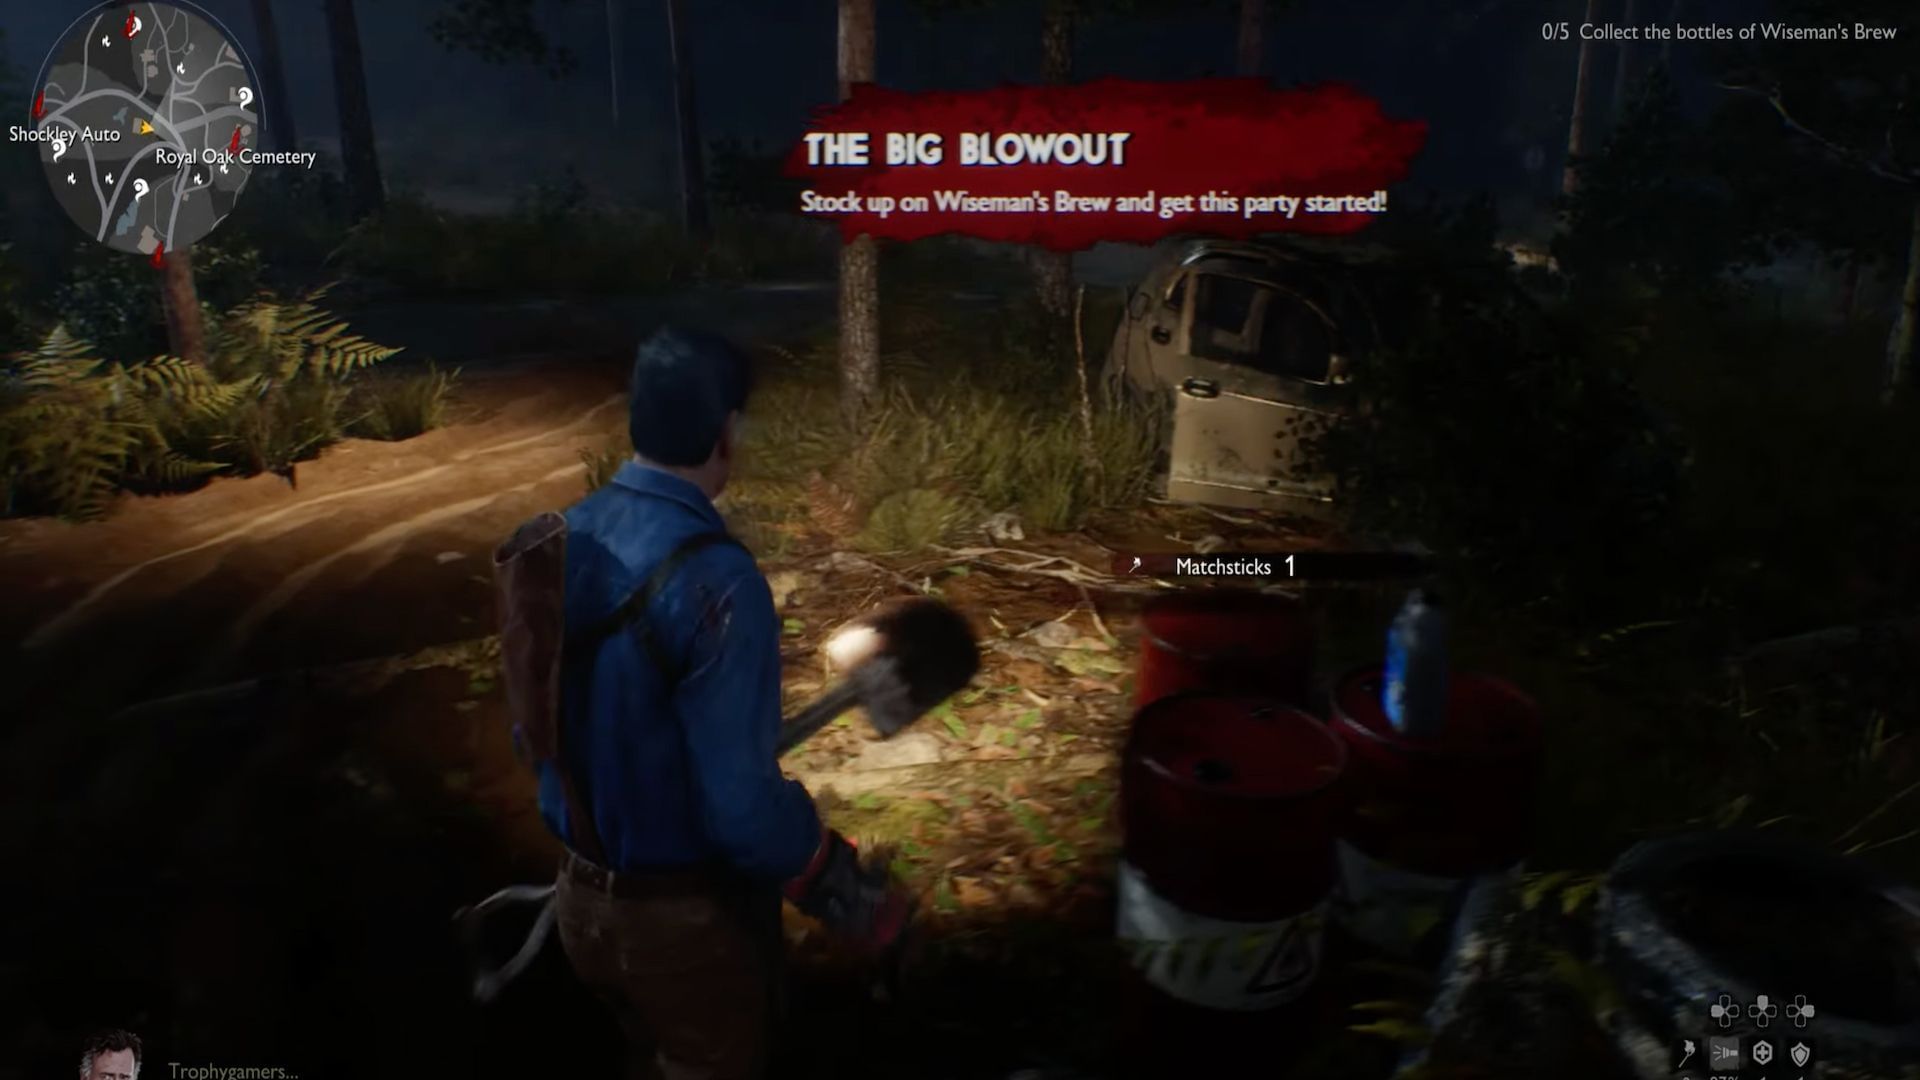
Once players spawn into the world, they will start looking around the area for supplies. In this first area where players spawn, they will be able to locate valuable items such as an amulet and Shemp's Cola. These will come in handy for healing. Find any weapons available and loot the first Wiseman’s Brew. Players will want to grab the revolver in this location to have some stopping power.
The second location
Players will want to head north to the next objective from the spawn point. Along the way, be sure to loot any nearby locations to stock up on ammo for the next fight, as it will be very useful. Upon reaching the second Wiseman’s Brew, picking it up will spawn nine Deadites. The good news is that they are fairly weak. Players can easily take them out with the revolver and put them down.
The third location

Next, players should head west to the Shockley Auto area. Here, they will encounter some Deadites and a Deadite Elite, a much stronger variant. It is recommended to take the Deadite out with a melee weapon and use the revolver to remove the Deadite Elite, as its health will go down much faster with minimal risk. Once defeated, grab the Wiseman’s Brew.
The fourth location
After gathering the third Wiseman’s Brew, it's time to head east. Players will travel through the Royal Oak cemetery and be wary of the tree there, which will attack and jumpscare the player. This location has access to two legendary weapons, a crossbow and a pistol, but it is recommended to grab a shotgun if the player can get their hands on one. Grab the Wiseman’s Brew and head south.
The fifth location

Players should head south out of the cemetery and will pass a shack, where they can stock up on some Shemp's Cola. Once the shack has been looted, it's time to head down to the Dead End. Here, players will see a Wiseman’s Brew and, upon picking it up, will trigger a fight with 10 Deadites. Use the melee weapon on the weaker Deadites and the shotgun to finish the stronger foes.
After finishing up the fight, players will wrap up the mission and be ready to move on to the next one.
Are you stuck on today's Wordle? Our Wordle Solver will help you find the answer.