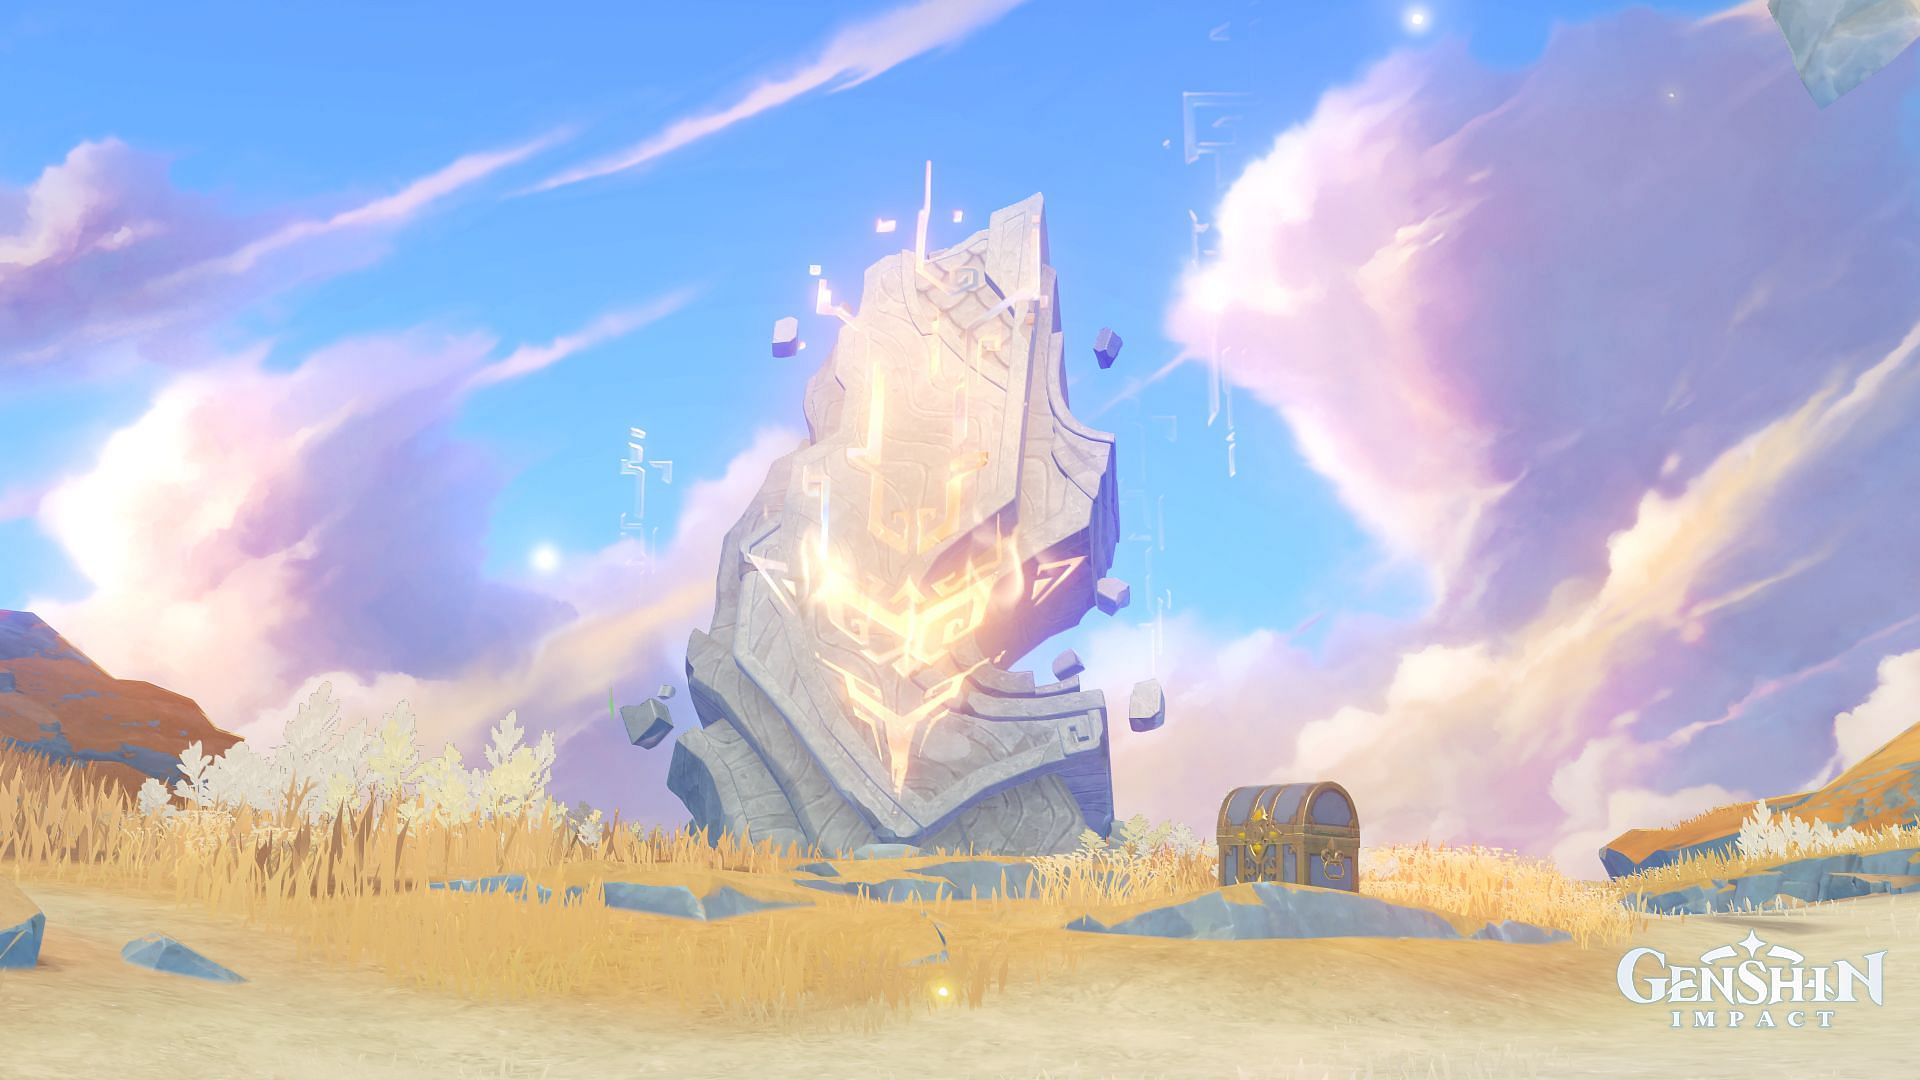
Revelations from the Past in Genshin Impact is the third and final part of Natlan's Between Pledge and Forgettance quest series. It is a pretty long storyline that will help you unlock a new underground location and two hidden teleport waypoints. Completing this quest will also reward you with multiple chest rewards, achievements, and a Shattered Night Jade key item.
This article will provide a simple guide on how to complete the Revelations from the Past quest in Genshin Impact.
Genshin Impact Revelations from the Past quest location and guide
How to start Revelations from the Past quest

Looking for Crossword hints & solutions? Check out latest NYT Mini Crossword Answers, LA Times Crossword Answers, and Atlantic Crossword Answers
Revelations from the Past will automatically trigger after you complete the Rite of the Bold quest in Genshin Impact.
Go to the entrance to the ruins and place the talisman

Follow the quest navigation and go to the ruin to find a few Rifthounds at the entrance. Defeat them and place the talisman on the glowing spot.
Open the barrier blocking the entrance to the ruins

Go to the yellow circle before hitting "T" on the keyboard or the glowing green button on the screen to change the POV and control the little Saurian's body. This will remove the barrier from the entrance.
Explore the ruins

Enter the ruins and keep moving forward to find a hidden teleport waypoint in the corridor and an Exquisite Chest. Collect the chest before jumping into the hole and reaching a large room with another barrier.
Open the barrier
Follow these steps to open the barrier:
- Operate the nearby level to raise the platforms.
- Switch to Tepetlisaur's POV and go to the room with Pyroculus on the left side (east).
- Use the Saurian's skill to reveal a Pyro totem.
- Switch to a Pyro character and light up the totem.
This will create a red-colored platform for the Tepetlisaur to walk on.

- Switch to Tepetlisaur before heading to the other side of the room and use the lever.
- Switch back to your character and climb the orange platform.
- Switch to the Saurian one more time and use the lever.
- Lastly, walk to the green platform.

This will open the barrier. Go to the large gate to get a Precious Chest reward. Additionally, you will find another hidden teleport waypoint in the Hall of Parting Vows.
Traverse the corridor

As you head deeper into the ruins, you will eventually find yourselves inside a large chamber with Liquid Phlogiston. After the cutscene, stand in the corresponding positions. This will trigger a cutscene and you will enter a room before getting trapped.
Unlock the mechanism (Tepetlisaur)

Switch to the Tepetlisaur's POV and move ahead until you reach a large cavern with lots of trees and huge rock crystals. Stay on the right side of the cavern and head toward the large rock crystal pillar. Destroy the nearby breakable rock to reveal a Tremulous Crystal. Hit all the crystals to make the pillar fall. This will make a makeshift bridge for you to cross the lake.
On a related note, you can also destroy the other breakable rocks to get a few chests.

Next, go to the other large rock crystal pillar and hit the Tremulous Crystal to make the pillar fall. Lastly, go to the platform with the Pyroculus and switch the character POV.
Unlock the mechanism (Traveler)
Get down to the lower floor and destroy the wall on your left to find a new passage and a Pyroculus. Follow the path to find another room. Avoid the lasers since touching them can trigger the Liquid Phlogiston's level to rise.

However, make sure to go slowly since there are many lasers in the room. Swiftly get to the other side and operate the mechanism to reveal a new path. Follow it until you find a lever and use it to summon several platforms. You will also be rewarded with a Precious Chest.
Next, switch to Saurian's POV and get to the orange platform under the green light before switching back to the character's POV.
Near the Precious Chest, you will find several Pyro totems. You must light them up to remove the seal from the device upstairs. To do so, touch the lasers and quickly climb the stairs. Lastly, operate the device to open the gate and stand under the light before using the switch on your right side.

Head straight to find a mural and stand in the circle. Do the same with the little Saurian companion. This will trigger a cutscene and open a new path.
Meet up with the Tepetlisaur

Follow the navigation and meet up with the little Saurian companion.
Traverse the lava

After the cutscene, follow the path to go down. However, make sure to bring a strong team because you will engage in a fight against multiple Rifthounds and the Golden Wolflord. Once you've defeated all the mobs, touch the inscription and continue onward to conclude the Revelations from the Past quest.

Completing the Genshin Impact Revelations from the Past quest will give you 50 Primogems, two Precious Chests, and one Luxurious Chest. One of the Precious Chests also has a Shattered Night Jade that you can use to craft a Night Jade to challenge the Chamber of Night's Trial. Lastly, you will unlock a new Gold of the Sun, Together with his Blood achievement.
Check out our other Genshin impact articles:
- Genshin Impact 5.0 quest list
- Genshin Impact 5.0 achievements list
- Genshin Impact 5.0 collectibles count
- Genshin Impact Natlan Radiant Spincrystal locations
- Genshin Impact Natlan Viewpoints locations
Are you stuck on today's Wordle? Our Wordle Solver will help you find the answer.
