
'%20x='0'%20y='0'%20height='100%25'%20width='100%25'%20%0A%20%20%20%20%20%20%20%20%20%20xlink%3Ahref='data:image/jpg;base64,/9j/2wBDAAYEBQYFBAYGBQYHBwYIChAKCgkJChQODwwQFxQYGBcUFhYaHSUfGhsjHBYWICwgIyYnKSopGR8tMC0oMCUoKSj/2wBDAQcHBwoIChMKChMoGhYaKCgoKCgoKCgoKCgoKCgoKCgoKCgoKCgoKCgoKCgoKCgoKCgoKCgoKCgoKCgoKCgoKCj/wgARCAAGAAoDASIAAhEBAxEB/8QAFgABAQEAAAAAAAAAAAAAAAAAAAUG/8QAFQEBAQAAAAAAAAAAAAAAAAAAAgP/2gAMAwEAAhADEAAAANHKFT//xAAgEAACAgEDBQAAAAAAAAAAAAABAwIEIQARQQUGEiJC/9oACAEBAAE/AO3L86ofUuqXYRXEDDhkfMH75zwRq301Fi05z7bg1kzOYinG5OdvfX//xAAZEQEAAgMAAAAAAAAAAAAAAAABAAIREpH/2gAIAQIBAT8AbW2XL2f/xAAYEQADAQEAAAAAAAAAAAAAAAABAgMRAP/aAAgBAwEBPwCwEmxBnf/Z'%3E%3C/image%3E%3C/svg%3E)
In Genshin Impact, The Chronicler of the Crumbling City world quest takes you deeper into the realm hidden beneath the Great Volcano of Tollan. By completing this quest series, you will learn about the ancient mechanisms of the dragons of Natlan and what remains of their history in Genshin Impact.
As you venture deeper into the Ancient Sacred Mountain, you will come across a Secret Source Servant levitating in the middle of a giant platform. By talking to it, you will learn about something called Astral Assemblages being destabilized. To power up the city in the Ancient Sacred Mountain, you must complete two exploration quests: The Forsaken Sea of Wisdom and Sealed Site of Sacrifice.
In this guide, we will focus on The Forsaken Sea of Wisdom quest in Genshin Impact.
Looking for Crossword hints & solutions? Check out latest NYT Mini Crossword Answers, LA Times Crossword Answers, and Atlantic Crossword Answers
Genshin Impact: The Forsaken Sea of Wisdom Quest Walkthrough
Try to Activate the Astral Assemblage(s)
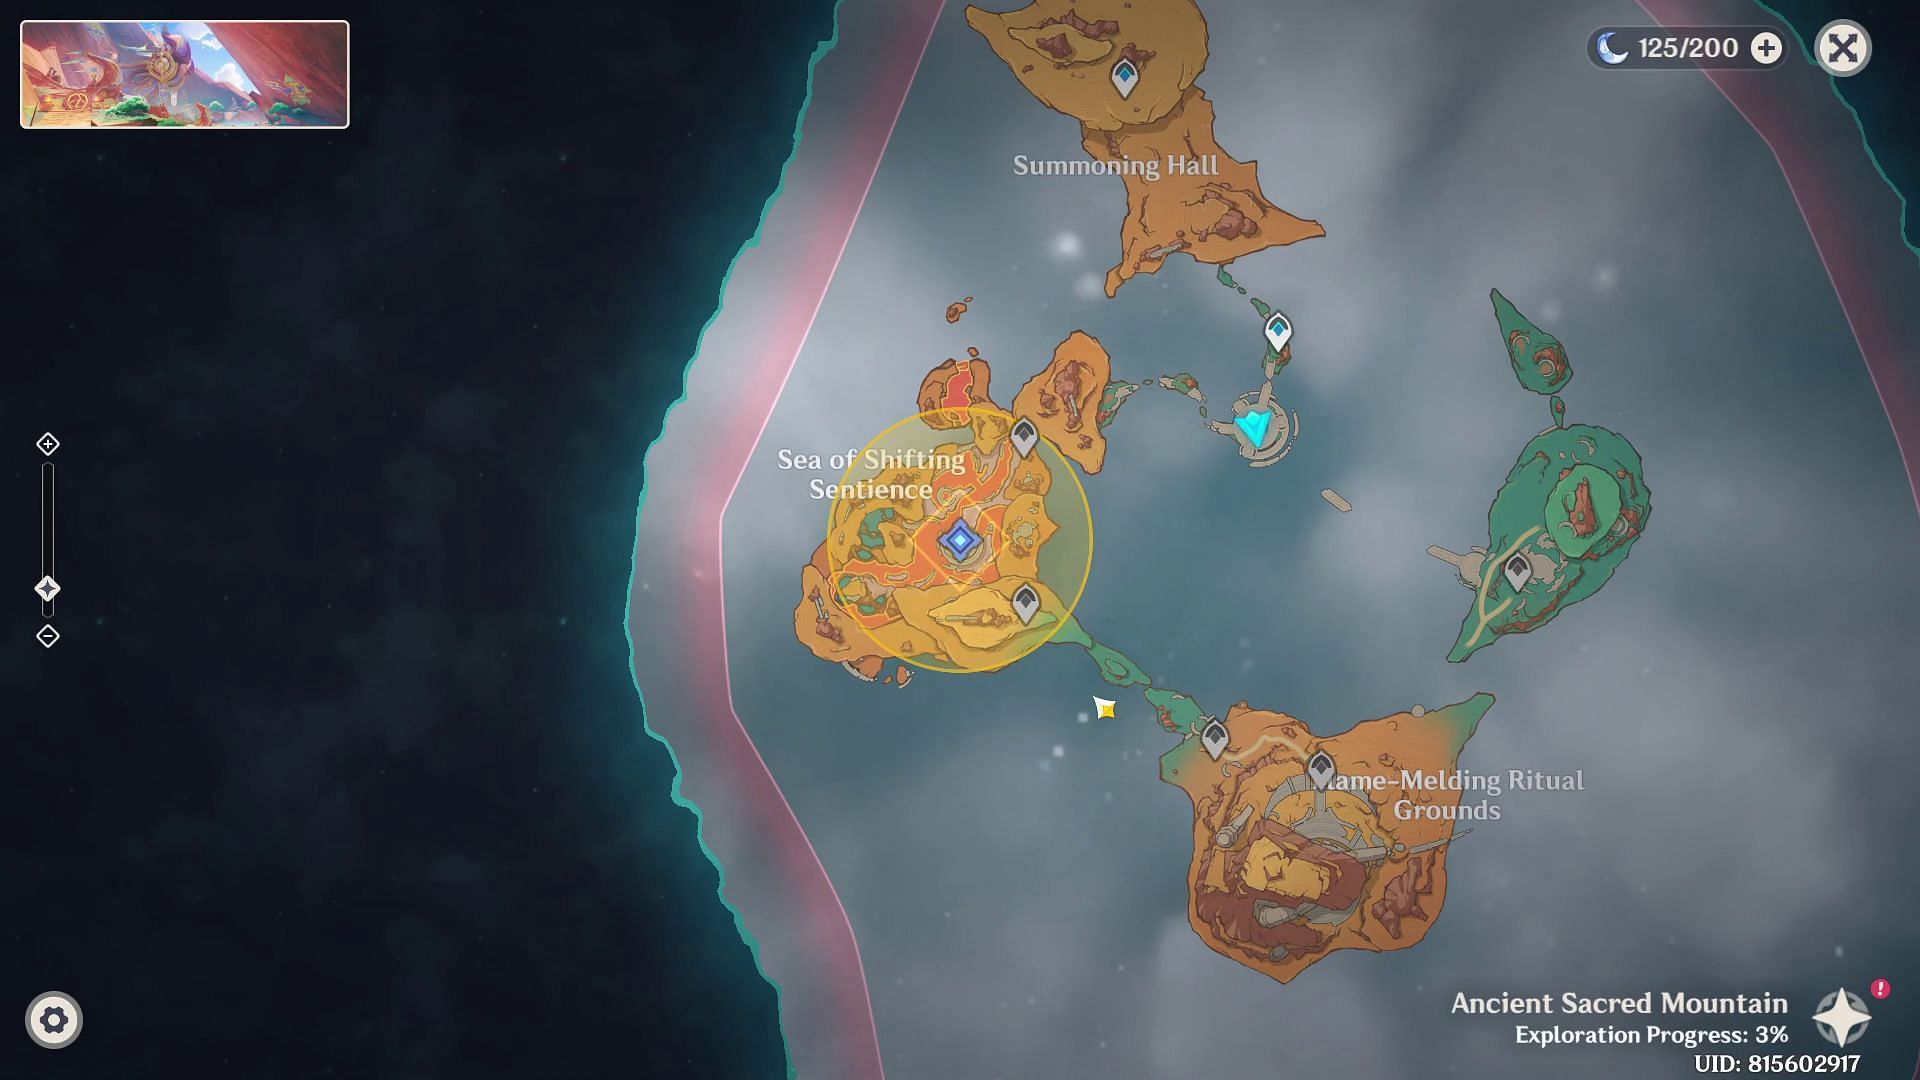
To progress in The Forsaken Sea of Wisdom quest, head to the Sea of Shifting Sentience on the west side of the Ancient Sacred Mountain region. From the platform where you found the Secret Source Servant, start heading west. Use the Yumkasaur Spiritsconce to quickly reach the floating island on the west side.
After reaching the island, continue west to find a weakened wall with a Yumkasaur Spiritsconce in front of it. Transform into a Yumkasaur and jump over the wall to find the entrance. Then, cross a narrow floating bridge to reach the teleport waypoint in the Sea of Shifting Sentience.
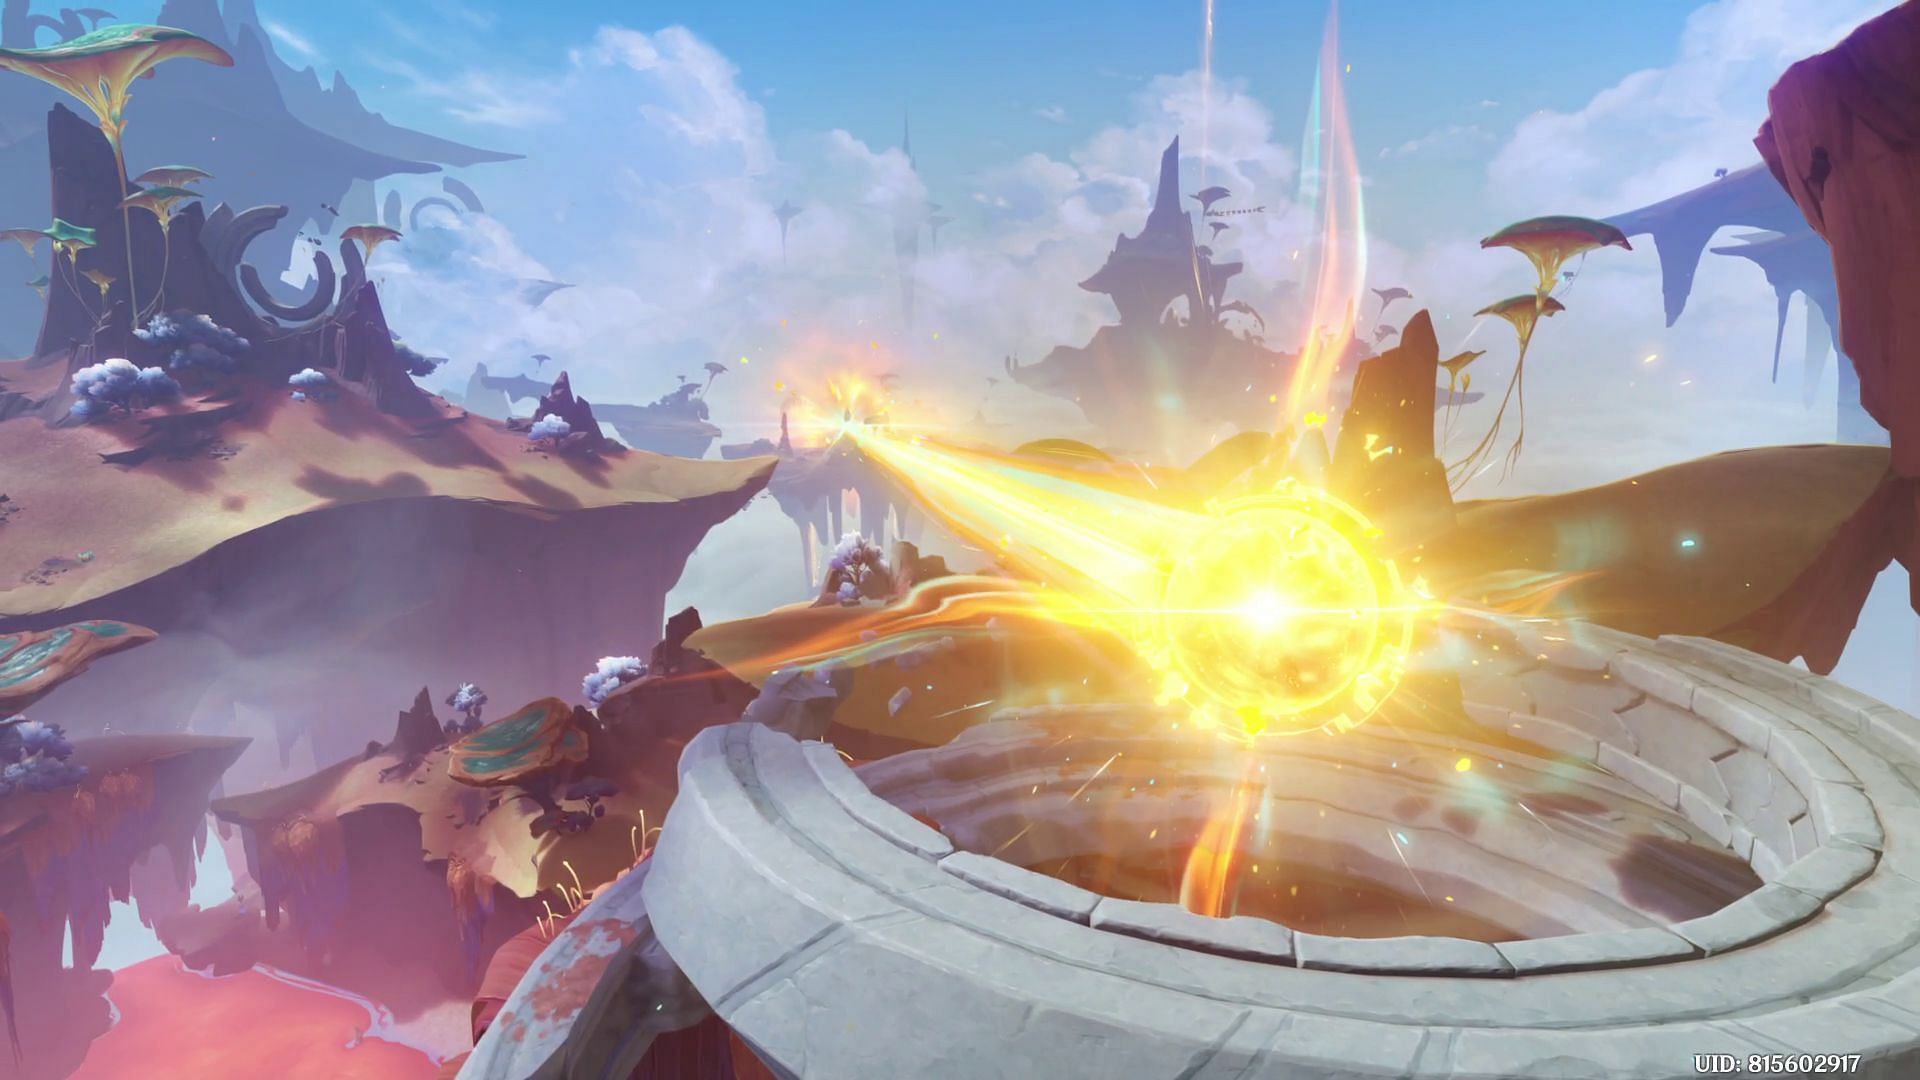
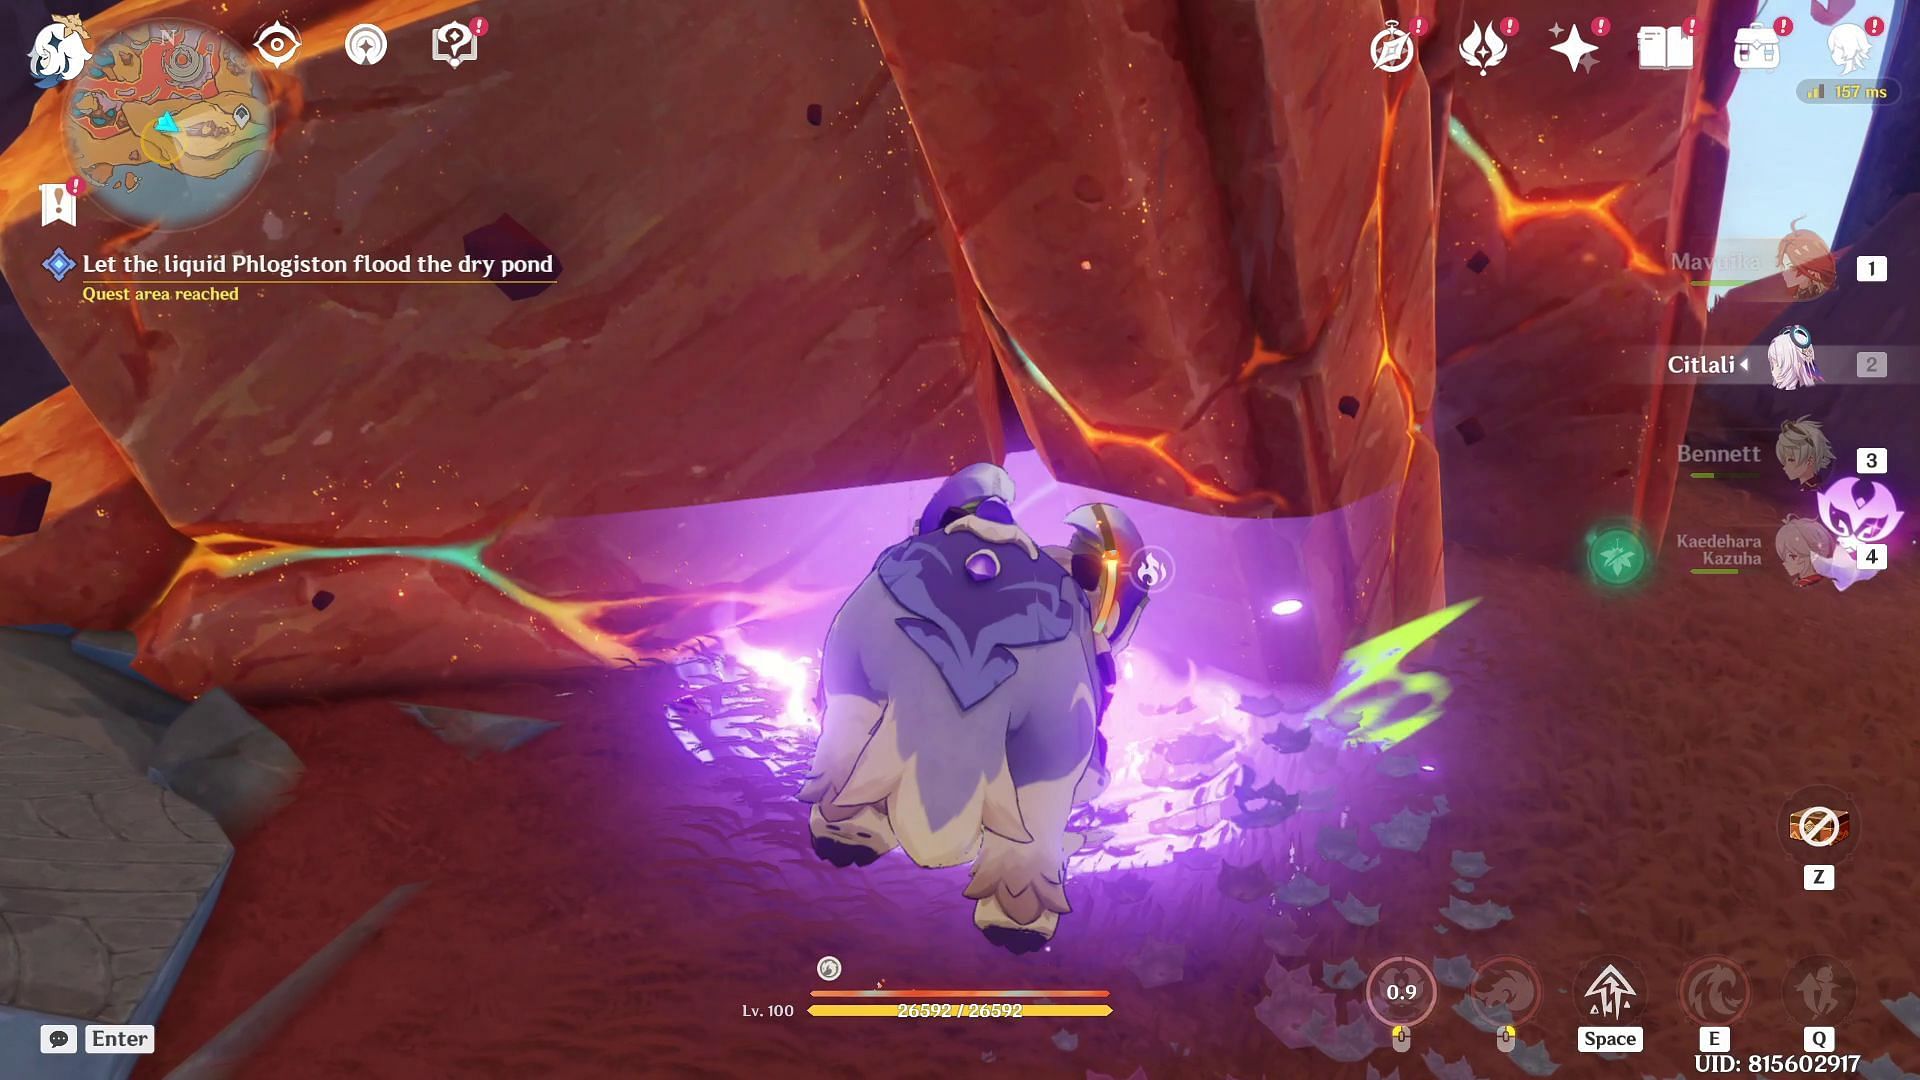
Just ahead of the teleport waypoint is a giant lake of hot liquid phlogiston. You will find a Koholasaur inside it. Indwell this Koholasaur and head towards the giant fireball — the Astral Assemblage that the Traveler is looking for.
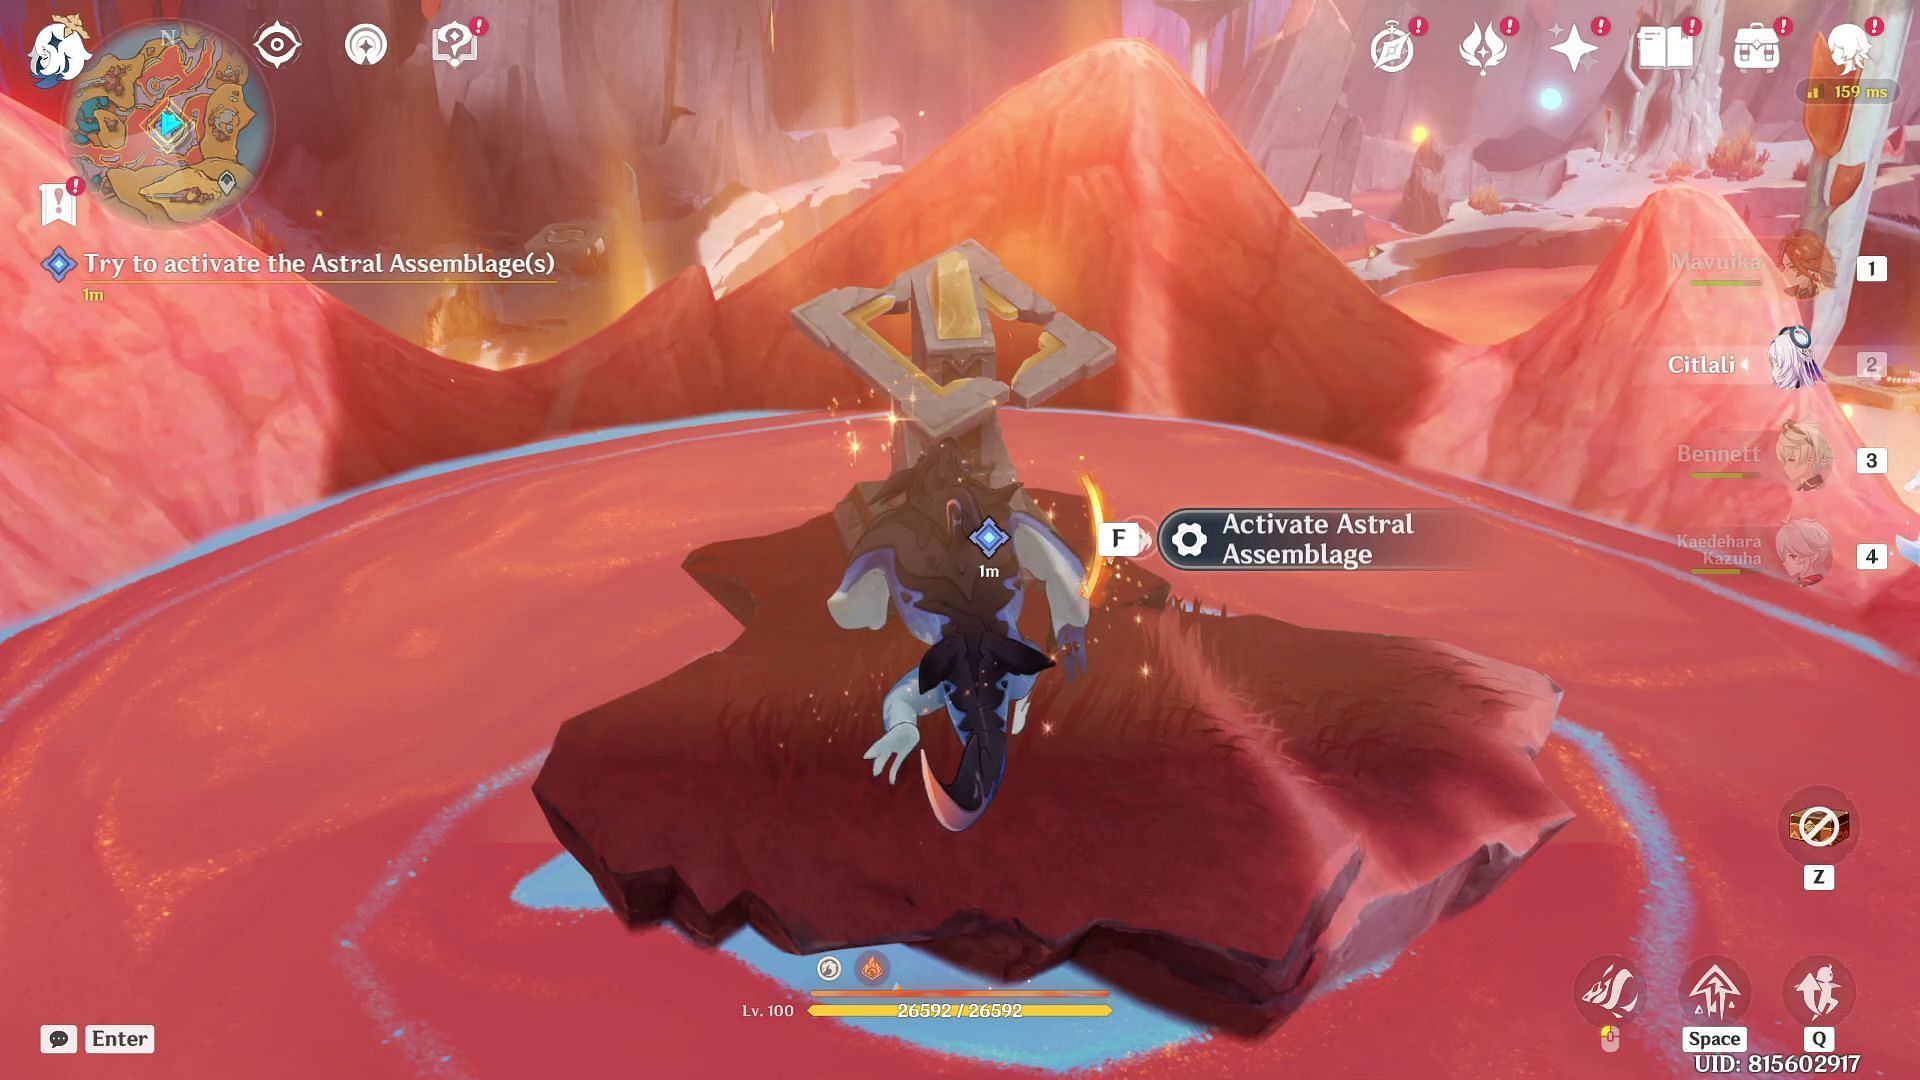
You can use a nearby Spiritway to reach it easily. Then, activate the Astral Assemblage.
Charge the Astral Assemblage(s)
Go to the nearby location marked on the map, where you will find a few Pyro Slimes holding a Secret Source Servant hostage. Defeat them to free the servant, and as a reward, it will repair the nearby broken Spiritway for you.
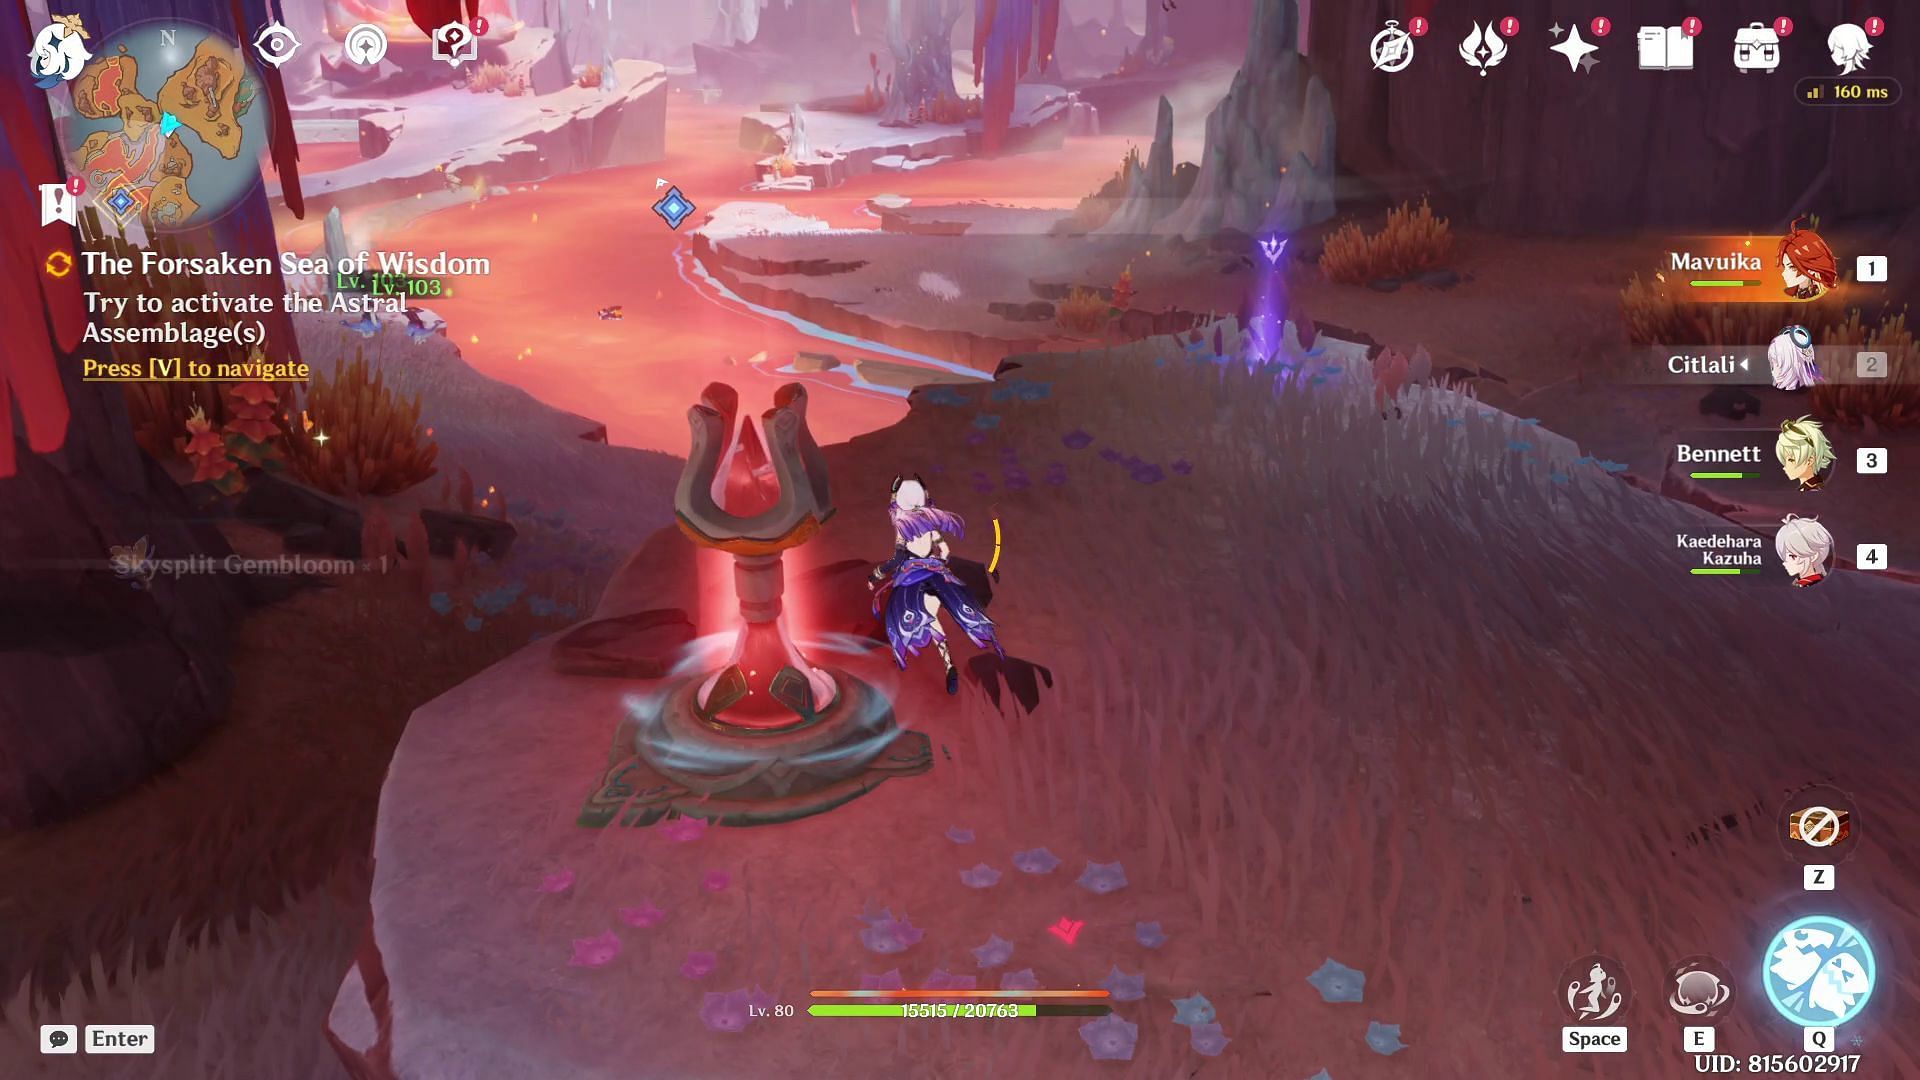
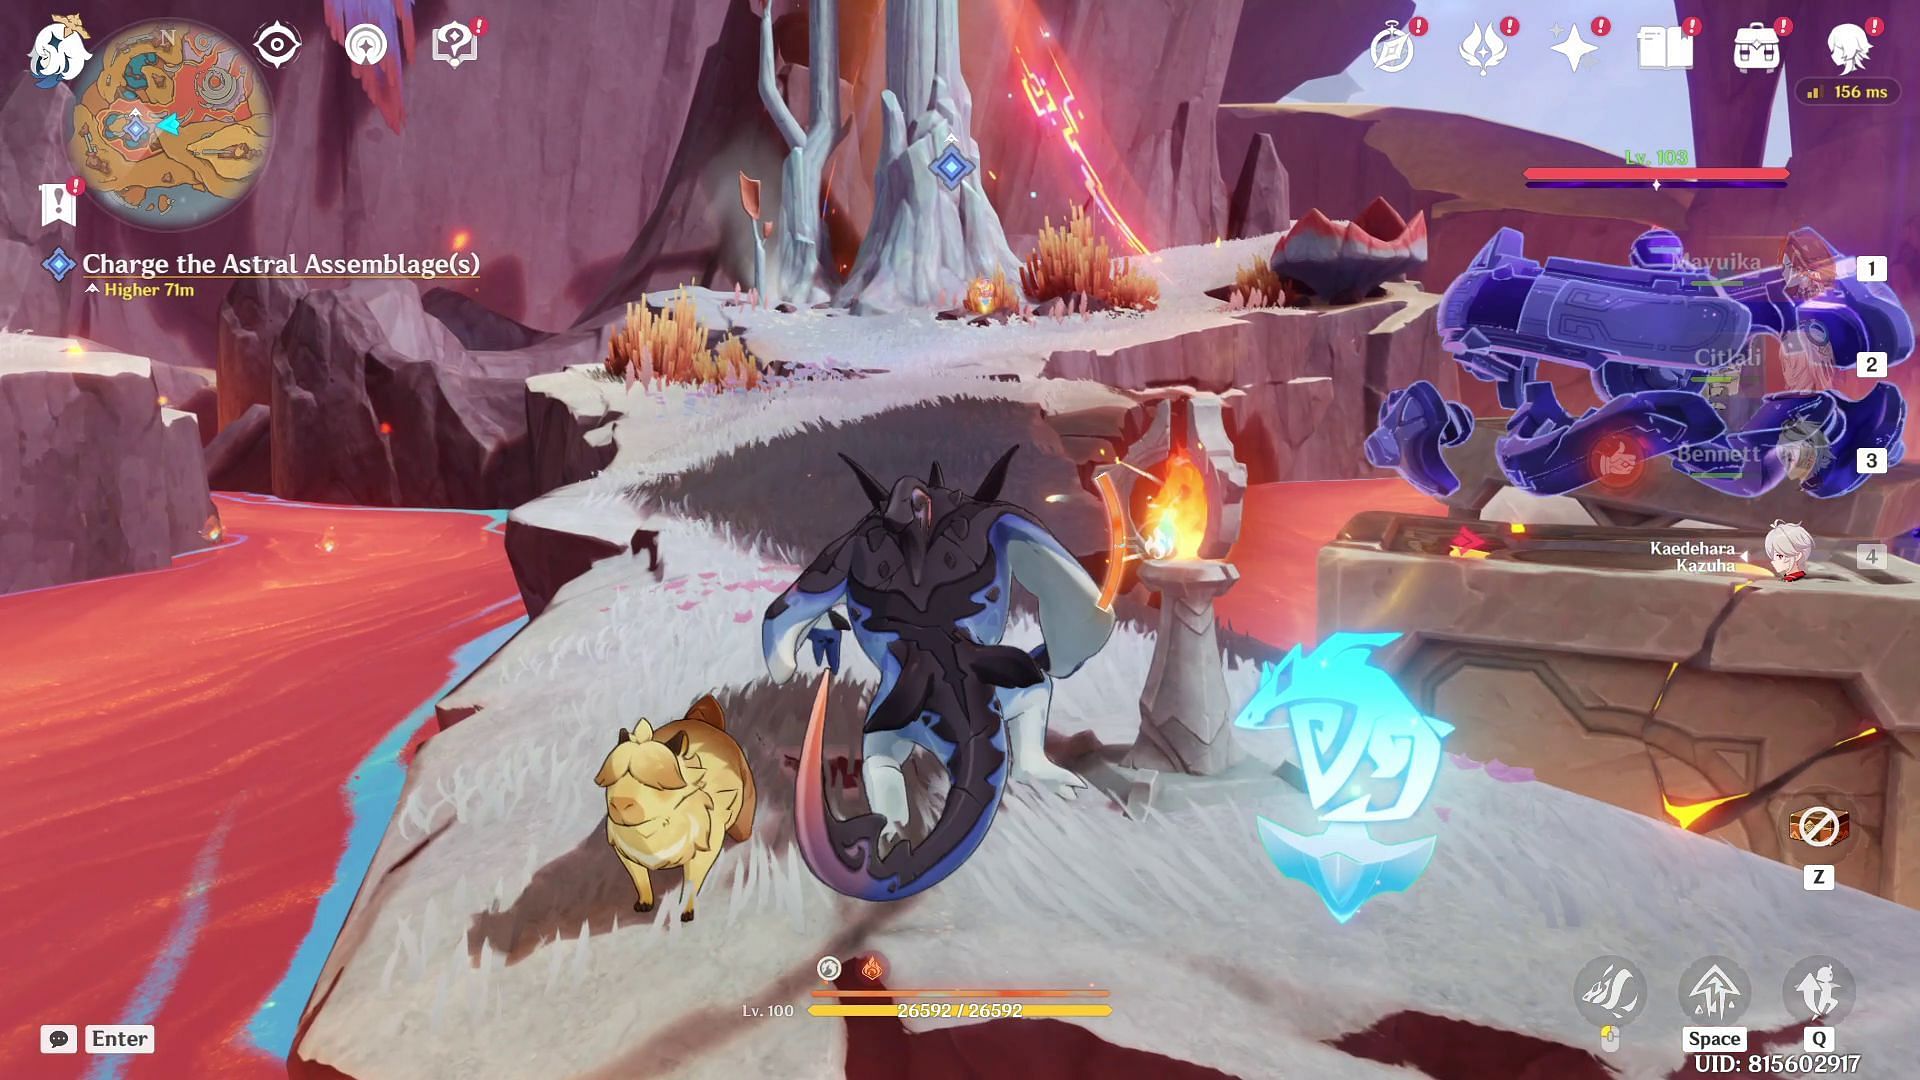
Now, transform into a Koholasaur and take the Spiritway. At the end of the path, you will find a pool of liquid phlogiston. Immerse yourself in it to charge the Astral Assemblage.
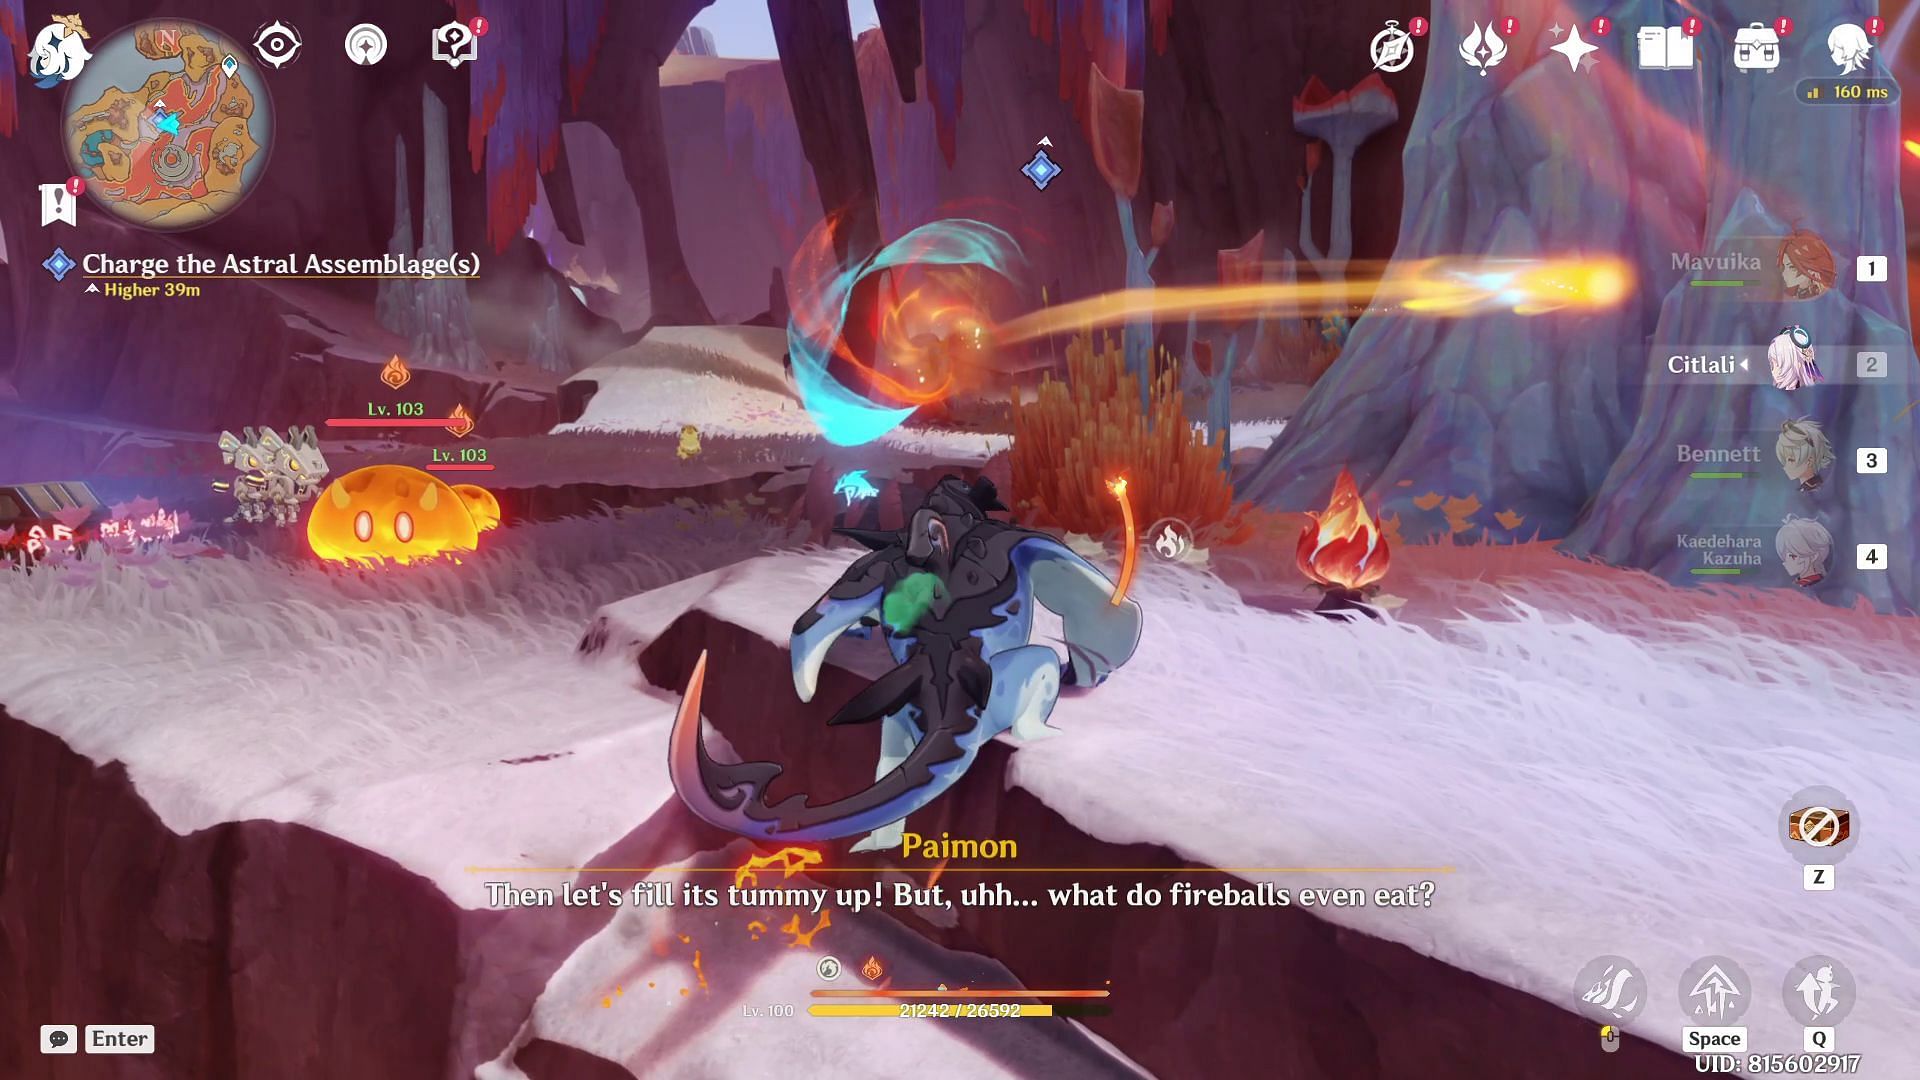
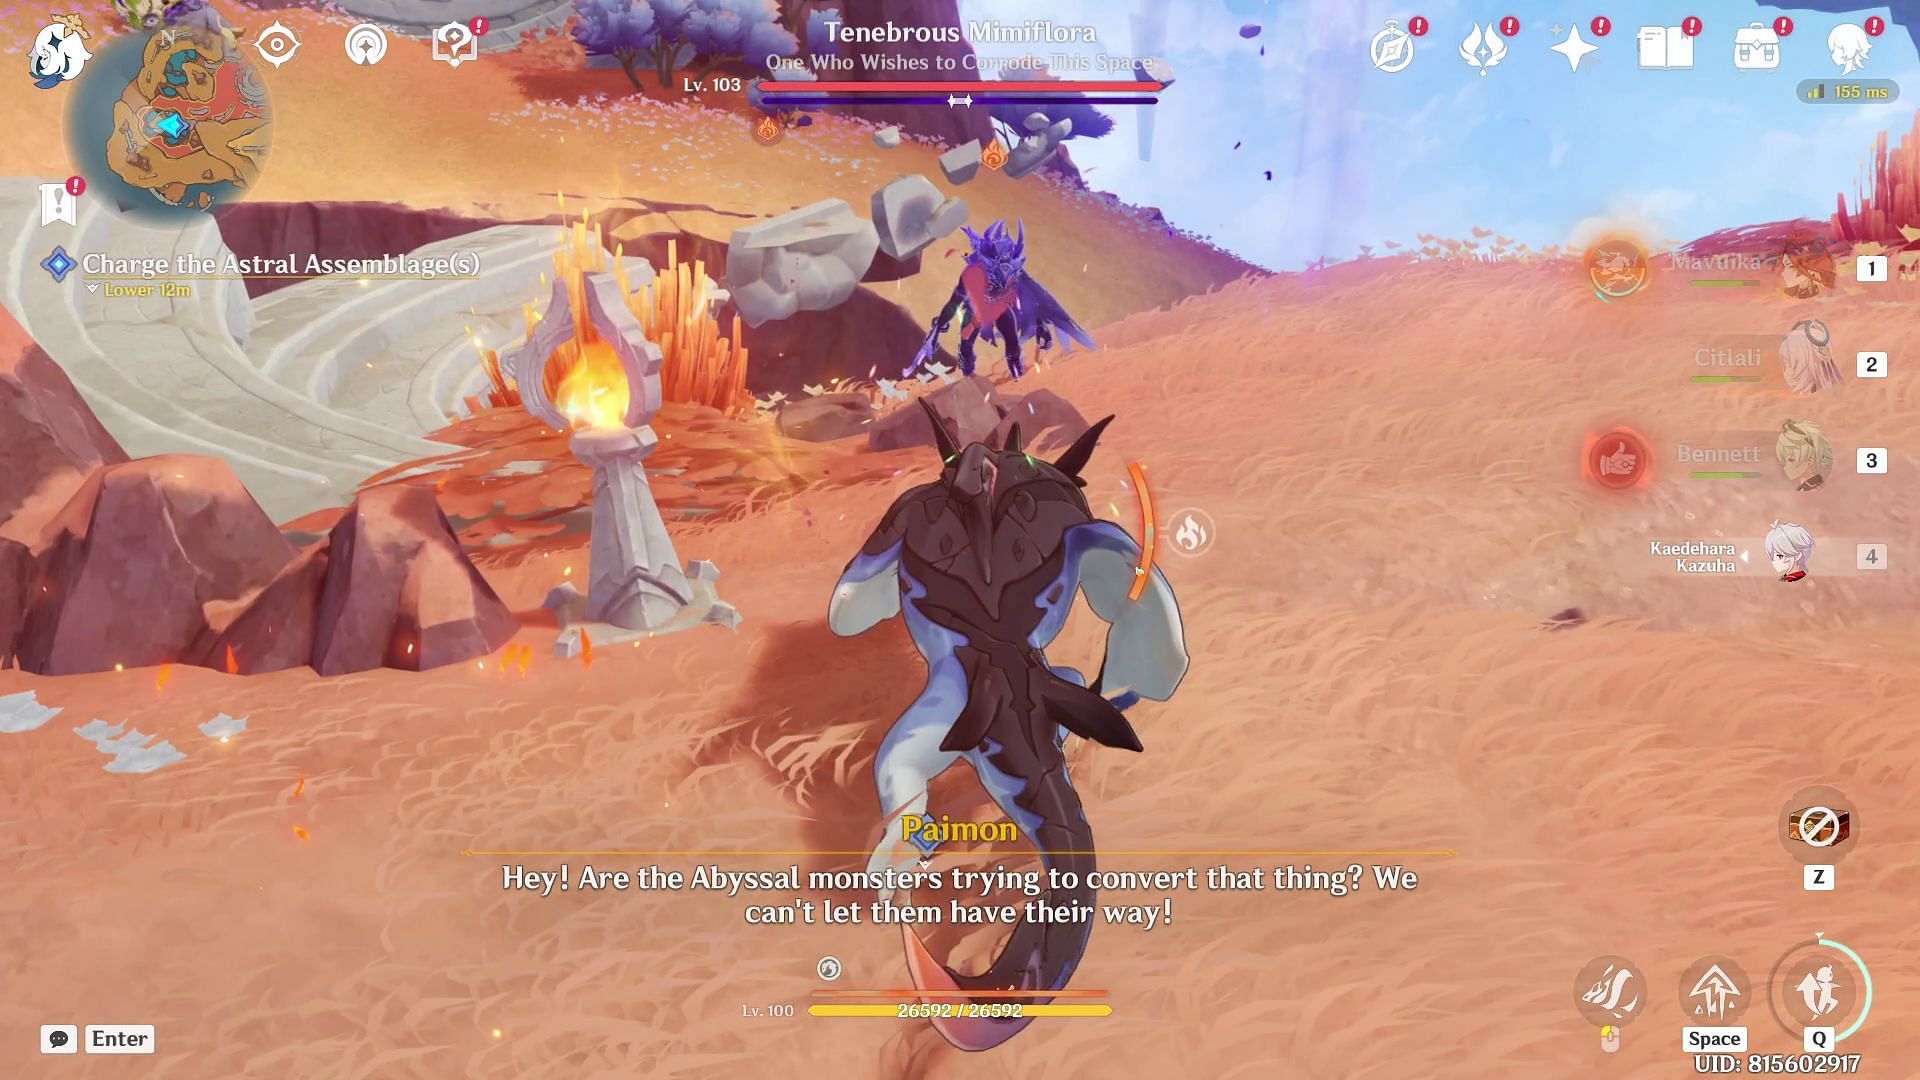
Then, proceed to the next location, where another pool of lava awaits. The location will be marked on your map. On the way, you will encounter some Abyssal monsters, but you can ignore them and keep going. You will need to climb to reach the lava pool. Once there, you must fight a Tenebrous Mimiflora. Defeat it, then take a dip in the lava pool.
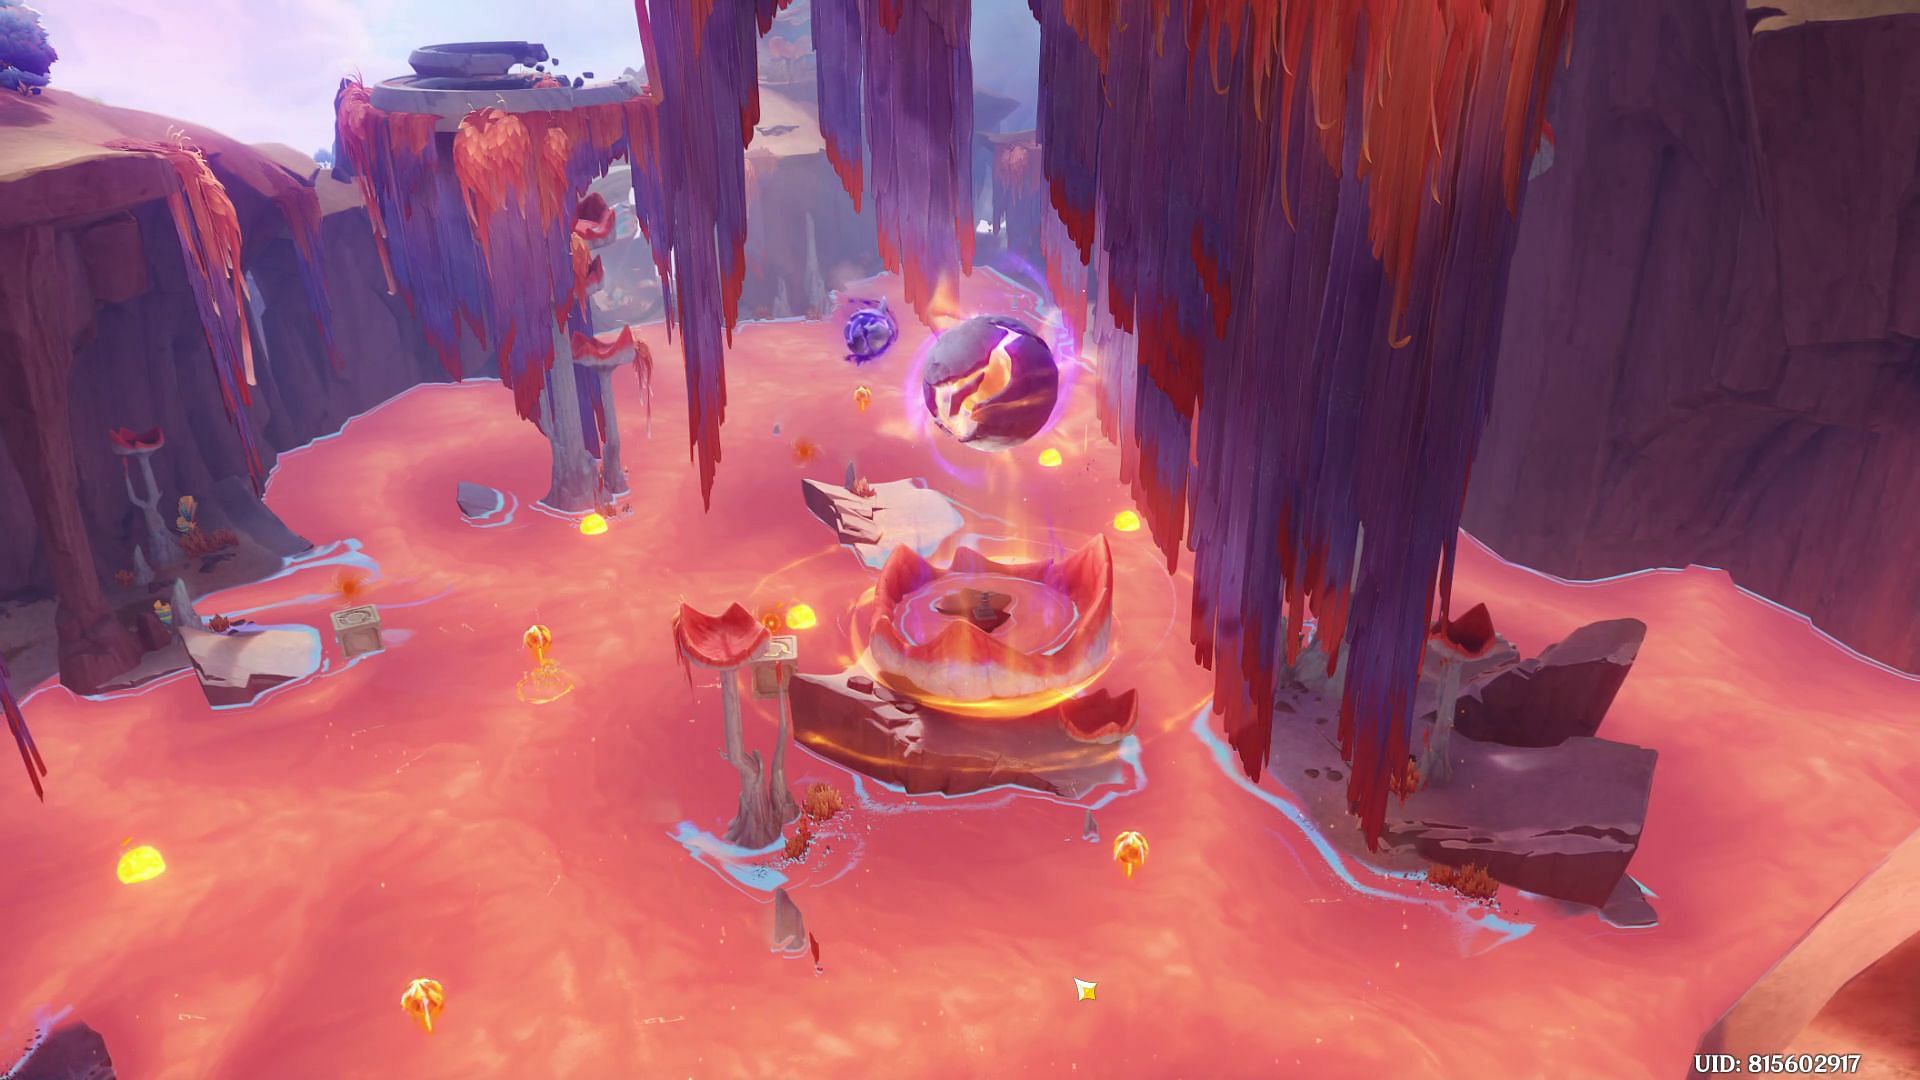
After emerging from the pool, you will find a Spiritway right next to it. Take the Spiritway to reach the third lava pool. However, this pool lacks phlogiston, so you must find a way to fill it.
Use the nearby Tatankasaur to break a weak wall. This will cause a giant pillar of solidified phlogiston to fall into the pool. Now, immerse yourself in the third and final pool.
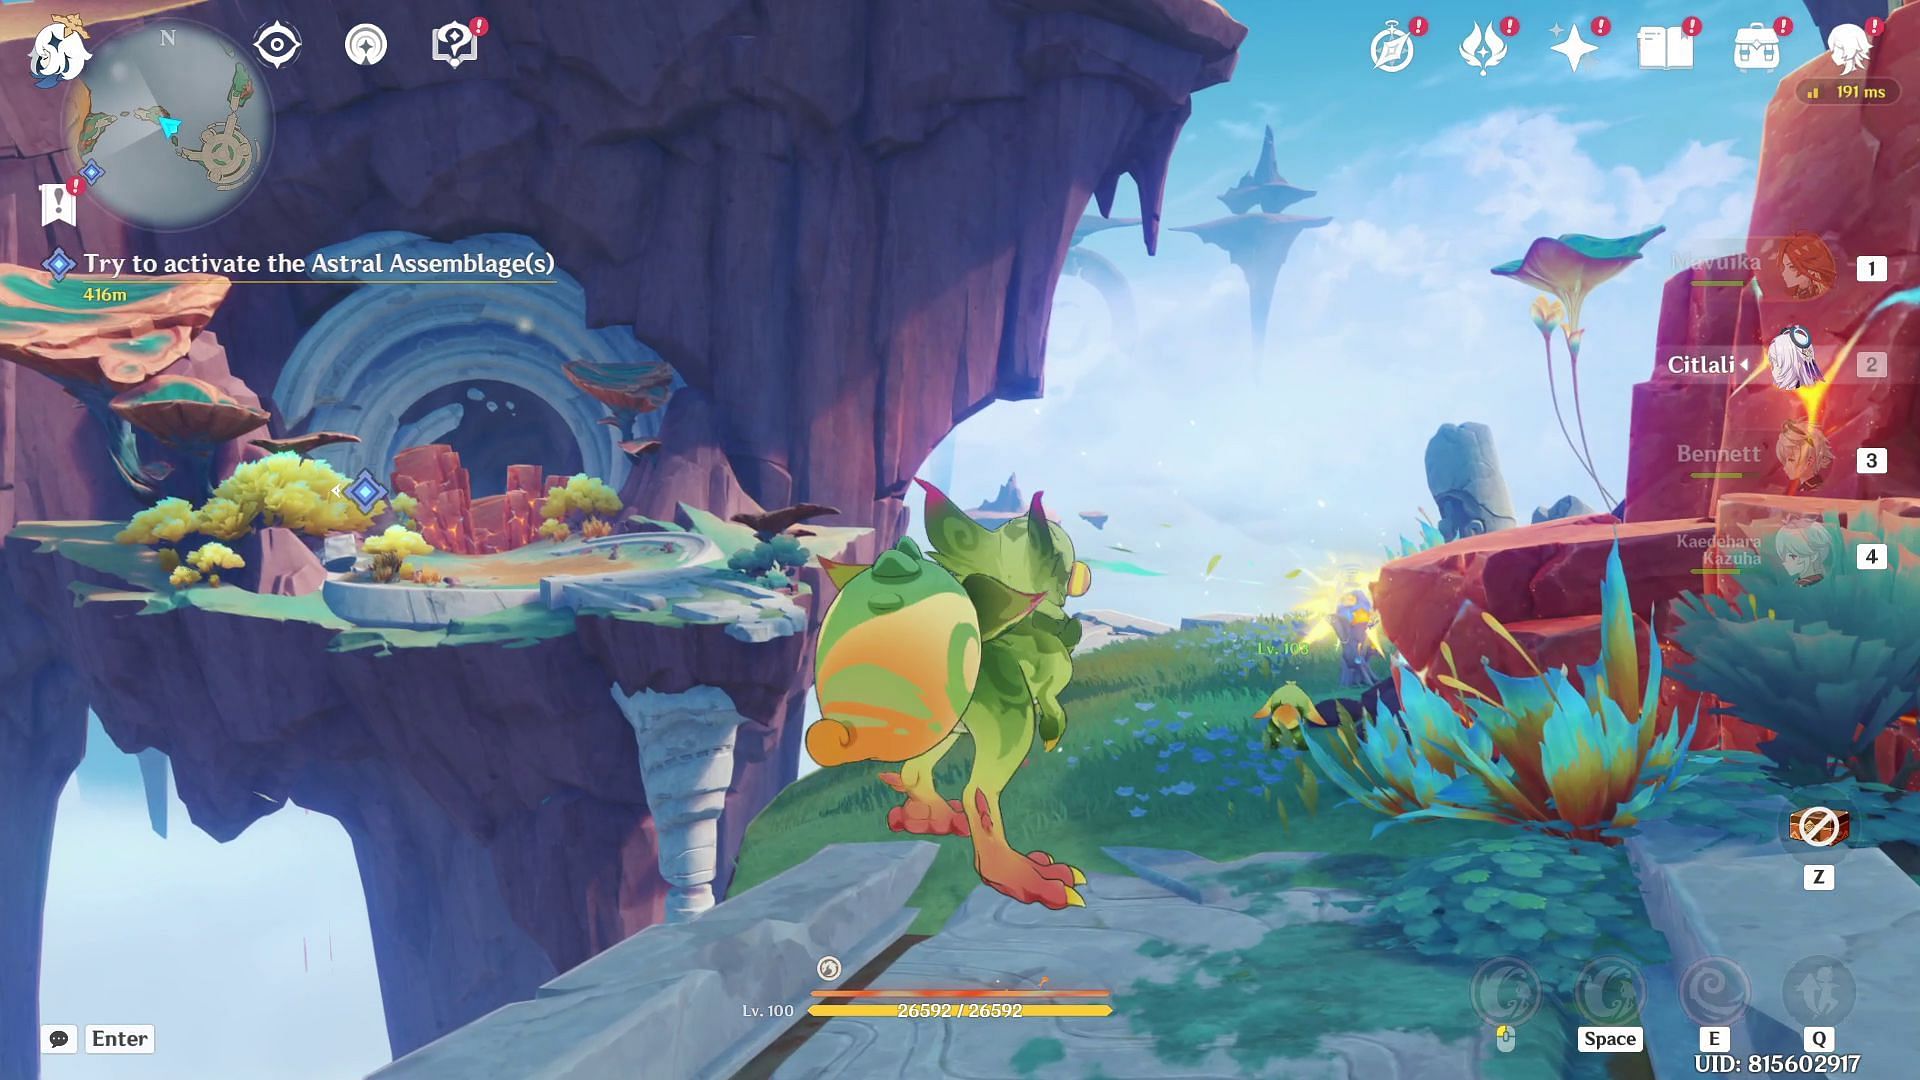
Try to Activate the Astral Assemblage(s)
Return to the Astral Assemblage, the giant glowing fire sphere. However, you will find that it has been corrupted by Abyssal energy, causing a sudden rise in phlogiston levels in the area.
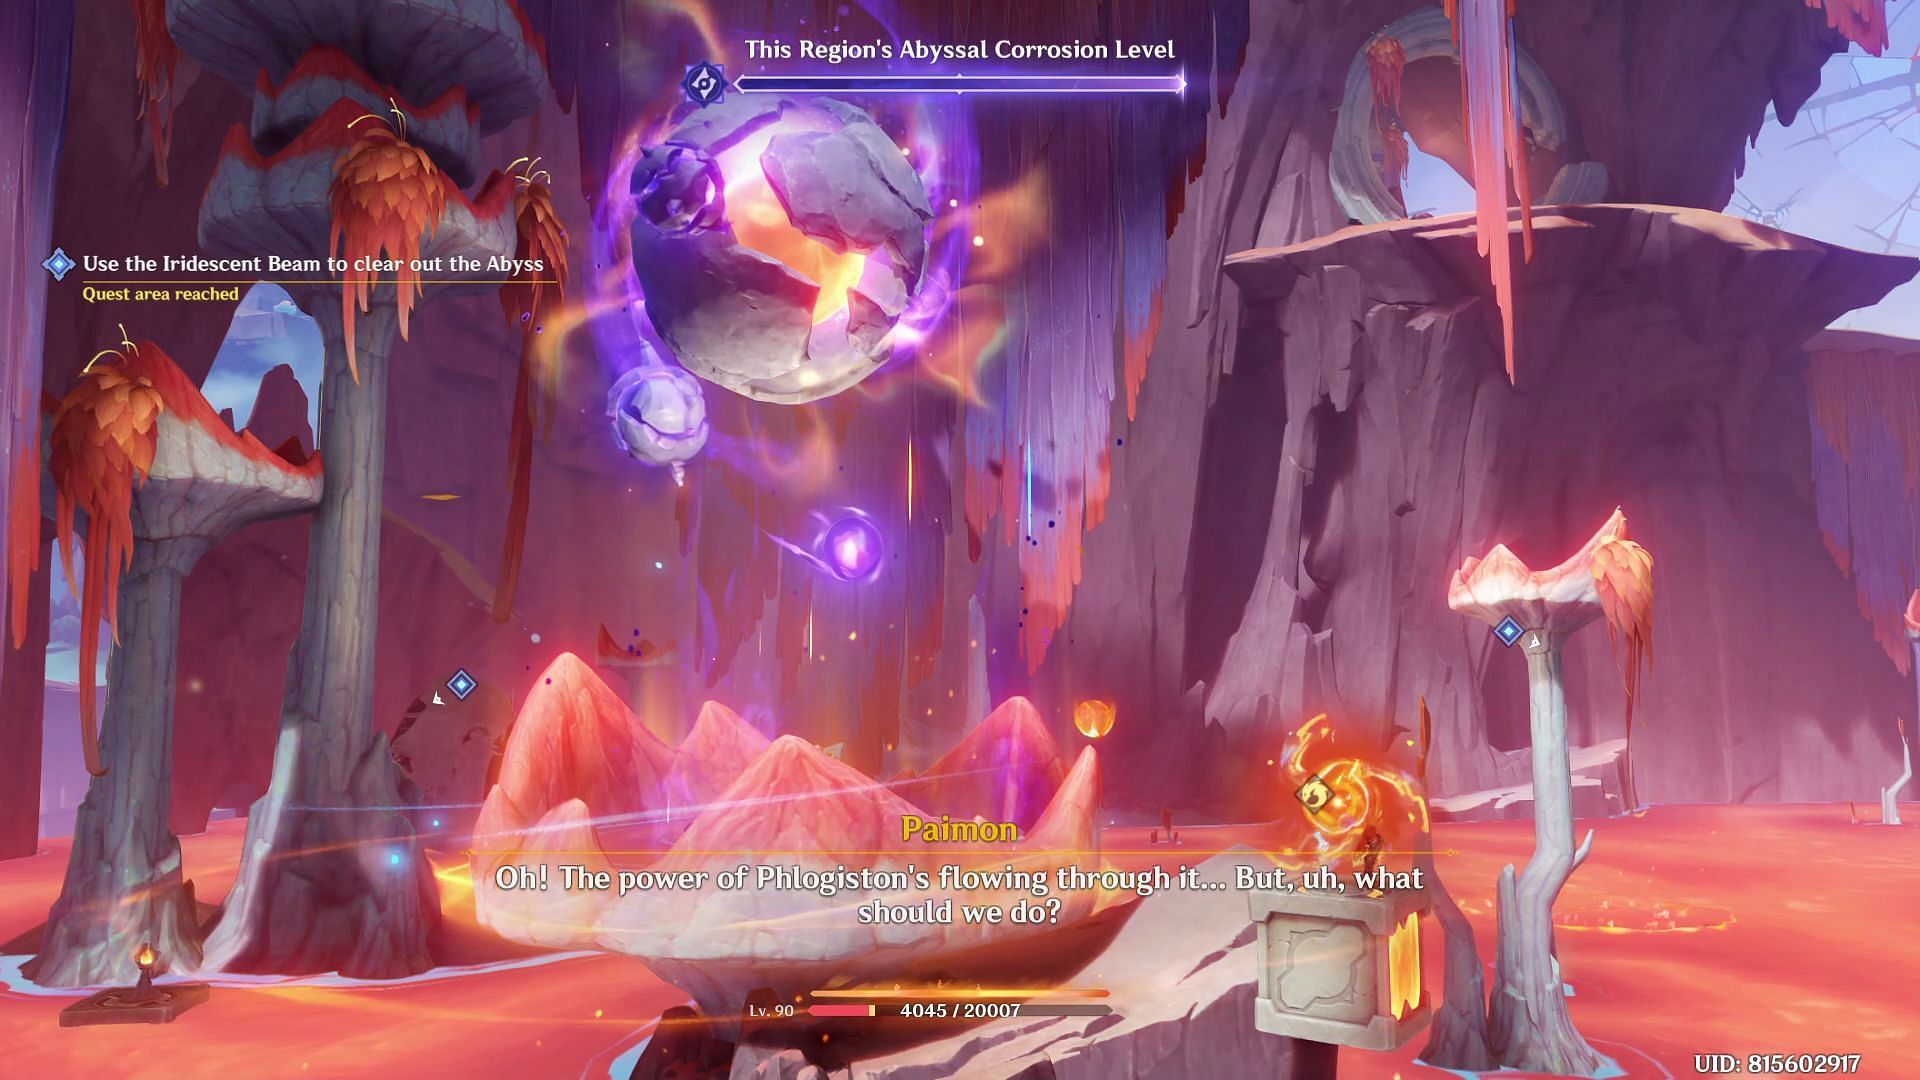
Now comes the difficult part. You must go around the Astral Assemblage and activate six Iridescent Beams to defeat the Abyss entities. Mobile characters such as Chasca, Mavuika, and Kinich will be helpful here, as falling into the phlogiston will likely cause instant death. You can also use Koholasaur Spiritsconces to travel quickly over the phlogiston.
Also Read: Genshin Impact Nahuatzin's Leap quest guide
Re-activate the Astral Assemblage(s)

After defeating the Abyss, use the Spiritway to return to the Astral Assemblage and re-activate it.
Congratulations! You have completed The Forsaken Sea of Wisdom quest in Genshin Impact. Completing the quest rewards you with two luxurious chests.
After finishing the quest, take the Spiritway next to the Astral Assemblage to proceed to the Sealed Site of Sacrifice quest in Genshin Impact.

Are you stuck on today's Wordle? Our Wordle Solver will help you find the answer.