
'%20x='0'%20y='0'%20height='100%25'%20width='100%25'%20%0A%20%20%20%20%20%20%20%20%20%20xlink%3Ahref='data:image/jpg;base64,/9j/2wBDAAYEBQYFBAYGBQYHBwYIChAKCgkJChQODwwQFxQYGBcUFhYaHSUfGhsjHBYWICwgIyYnKSopGR8tMC0oMCUoKSj/2wBDAQcHBwoIChMKChMoGhYaKCgoKCgoKCgoKCgoKCgoKCgoKCgoKCgoKCgoKCgoKCgoKCgoKCgoKCgoKCgoKCgoKCj/wgARCAAGAAoDASIAAhEBAxEB/8QAFgABAQEAAAAAAAAAAAAAAAAAAAIF/8QAFQEBAQAAAAAAAAAAAAAAAAAABAX/2gAMAwEAAhADEAAAAMCCaz//xAAfEAEAAgEDBQAAAAAAAAAAAAABAgMFAAQhEhYxccH/2gAIAQEAAT8A3G5MZkS+o5uilkU6hDx813BkXknAPWv/xAAXEQEAAwAAAAAAAAAAAAAAAAACAAER/9oACAECAQE/AGrKyf/EABgRAAIDAAAAAAAAAAAAAAAAAAABAhIx/9oACAEDAQE/AJquH//Z'%3E%3C/image%3E%3C/svg%3E)
The Legend of Zelda Tears of The Kingdom features several engaging puzzle-like sections in the form of Shrines. These aim to test the limits of Link’s newfound abilities, offering creative challenges and certain rewards that can be accumulated to purchase HP and Stamina Wheel upgrades.
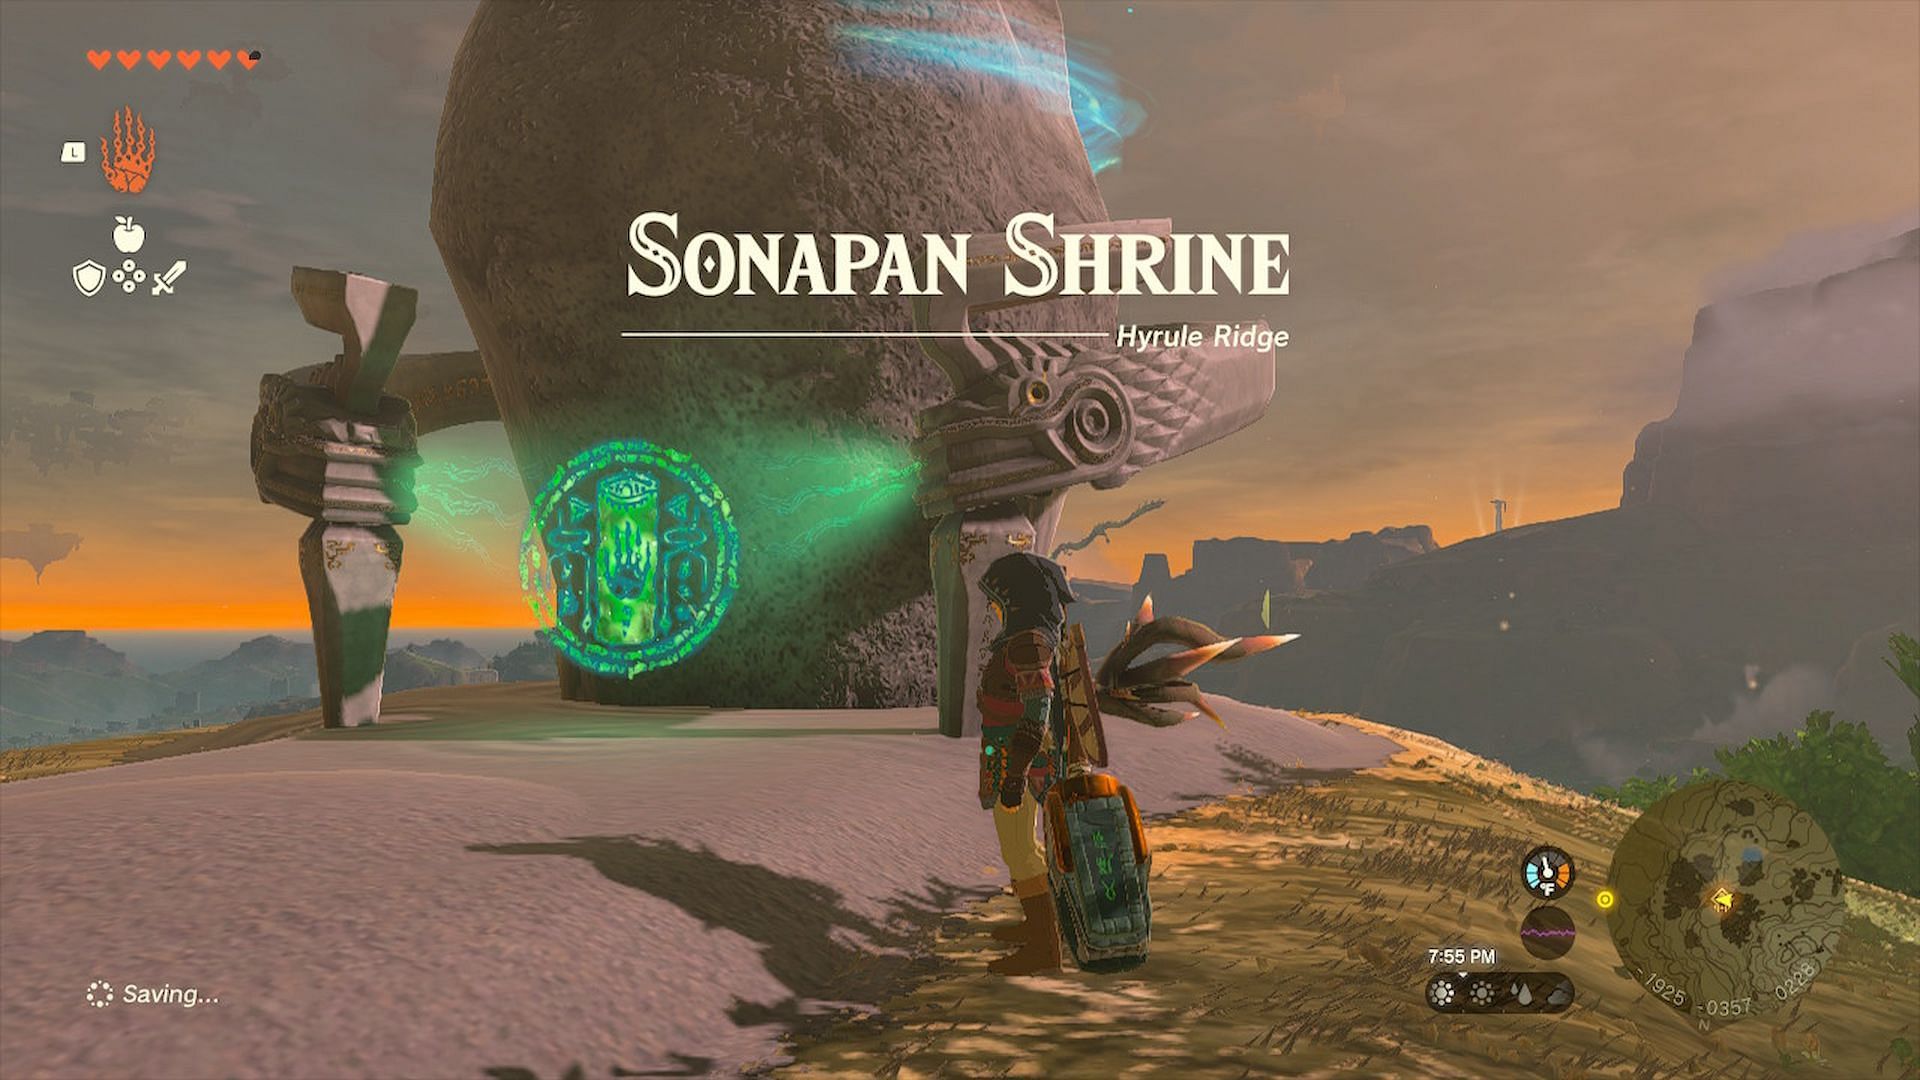
This guide will focus on the Sonapan Shrine in Tears of The Kingdom and how to solve its puzzles.
Note: Minor spoilers for Tears of The Kingdom will follow. Viewer discretion is advised.
Looking for Crossword hints & solutions? Check out latest NYT Mini Crossword Answers, LA Times Crossword Answers, and Atlantic Crossword Answers
The Sonapan Shrine in The Legend of Zelda Tears of The Kingdom requires practical use of the Ascend ability
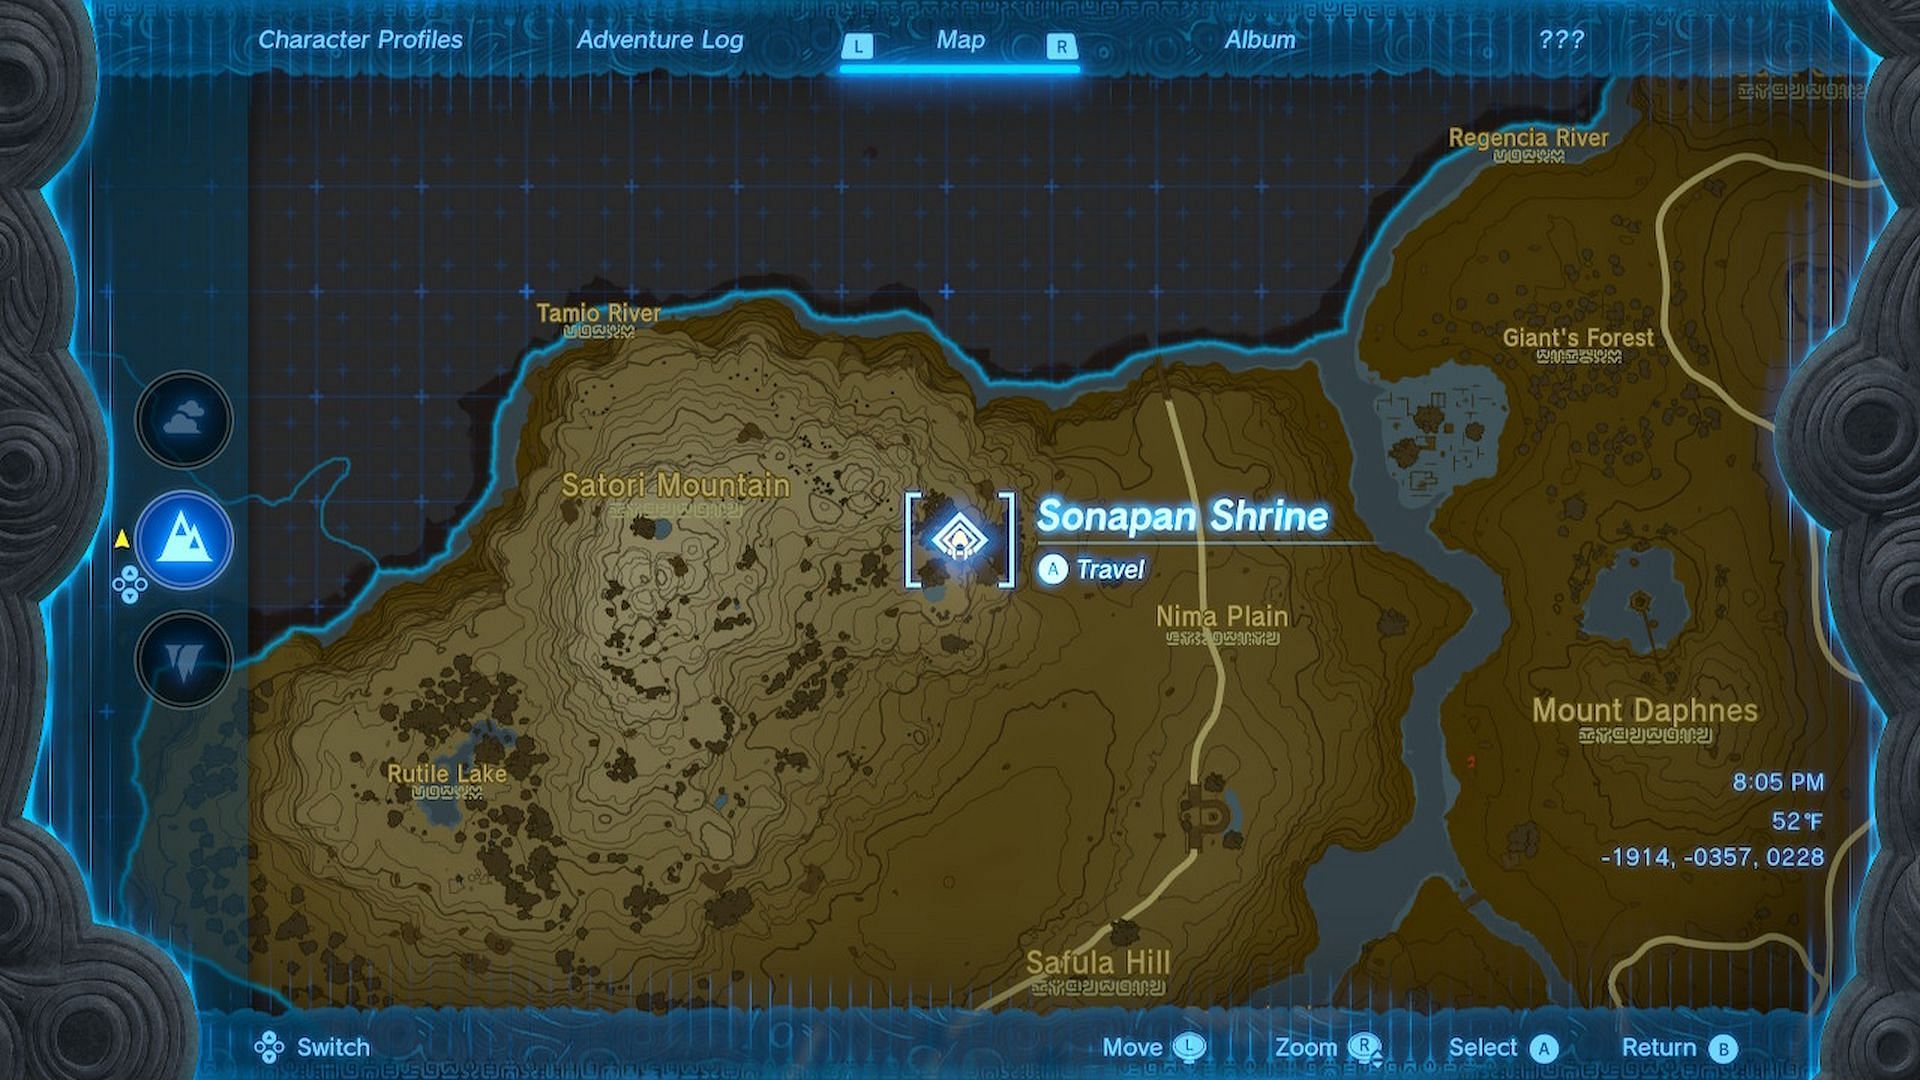
The coordinates for this shrine, which can be found near the Nima Plain after Satori Mountain, are (-1921, -0357, 0228). Refer to the screenshot above for an approximate location of the Shrine in-game.
Players will be tasked with Ascending through several platforms once they enter this Shrine. The complete walkthrough of the Sonapan Shrine is detailed below:
1) Head forward into the corridor up front. Find a raised platform with an upper raised edge.
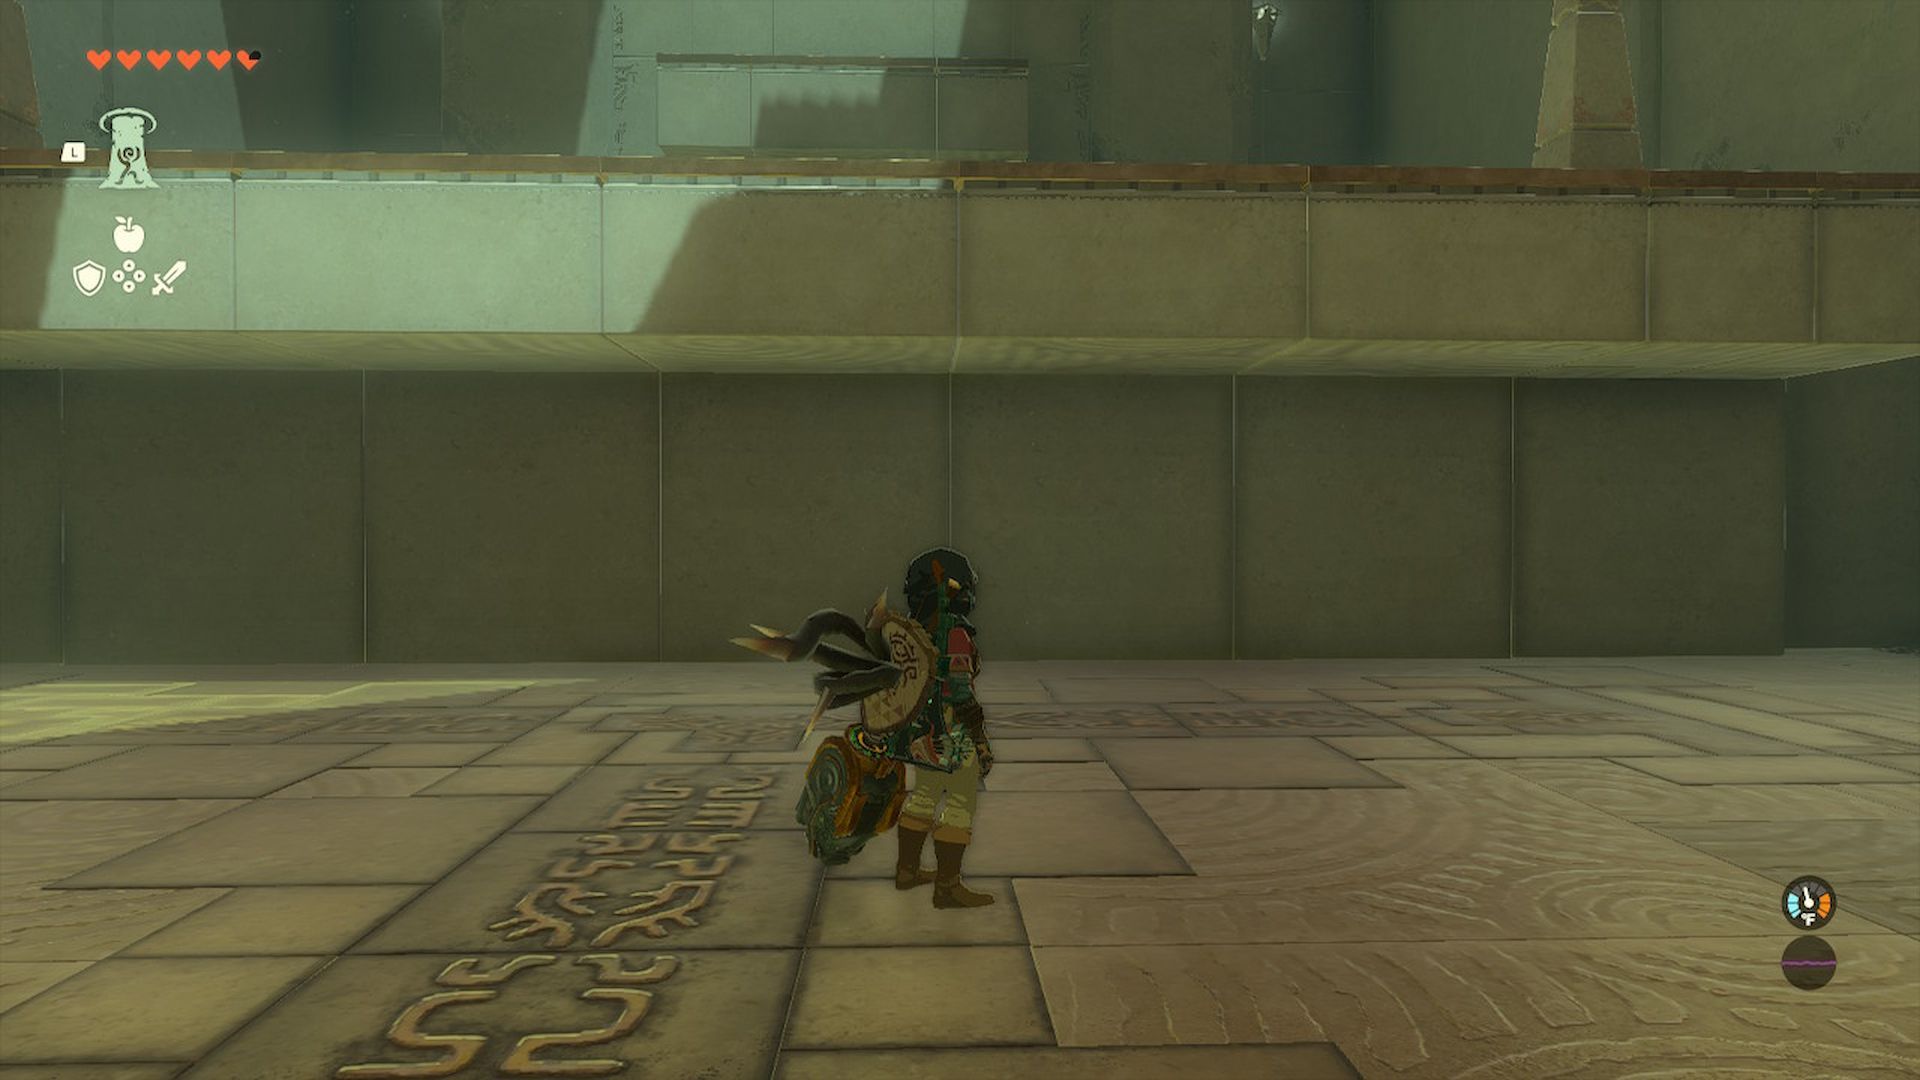
2) Stand directly below the ridge and use the Ascend ability to climb up.
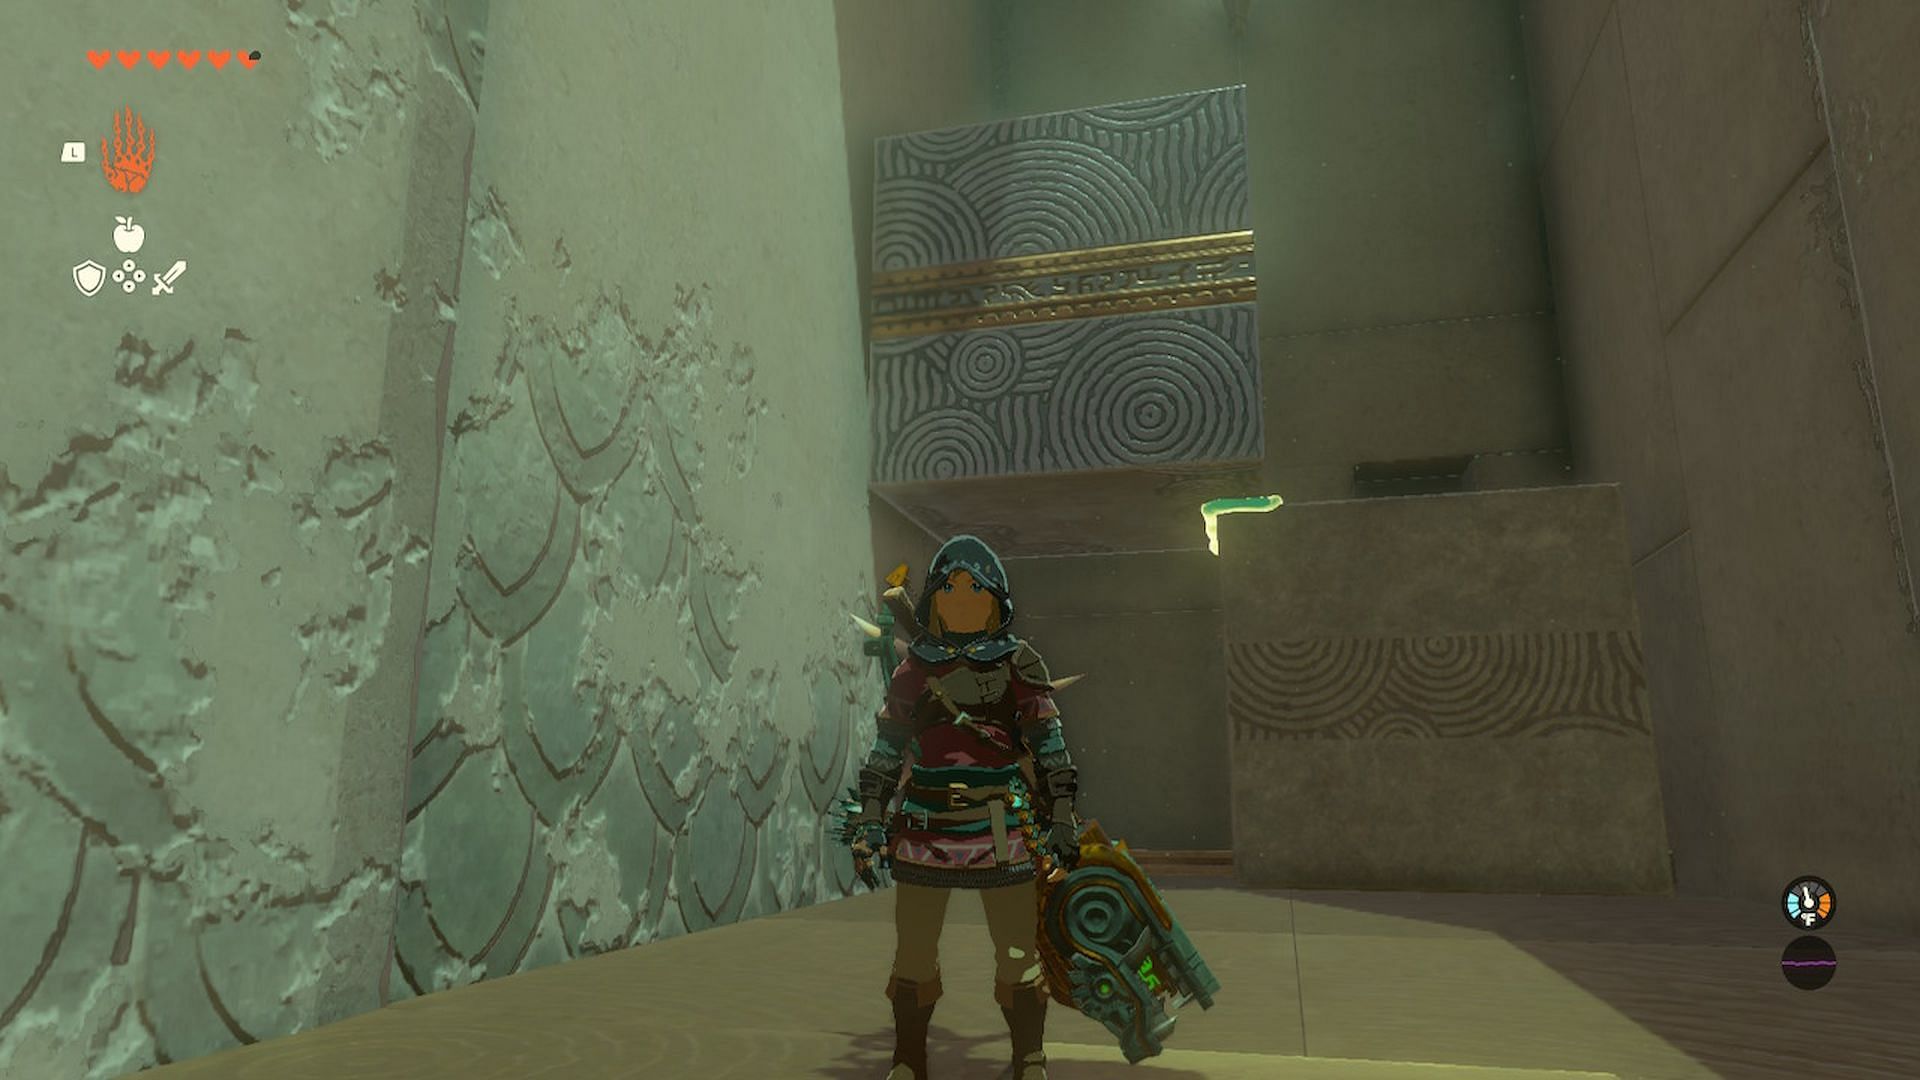
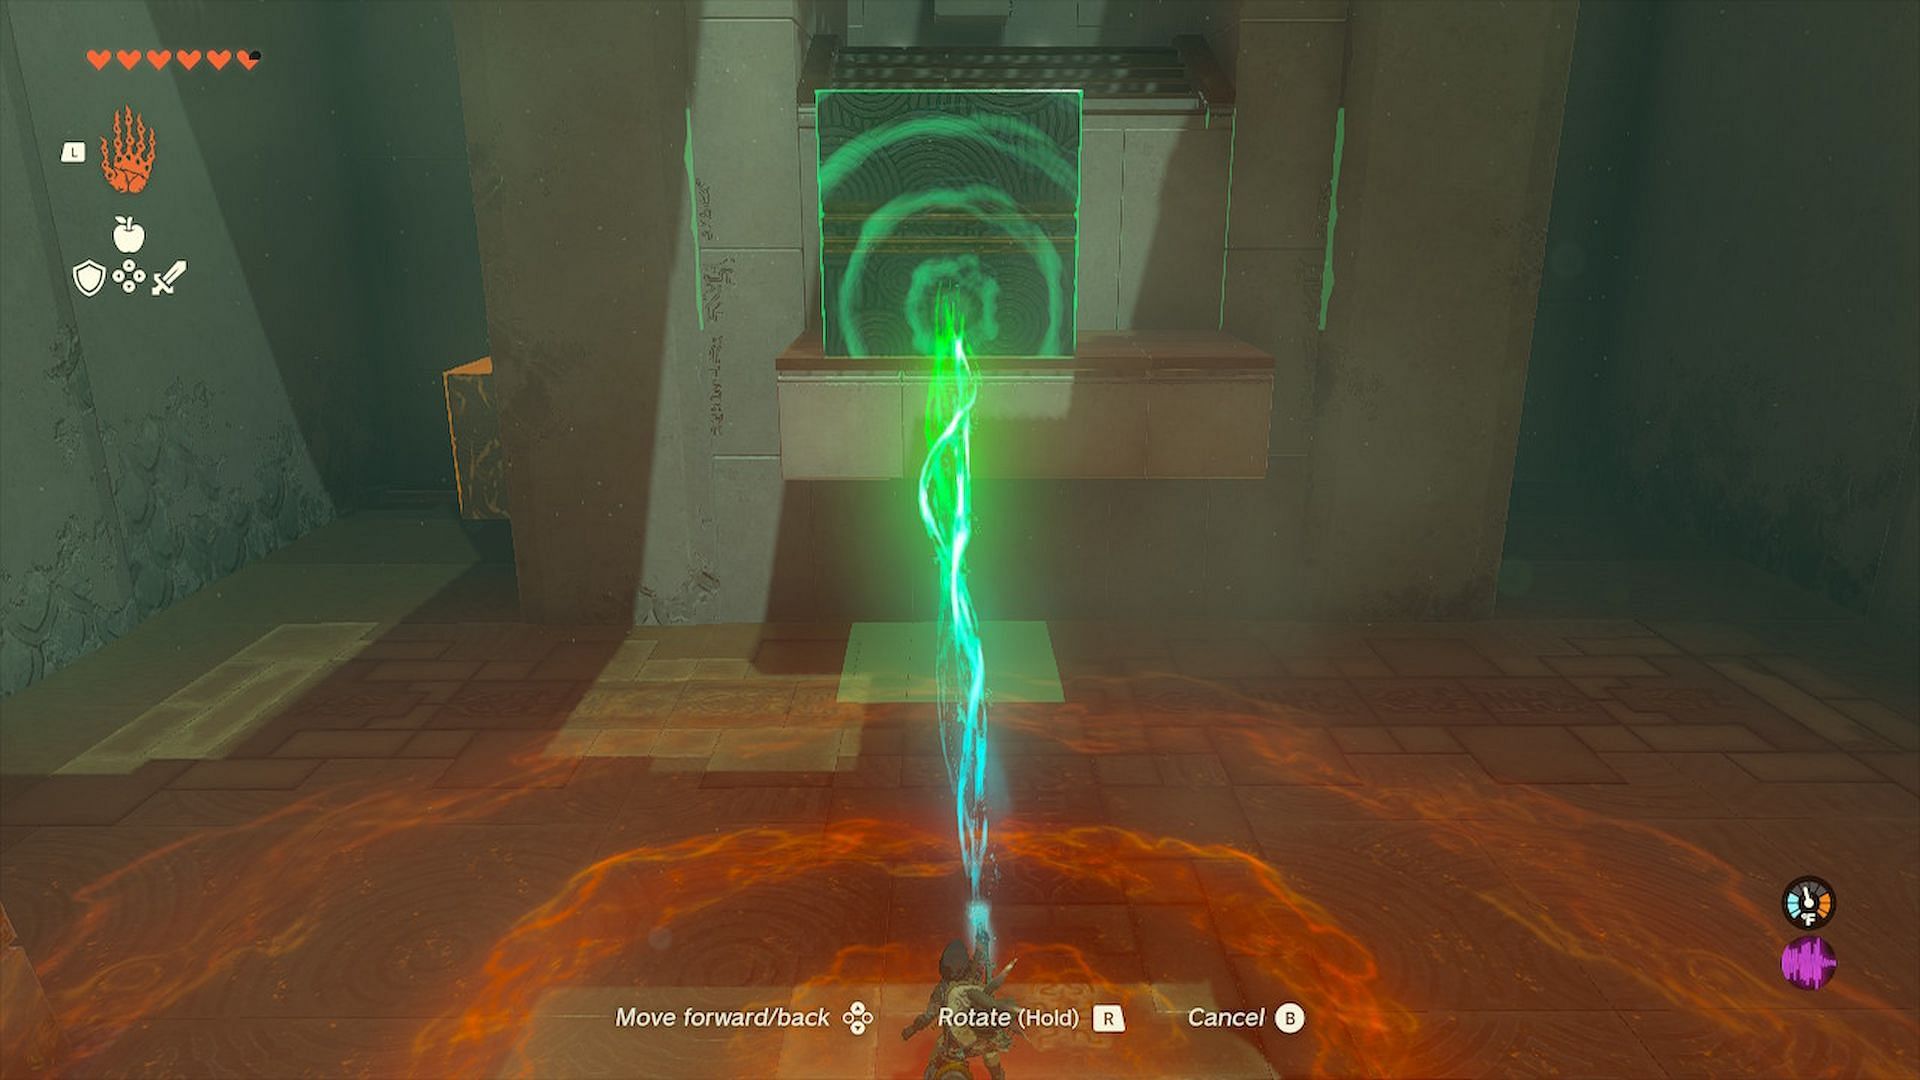
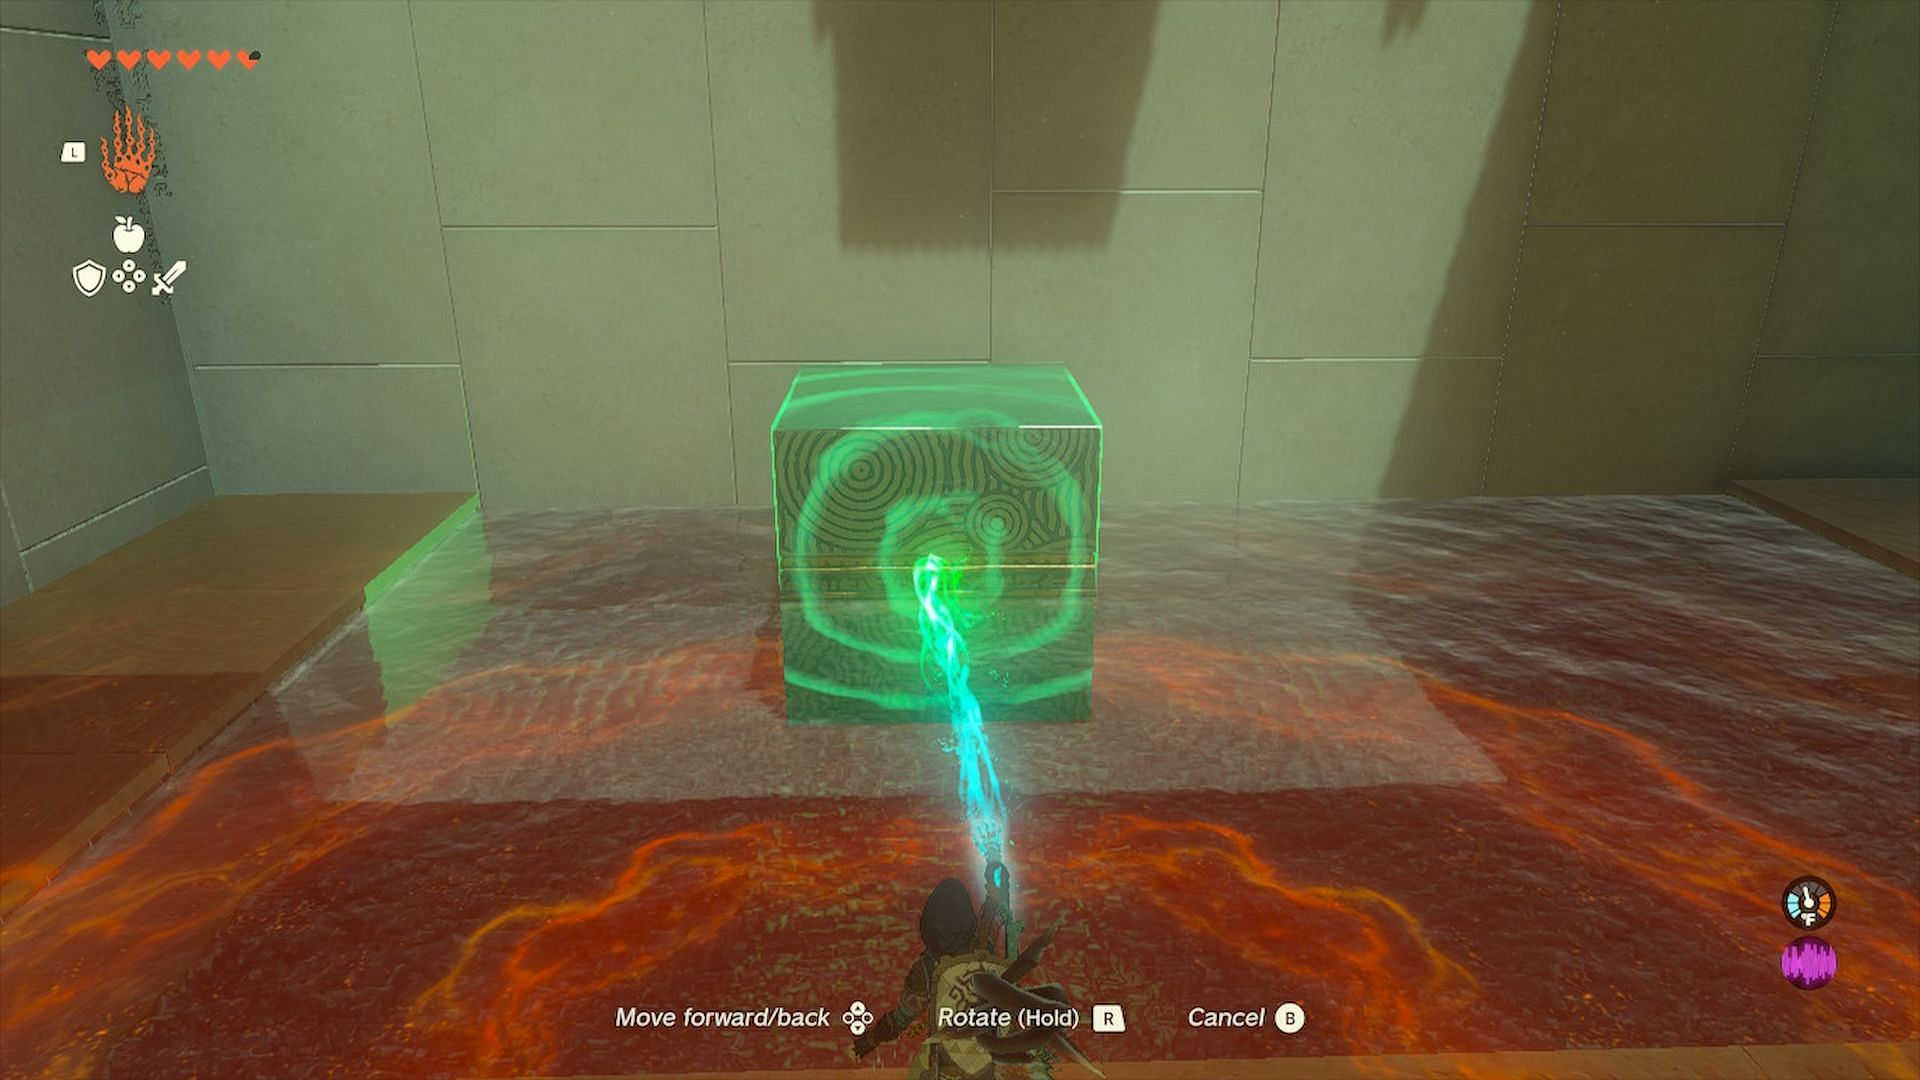
3) Grab the stone block on the right using the Ultrahand and drag it to the left corner with a treasure chest.
4) Attach the loose stone above the fixed block using the Ultrahand.
5) Ascend through the upper block and glide to the lower platform.
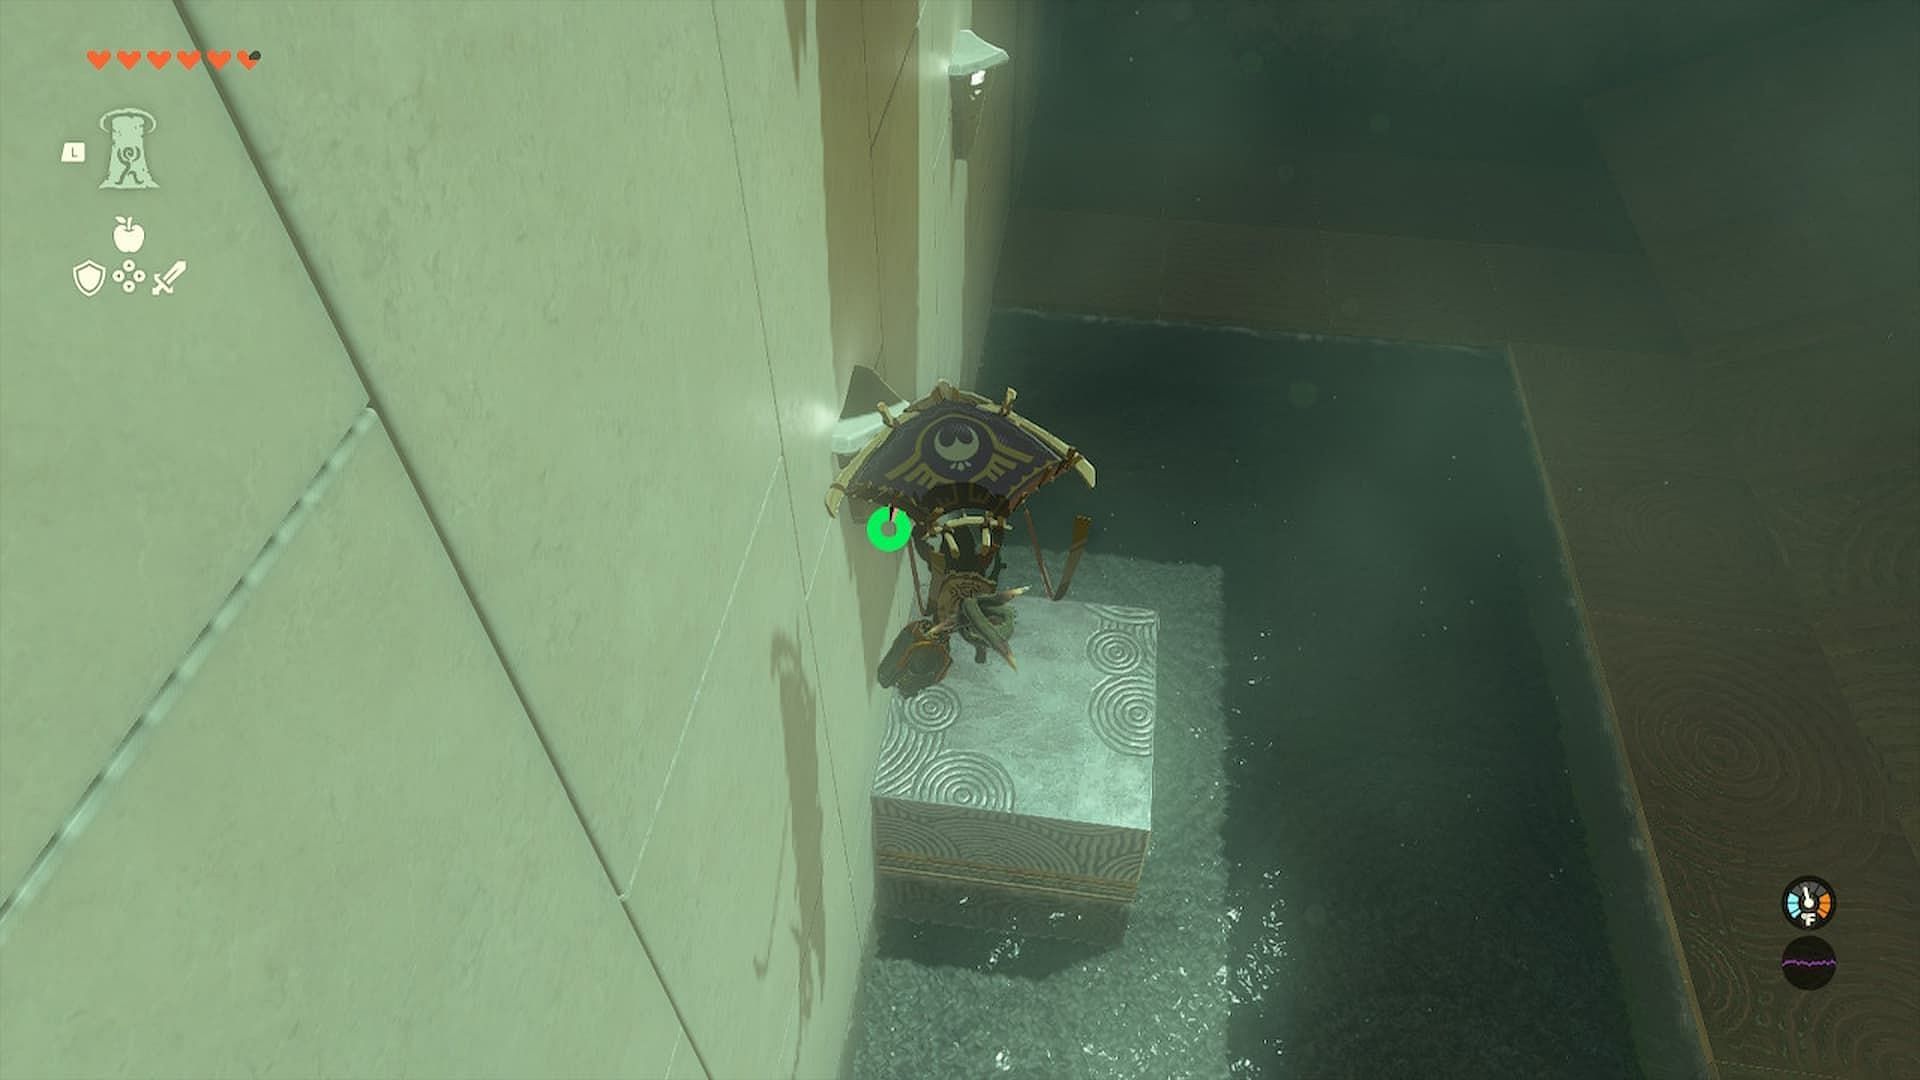
6) Interact with the treasure chest embedded within the wall to obtain 5 Arrows.
7) Next, dismantle the stone blocks and carry the loose block to the raised platform above.
8) Place the block down above the platform to directly connect to the stairs above. Ascend the new platform through the block.
9) Head into the next area. Grab the stone block on your left and position it directly under the central platform above. Be careful not to slip into the water.
10) Head back to where the stone block originally was, and use Ascend to head to the top.
11. Glide your way to the stone block placed earlier.
12. Finally, use Ascend again to traverse the upper platform and into the Shrine exit.
Players can now interact with the deity-like statue to obtain a Light of Blessing for various upgrades. Completing this challenge will restore all your Hearts and teleport Link to the world outside.

Are you stuck on today's Wordle? Our Wordle Solver will help you find the answer.