

'%20x='0'%20y='0'%20height='100%25'%20width='100%25'%20%0A%20%20%20%20%20%20%20%20%20%20xlink%3Ahref='data:image/jpg;base64,/9j/2wBDAAYEBQYFBAYGBQYHBwYIChAKCgkJChQODwwQFxQYGBcUFhYaHSUfGhsjHBYWICwgIyYnKSopGR8tMC0oMCUoKSj/2wBDAQcHBwoIChMKChMoGhYaKCgoKCgoKCgoKCgoKCgoKCgoKCgoKCgoKCgoKCgoKCgoKCgoKCgoKCgoKCgoKCgoKCj/wgARCAAGAAoDASIAAhEBAxEB/8QAFgABAQEAAAAAAAAAAAAAAAAAAAIG/8QAFAEBAAAAAAAAAAAAAAAAAAAABP/aAAwDAQACEAMQAAAAw0Bkf//EACMQAAEDAwIHAAAAAAAAAAAAAAIBAwQABRIGERMUISNCUYL/2gAIAQEAAT8AkzX9NgxyUiU08EfiATT5II+SjivTFU33ShuesZQpIG8CKPdxEy9/Nf/EABkRAAEFAAAAAAAAAAAAAAAAAAABAgQSMf/aAAgBAgEBPwCG5aaf/8QAFxEBAAMAAAAAAAAAAAAAAAAAAQAEEv/aAAgBAwEBPwC4G5//2Q=='%3E%3C/image%3E%3C/svg%3E)
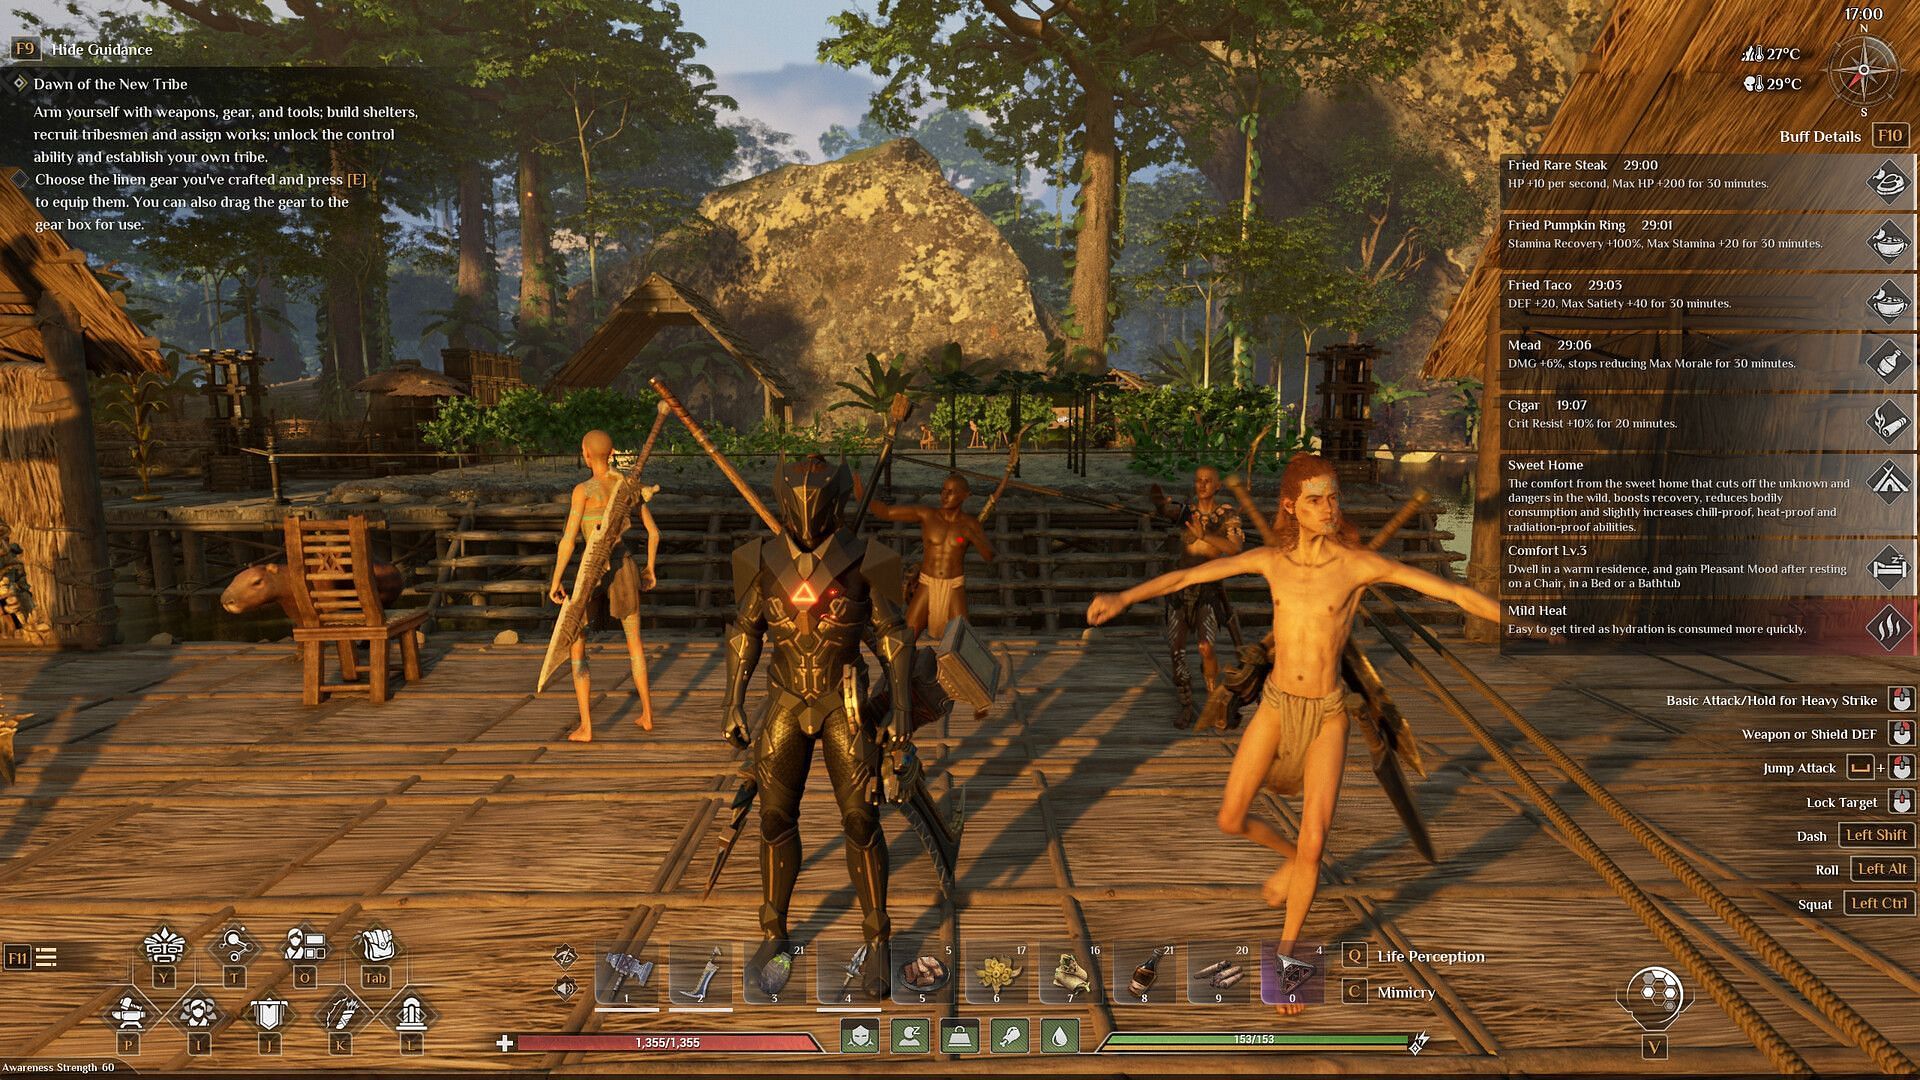
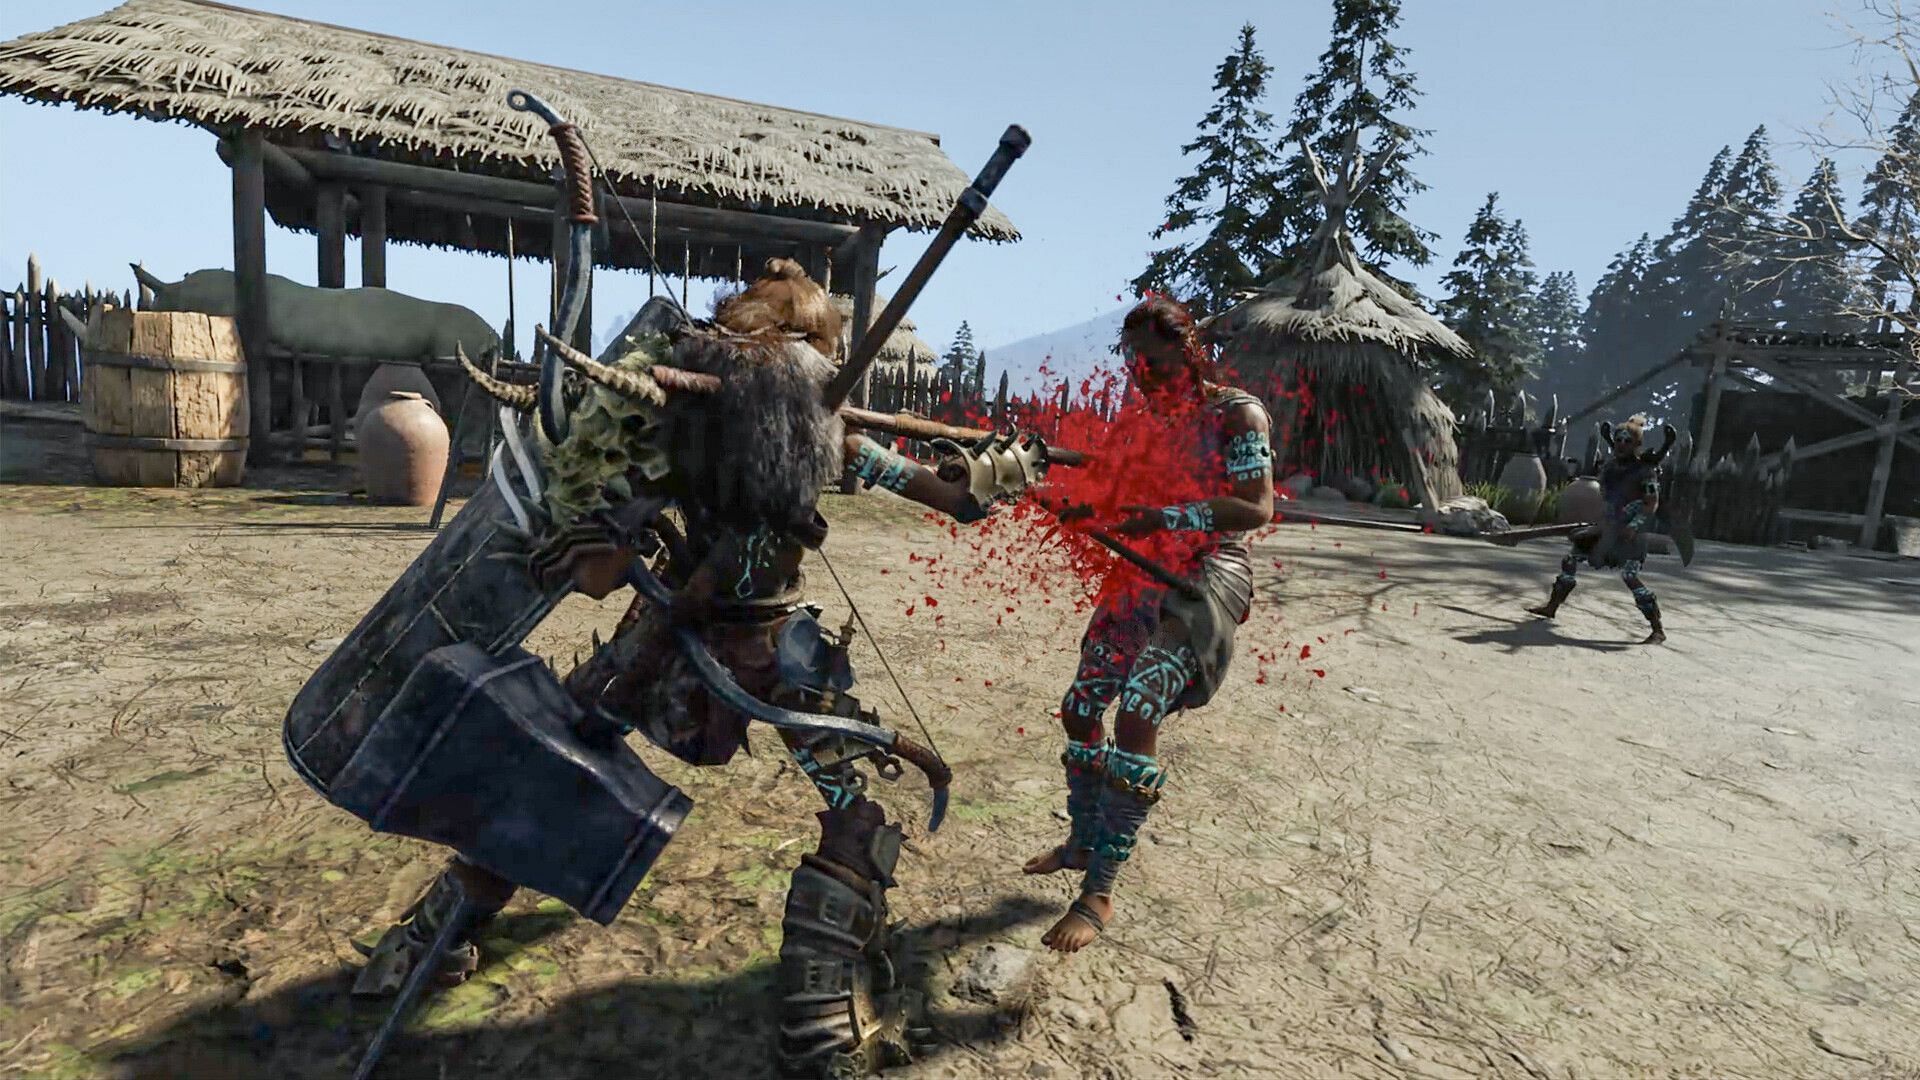
Soulmask is one of the newest trends in the open-world survival genre. This new game has been garnering a lot of attention from players and critics worldwide. The main attractions of this survival game are its Mesoamerican setting and unique mechanics themed around a special mask that players must repair throughout the game.
Being a massively multiplayer online game, you must hunt and gather meat, build bases, and lead a thriving community to survive in Soulmask. This pushes the players to play with others and cooperate with them. However, if you want to have a private server in Soulmask, worry not. In this guide, we will go through the details of creating a dedicated server in Soulmask.
How to create a private server in Soulmask
Looking for Crossword hints & solutions? Check out latest NYT Mini Crossword Answers, LA Times Crossword Answers, and Atlantic Crossword Answers
Soulmask is primarily built for an online multiplayer experience, so building a private server is a little hassle but don’t worry, it is not that hard once you understand the procedure.
To create a private server in Soulmask, follow these steps:
- Create a dedicated folder for the server. It will be for the SteamCMD.
- Download SteamCMD on your PC.
- Search your system for the downloaded file and open it to run the command prompt on your device.
- In the command prompt, use the following line to install SteamCMD: cd C:\steamcmd
- Use the following command to download the dedicated server: steamcmd +login anonymous +app_update 3017310 validate +quit
- After the commands are inserted, wait for a while as it may take some to initiate. Once installed successfully, a success prompt will appear on the screen.
- When the server is live, start it by running the StartServer.bat program. You can find it here: C:\steamcmd\steamapps\common\Soulmask Dedicated Server For Windows\StartServer.bat
- After you have run the program successfully, run the command prompt again and enter: telnet 127.0.0.1 18888.
- Use this command to shut down the server: quit 180
How to customize a private server in Soumask?
Once you have created a private server, use these prompts to set up the parameters of your server:
1) Make a copy of StartServer.bat to edit and customize the file.
2) Delete the original and replace it with:
- call StartServer.bat
3) Customize your game using these parameters:
- Setting the server name: -SteamServerName=\"your server name\"
- Command for determining the max no. of players: -MaxPlayers=50
- Server password: -PSW=\"yourpassword\"
- Enable GM access password: -adminpsw=\"yourGMpassword\"
- Setting to PVP mode: -pvp
- Setting to PVE mode: -pve
That’s all you need to know for creating your private server in Soulmask.
Are you stuck on today's Wordle? Our Wordle Solver will help you find the answer.