
'%20x='0'%20y='0'%20height='100%25'%20width='100%25'%20%0A%20%20%20%20%20%20%20%20%20%20xlink%3Ahref='data:image/jpg;base64,/9j/2wBDAAYEBQYFBAYGBQYHBwYIChAKCgkJChQODwwQFxQYGBcUFhYaHSUfGhsjHBYWICwgIyYnKSopGR8tMC0oMCUoKSj/2wBDAQcHBwoIChMKChMoGhYaKCgoKCgoKCgoKCgoKCgoKCgoKCgoKCgoKCgoKCgoKCgoKCgoKCgoKCgoKCgoKCgoKCj/wgARCAAGAAoDASIAAhEBAxEB/8QAFgABAQEAAAAAAAAAAAAAAAAAAAIH/8QAFQEBAQAAAAAAAAAAAAAAAAAAAgP/2gAMAwEAAhADEAAAAMhocv/EAB8QAAIBBAIDAAAAAAAAAAAAAAECAwAFERYEEiFBQv/aAAgBAQABPwDcrgtrYq7y4eOMSSOezFDlWIrfp/vio7e28DNf/8QAFBEBAAAAAAAAAAAAAAAAAAAAAP/aAAgBAgEBPwB//8QAFhEAAwAAAAAAAAAAAAAAAAAAAAER/9oACAEDAQE/AIj/2Q=='%3E%3C/image%3E%3C/svg%3E)
Kingdom Come Deliverance 2 throws players into a world filled with brutal conflicts and morally complex decisions, and the Canker task is no exception. This task, given by Gules in Semine, requires players to track down Canker and his gang near Nebakov Mill, eliminate them, and bring back Canker’s Mace as proof of the deed.
For those looking to take down Canker without unnecessary trouble, here’s exactly how to complete the Canker task in Kingdom Come Deliverance 2.
How to finish Canker task in Kingdom Come Deliverance 2
Looking for Crossword hints & solutions? Check out latest NYT Mini Crossword Answers, LA Times Crossword Answers, and Atlantic Crossword Answers
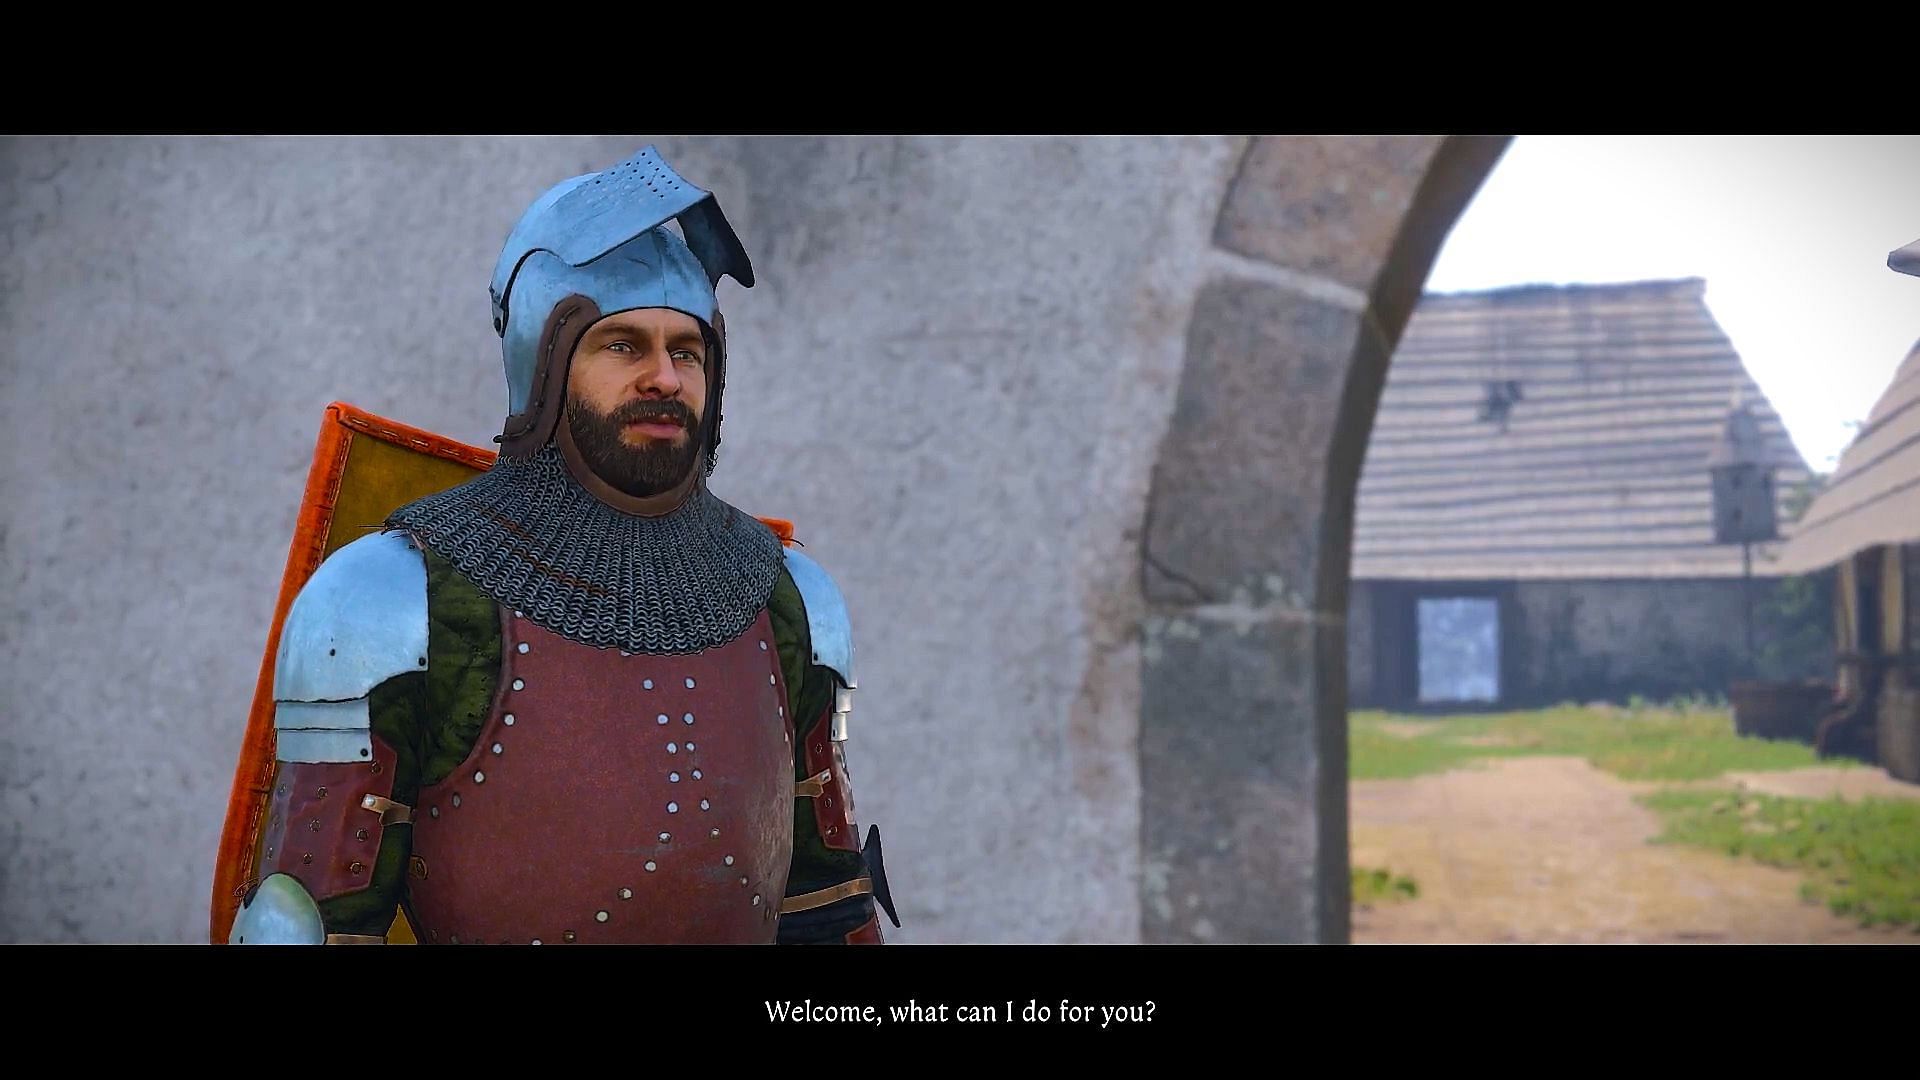
To access this task, you must have already encountered Gules and his band in Apollonia. Once that’s done, head to Semine and speak with Gules. Choosing the dialogue option “Have you already taken care of your band?” will lead to another choice — “What if I helped you?” Selecting this will not only boost Reputation with Gules but also trigger the Canker task.
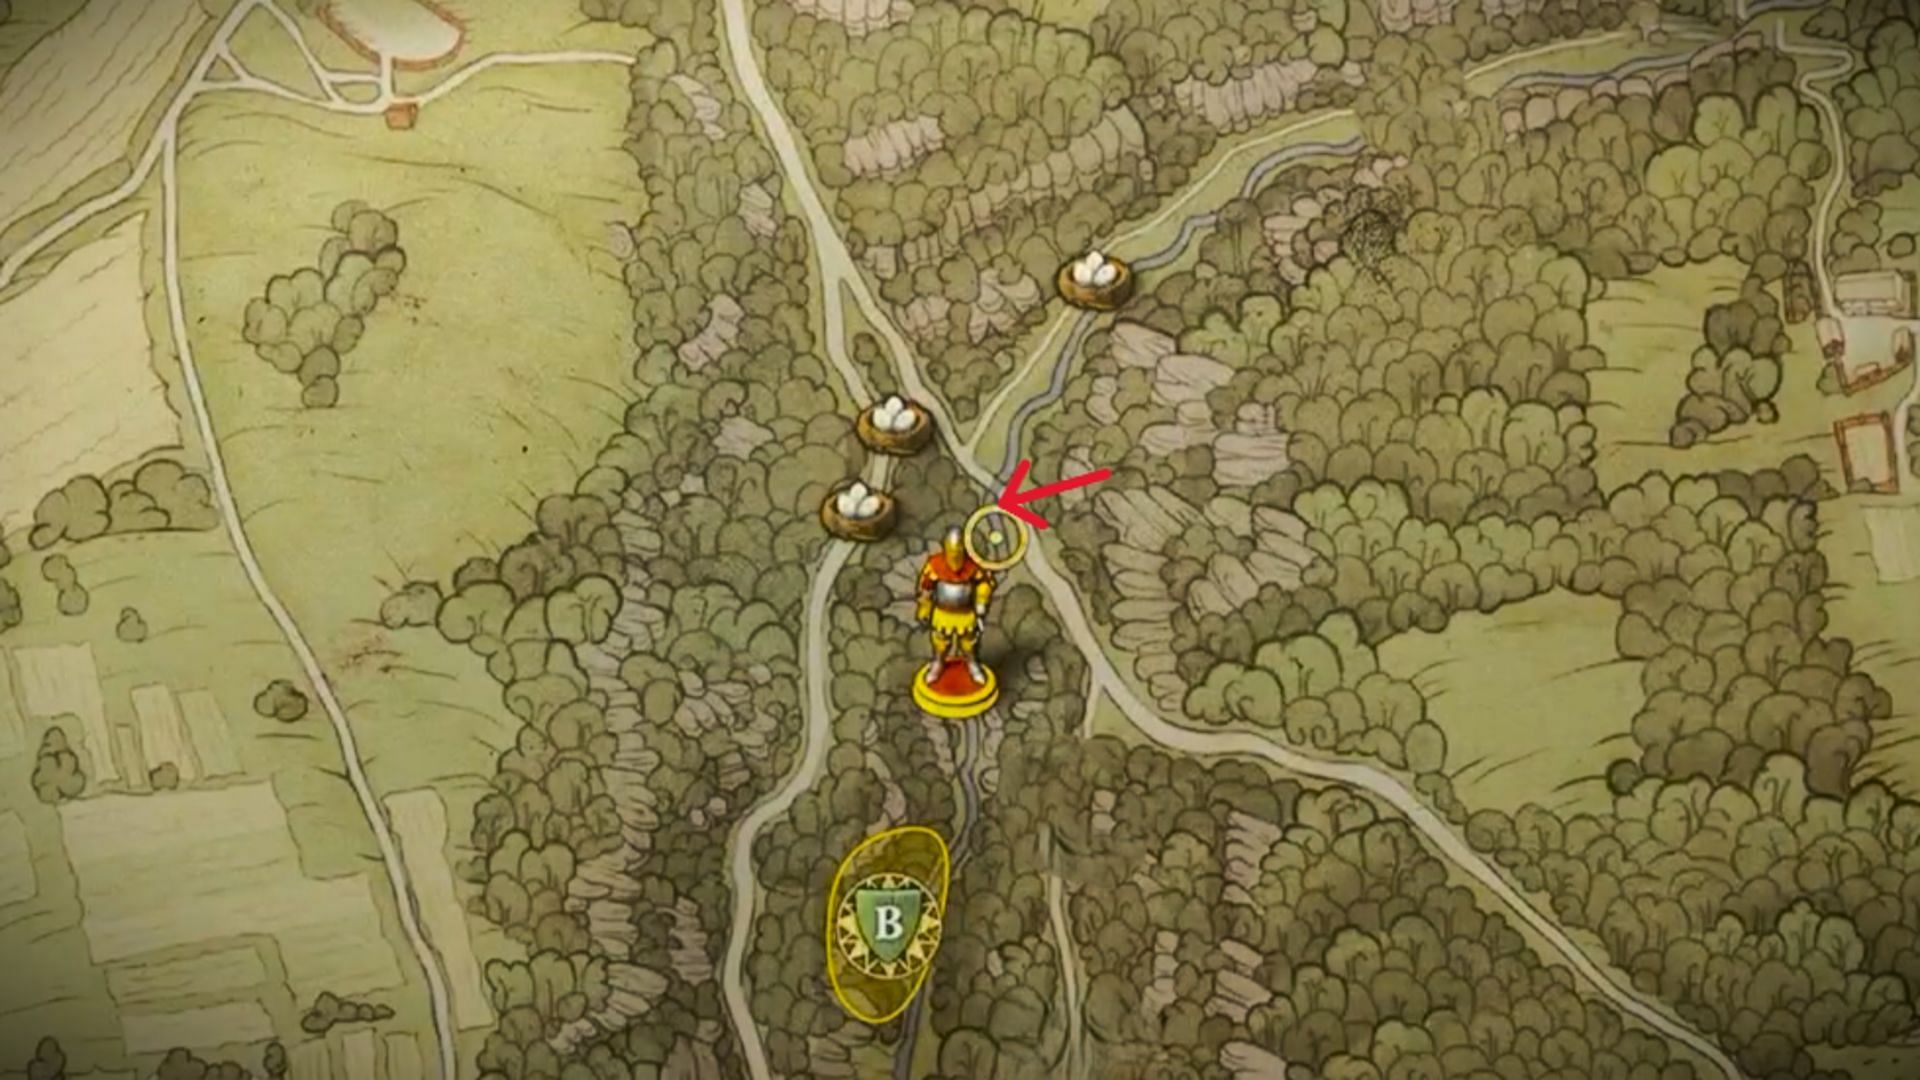
At this point, Gules provides some key details about Canker’s whereabouts, explaining that he and his gang ambush travelers between Troskowitz and Nebakov Mill. The task marker will update, marking potential locations for Canker’s camp.
Check out — All Kingdom Come Deliverance 2 endings and how to get them
Canker task walkthrough
1) Hunting down Canker’s camp
With the objective set, follow the map markers to Canker’s last known locations. The road to Nebakov Mill is dangerous, and before even reaching the camp, you may encounter a Beggar Monk and a group of bandits lying in wait. These enemies can be tough if unprepared, so engaging them carefully is crucial. Take them down and continue toward the task marker to get closer to Canker’s hideout.
The safest route is to stay on the main road until reaching Nebakov Mill. From there, an off-road path will lead directly to Canker’s camp. Be mindful of the surroundings, as there’s always a chance of additional bandits patrolling the area.
2) Breaking up Canker’s gang
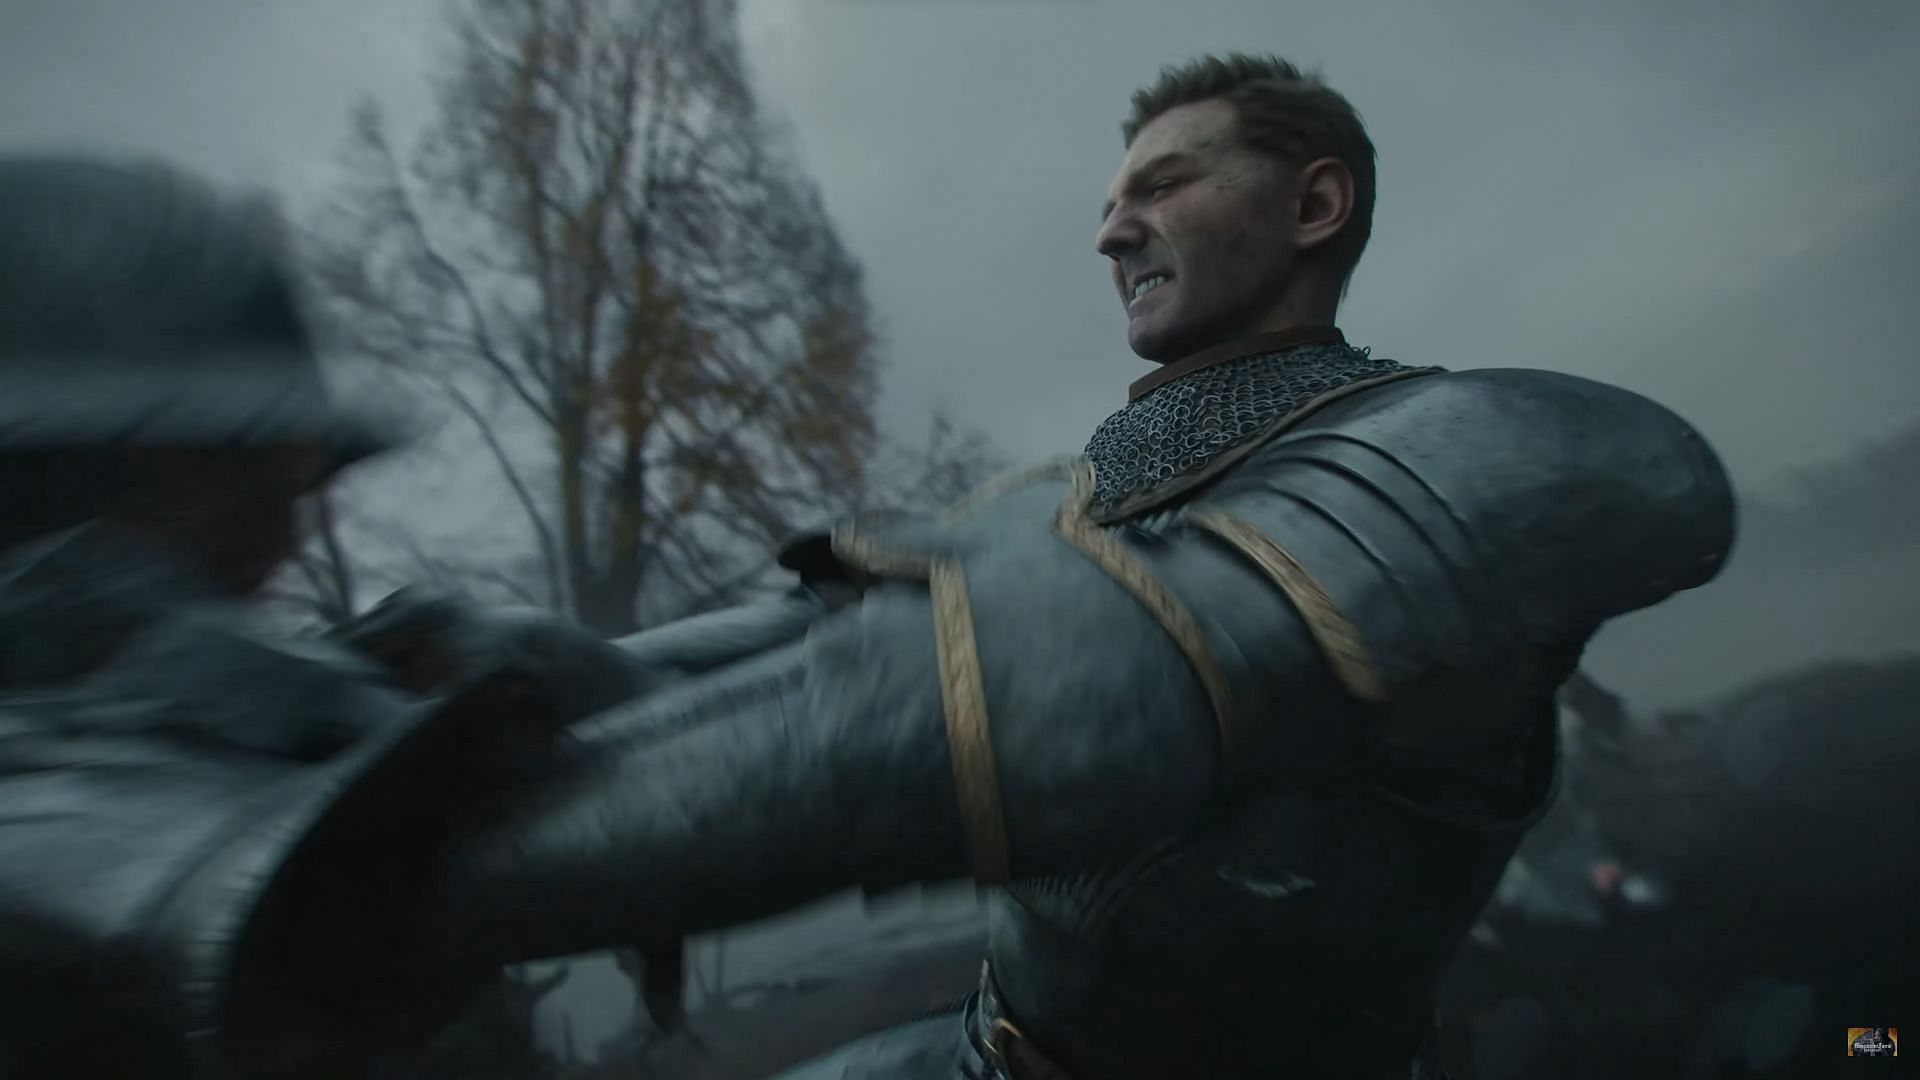
Upon arrival at the camp, the objective will update — break up Canker’s gang. A total of five enemies await, including Canker himself. Unlike some fights in Kingdom Come Deliverance 2, these bandits don’t immediately rush the player all at once. Instead, they will approach gradually, which offers a chance to deal with them one at a time.
Ranged weapons, like the crossbow or bow, can be useful in softening up the enemies before they get close. A well-placed shot can significantly weaken an enemy, making the melee fight easier. However, be cautious, as Canker himself is well-armored and won’t go down easily.
Once the fight is over, search his body and retrieve Canker’s Mace. This weapon serves as proof of the kill and will be needed to complete the task.
3) Returning to Gules with Canker’s mace
With Canker and his gang defeated, the final step is to report back to Gules in Semine. Handing over Canker’s Mace confirms the completion of the task. Gules acknowledges the effort and, as a reward, allows the player to keep the mace.
This marks the end of the Canker task in KCD2, eliminating a dangerous group of bandits and securing a unique weapon in the process.
Check out — Kingdom Come Deliverance 2 walkthrough: How to complete Last Rites main quest

Are you stuck on today's Wordle? Our Wordle Solver will help you find the answer.