
'%20x='0'%20y='0'%20height='100%25'%20width='100%25'%20%0A%20%20%20%20%20%20%20%20%20%20xlink%3Ahref='data:image/jpg;base64,/9j/2wBDAAYEBQYFBAYGBQYHBwYIChAKCgkJChQODwwQFxQYGBcUFhYaHSUfGhsjHBYWICwgIyYnKSopGR8tMC0oMCUoKSj/2wBDAQcHBwoIChMKChMoGhYaKCgoKCgoKCgoKCgoKCgoKCgoKCgoKCgoKCgoKCgoKCgoKCgoKCgoKCgoKCgoKCgoKCj/wgARCAAFAAoDASIAAhEBAxEB/8QAFgABAQEAAAAAAAAAAAAAAAAAAAQH/8QAFAEBAAAAAAAAAAAAAAAAAAAABP/aAAwDAQACEAMQAAAAz+YMr//EAB0QAAMAAgIDAAAAAAAAAAAAAAECAwAEERMFEjH/2gAIAQEAAT8A1/M7i7IrWho7rTsb4X5GSe9Jo/cB7AHgTXP/xAAUEQEAAAAAAAAAAAAAAAAAAAAA/9oACAECAQE/AH//xAAXEQADAQAAAAAAAAAAAAAAAAAAAQIh/9oACAEDAQE/AJ1n/9k='%3E%3C/image%3E%3C/svg%3E)
Dancing with the Devil is a mission in Kingdom Come Deliverance 2 that focuses on Henry and his companions launching an assault on Maleshov to confront Lord Von Bergow. This mission features a lot of challenging combat, so it’s recommended that you equip the best armor and weapons available.
In this guide, we will delve into everything you will need to know about the Dancing with the Devil quest in Kingdom Come Deliverance 2.
Also Read: Kingdom Come Deliverance 2 Map
Looking for Crossword hints & solutions? Check out latest NYT Mini Crossword Answers, LA Times Crossword Answers, and Atlantic Crossword Answers
How to start and complete the Dancing with the Devil mission in Kingdom Come Deliverance 2
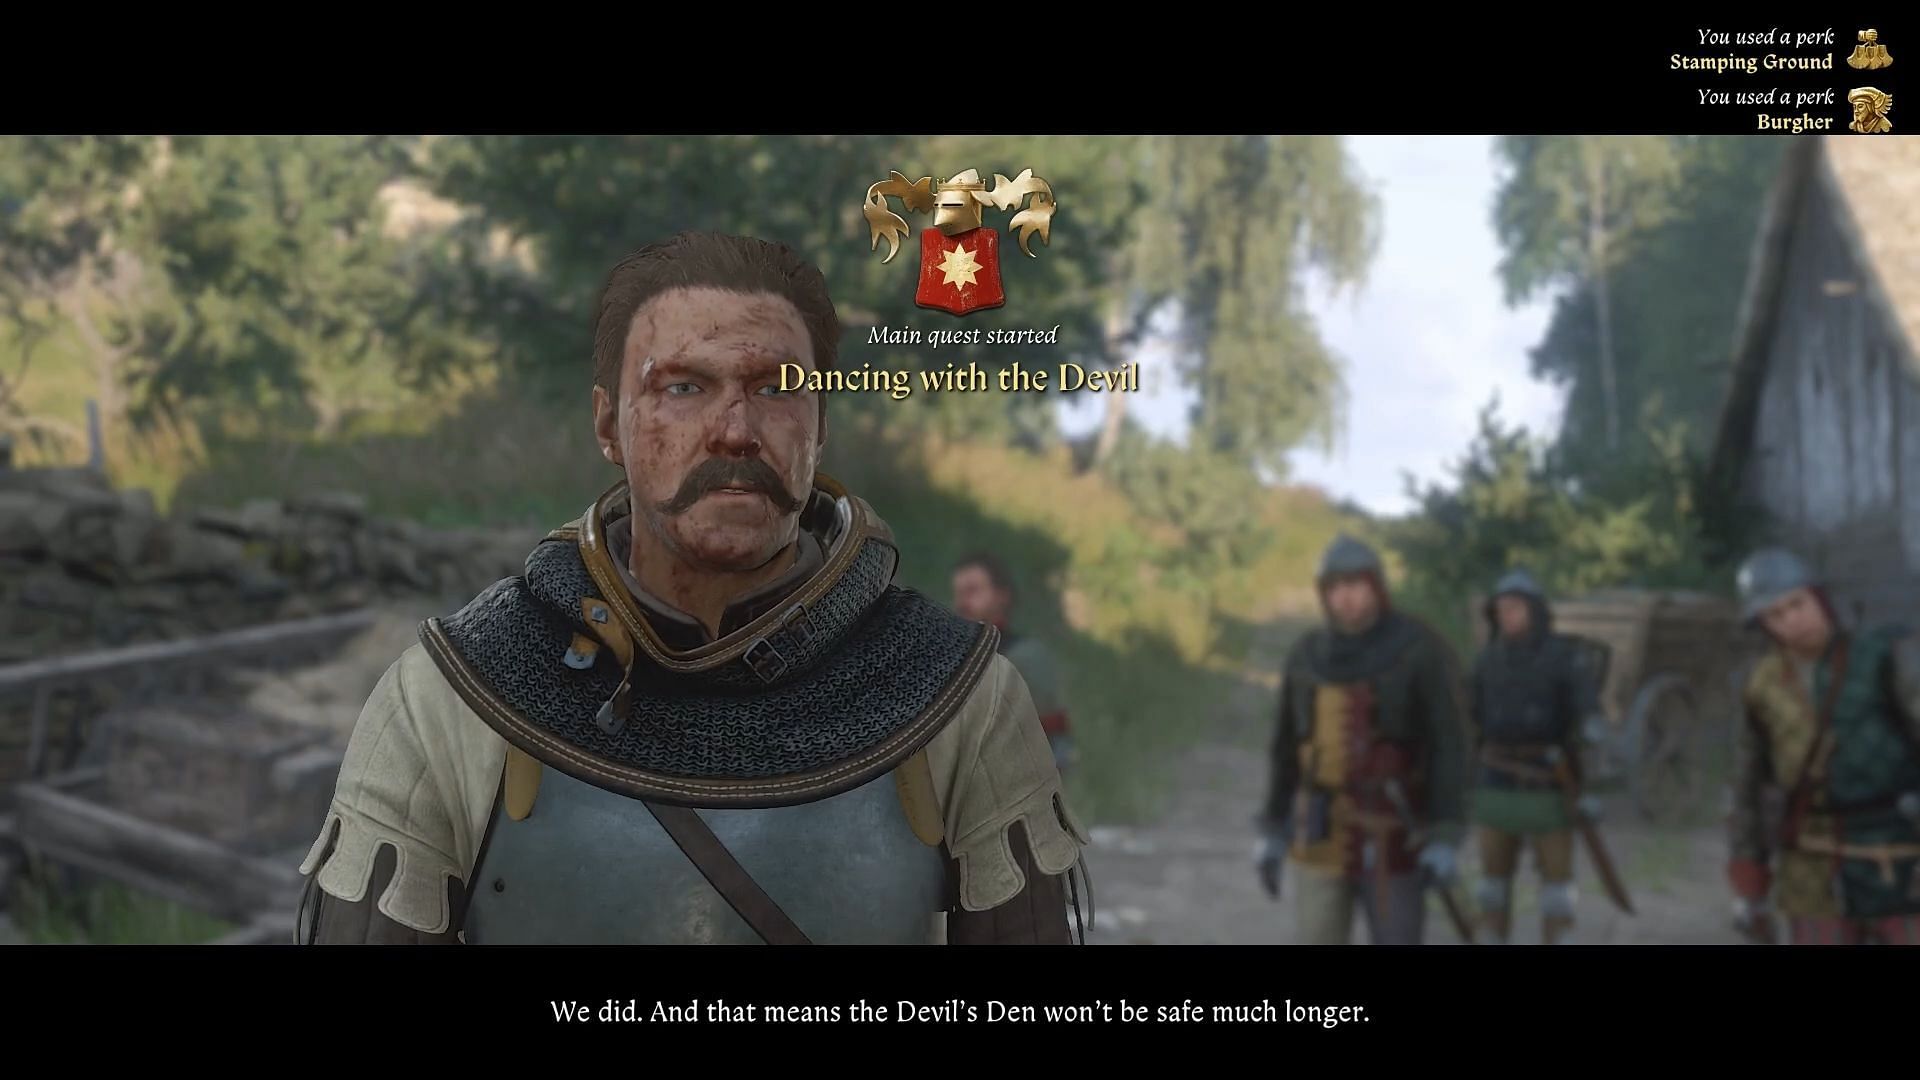
To start this quest, fast-travel to Devil’s Den, where a strategy session with the assembled allies takes place. Here, you should meet Zizka. The main goal of the mission is to breach Maleshov’s defenses using the Finger of God, an explosive device designed to blow apart fortress walls in Kingdom Come Deliverance 2.
Read more: Kingdom Come Deliverance 2 review: A Bohemian adventure that's "absolute cinema"
Once the strategy is laid out, the game transitions to nighttime, with Henry and his crew positioned outside Maleshov. At this moment, the Dry Devil proposes an unexpected plan. He talks about setting the village on fire to create chaos, endangering innocent civilians. You are now presented with two choices:
- Agree to burn the village – Selecting “Yes. The trap must be sprung.”
- Refuse to burn the village – Selecting “No! I won’t murder the innocent.”
Burning down the village
Opting to set fire to the village leads to a chaotic battle where Henry and his allies storm the area, eliminating enemy forces. During the attack, you can instruct civilians to escape before they get caught in the flames.
Once the initial wave of enemies is defeated, take cover near a shed and wait for reinforcements. As enemy soldiers rush past, ambush them and clear the area before advancing further.
Also read: Kingdom Come Deliverance 2 Twitch drops: How to get the Cutpurse Armour Set
Choosing not to burn the village
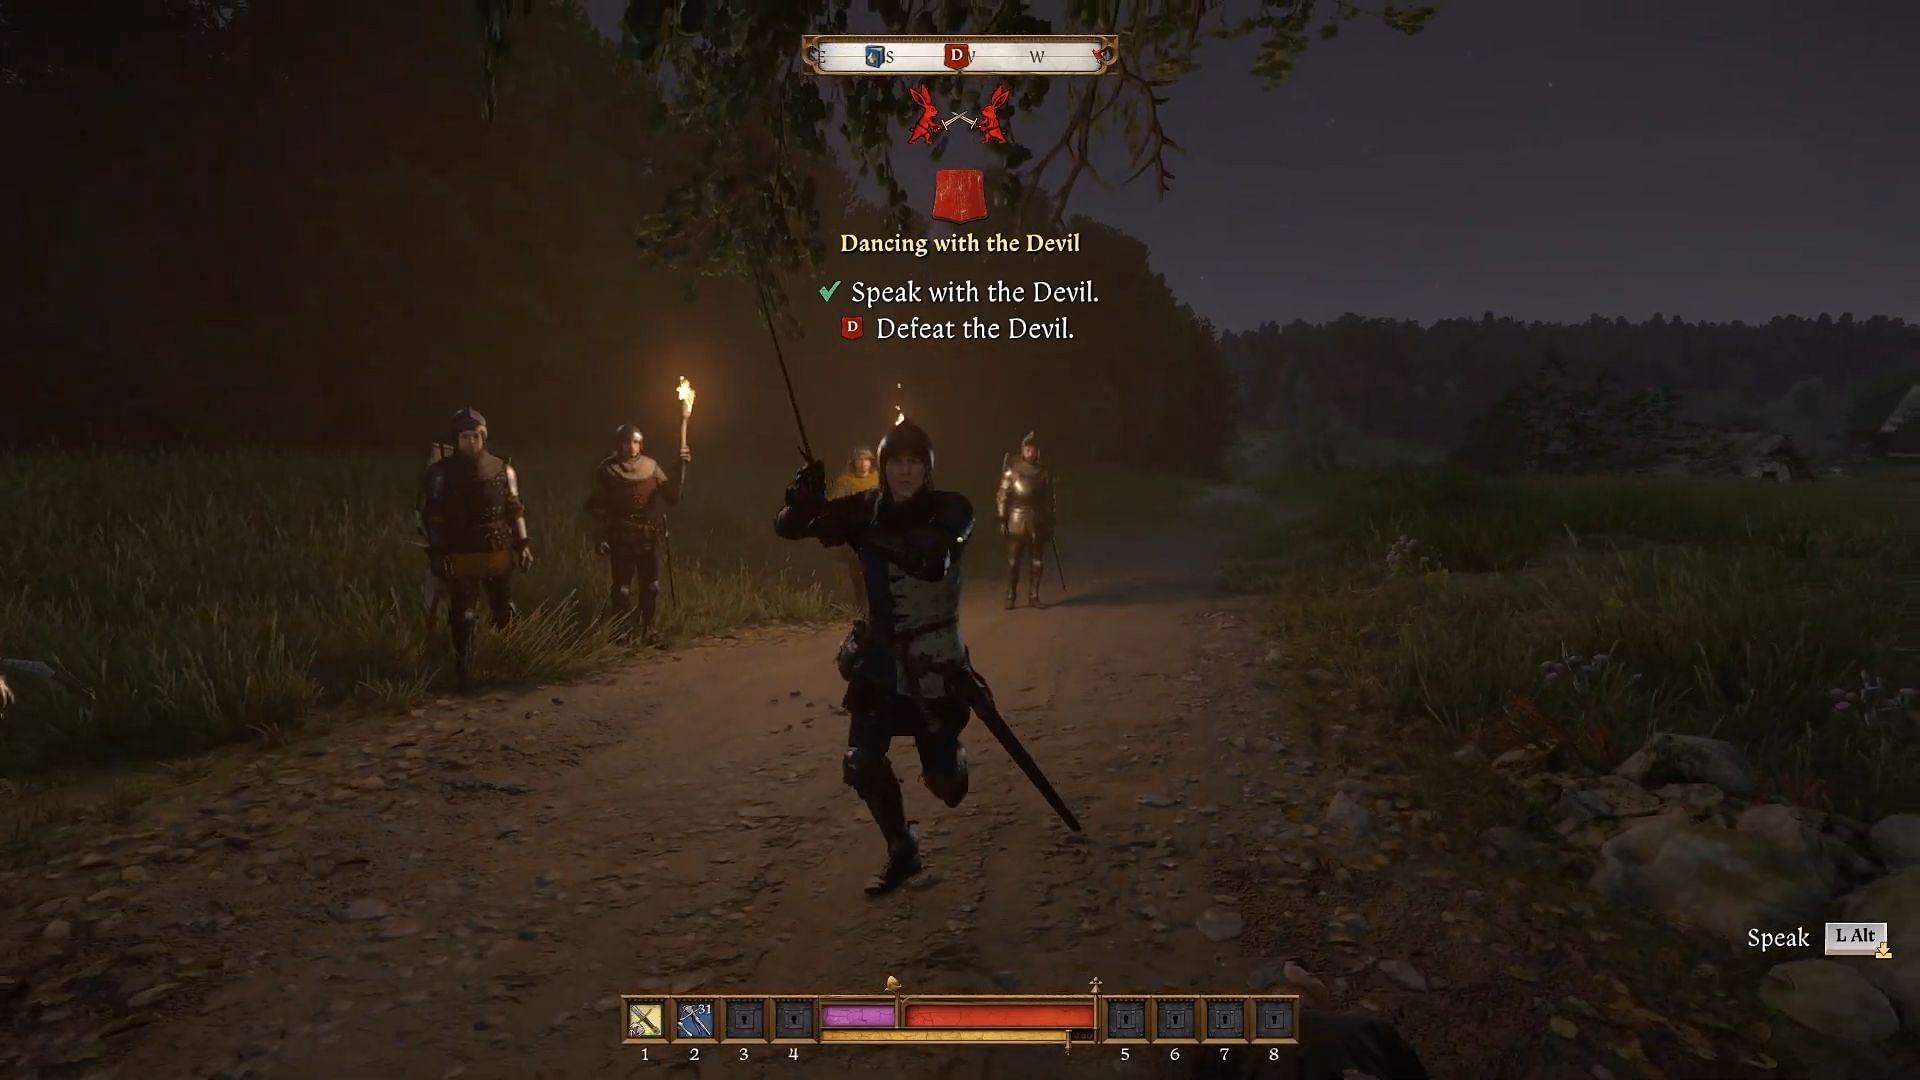
If you reject the Dry Devil’s proposal, he challenges Henry to a duel. Losing this fight results in the village being burned anyway, forcing Henry to comply. Winning, however, ensures a stealthier approach to infiltrate Maleshov. This alternative makes the mission significantly harder, as enemy guards remain vigilant.
Regardless of your choice, the next objective is to gain entry into Maleshov by opening the main gate. If the village is set ablaze, guards will be preoccupied with the fire, allowing for an easier approach. If not, expect heavy resistance.
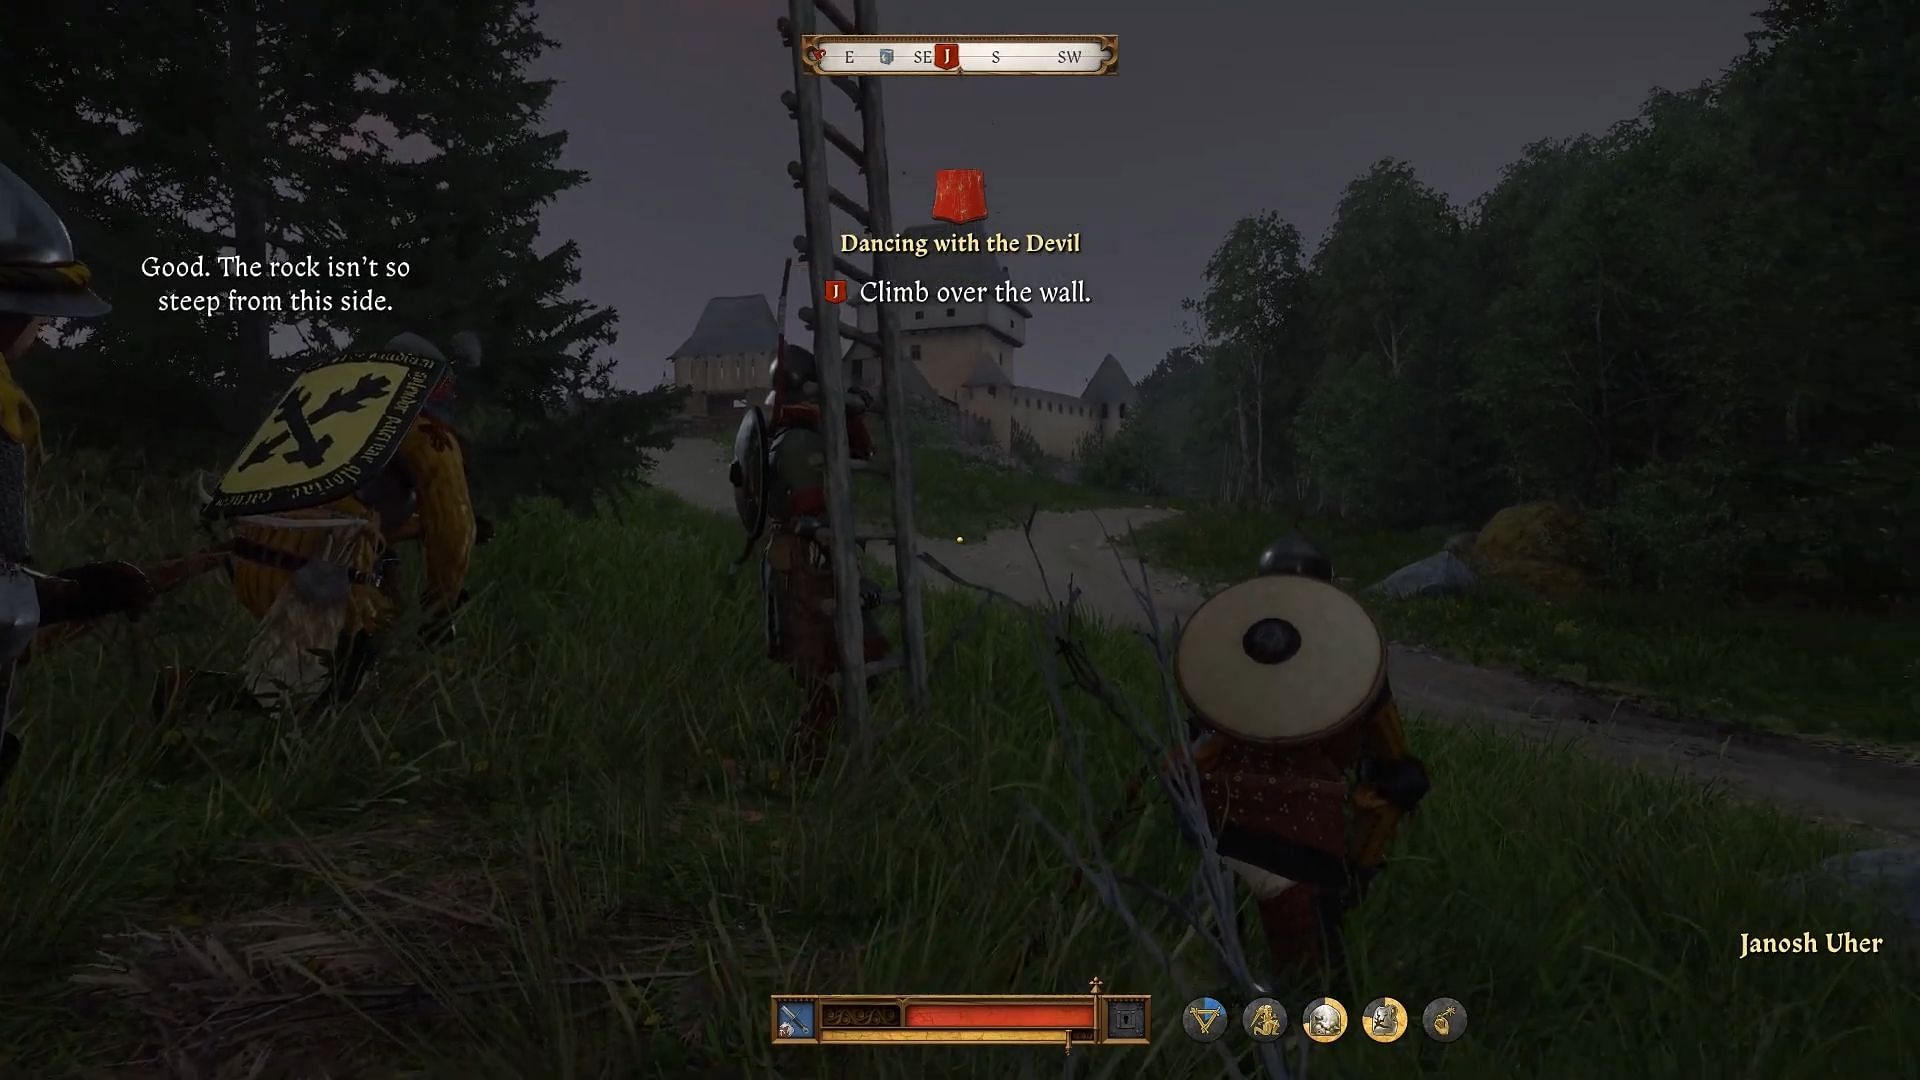
To reach the gate, follow your allies to the fortress walls, where a ladder is set up. Climb over and proceed to the eastern gate. You can cause a distraction by throwing a pebble away from the gate to lure the guards away. Alternatively, you can fight through the enemies if you prefer a direct approach. Once the gate is opened, Zizka’s forces will pour in to support the battle.
With reinforcements inside, engage in combat to defeat the remaining enemy soldiers. While the number of opponents might seem overwhelming, their attention is divided among your allies, making them easier to defeat.
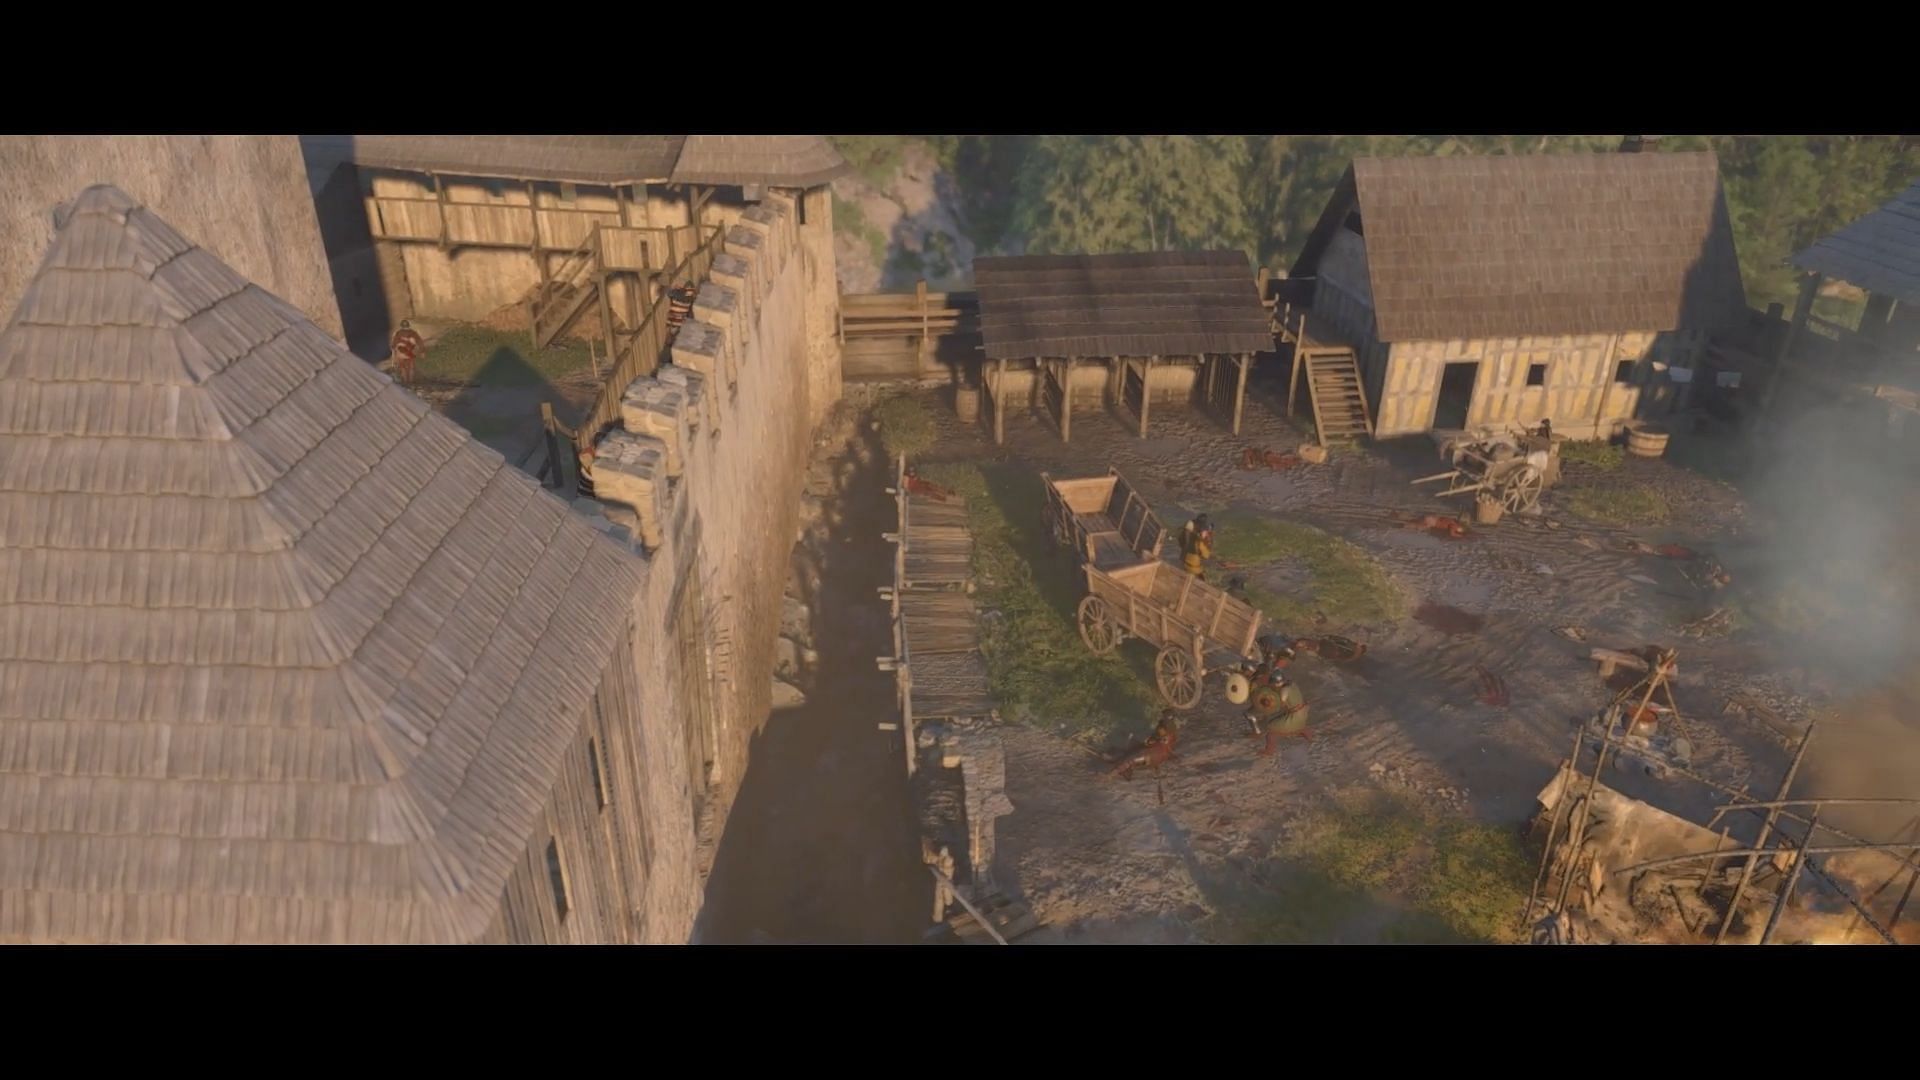
Once the battlefield is cleared, enemy archers begin attacking from above. Use the available wagons as cover and wait until your allies deploy the Finger of God to demolish the main tower in Kingdom Come Deliverance 2.
Following the explosion, the final step is to charge into the main courtyard and engage the last group of defenders. Again, using strategic positioning and attacking distracted foes will grant you the advantage.
Confronting Lord Von Bergow
After securing Maleshov, Henry, Zizka, and the Dry Devil ascend the tower to confront Lord Von Bergow, who has taken Rosa Ruthard hostage. Initially, the plan was to set the tower ablaze, but the presence of Rosa forces a change in approach.
At this point, you have two options:
- Negotiate with Bergow – Choose “Let’s make a deal.” to convince him to surrender peacefully.
- Rescue Rosa by force – Select “I’ll rescue Rosa.” to fight through his guards and save her yourself.
Regardless of your choice, Bergow ultimately surrenders, bringing the mission to its conclusion. Despite multiple attempts, burning down the tower does not appear to be a viable option. With Bergow in custody and Rosa safe, the Dancing with the Devil quest in Kingdom Come Deliverance 2 will come to an end.

Are you stuck on today's Wordle? Our Wordle Solver will help you find the answer.