
'%20x='0'%20y='0'%20height='100%25'%20width='100%25'%20%0A%20%20%20%20%20%20%20%20%20%20xlink%3Ahref='data:image/jpg;base64,/9j/2wBDAAYEBQYFBAYGBQYHBwYIChAKCgkJChQODwwQFxQYGBcUFhYaHSUfGhsjHBYWICwgIyYnKSopGR8tMC0oMCUoKSj/2wBDAQcHBwoIChMKChMoGhYaKCgoKCgoKCgoKCgoKCgoKCgoKCgoKCgoKCgoKCgoKCgoKCgoKCgoKCgoKCgoKCgoKCj/wgARCAAGAAoDASIAAhEBAxEB/8QAFgABAQEAAAAAAAAAAAAAAAAAAAUH/8QAFAEBAAAAAAAAAAAAAAAAAAAAAP/aAAwDAQACEAMQAAAAzqEH/8QAHxAAAgEEAgMAAAAAAAAAAAAAAQMCAAUREgQTQVHR/9oACAEBAAE/AH3tOiOWbcmbJKwsTkTqAfPumXQznKfQsbHOAB8r/8QAFxEBAAMAAAAAAAAAAAAAAAAAAgADEf/aAAgBAgEBPwA1nJ//xAAXEQADAQAAAAAAAAAAAAAAAAAAAQIR/9oACAEDAQE/AKpp4f/Z'%3E%3C/image%3E%3C/svg%3E)
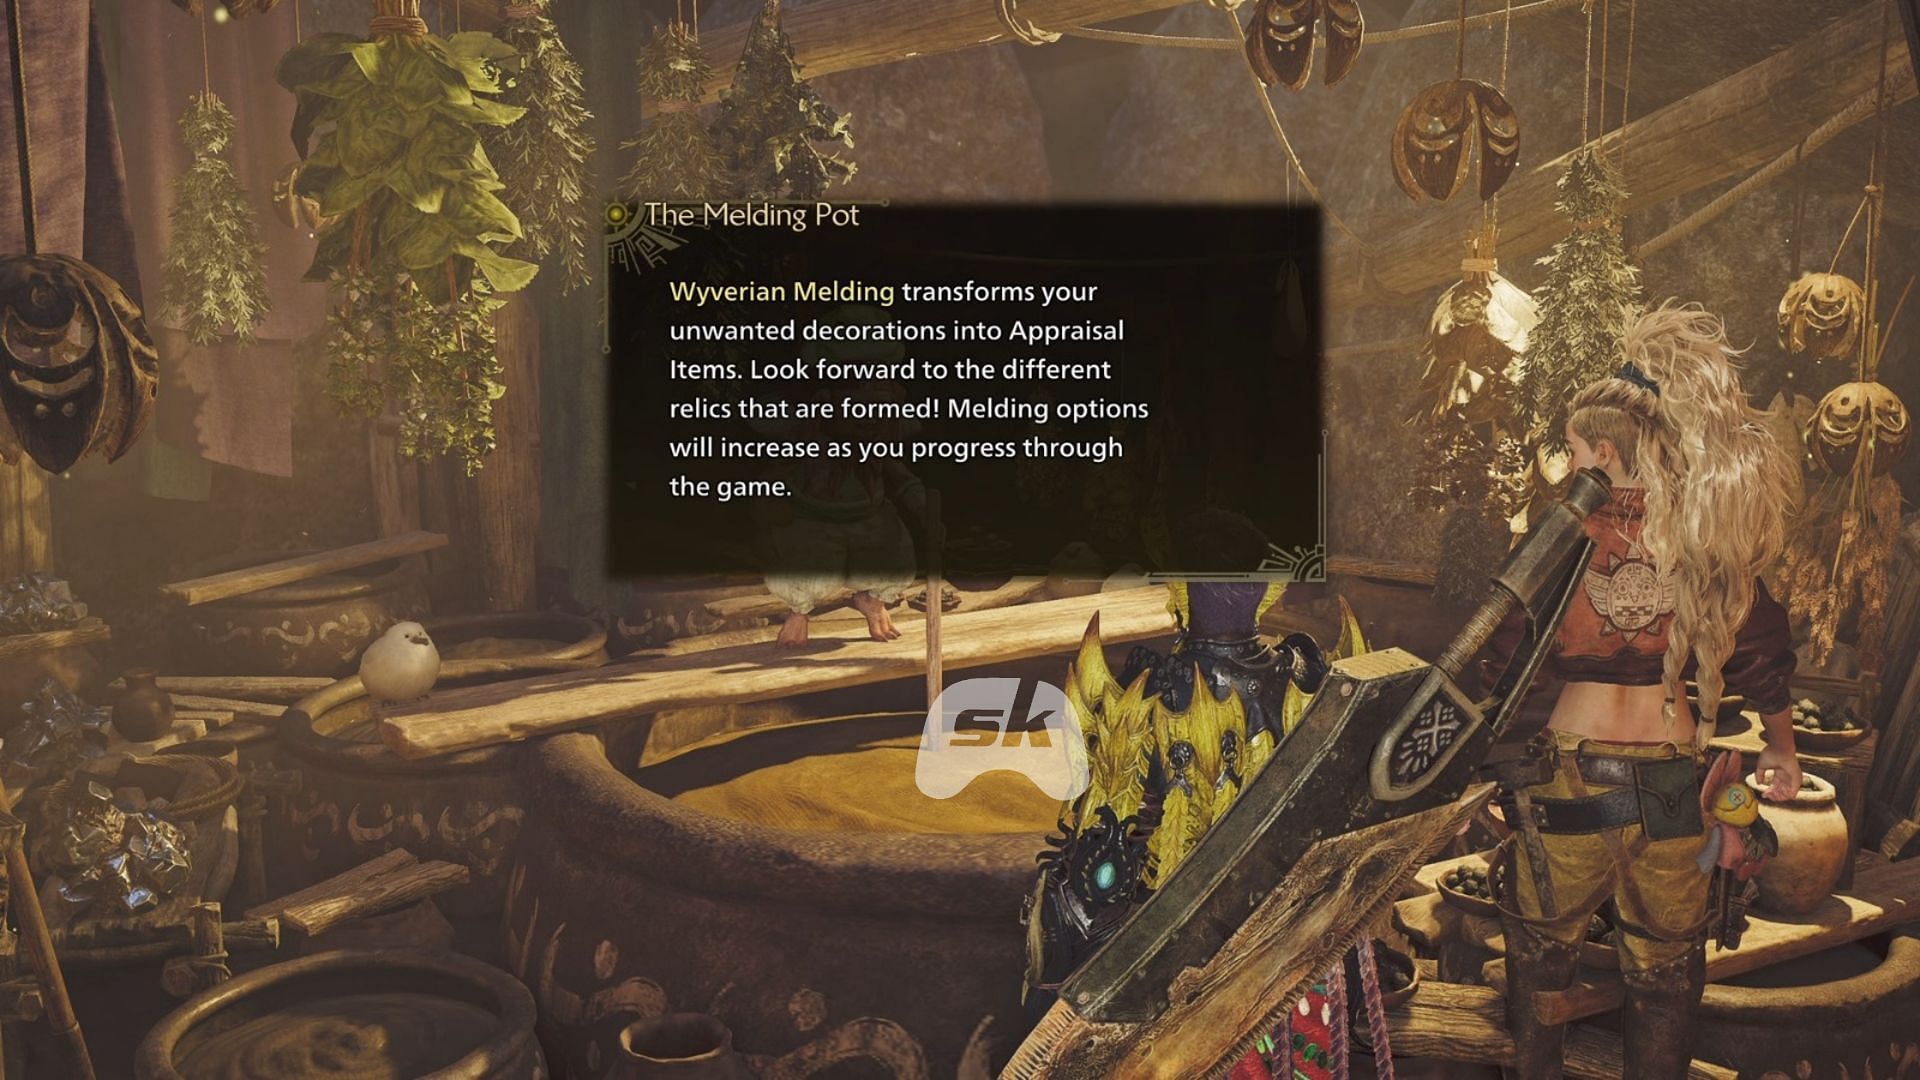
In Monster Hunter Wilds, the Melding Pot again becomes a fundamental system for the creation of decorations and optimizing your build. Regardless of your goal, be it to boost weapon or armor ability, this instrument enables hunters to exchange surplus material for strong new decorations.
Unlike some previous implementations, the Pot in Monster Hunter Wilds has specific locations and unlock requirements attached to it, so it is a system you must go hunting for instead of being able to access it from any base camp. If you are not sure where to locate the Melding Pot in Monster Hunter Wilds or how to utilize it best, here's a summary of all you need to know.
Where to find the Melding Pot in Monster Hunter Wilds
Check out All Monster Hunter Wilds Monsters to know who you are going to face!
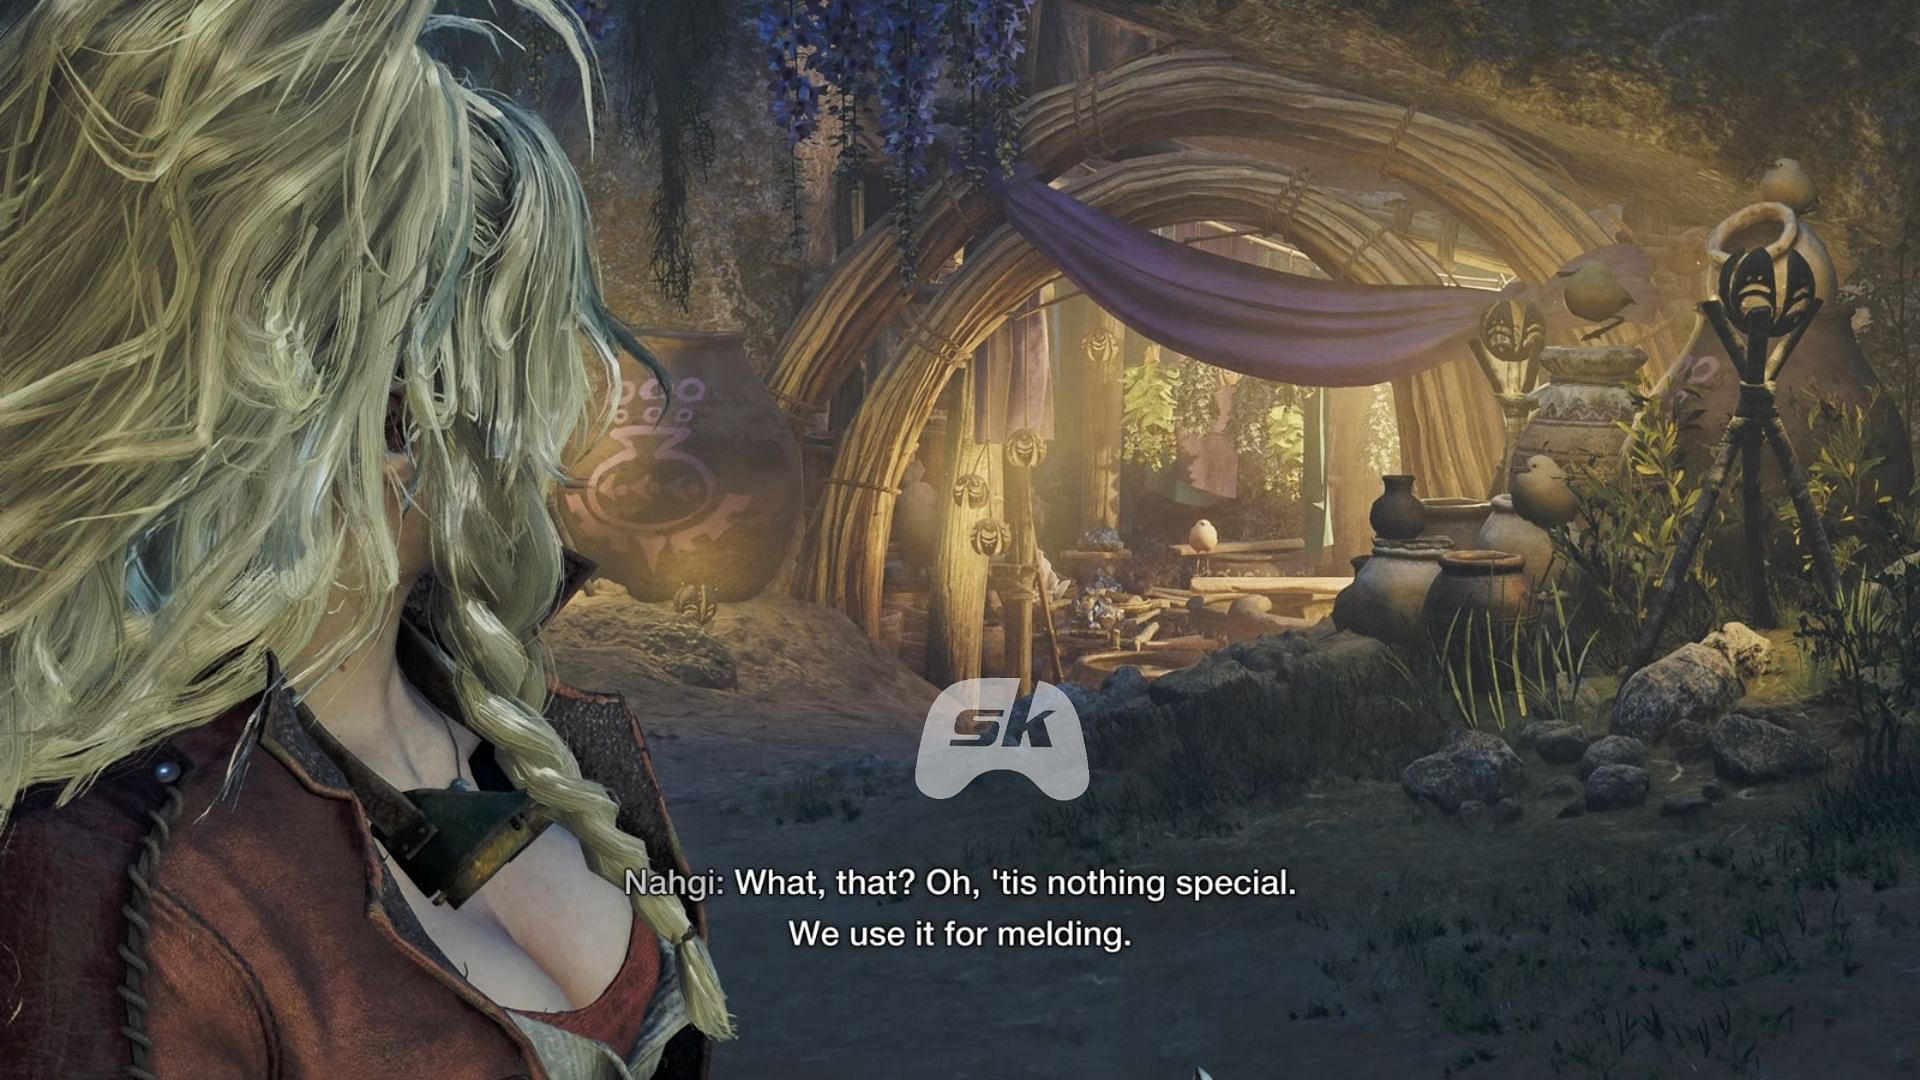
Unlike earlier games in which the Melding Pot was readily available at base camps, in Monster Hunter Wilds, you won't have access to it until deeper into the story. It is located within Suja, Peaks of Accord, a minor camp on the eastern part of the world map.
- You'll first go to Suja in Chapter 3-3: Through the Dusk, so this is the earliest you can get access to it.
- Suja is situated along a curving mountain road, acting as a smaller resource center instead of a proper base camp.
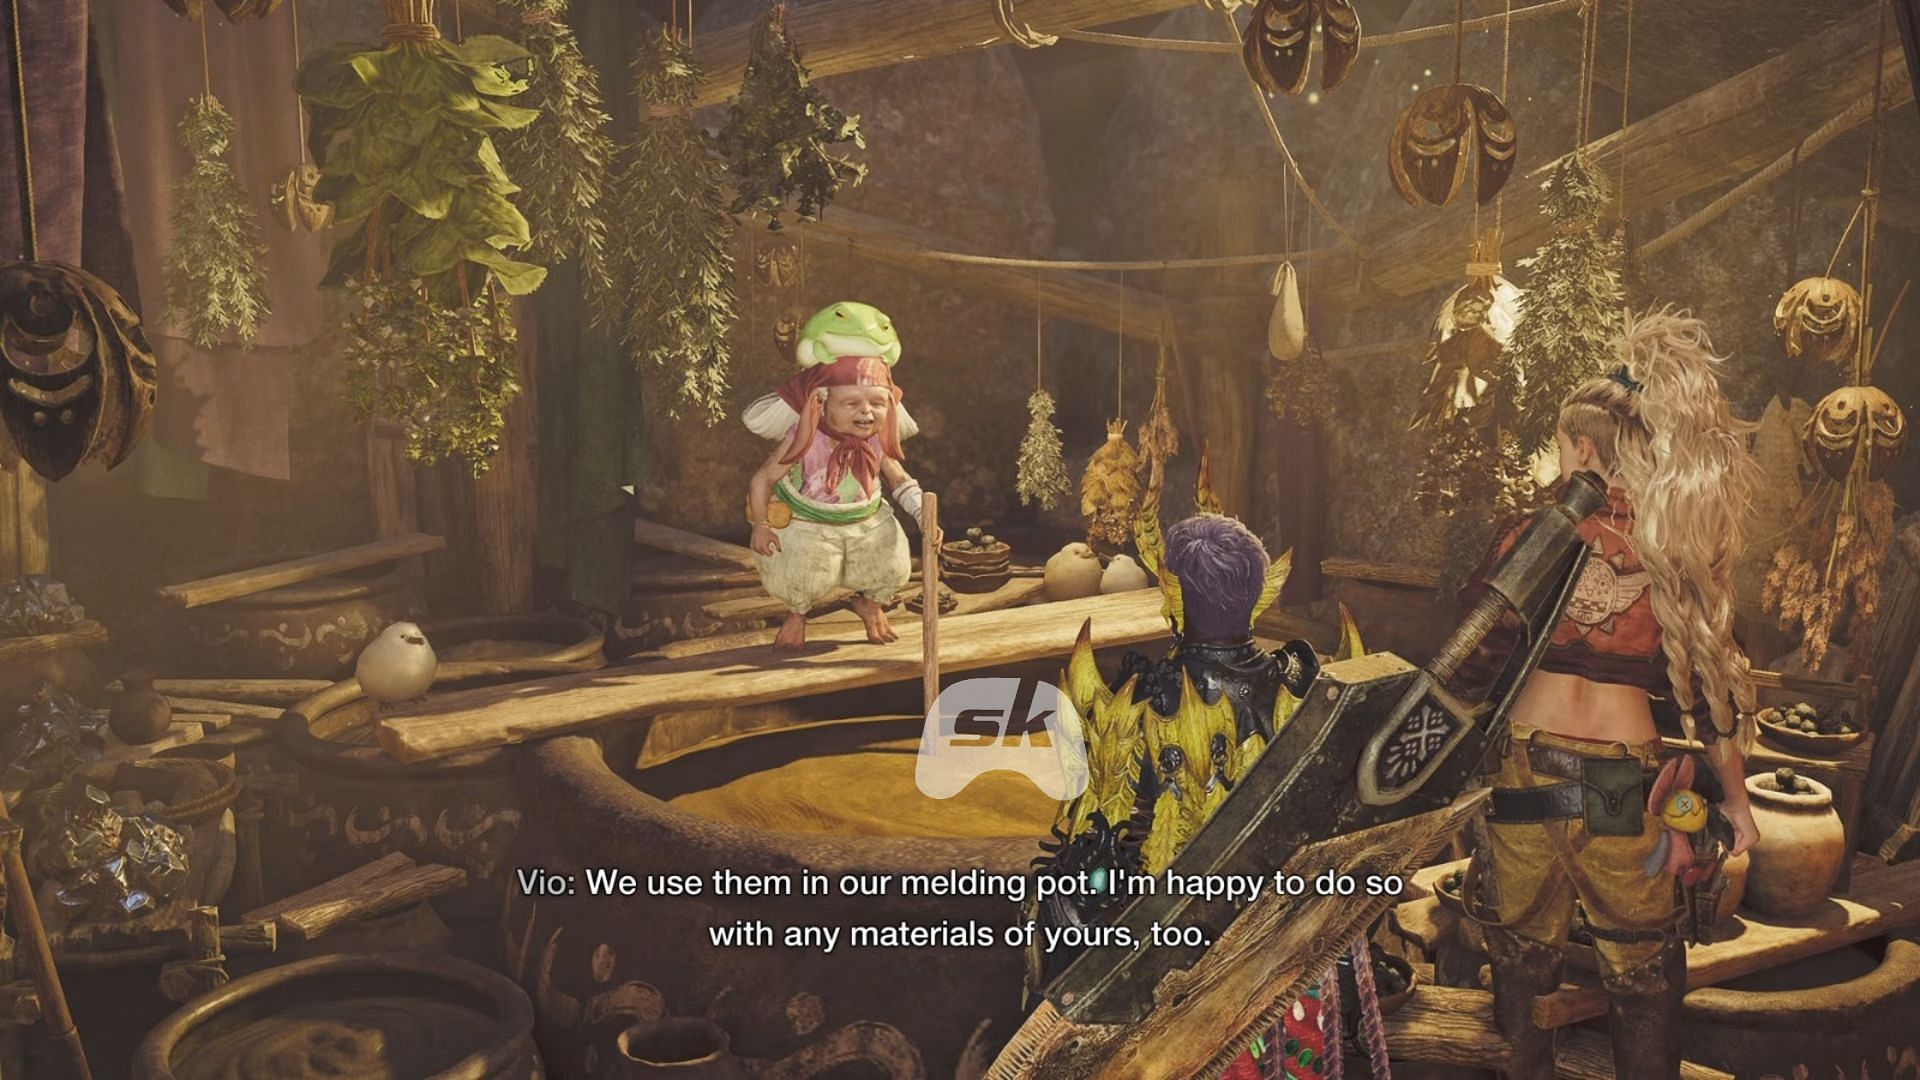
- The Melding Pot vendor, Vio, is in a tent opposite the Smithy.
- It is marked on the map by an icon that looks like a vase with dots above it.
Since Suja is not a primary hub, you'll be required to fast travel here anytime you need to utilize the Melding Pot. Remember this when organizing your hunts.
What is the operation of the Melding Pot?
The Melding Pot enables players to swap unwanted decorations and materials to generate new ones. The system revolves around a point-value exchange system, with the materials having some points assigned to them, and crafting new decorations involves spending these points.
Initially, when you unlock the Melding Pot, you can only access two simple melding recipes:
- Mystery Orb - Sword (Decoration that focuses on weapons)
- Mystery Orb - Armor (Decoration that focuses on armor)
Read more – Monster Hunter Wilds: All Windward Plains Pop-up Camp locations
Melding process: Step-by-step
- Select either Mystery Orb - Sword or Mystery Orb - Armor based on whether you need offensive or defensive decorations.
- Choose which materials you want to trade, ensuring their combined value matches the required points.
- Check the amount still needed through the melding points meter that's on the left of the screen.
- Note any leftover points because any exceeding this will not be given any payback.
- Confirm the exchange to receive new decorations immediately.
Mystery Orb - Sword and Mystery Orb - Armor both take four points per meld, so if you need five orbs, you will require 20 points' worth of materials.
Unlocking advanced Melding options
As you progress in the game, you’ll unlock higher-tier melding options that allow for better decorations and even relic conversion.
Wyverian Melding recipes & unlock conditions
Meld Relics: Converting Artian materials
Beyond decorations, the Melding Pot also allows for converting unwanted Artian materials into random new ones. This feature unlocks after completing Chapter 5-1: Storm-cold Vortex.
- Damaged Weapon Shard – 5 pts
This option is particularly useful if you're looking to refine your build further or recycle materials that don't fit your current playstyle.
Which decorations should you trade?
The general rule when using the Pot in Monster Hunter Wilds is to only exchange decorations when you have excess. Since each skill has a maximum level, there’s no benefit in keeping more decorations than necessary.
- For example, Iron Skin caps at Level 3, meaning you only need three Def Lock Jewels at most. Any extras can be traded for new decorations.
- You can toggle between jewel names and skill names in the Melding Pot menu, making it easier to see what skills you're trading away.
Safe decorations to exchange
- Weapon-specific decorations: If you never use ranged weapons, there's no need to keep Precise Jewels (which boost Ballistics).
- Excess skill-based decorations: If a decoration isn't relevant to your preferred build, consider exchanging it for something more useful.
Material values for Melding
Different materials have different point values, and knowing these values helps in making efficient trades.
Wyverian Melding material values
- One-slot jewels - Worth 1 pt
- Two-slot jewels - Worth 4 pts
- Crushed crystal - Worth 20 pts
- Dalthydon wool - Worth 20 pts
Meld Relics material values
- Wyverian bloodstone (Small): Worth 5 points
- Standard Wyverian bloodstone shard: Grants 1 point
- Cracked disc: Valued at 1 point
- Rusted device: Trades for 1 point
- Broken blade : Yields 1 point
- Crushed tube: Equivalent to 1 point
Understanding these values ensures you’re not wasting valuable materials when crafting decorations.
Tips for Melting Pot usage in Monster Hunter Wilds
While the Pot is available as early as Chapter 3-3, you won’t have enough extra materials to make full use of it until High Rank.
- Early on, it’s best to hold onto your decorations rather than trade them away.
- Once you start farming high-rank monsters, you’ll accumulate duplicate decorations, making it easier to meld new ones without sacrificing key skills.
- The Melding Pot is not the most efficient way to farm decorations, so it’s best used when you’re targeting specific skills to refine your build.
Check out: How to boost Health and Stamina in Monster Hunter Wilds

Check out our Monster Hunter Wilds Review if you are wondering whether the game is worth it.