
'%20x='0'%20y='0'%20height='100%25'%20width='100%25'%20%0A%20%20%20%20%20%20%20%20%20%20xlink%3Ahref='data:image/jpg;base64,/9j/2wBDAAYEBQYFBAYGBQYHBwYIChAKCgkJChQODwwQFxQYGBcUFhYaHSUfGhsjHBYWICwgIyYnKSopGR8tMC0oMCUoKSj/2wBDAQcHBwoIChMKChMoGhYaKCgoKCgoKCgoKCgoKCgoKCgoKCgoKCgoKCgoKCgoKCgoKCgoKCgoKCgoKCgoKCgoKCj/wgARCAAGAAoDASIAAhEBAxEB/8QAFgABAQEAAAAAAAAAAAAAAAAAAAUI/8QAFQEBAQAAAAAAAAAAAAAAAAAAAAH/2gAMAwEAAhADEAAAAM3Txf/EABsQAQEAAgMBAAAAAAAAAAAAAAIBAAQDESEx/9oACAEBAAE/ANBhavIUJVfO6fnmKiKyDuZ//8QAFBEBAAAAAAAAAAAAAAAAAAAAAP/aAAgBAgEBPwB//8QAFREBAQAAAAAAAAAAAAAAAAAAAEH/2gAIAQMBAT8Aj//Z'%3E%3C/image%3E%3C/svg%3E)
Of Webs and Woman is the ninth chapter of South of Midnight. After a brief exploration chapter full of readable items, hidden floof deposits, and wind tunnels, Hazel has finally made her way to the Witches' Nose in this chapter.
This article will cover everything you must know about this chapter and all that it has to offer.
Disclaimer: Major story spoilers will be discussed beyond this point.
Looking for Crossword hints & solutions? Check out latest NYT Mini Crossword Answers, LA Times Crossword Answers, and Atlantic Crossword Answers
Of Webs and Woman in South of Midnight

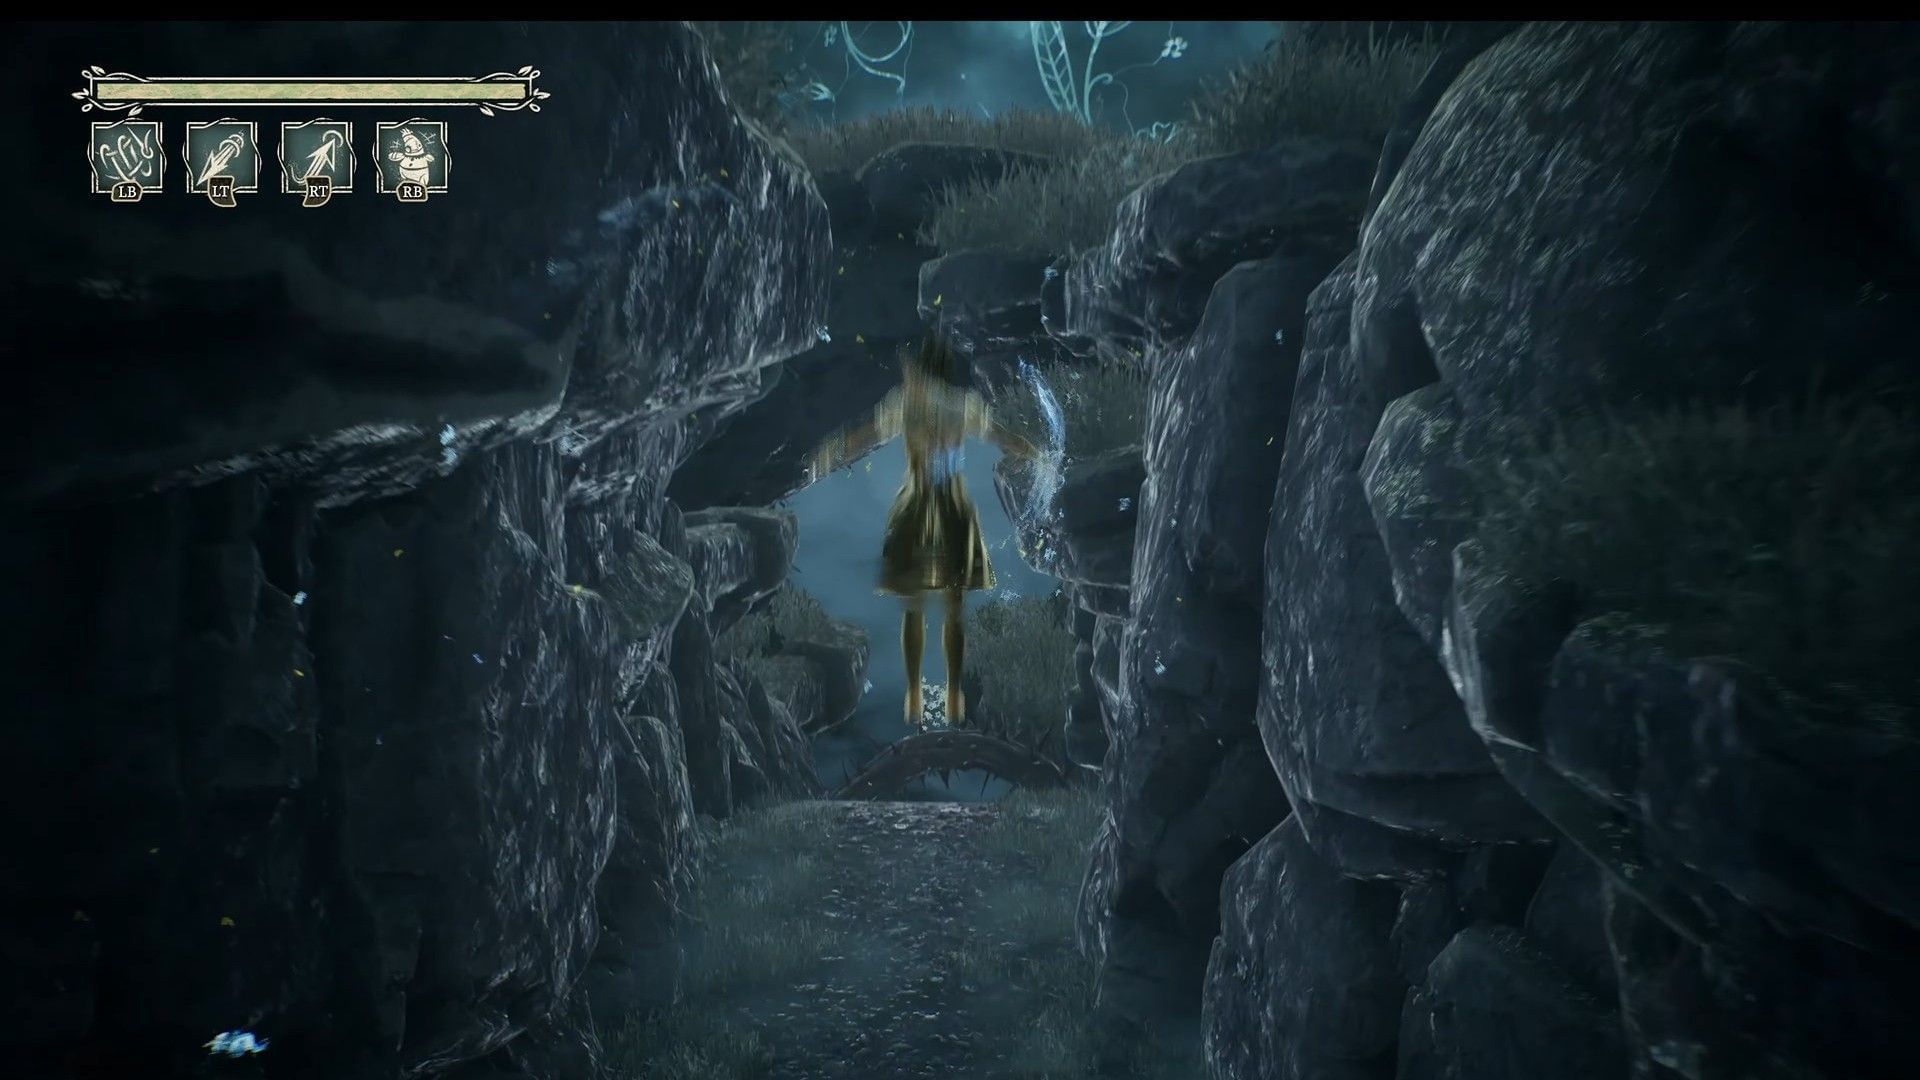
After getting through the tight crevice, follow the path forward. You will see a ledge in front; you must use a double jump to reach it and get across. The path will eventually lead to an open area, but you must take a hard left where you can see a huge house in the distance.

You can use the Guiding Strand feature to light the way if you are unsure of the right path forward. There will be a small settlement ahead, where you will meet Itchy, a new character and a brief cutscene will play out. Itchy will tell you that the big house used to be the home of Huggin' Molly and will inform you of a few stigmas in the area that must be cleared.
Clearing the Stigma around the holler
Enter the town, and you can see a house covered in red yarn ahead with a few readable items inside. Once you find everything, exit the house and take a right, where you will see the first of four stigmas.

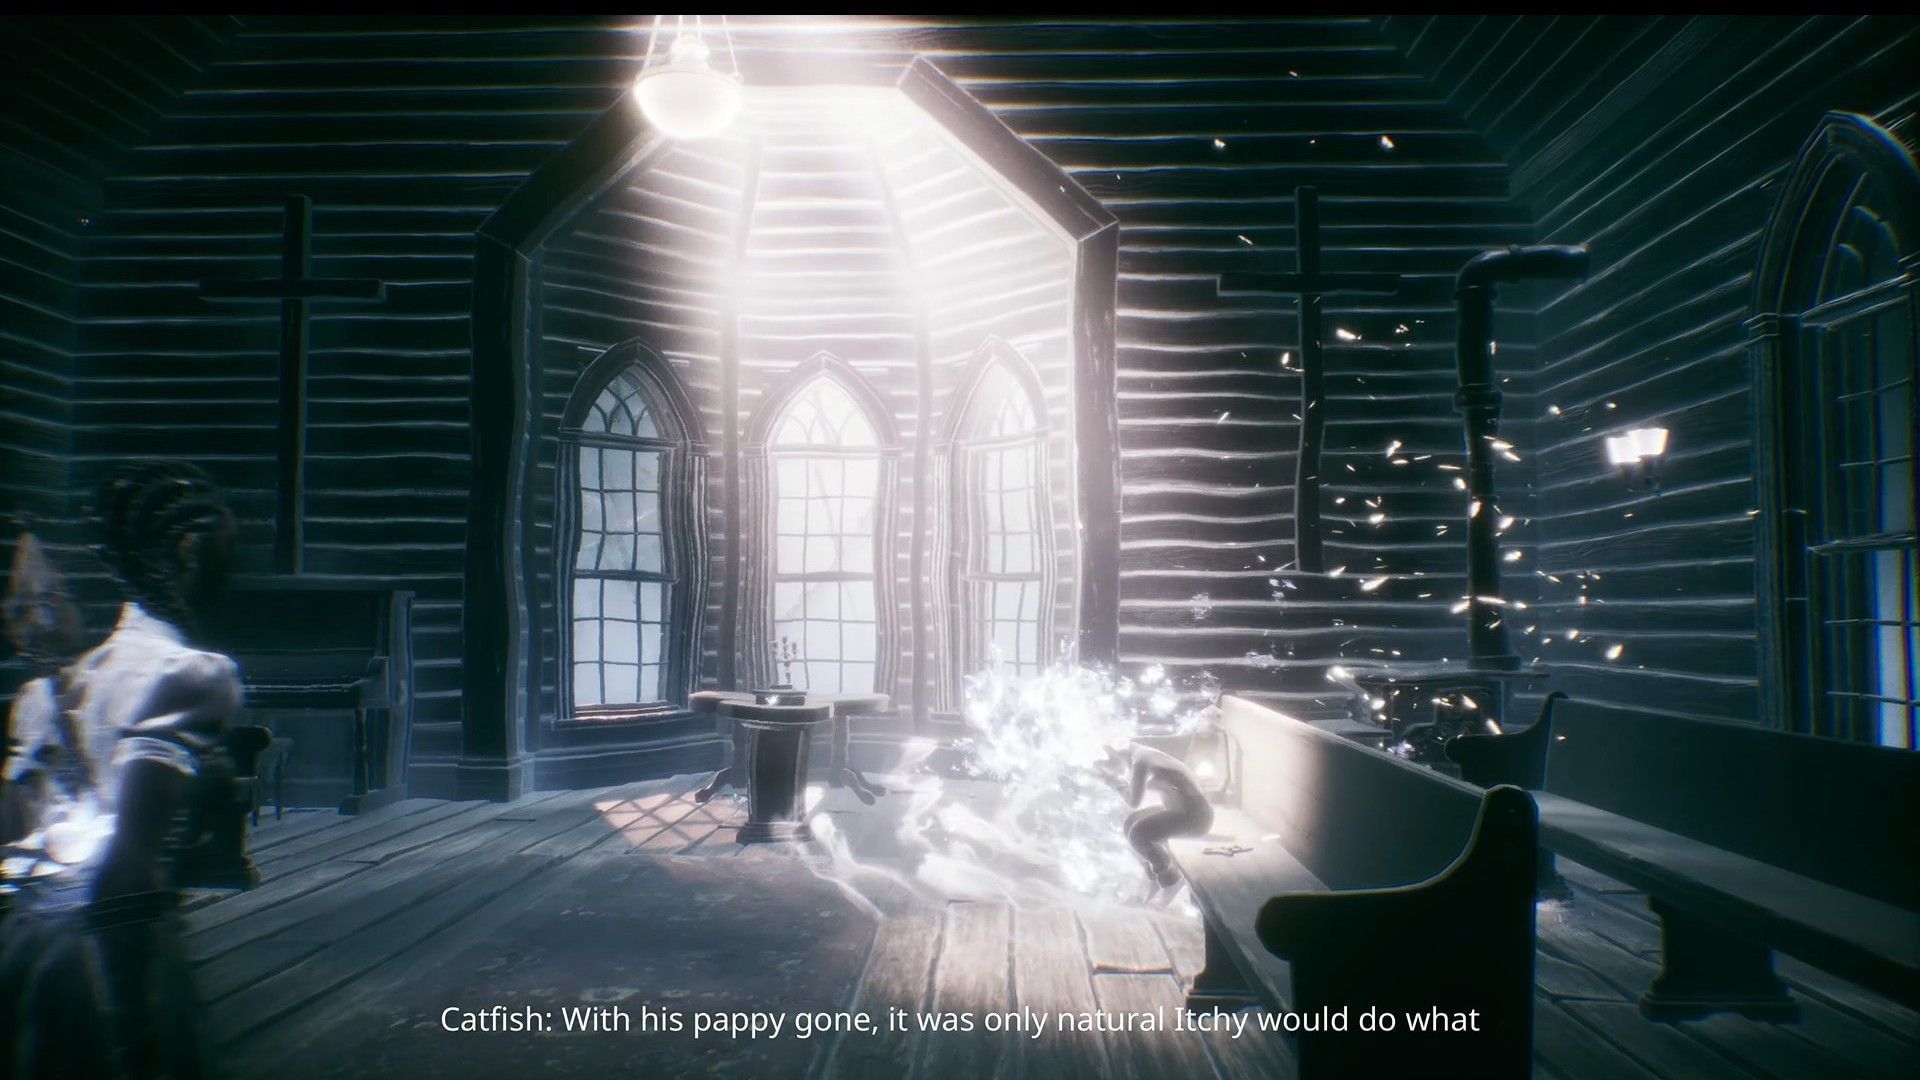
After you defeat all the enemies, another metaphysical cutscene will play with Catfish narrating the entire situation. You will learn more about the town's lore and Huggin' Molly. The stigma will be cleared, and you can spot a house behind the tree with a small hole to the right for Crouton to enter.
You must follow the path to find a floof deposit on the other side. You will regain control of Hazel and can continue searching for the last 3 stigmas. Before leaving the combat arena, you will notice an open house hidden behind the branches during the fight, which contains a few readable notes.
Also read: South of Midnight chapter 8: Their Eyes Were Watching walkthrough
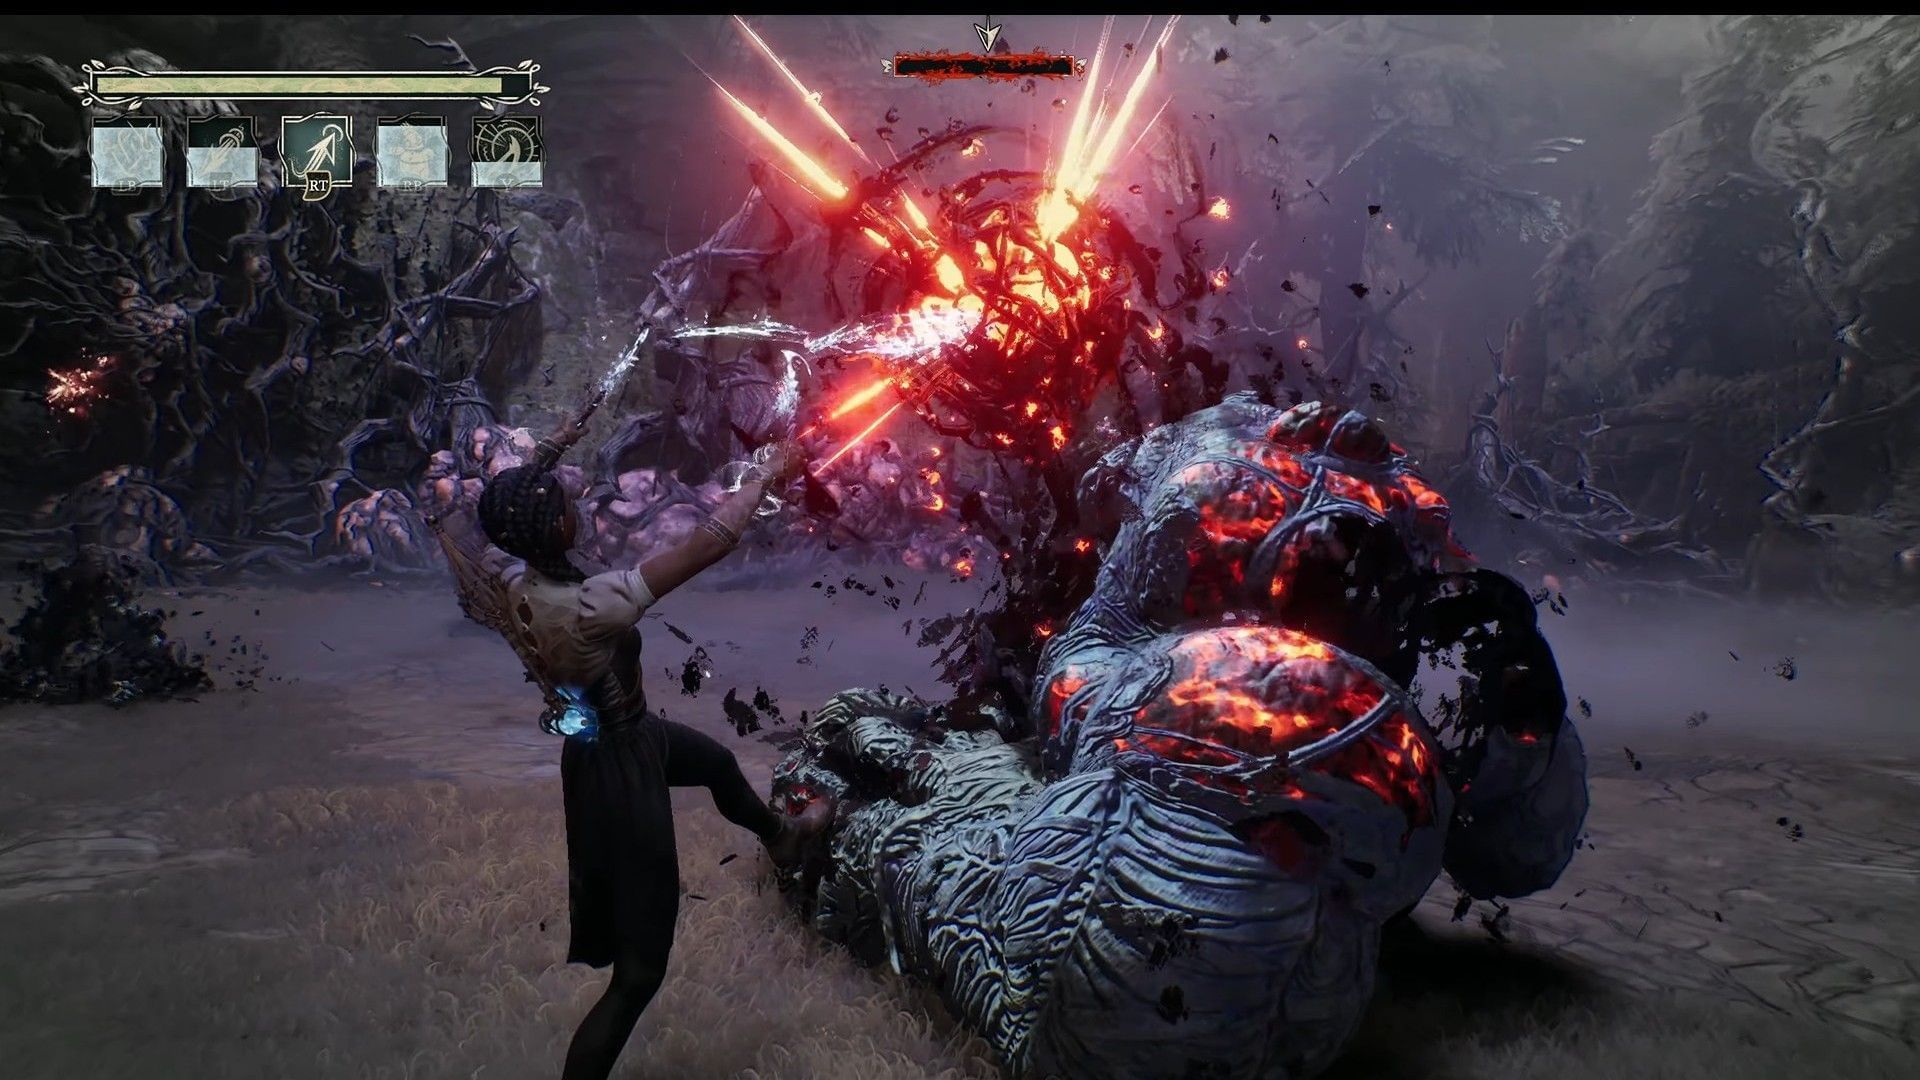
Exit the combat arena and find the second stigma with the Guiding Strand feature. It is on the right of where you first entered the open area. The Stigmas will emit a beam of light, which will be hard to miss. Once you're in the arena, another fight will break out, and you must defeat all the enemies to proceed.
Another cutscene will play out, following which you can explore and look for more collectibles. This is one of the few semi-open areas in South of Midnight, and you can collect items in any order. Return to the main area and use the Guiding Strand to lead you to the third stigma.
You will find a lumber factory and must use Crouton to pass through a small parkour area. Unlike the first two stigmas, there is no combat encounter for the third, and you can quickly unravel it and watch the next cutscene.
Before leaving the factory, look around and head upstairs to the control room, where you can spot a floof deposit and a readable note. Use the Guiding Strand to lead you to the final stigma location.
After the cutscene, you will be taken to the next objective and start a platforming section.
Reach the Bottle Tree
The next section has a few wall runs and platforming areas. You will also find a wind tunnel that will carry you to the next area.
Slide down the hill while avoiding all the thorns, then double-jump across the river. Eventually, you will land on a platform with a glowing tree that will trigger a cutscene.
Follow the path forward and use the ledges to the next area until you reach the next combat arena.
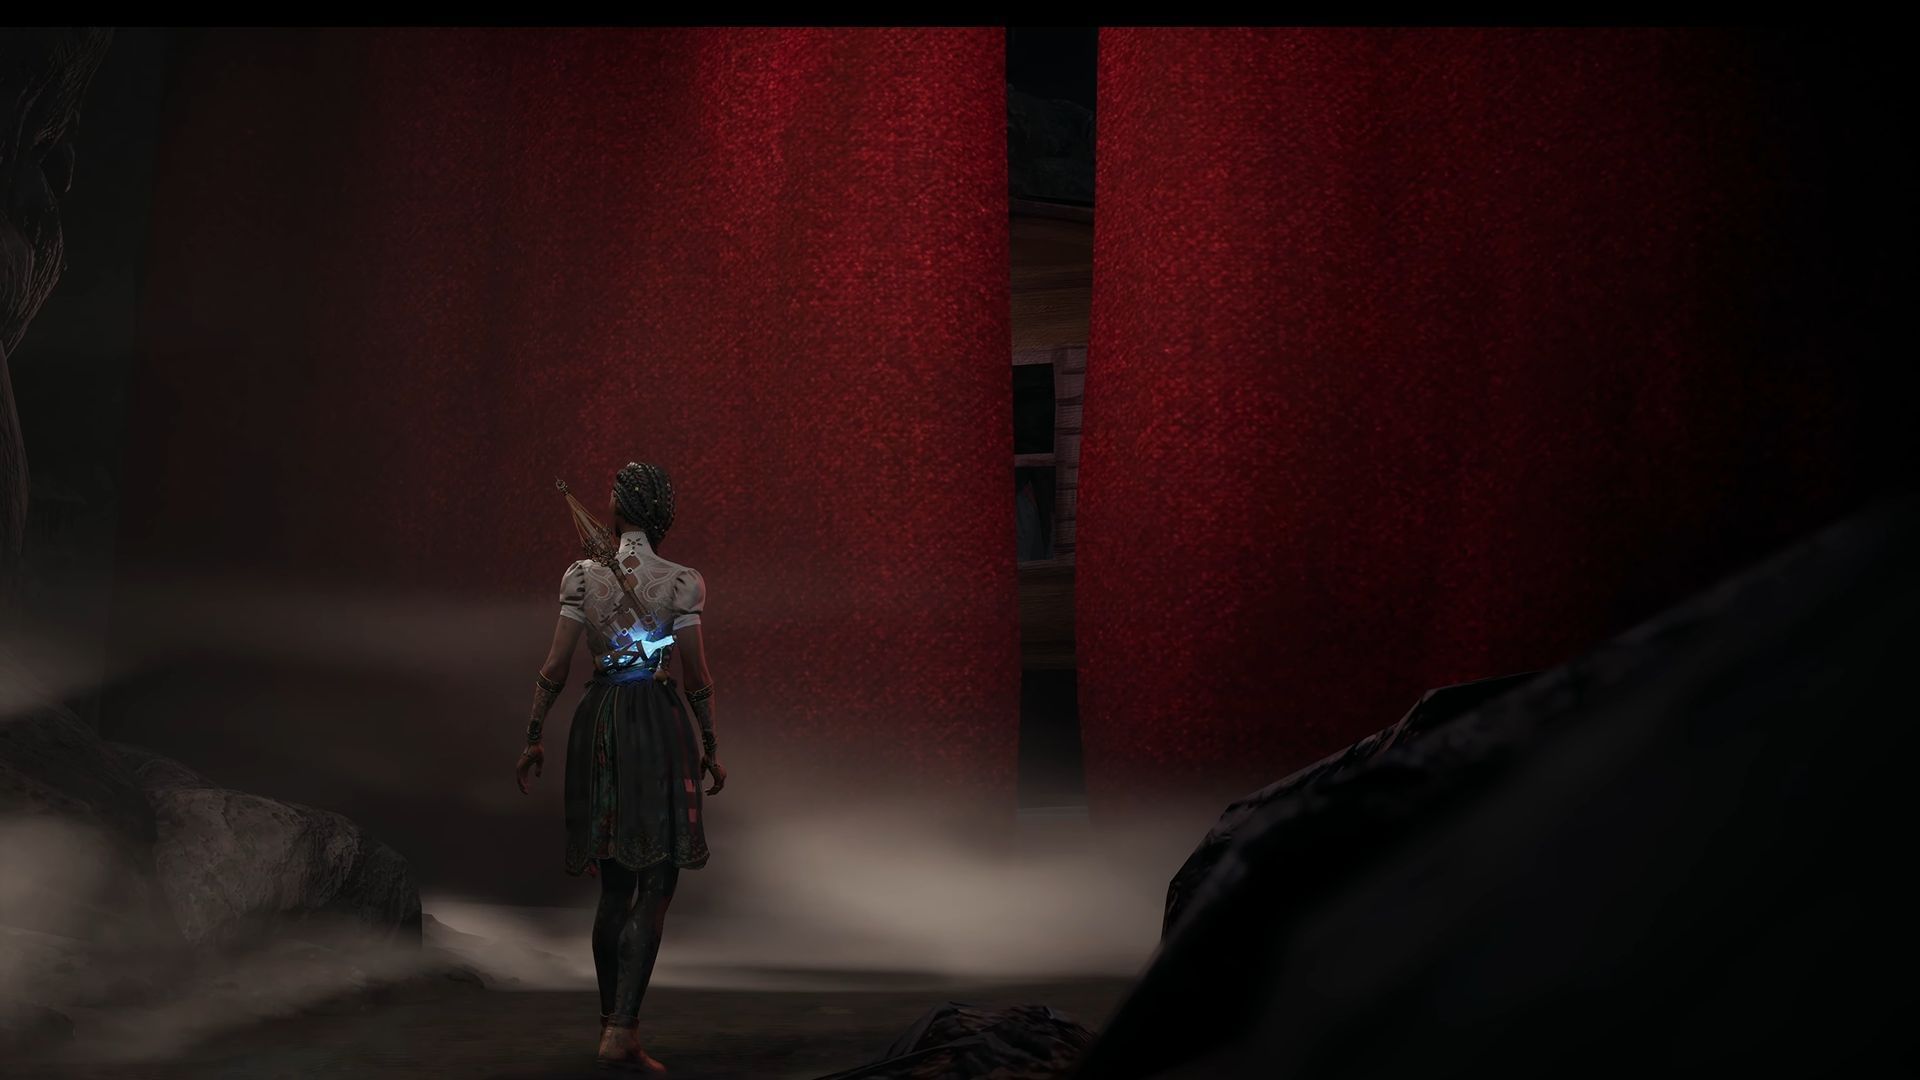
After the fight, follow the path, and you will see a wound that can be unravelled, and a cutscene will play out. Upon reaching the front porch, you can find a note on the desk; after that, enter through the front door.
Also read: Is South of Midnight an open-world title?
There are a few notes and collectibles inside, and you can spot them easily. Head up to the second floor and jump into the wind tunnel to reach the next area.
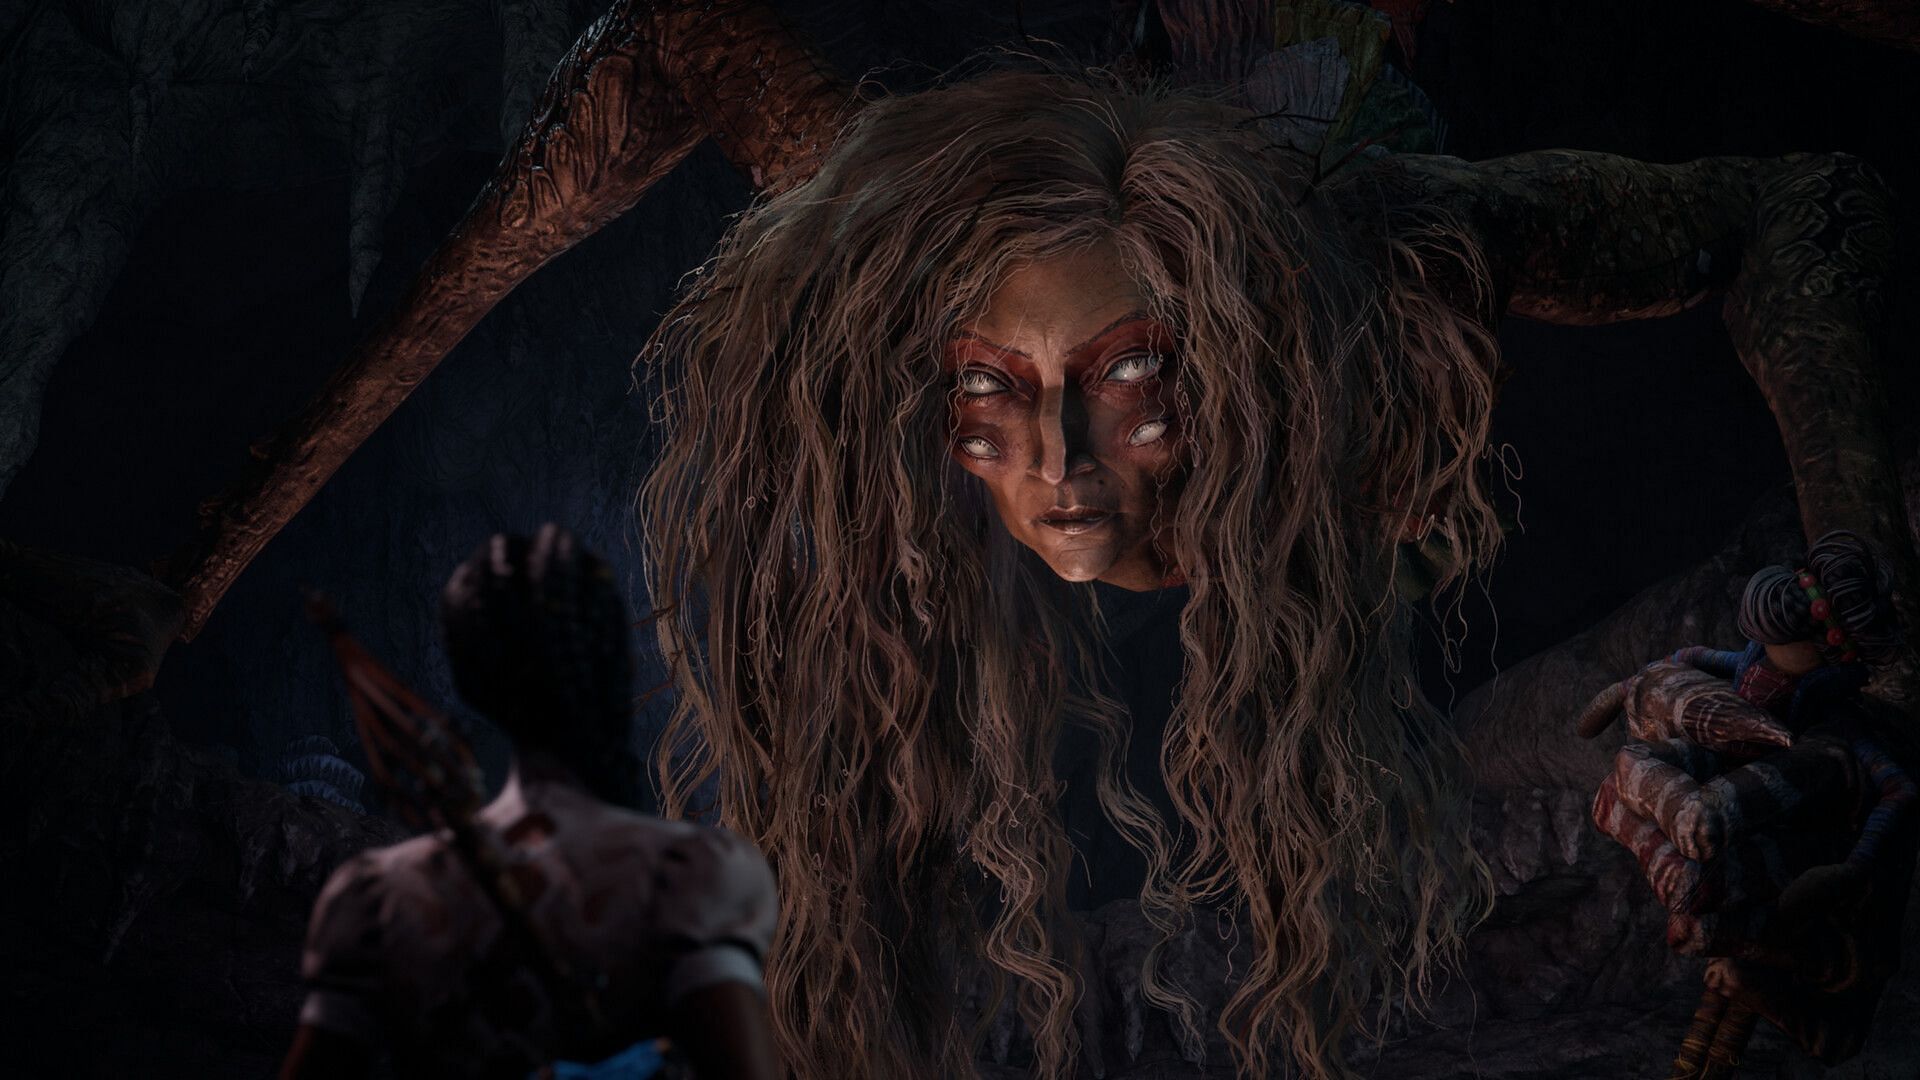
As you enter the cave, a small puppet show about earlier events will play out, and Huggin' Molly will reveal herself.
Pursue Huggin' Molly
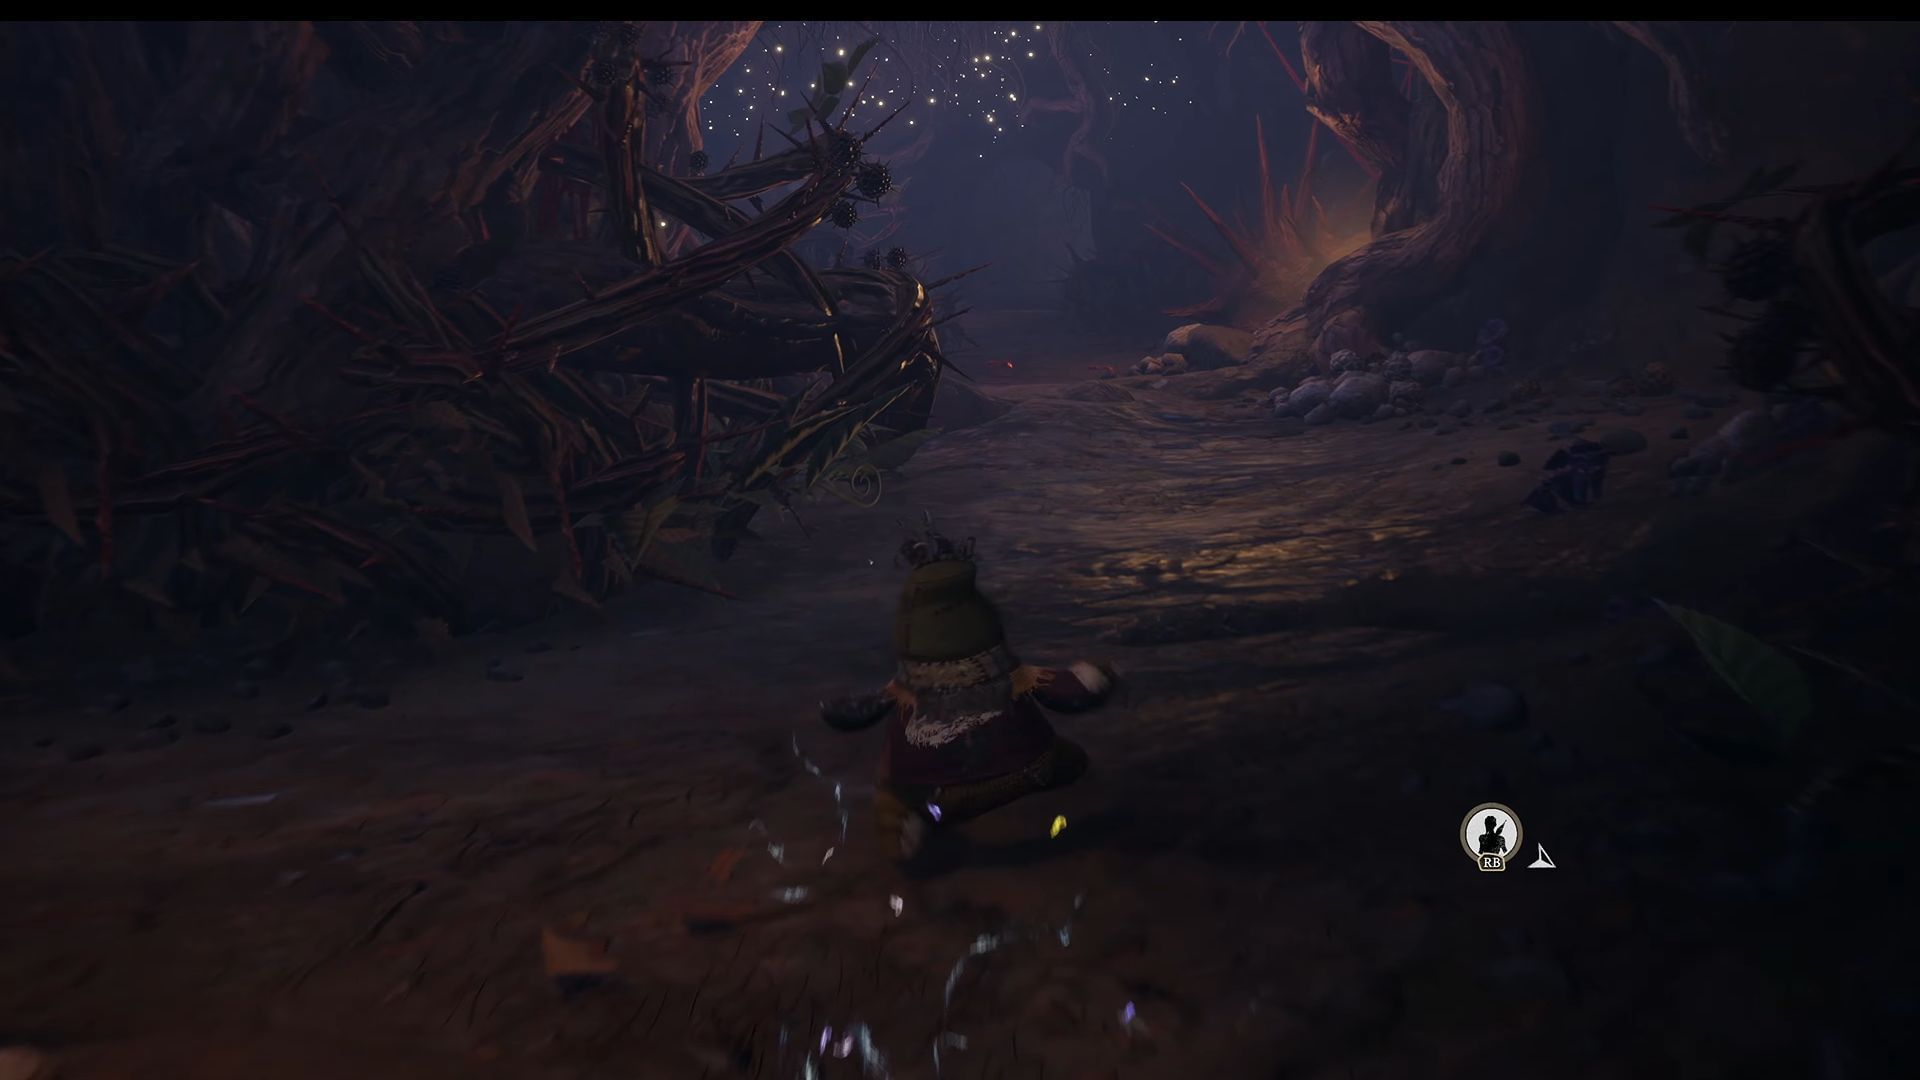
Huggin' Molly isn't in a talkative mood and runs away after Hazel demands she return her mother. Pursue her down to the lower levels by sliding while avoiding environmental hazards. You will spot a few floof deposits nearby, but you can ignore them and follow the main path to Molly.
The cave is massive, but you can use the Guiding Strand to light your way. There are a few spots where you must rely on the environment to give you what you need to make a path.
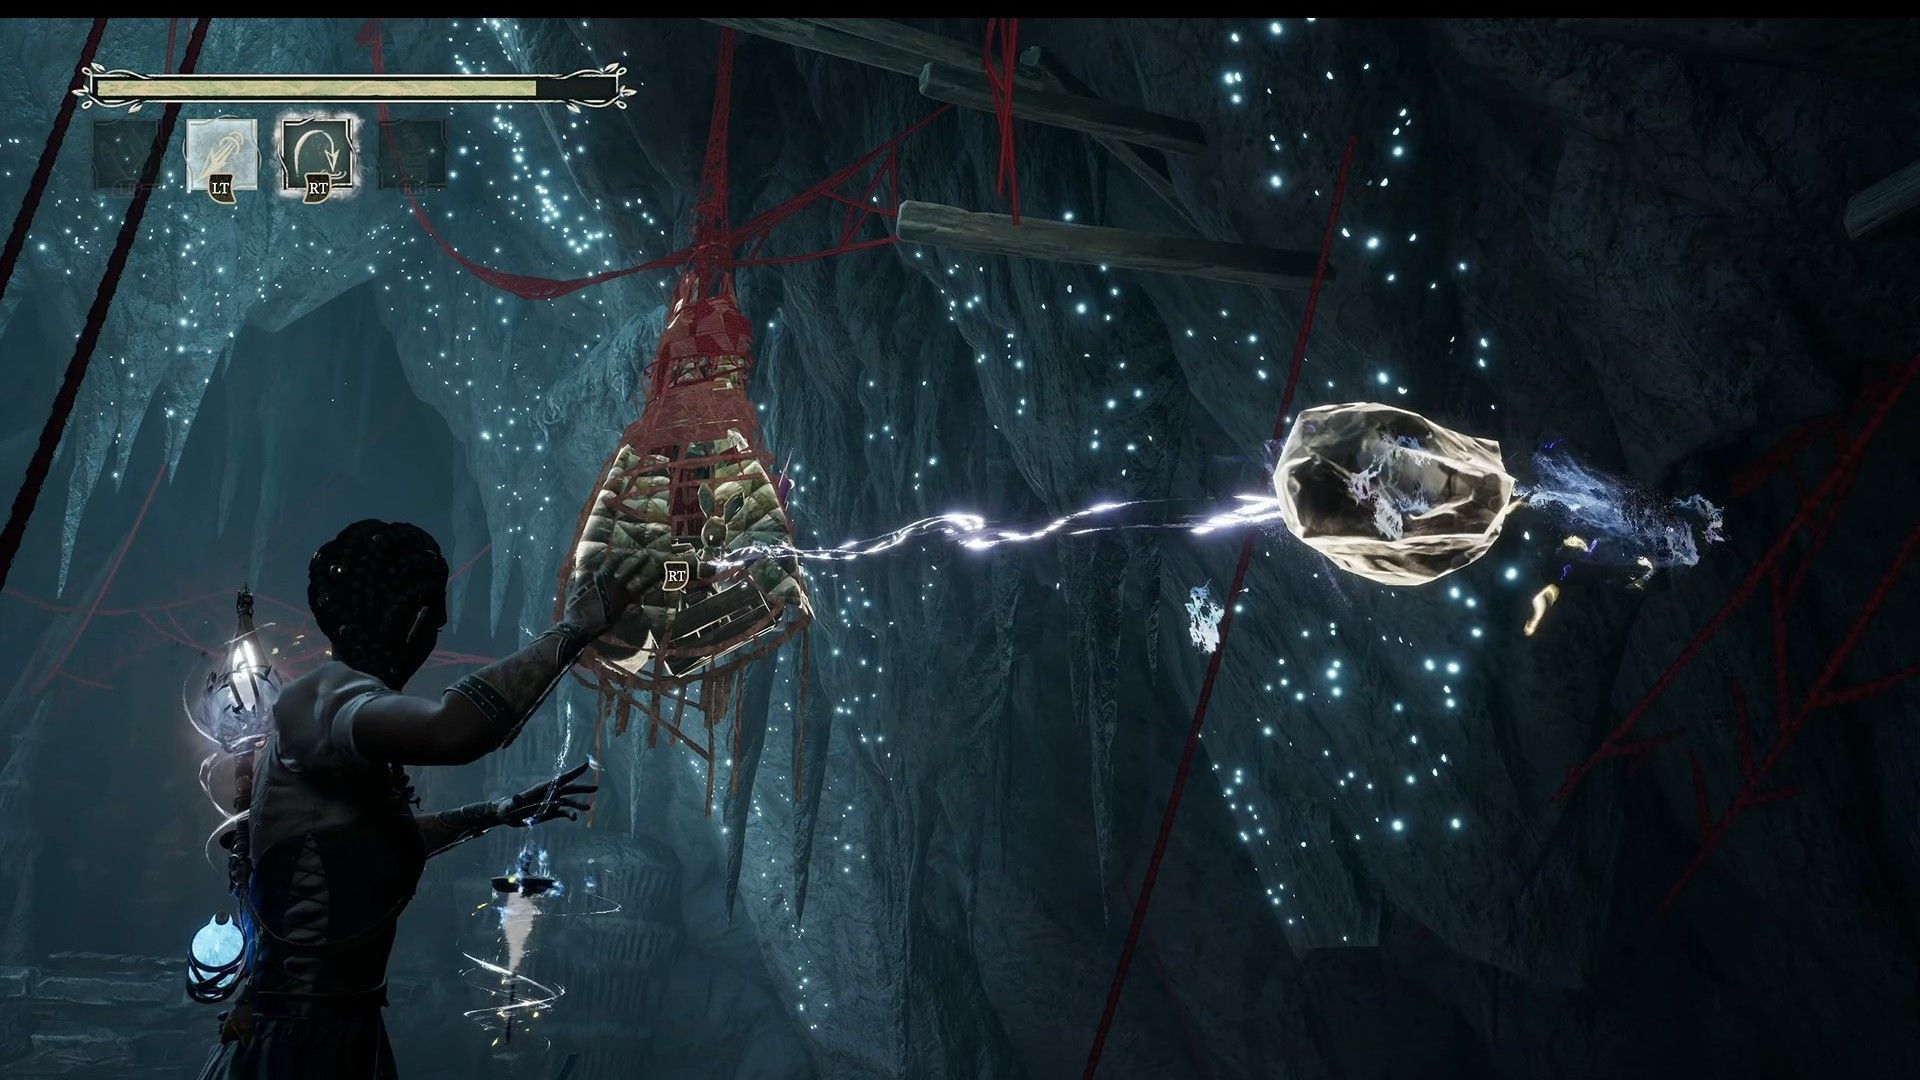
You can hurl rocks to clear the grapple points and get across the next area. After a few platforming sections, you will come face-to-face with Huggin' Molly.
Beating Huggin' Molly

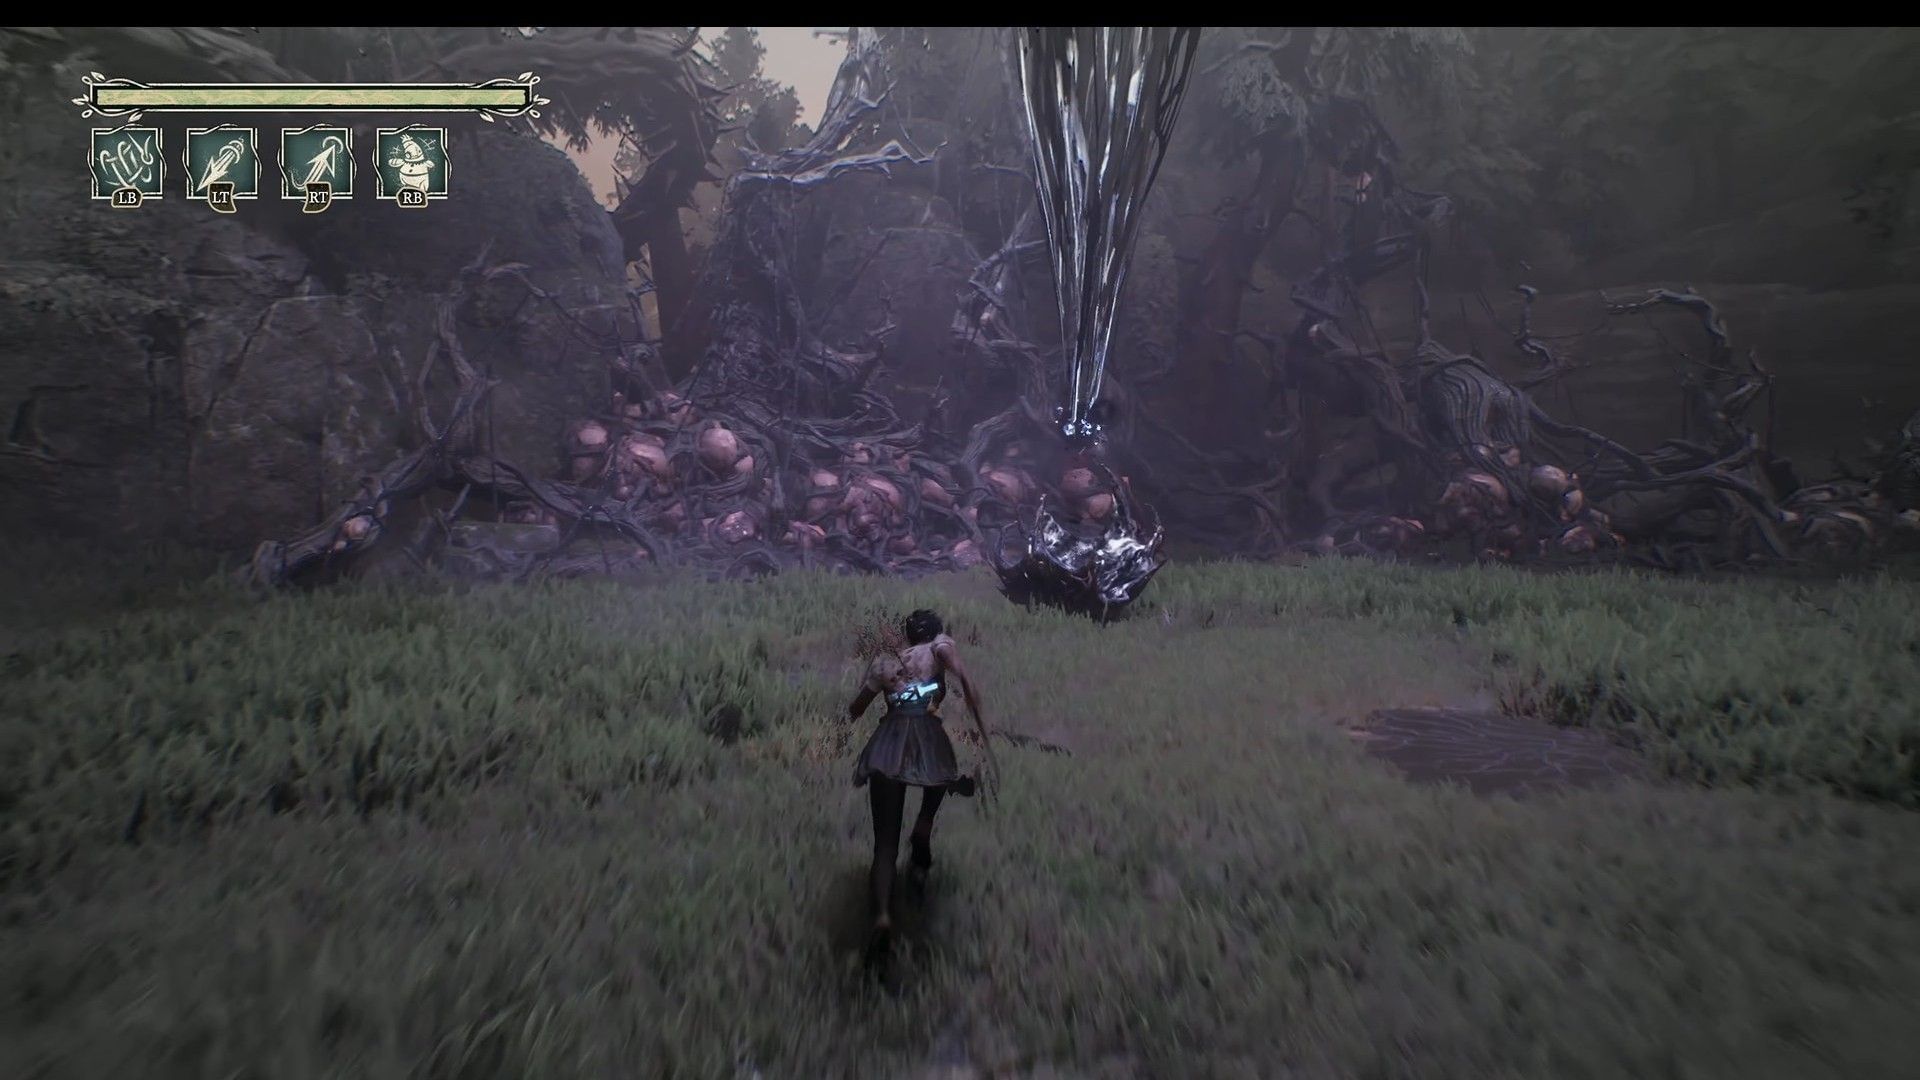
Huggin' Molly has a handful of non-damaging moves, but they can slow you down momentarily. After evading every attack, a few vials will spawn on the battlefield, and you can hurl them towards her. While Molly is stunned, charge towards her and give her everything you've got.
Repeat this strategy until you reach the second phase. Huggin' Molly will throw a few ground attacks and send you to a lower level where you must do some platforming to continue the fight.

Instead of non-damaging attacks, Molly will have a few acid spores on the ground, which can hurt you. After throwing three vials, the boss will be stunned, and you can attack the exposed wound to chip away at the health bar.
After dealing enough damage, you will be thrown into another platforming section before starting the final phase.
After the cutscene, Hazel will learn of Molly's true intentions and chase her down the mountain. Huggin' Molly is weakened after the fight, and Bunny is there to finish her off while Hazel stands helplessly, which marks the end of chapter 9.
South of Midnight is available on Xbox Series X/S, PC, and GeForce Now.
For more related articles, check these out:
- Will South of Midnight be on Xbox Game Pass?
- How long will it take to beat South of Midnight?
- Is South of Midnight Premium Edition worth buying?
- Is South of Midnight available on GeForce Now?
- South of Midnight chapter 1: Night of Flood walkthrough
- South of Midnight Chapter 2: Other Voices, Other Looms walkthrough
- South of Midnight chapter 5: Everything that Rises walkthrough

Are you stuck on today's Wordle? Our Wordle Solver will help you find the answer.