
'%20x='0'%20y='0'%20height='100%25'%20width='100%25'%20%0A%20%20%20%20%20%20%20%20%20%20xlink%3Ahref='data:image/jpg;base64,/9j/2wBDAAYEBQYFBAYGBQYHBwYIChAKCgkJChQODwwQFxQYGBcUFhYaHSUfGhsjHBYWICwgIyYnKSopGR8tMC0oMCUoKSj/2wBDAQcHBwoIChMKChMoGhYaKCgoKCgoKCgoKCgoKCgoKCgoKCgoKCgoKCgoKCgoKCgoKCgoKCgoKCgoKCgoKCgoKCj/wgARCAAGAAoDASIAAhEBAxEB/8QAFgABAQEAAAAAAAAAAAAAAAAAAAYH/8QAFQEBAQAAAAAAAAAAAAAAAAAAAAP/2gAMAwEAAhADEAAAAMdnhL//xAAdEAACAQUBAQAAAAAAAAAAAAABAgMABAUREgZx/9oACAEBAAE/AMp5/GWOUfHxm4aaJVDStyQW42fg2akhx6SMnFweSRvoV//EABkRAAIDAQAAAAAAAAAAAAAAAAECABEhUf/aAAgBAgEBPwBNWz0z/8QAFhEBAQEAAAAAAAAAAAAAAAAAAQIA/9oACAEDAQE/AJVpN//Z'%3E%3C/image%3E%3C/svg%3E)
Test Chambers is the seventh section of Split Fiction Chapter 4: Final Dawn. It picks up immediately after the "Factory Exterior" stage and sees Mio and Zoe, the game's protagonists, go up against a robot boss. This section also contains the "Moon Market" side story for anyone who wishes to delve deeper into the game's sub-missions.
This article guides you on how to complete the Test Chambers stage of Split Fiction Chapter 4: Final Dawn.
Note: This article contains spoilers for Test Chambers in Split Fiction.
Looking for Crossword hints & solutions? Check out latest NYT Mini Crossword Answers, LA Times Crossword Answers, and Atlantic Crossword Answers
A guide to completing Test Chambers in Split Fiction Chapter 4: Final Dawn
(Note: Color-coding is an important mechanic of this chapter. Mio can only use her blaster fire/Shield Buster attack on red objects, while Zoe will be limited to blue ones.)
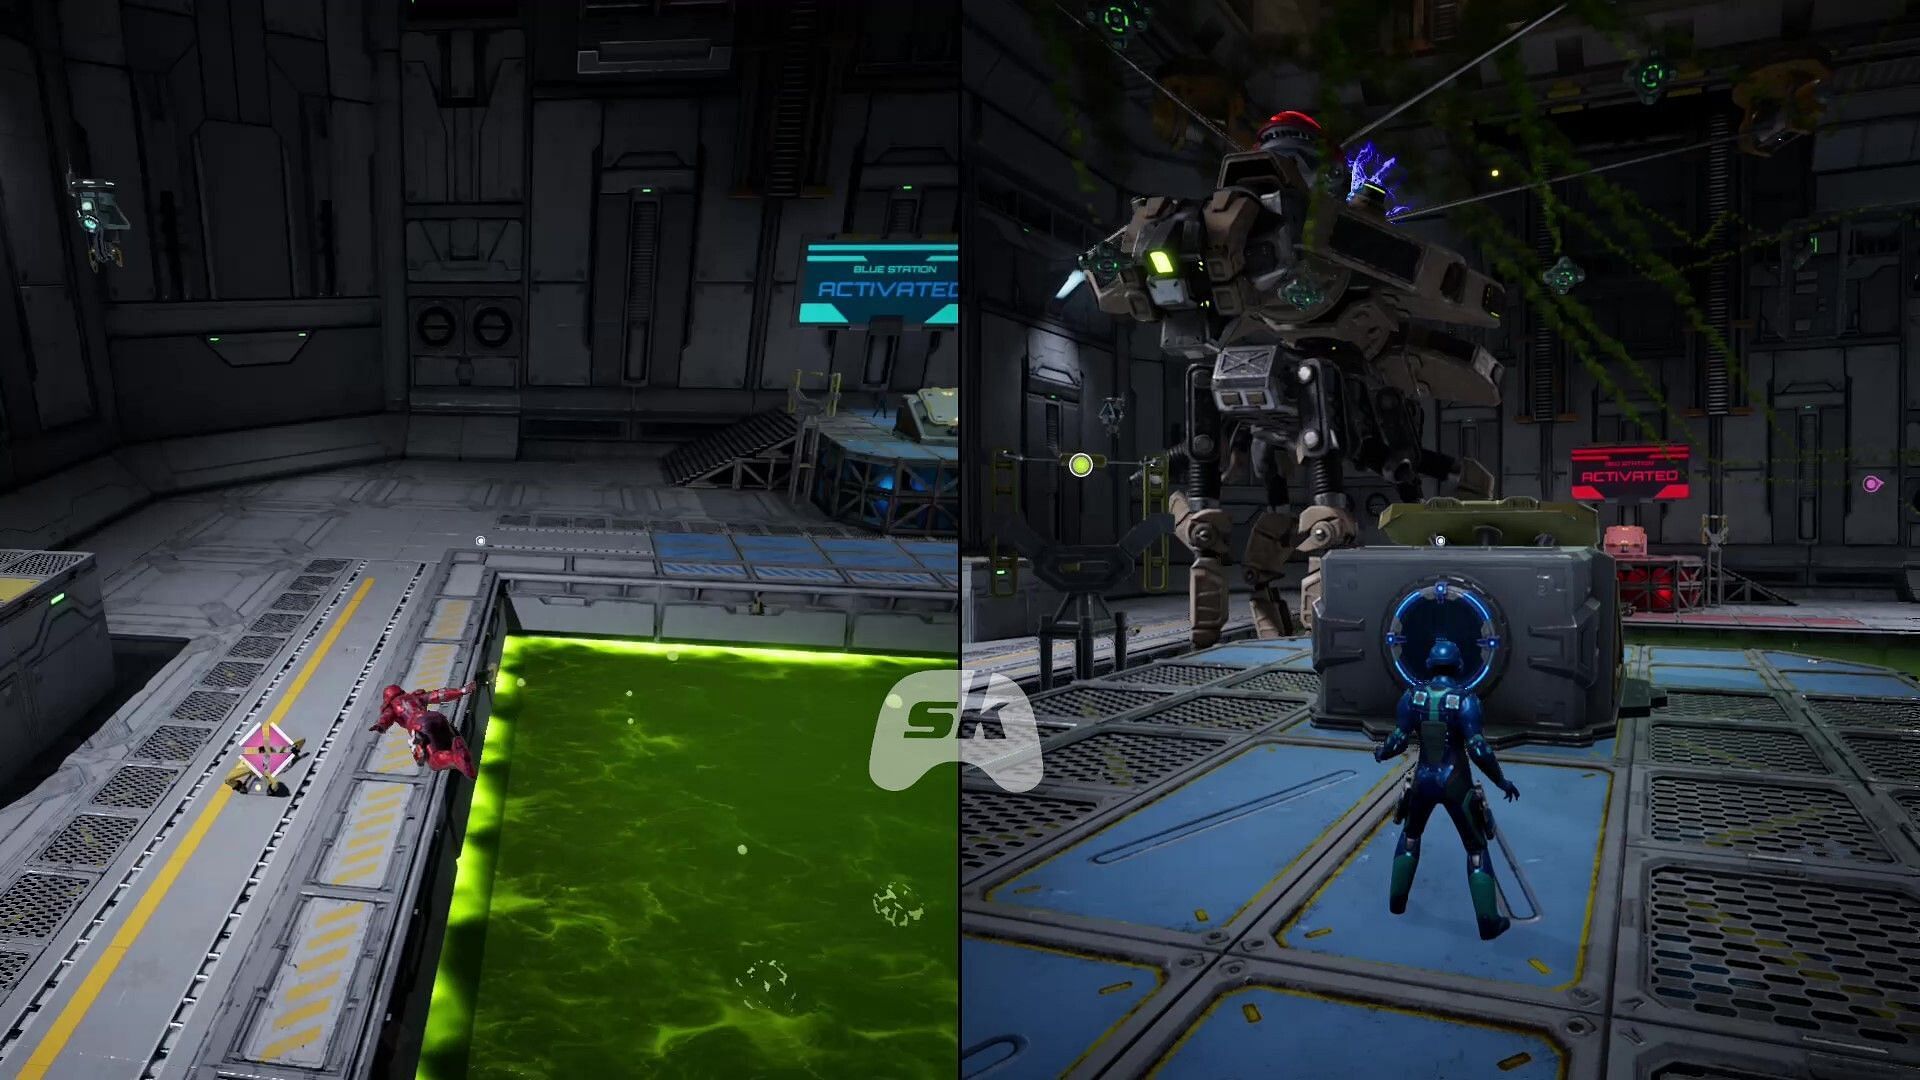
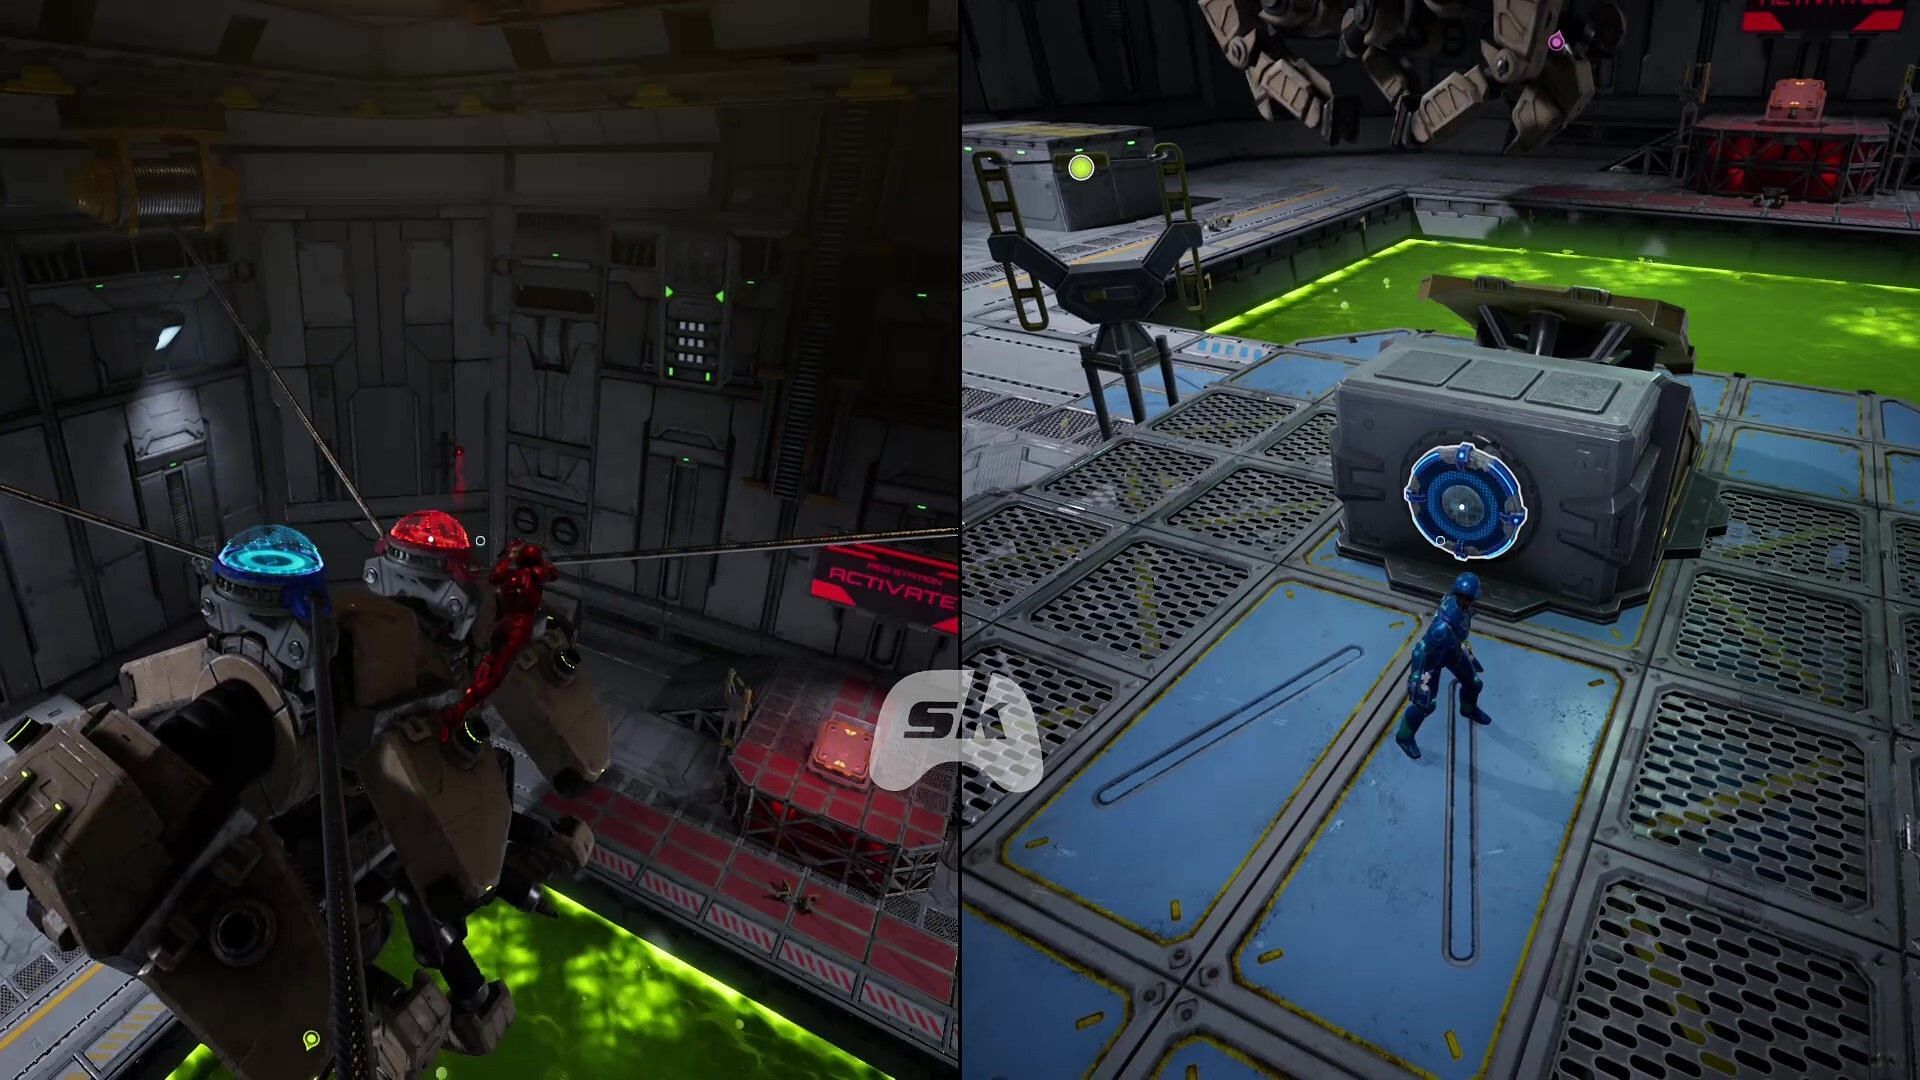
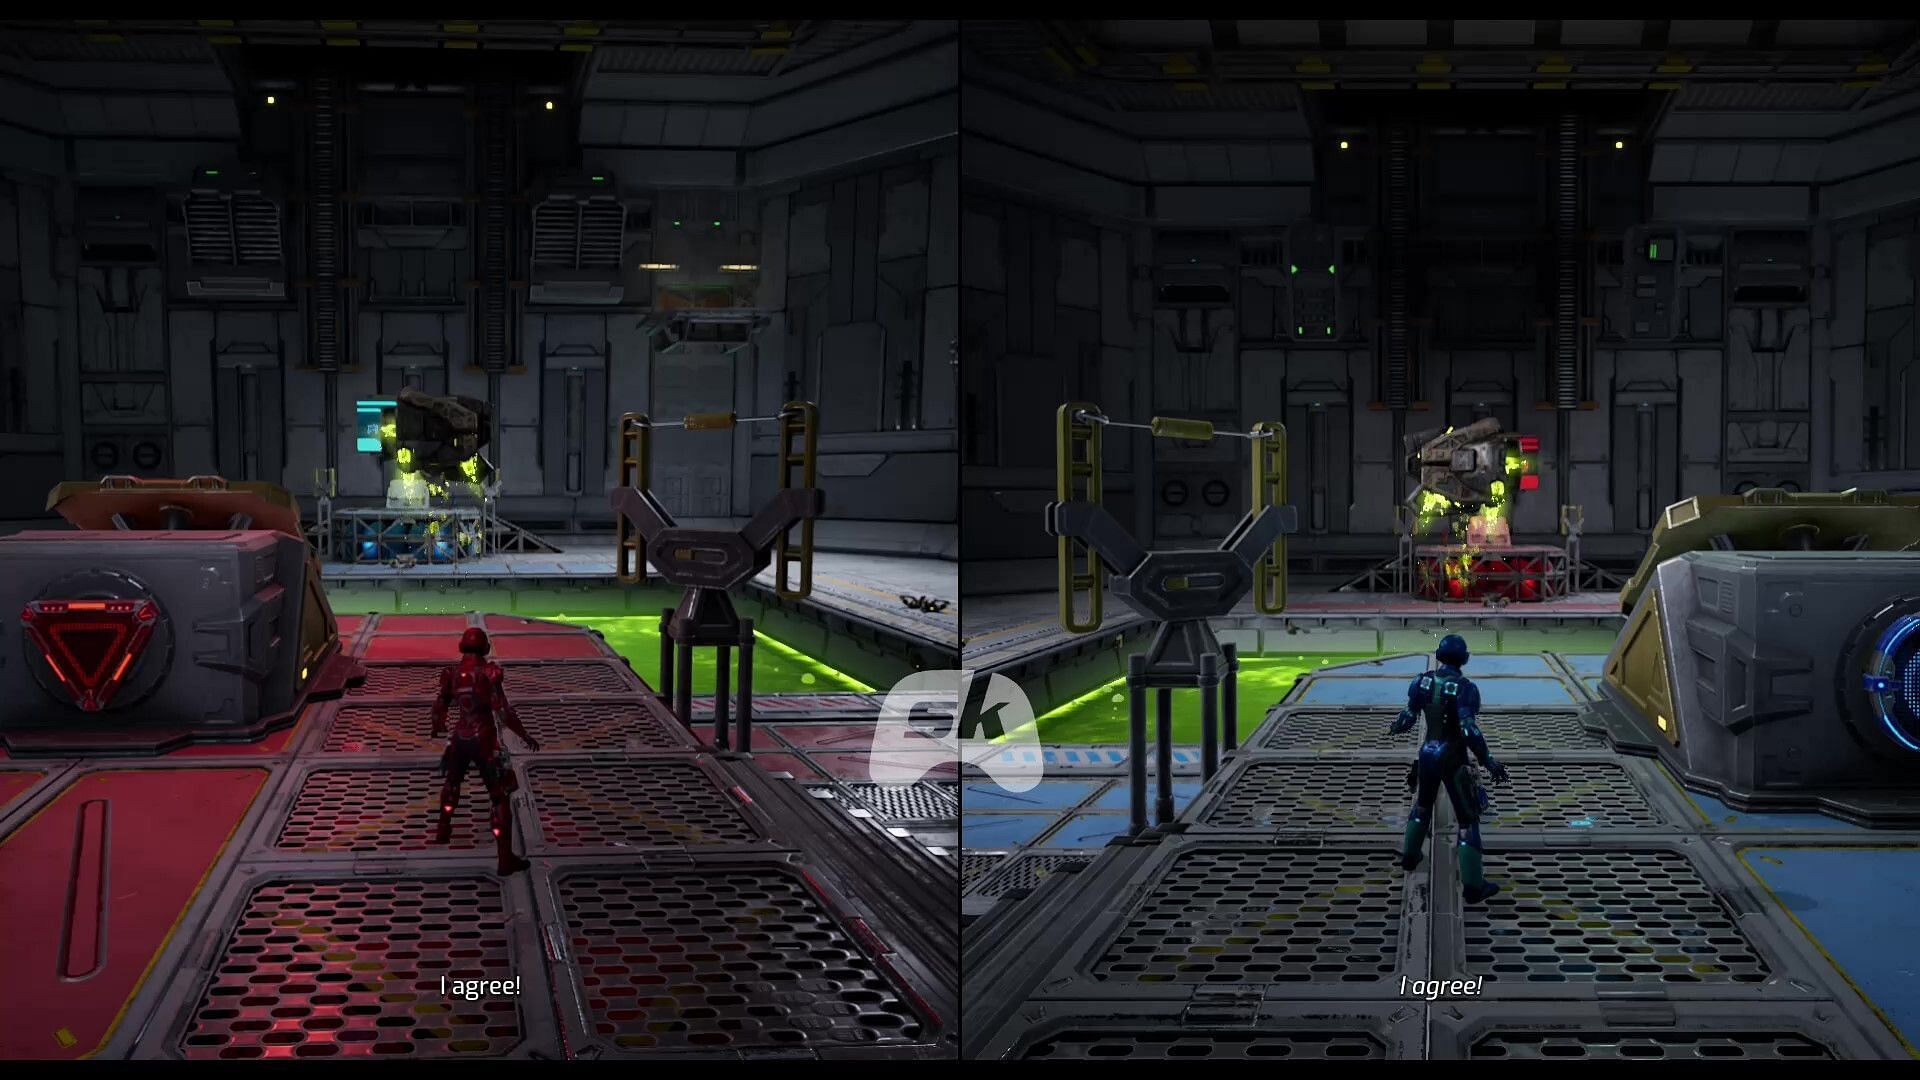
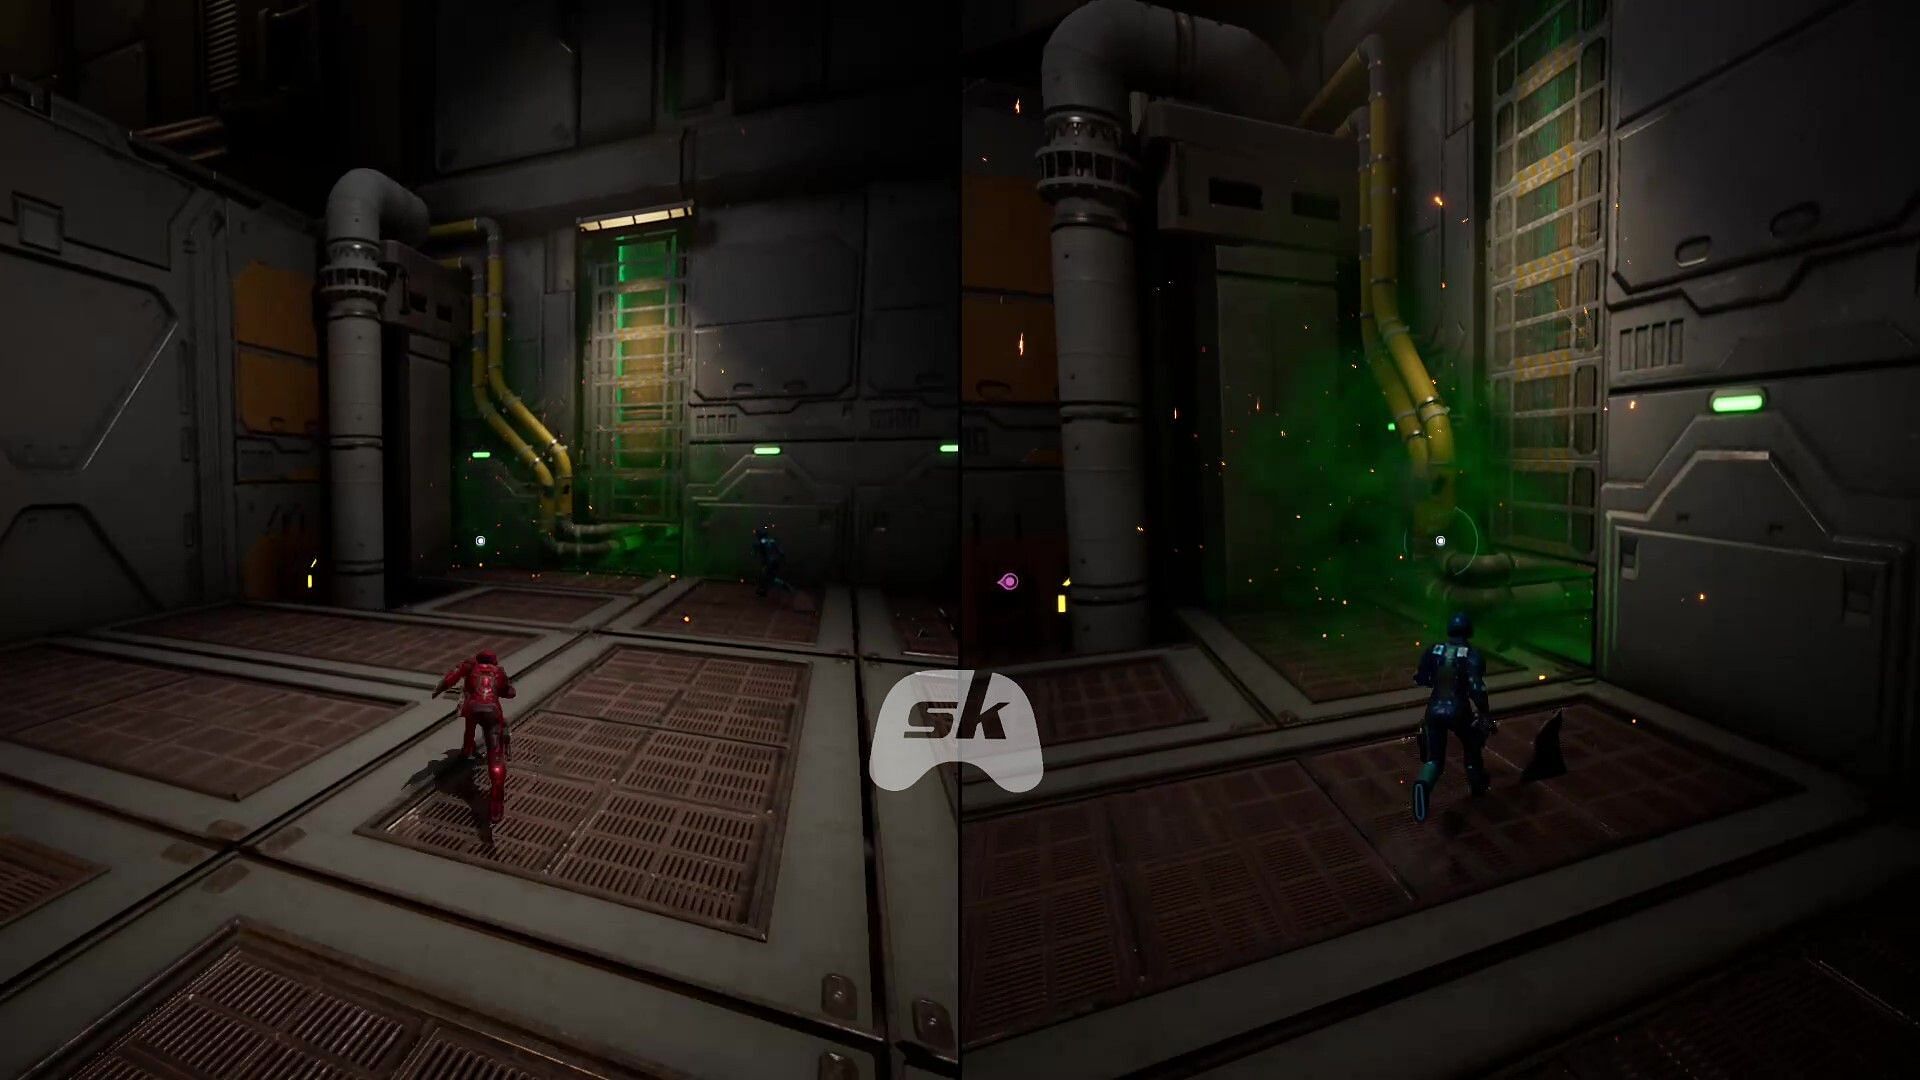
After being temporarily separated to complete the final Factory Exterior puzzle sequence, heading down from the green corridor marks the start of the Test Chambers stage of Final Dawn. The duo in Split Fiction will need to activate the switches protected inside two big cubes hanging at the top.
To start, both players should head to the launch pad opposite the blue-colored box-front. Mio should stand on top of the launcher while Zoe should be behind it. Here's the chain of events you should follow:
- First, Zoe should place her Shield Buster shot on the blue wall by pressing L2/LT (don't detonate it yet).
- Then, she should launch Mio by shooting the blue switch on the back of the pad.
- As the red player nears the blue wall, Zoe should detonate her Shield Buster shot by pressing the trigger again.
- Once inside, Mio can shoot the red switch while standing on the pressure plate to activate the station.
This sequence will remain the same for the other box, except Mio will be replaced with Zoe, and the red color will be replaced by blue. However, just as Zoe activates the blue switch with her blaster, she won't drop down, and will instead need to escape quickly from the opening created by the red blaster's Shield Buster shot.
Completing this puzzle will trigger the Factory Warden Boss fight in the Test Chambers section in Split Fiction.
Factory Warden
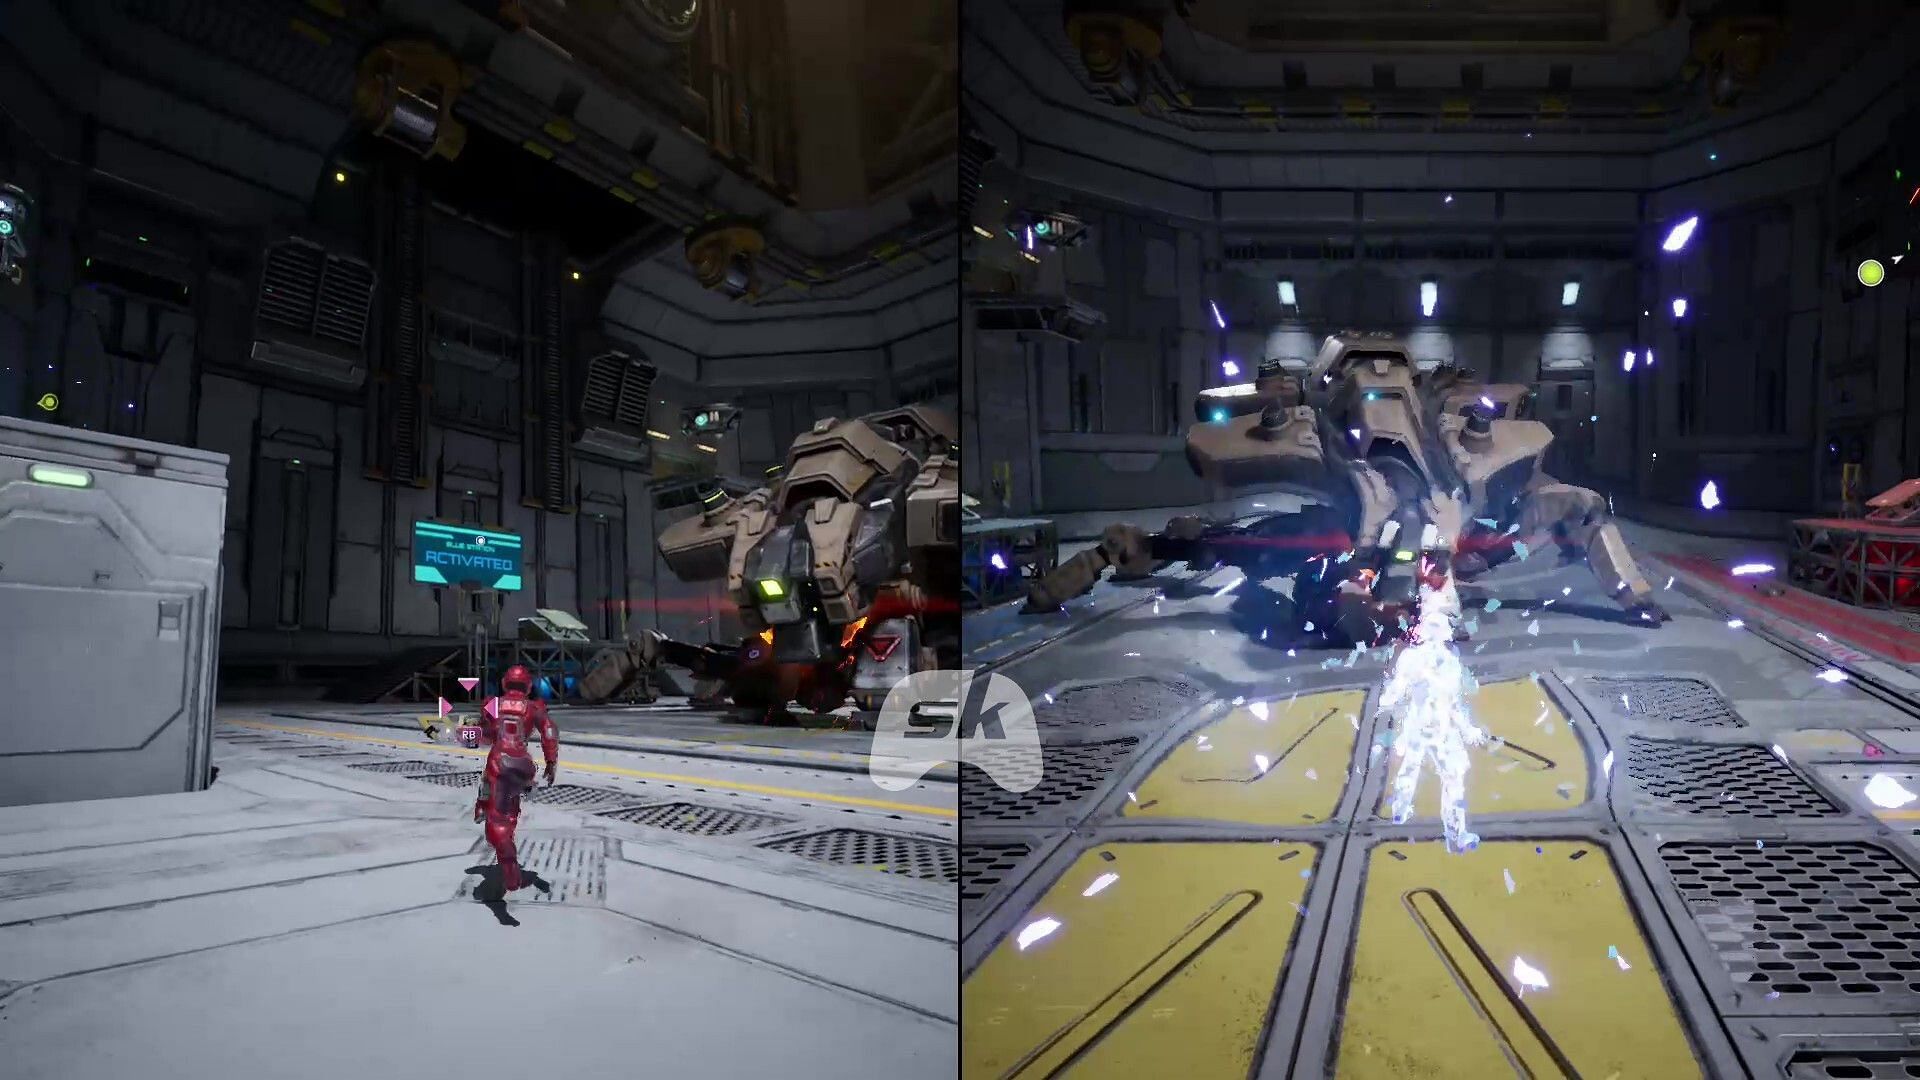
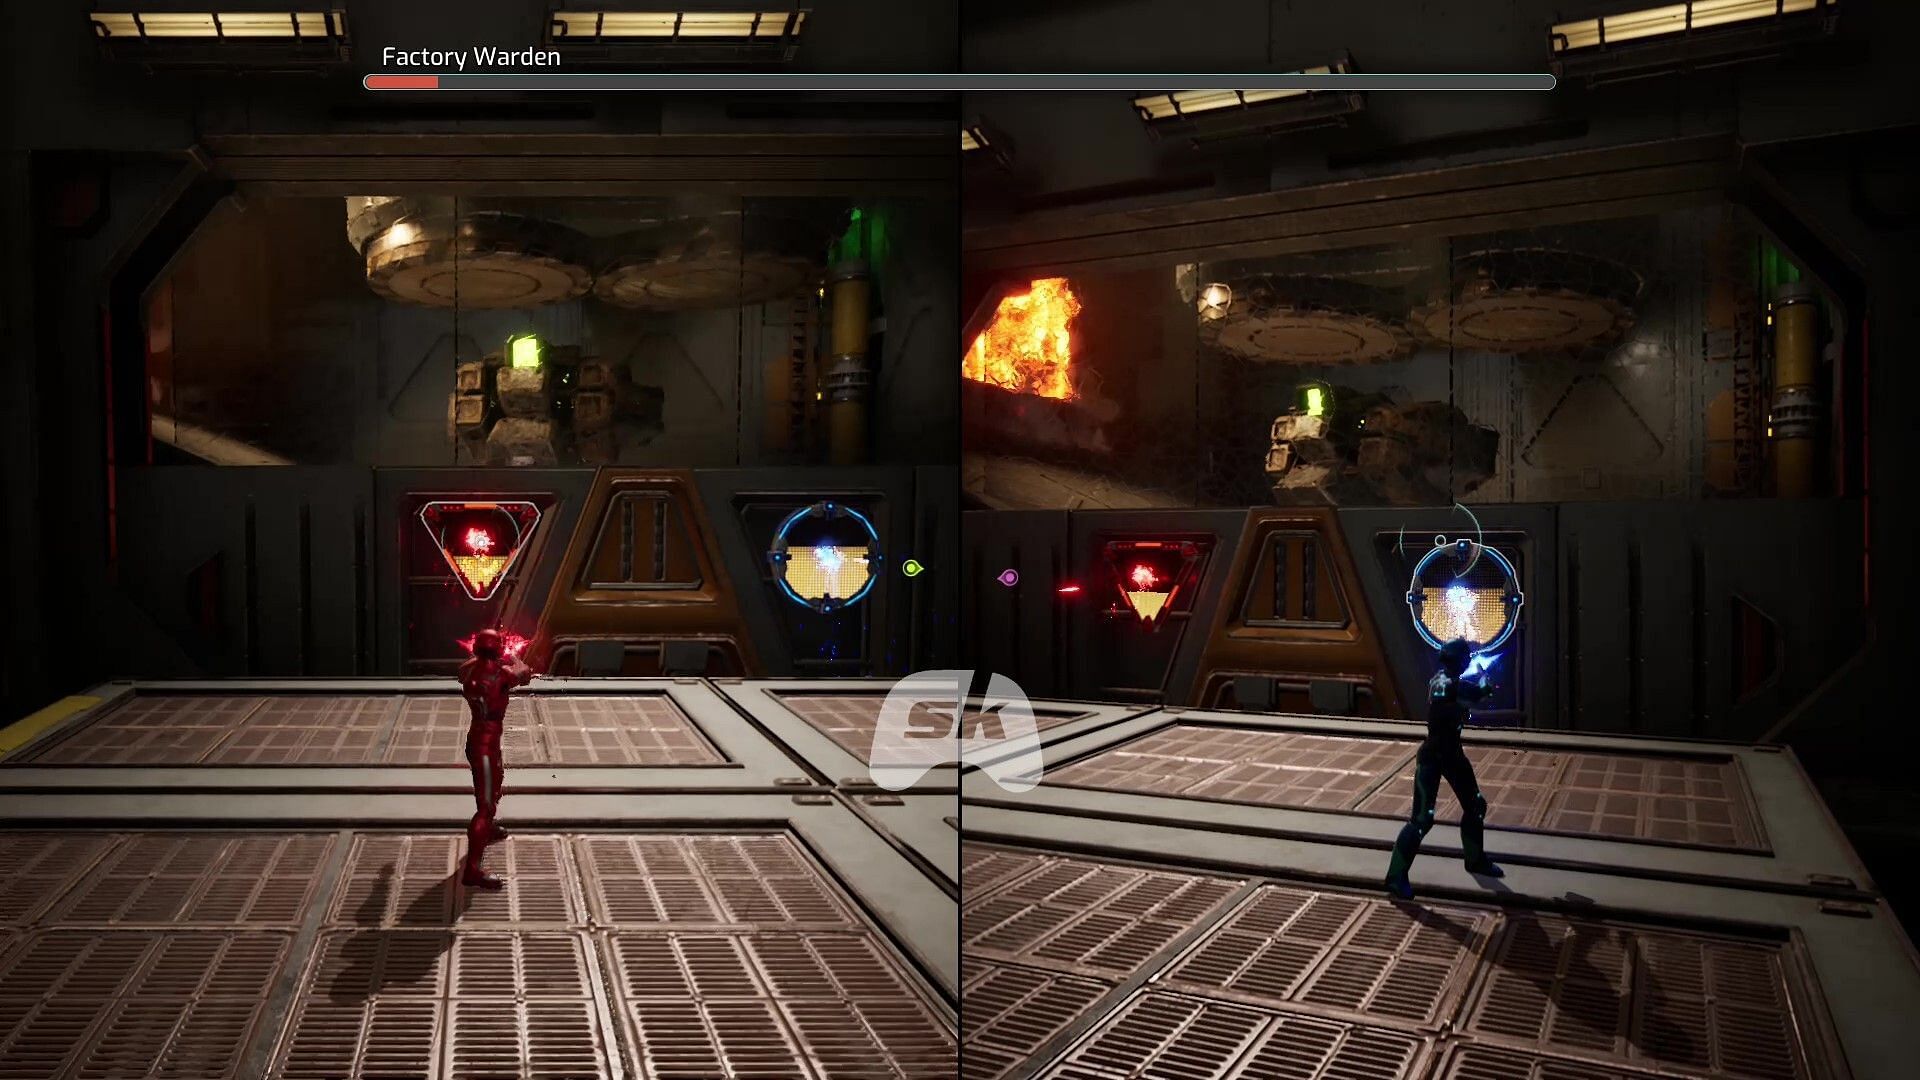
The first phase of the boss fight will be simple. You'll need to shoot the switches on the inside of the robot's legs to detach it from the Warden in Test Chambers. However, they will be protected by two covers. The first will be a metal one that players will need to open by activating the colored switches with the matching blaster's fire. Beneath it will be a colored wall, which players will need to create a hole in using the corresponding Shield Buster shot.
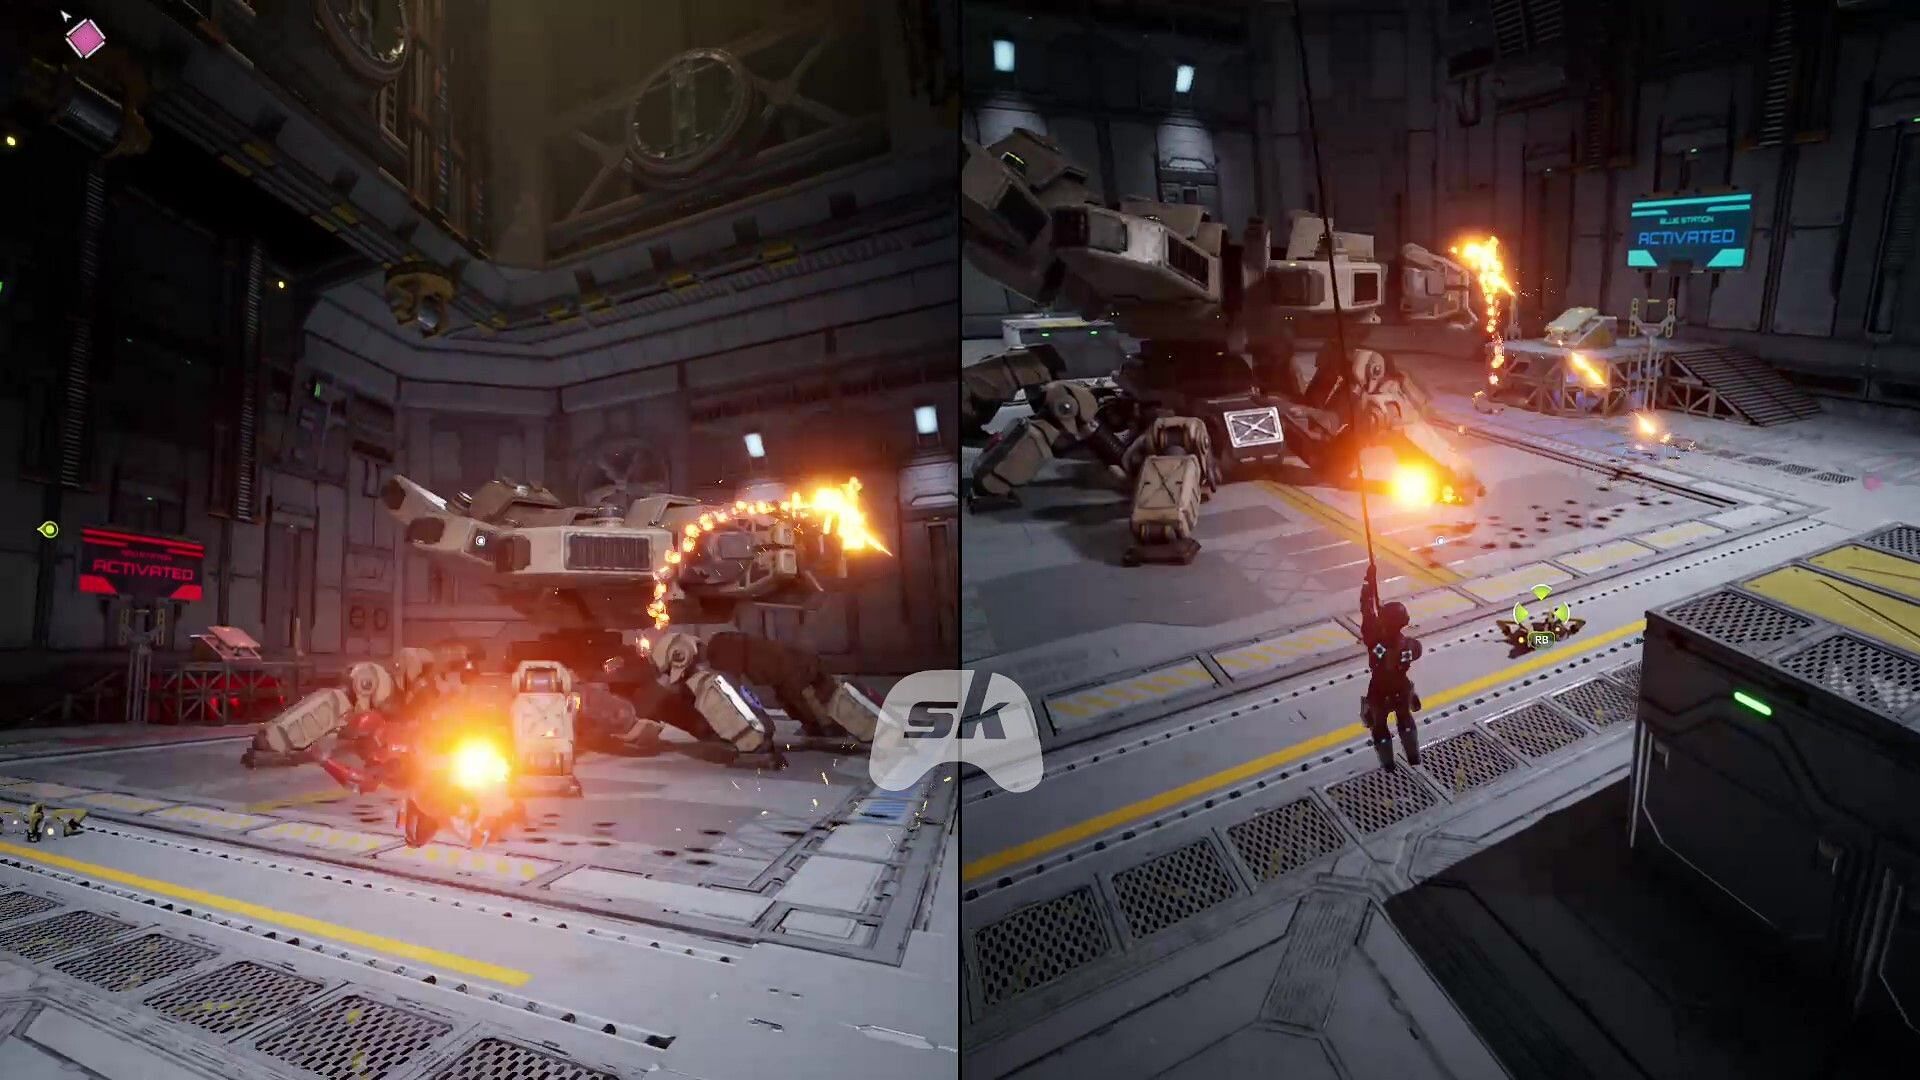
The Warden will enter a defensive phase temporarily after losing each leg. In this stage, it will do three attacks:
- Launch yellow laser drones at you.
- Shoot a mouth beam to create a wide cone of fire. You need to dodge this immediately by getting out of the area. Players can use the grapple points to do so.
- It will jump up and slam down, creating an expanding circle of fire that needs to be jumped over.
An attack that he can opt for during the first phase is shoot a volley of bullets and orbs throughout the whole arena. The former will have a large reach, while the latter will drop closer to the boss' body. Players can use the four grapple points placed on the ground to slide across the arena and avoid some of these attacks.
The strategy will remain the same until you detach all of the Warden's legs.
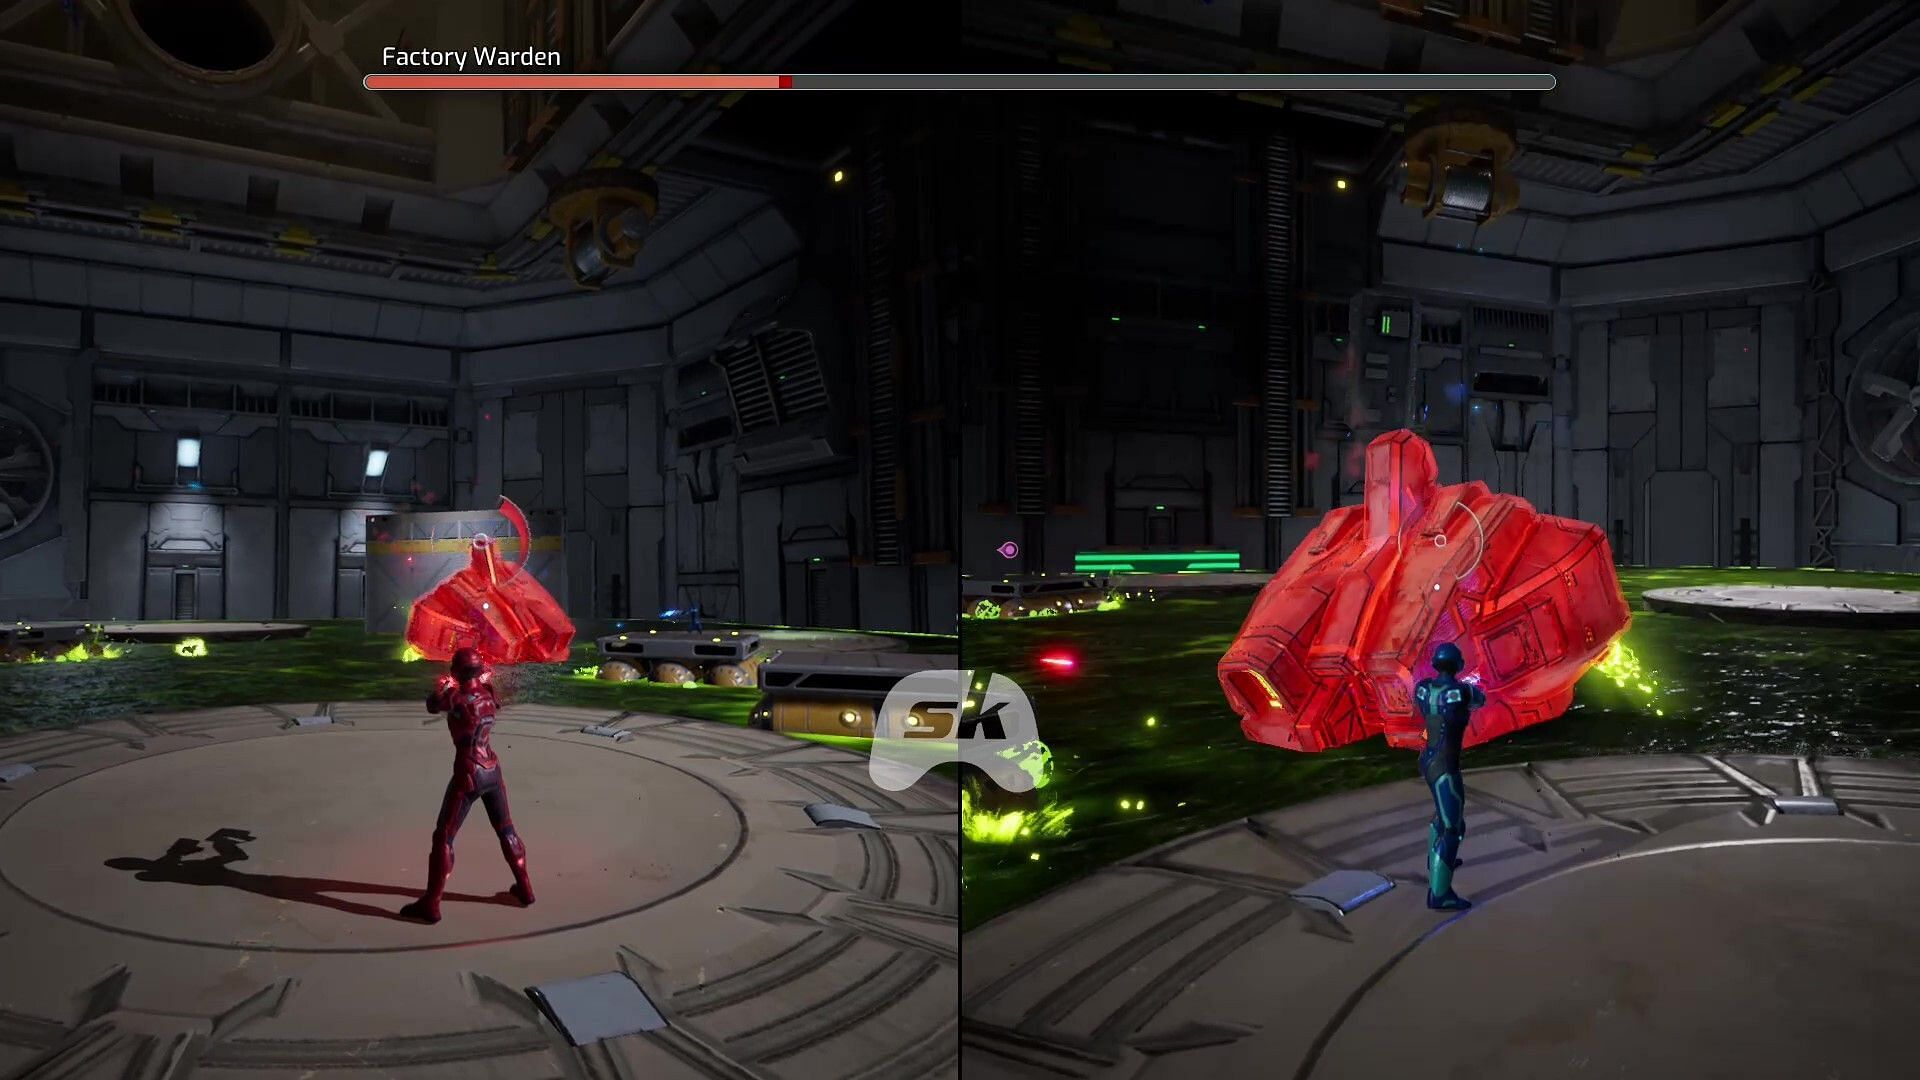
The Transition Phase
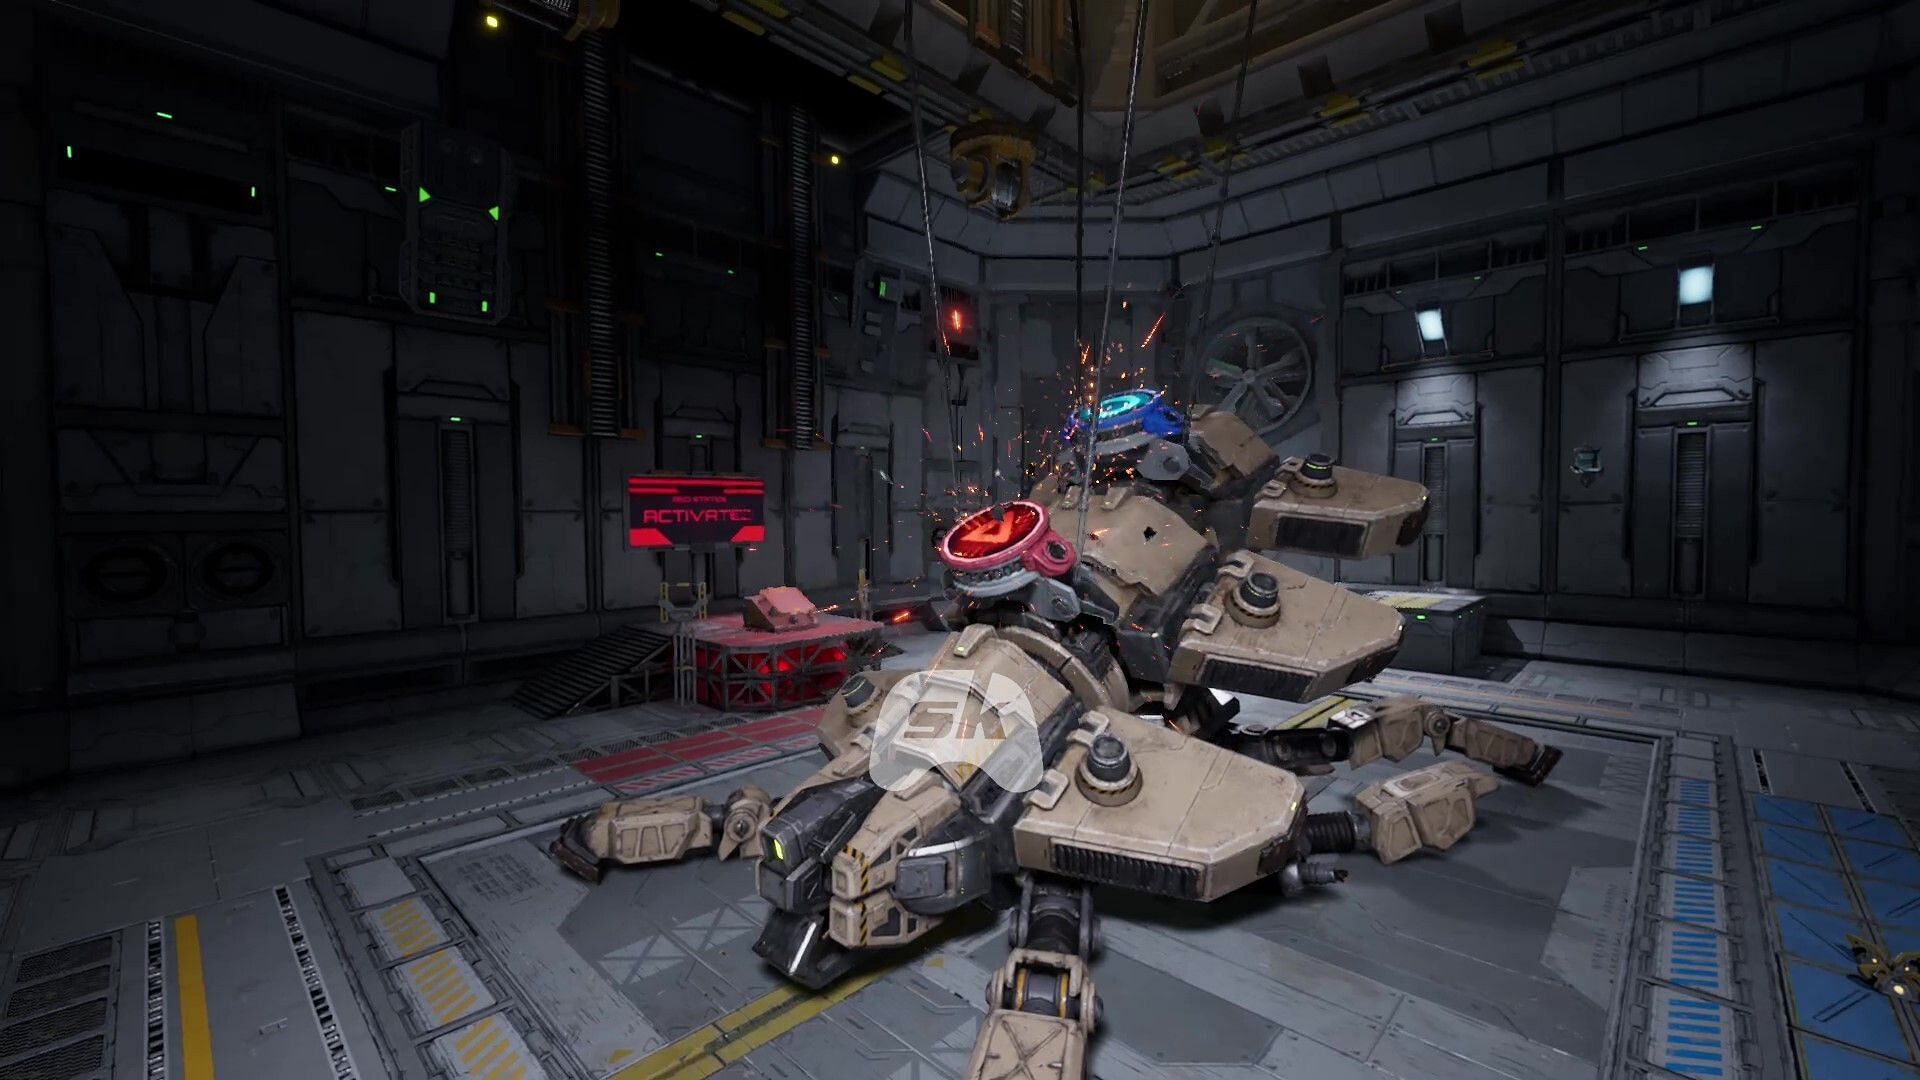
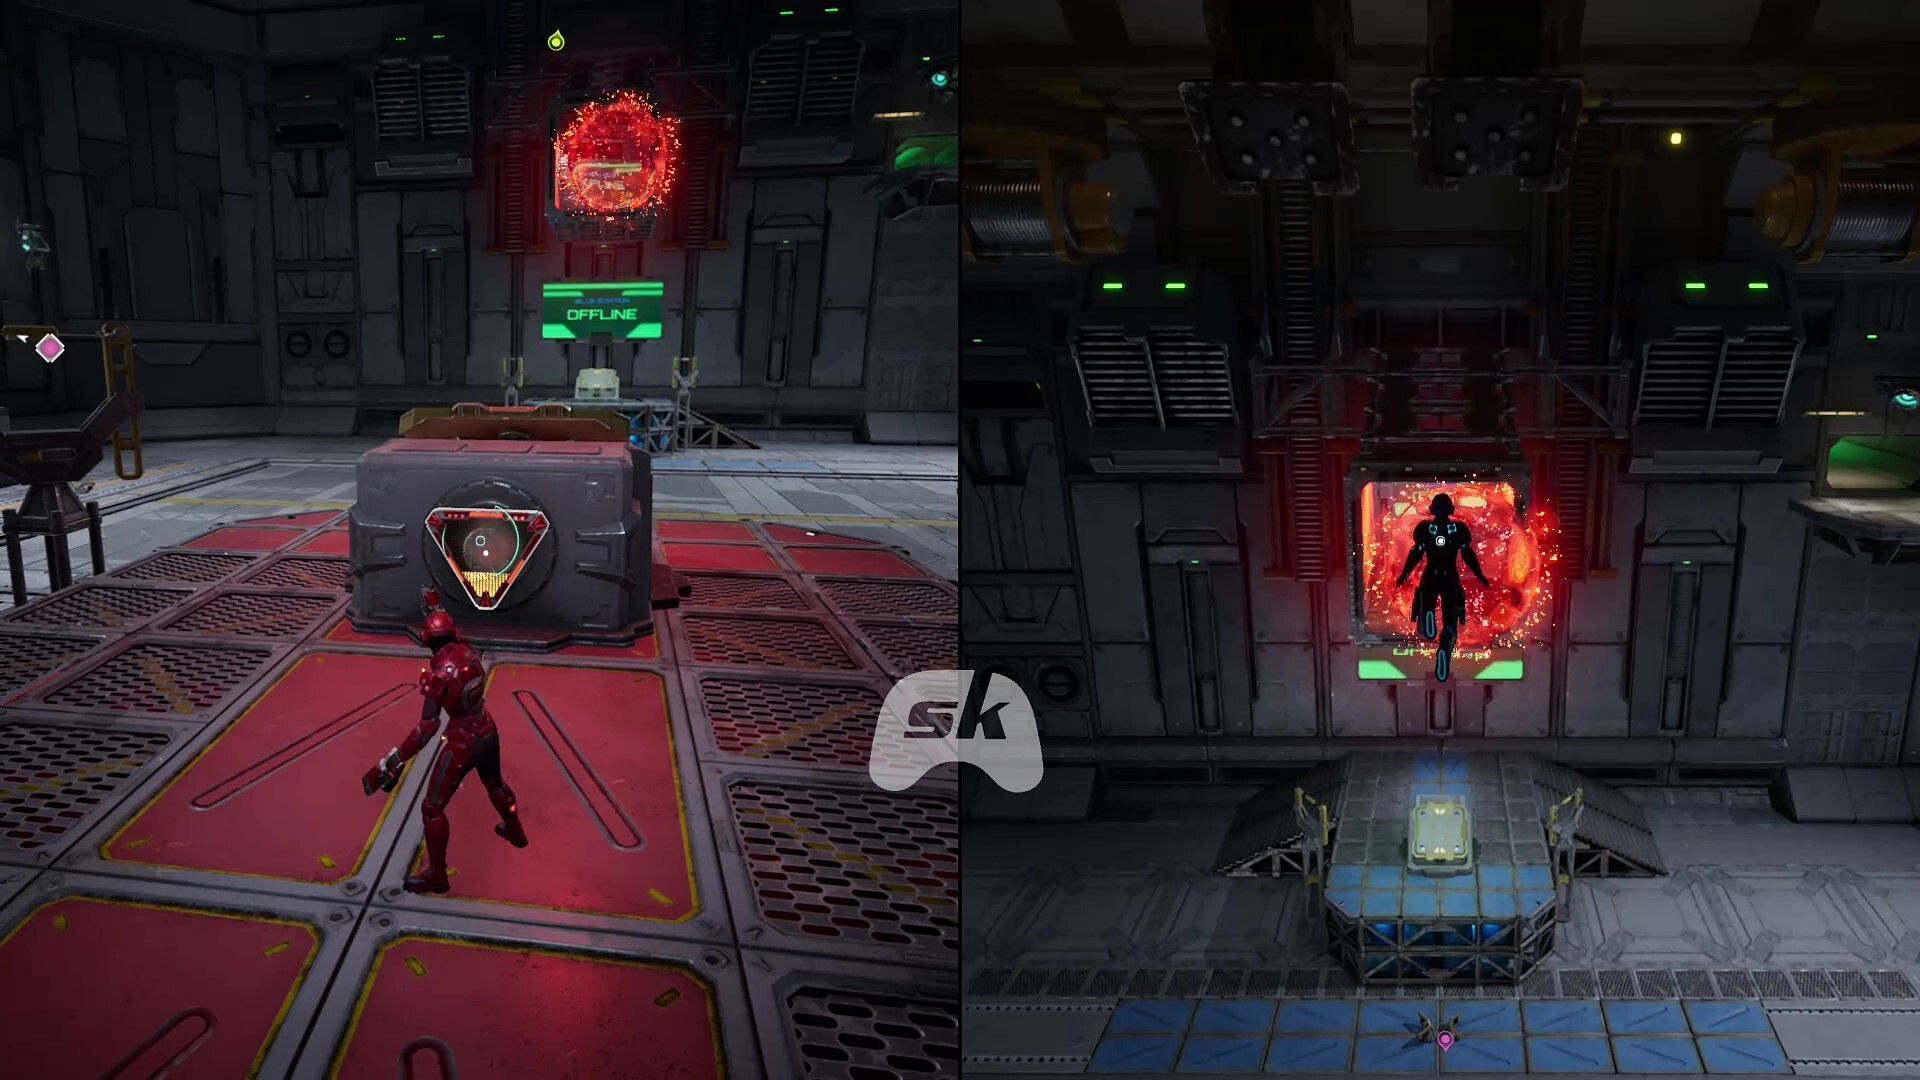
This phase acts as a transition between the First and Second Phase in Split Fiction. After all the legs are destroyed, two giant colored switches will be placed on the Warden's body. This is where the launchpads come into play again.
However, the Warden won't be standing still here. To avoid his attacks, use the grappling points on the ground and slide across the Test Chambers arena in Split Fiction.
Both players need to select one launcher and follow the same procedure as the box puzzle to launch one of them in the air. When airborne, the player will need to use the Shield Buster shot to first create an opening on the giant switches and then fire into them to deal damage.
Repeat the same tactic, but just like before, swap the players and the colors. When both the switches are destroyed, the warden will move on to the Second Phase.
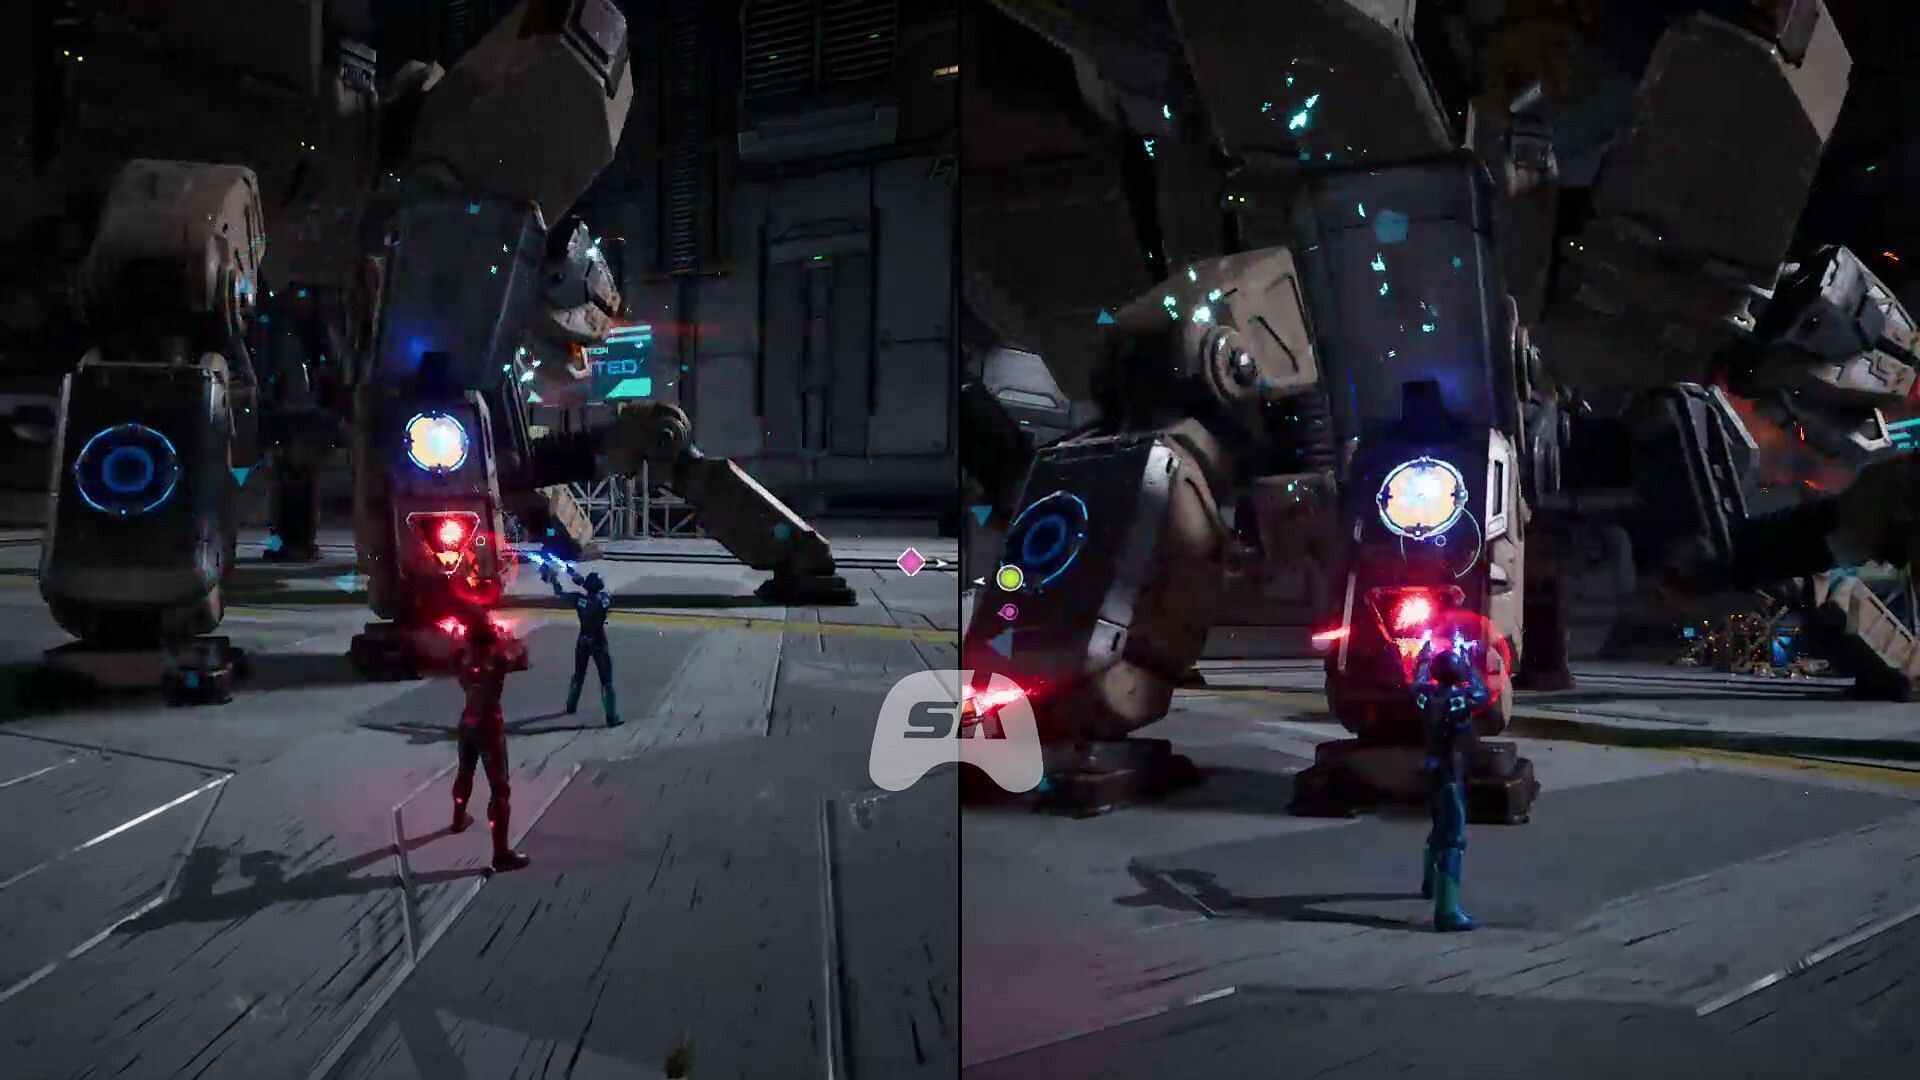
Second Phase
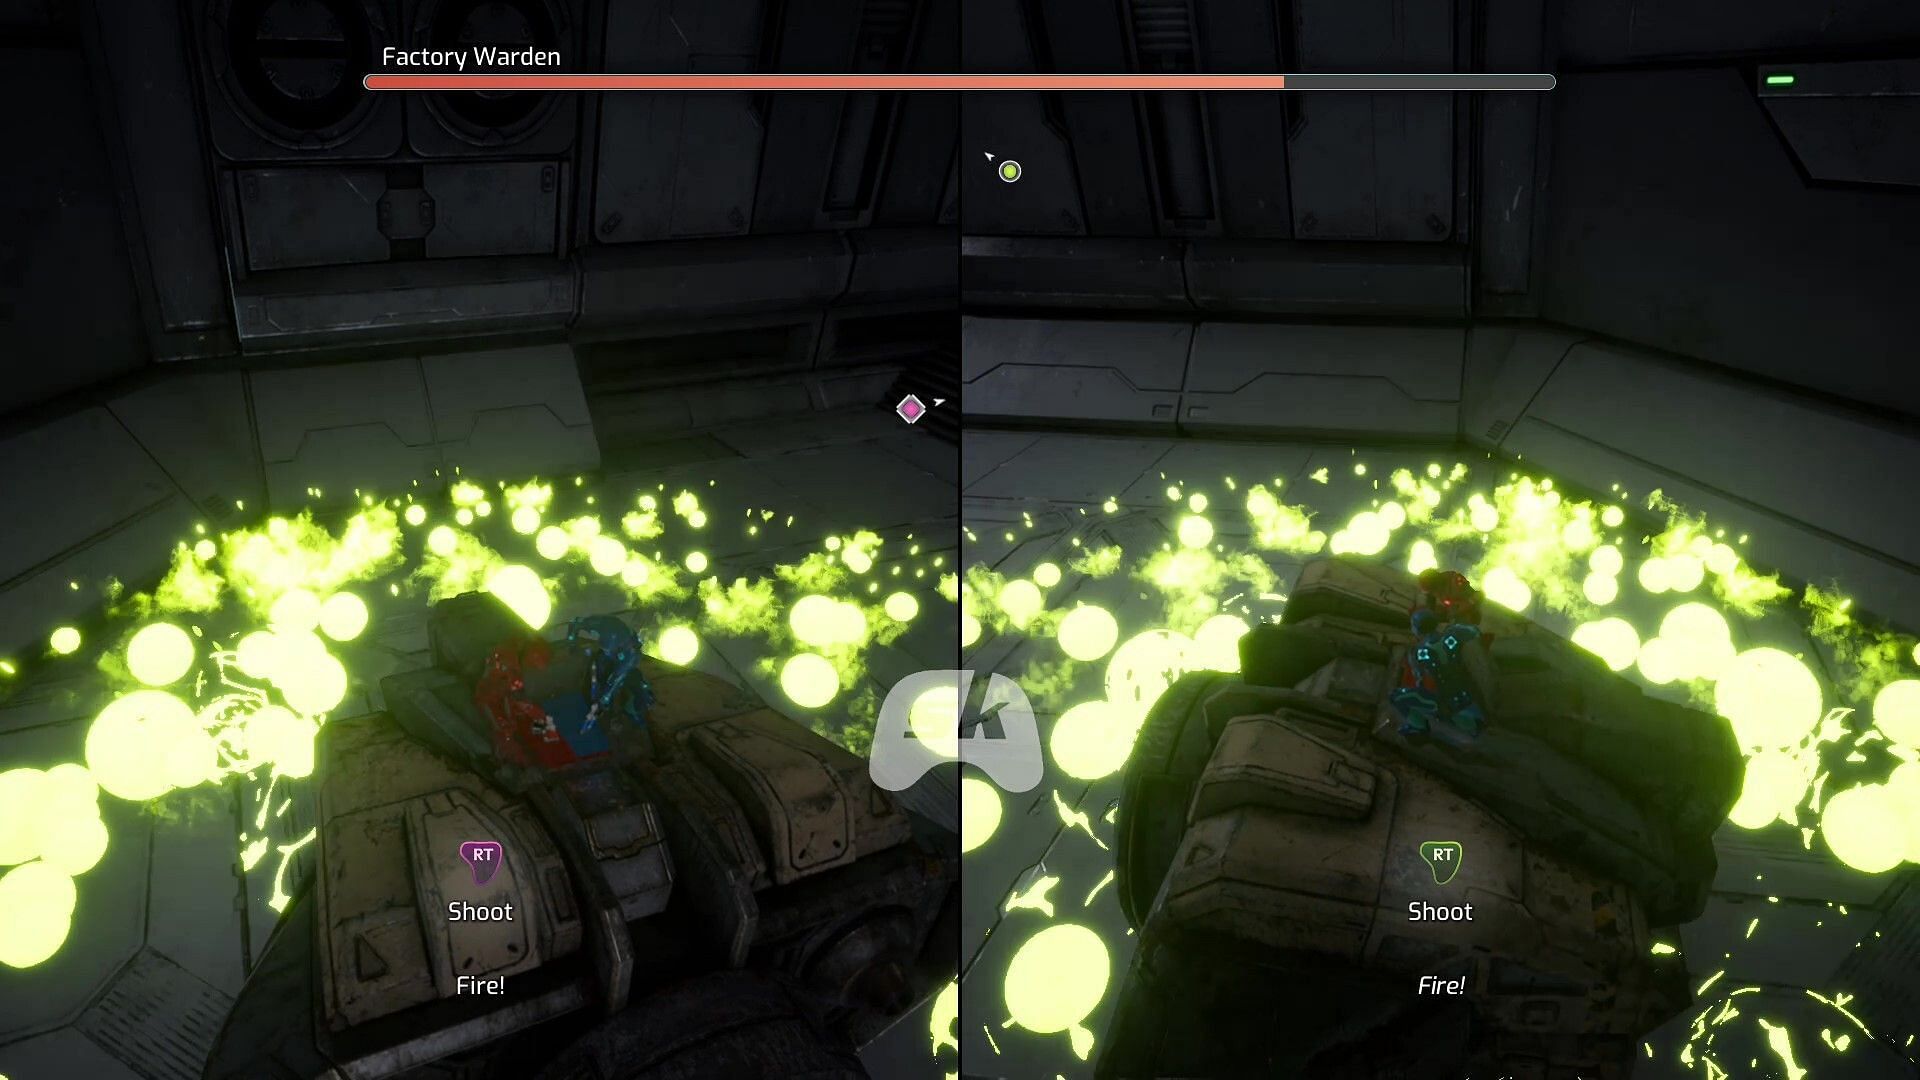
Only the main body of the Warden will remain here. In this phase, he'll gain a health bar and colored armor, making him tougher. It will have one main move during this section: spewing toxic flames. The area of the fire will be signaled by a green light, so move away quickly if you see it shine on you.
Use the correct Shield Buster charge to destroy the colored armor, then shoot the boss using both players' blaster fire. Once you deal enough damage, the Warden will crash to the ground. Quickly grapple onto his body and press the corresponding button (Triangle-PS5/Y-Xbox) to trigger an attack sequence where you'll need to hold RT/R2 to shoot the core. This will remove a block off of the Split Fiction boss' health.
Once his health bar hits 75%, sewage will fill the central block of the arena, forcing you to move between the circular lids to avoid damage. This time, the warden will try hiding in the green river, so the only window to damage him will be when he executes the toxic flame attack.
Regardless, the other details of the fight remain the same — Destroy the armor, damage the Boss, and mash Triangle to execute the command grab attack.
Once its health hits 25%, the grab attack will transition into the next phase, where the boss and the players reach a conveyor belt with hydraulic presses. The duo needs to time their movement to avoid the first machine, after which they can jump off the belt onto a safe platform on their right.
Wall-run through the vertical platform ahead to reach the concluding moments of the Test Chambers boss fight. Activate the color-coded switches three times to keep slamming a hydraulic press on the boss and destroy it for good.
Moving Ahead
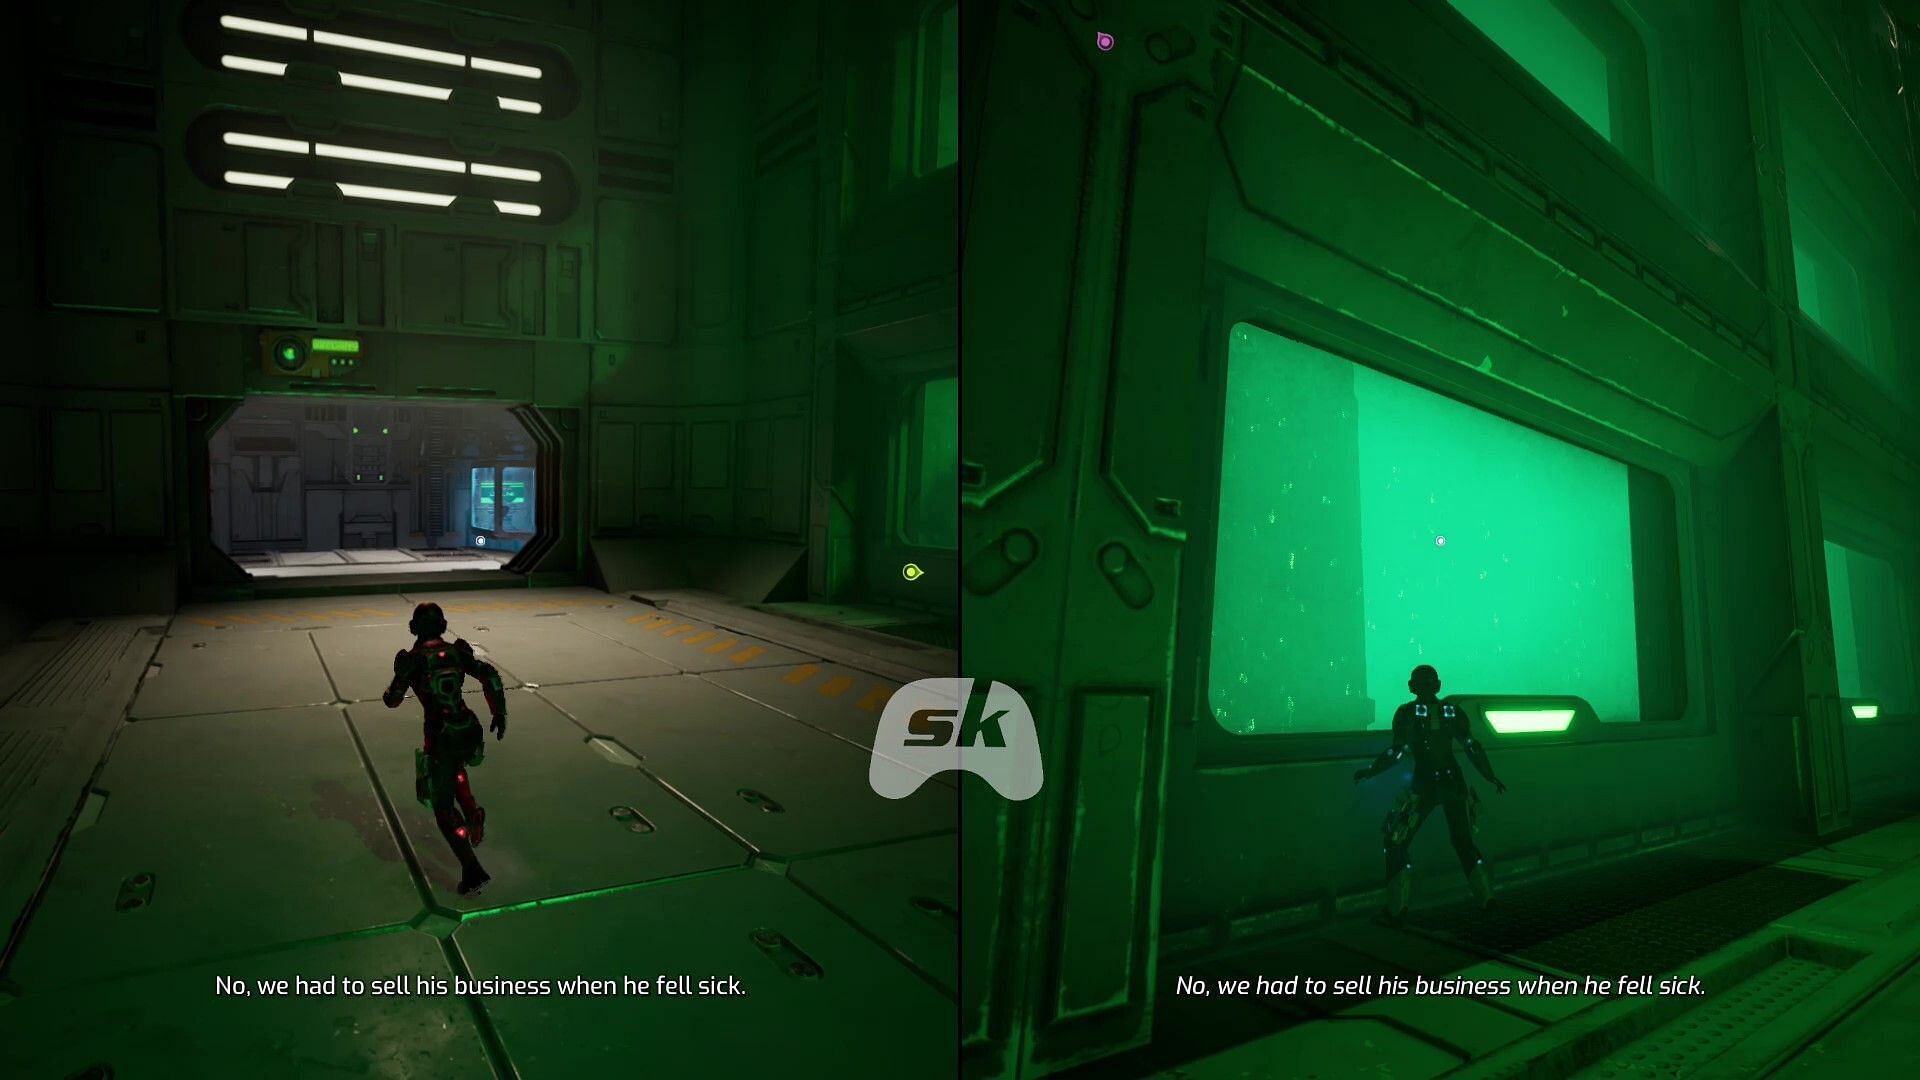
Head inside the container with the same hydraulic press (avoid it to not get crushed to death, of course) and climb the ladder on the right. Destroy the rectangular machines opposite the fireplace to find a small vent at the bottom. Proceed through the duct and then open the door by shooting the two switches.
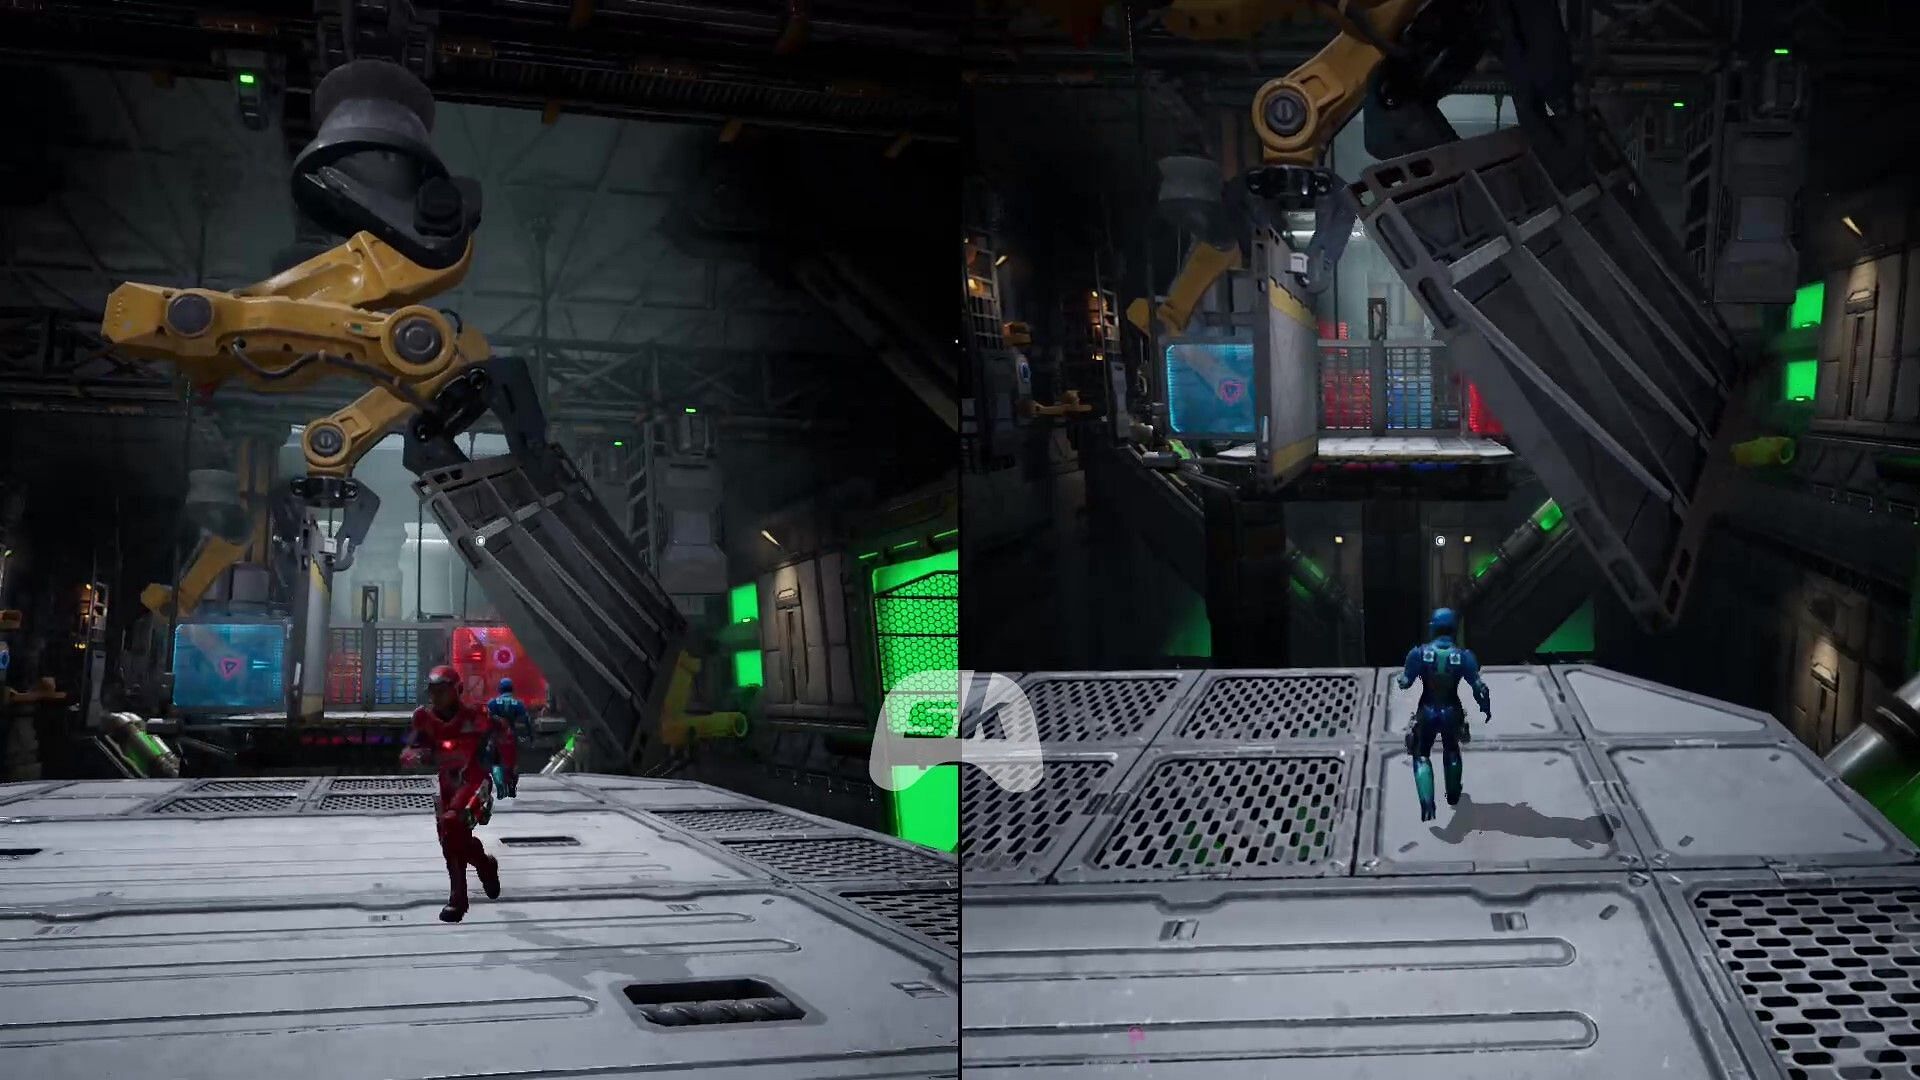
Activate the switches on the robot arms and wall-run through the newly placed banners to reach the next platform in the Test Chambers. Here, you will find two switches protected by walls of the opposite color. Shoot the matching Shield Buster shots, detonate them, and then quickly swap targets and shoot the switches.
Introduction to textured screens
A new type of holographic wall will be introduced in the Test Chambers section. These textured screens (triangles on red/hexagons on blue) won't hurt the player with the matching suit. On the right, hop through the yellow pipe bits and jump on the platforms being passed from one hand to another to reach the next platform.
Road to Moon Market side story
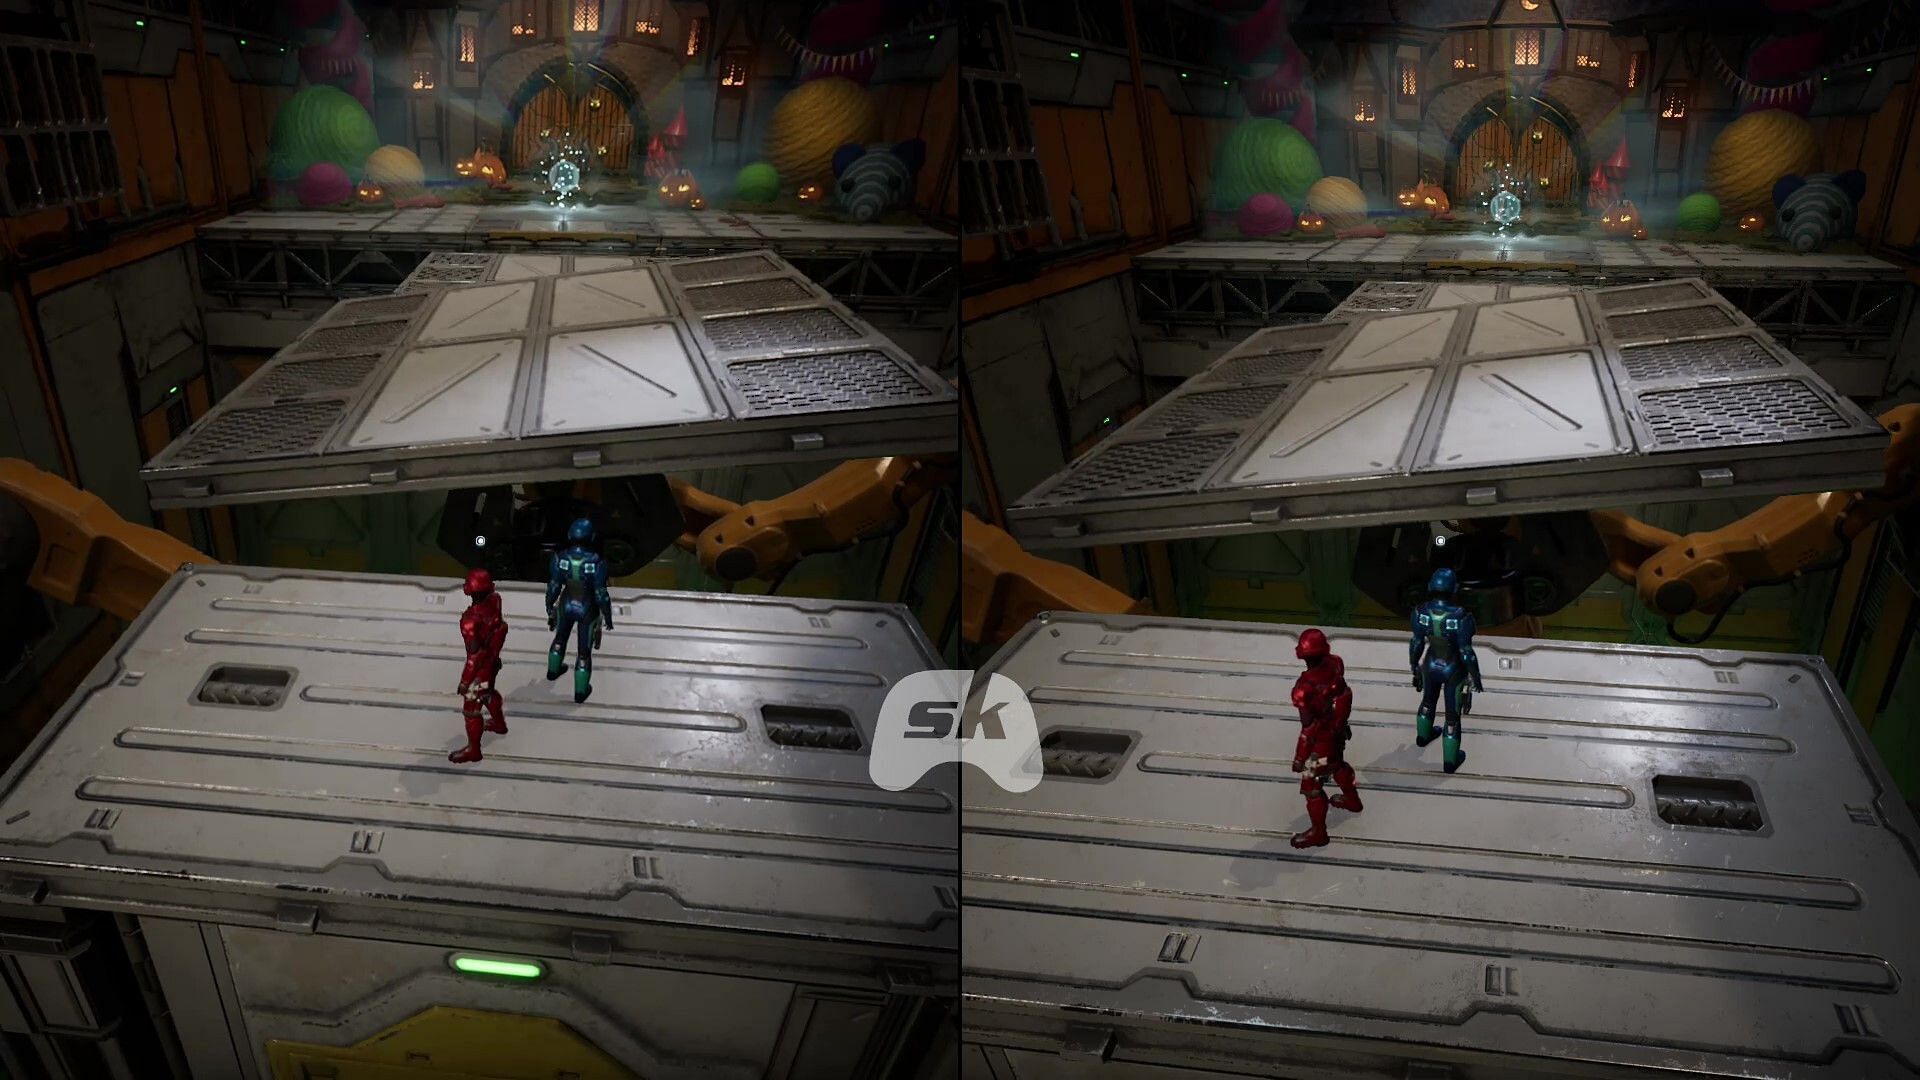
When at the rotating platform, you can move straight ahead and execute the platforming sequence to open up the portal to the Moon Market side story in Split Fiction. For now, we'll continue with the main campaign.
Head through the respective textured walls on both sides and shoot the switches in front of your partner's platform to open up the pathways. Use the Shield Busters on the colored walls to move through. At the end of these small boxed sheets, both players need to shoot the switches on the block at the center. This will get them trapped. Then, you'll have to shoot the matching switches to unlock the bars and transition into a sliding sequence in the Test Chambers section.
Sliding Sequence
Pass through the matching textured walls to avoid taking damage. In the middle of this sequence, the harmless walls will be swapped with the non-textured ones temporarily. Use the correct Shield Buster shots to create an opening through them.
Once the textured ones start showing up again, you'll pass through sections of grinders and hydraulic presses. Here's the chain of actions you should follow:
- Avoid the grinder by jumping onto the platforms on the side.
- Time your passing through the hydraulic press.
- Shoot the switches to stop the poison and jump to the next belt.
- After avoiding the hydraulic press again, shoot the switches on both ends to remove the grinder.
- Pass through the press for a third time.
- Shoot the blue switch to reveal three red switches. Mio can shoot any one of these to create an opening.
- Cross the press for a fourth time.
- Shoot the switches on the yellow arms first to remove the barriers and then on the horizontal blocks to remove the grinders.
- Launch both colored Shield Buster charges on the two yellow points to complete the Node puzzle.
Completing this sequence will mark the end of Test Chambers and transition to the "Run and Gun" section in Split Fiction.
Check out our other guides on Split Fiction:
- Is Split Fiction available on Nintendo Switch?
- Is Split Fiction couch co-op?
- Split Fiction: Complete list of achievements and trophies
- How to download Friend Pass and play Split Fiction for free
- Can you play Split Fiction on Steam Deck and ROG Ally?

Are you stuck on today's Wordle? Our Wordle Solver will help you find the answer.