'%20x='0'%20y='0'%20height='100%25'%20width='100%25'%20%0A%20%20%20%20%20%20%20%20%20%20xlink%3Ahref='data:image/jpg;base64,/9j/2wBDAAYEBQYFBAYGBQYHBwYIChAKCgkJChQODwwQFxQYGBcUFhYaHSUfGhsjHBYWICwgIyYnKSopGR8tMC0oMCUoKSj/2wBDAQcHBwoIChMKChMoGhYaKCgoKCgoKCgoKCgoKCgoKCgoKCgoKCgoKCgoKCgoKCgoKCgoKCgoKCgoKCgoKCgoKCj/wgARCAAGAAoDASIAAhEBAxEB/8QAFQABAQAAAAAAAAAAAAAAAAAAAAf/xAAVAQEBAAAAAAAAAAAAAAAAAAACA//aAAwDAQACEAMQAAAAl0rLH//EACEQAAECBAcAAAAAAAAAAAAAAAECAwAEERIFBhMUIkKB/9oACAEBAAE/AMCmNzl9yUcYaOjK33VPYGgp5CUKIHKP/8QAGBEAAgMAAAAAAAAAAAAAAAAAAAIBAxH/2gAIAQIBAT8AsnVU/8QAFxEAAwEAAAAAAAAAAAAAAAAAAAECEf/aAAgBAwEBPwCVh//Z'%3E%3C/image%3E%3C/svg%3E)
While it may look like a strenuous task if you're new to this, with the right guide at hand, it is actually easy to build a new gaming PC in 2024. Gone are the days when you are left imagining where each component will fit. With the age of the internet, there are multiple guides online on how to build a new gaming PC.
In this article, you will find the most up-to-date guide on how to build a new gaming PC in 2024. Everything you need, including tools and components, has been mentioned in detail, followed by a step-by-step building process to help easily build a new gaming PC.
The components we have chosen in this build are also quite balanced and provide the best value for the money you will be paying.
NOTE: This article is subjective and reflects the writer's views.
Tools needed to build a new gaming PC
The first thing you are required to have is tools. There are sophisticated components that will need the utmost care, and having the right tools will help in this regard. Here are all the tools that you need to build a new gaming PC in 2024:
1) Multi-Bit Screwdriver - $21.97
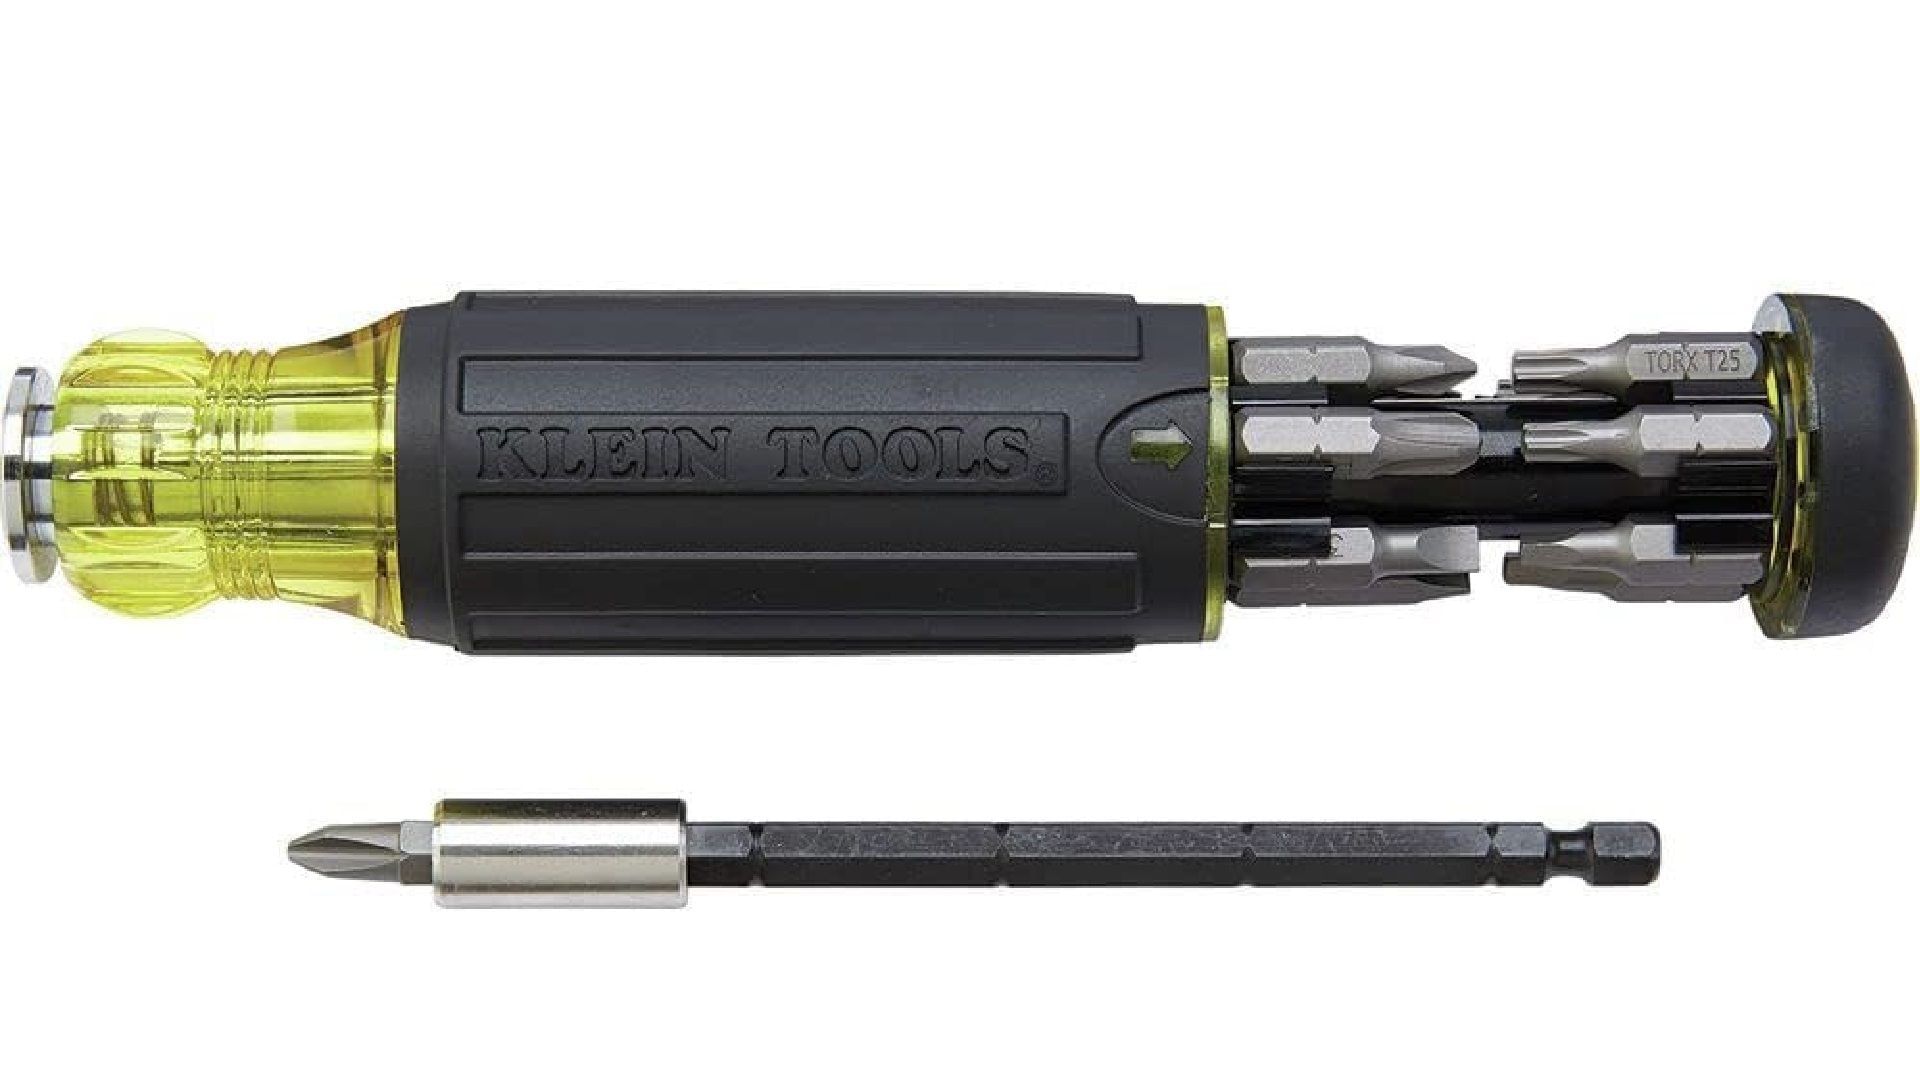
Not all screws have the same size or drive recess, so it's best to get a multi-Bit screwdriver. It allows you to use different bits for different screw drive recesses. This way you don't need to carry multiple screwdrivers. It's the main tool needed to build a new gaming PC.
2) Zip ties - $5.99
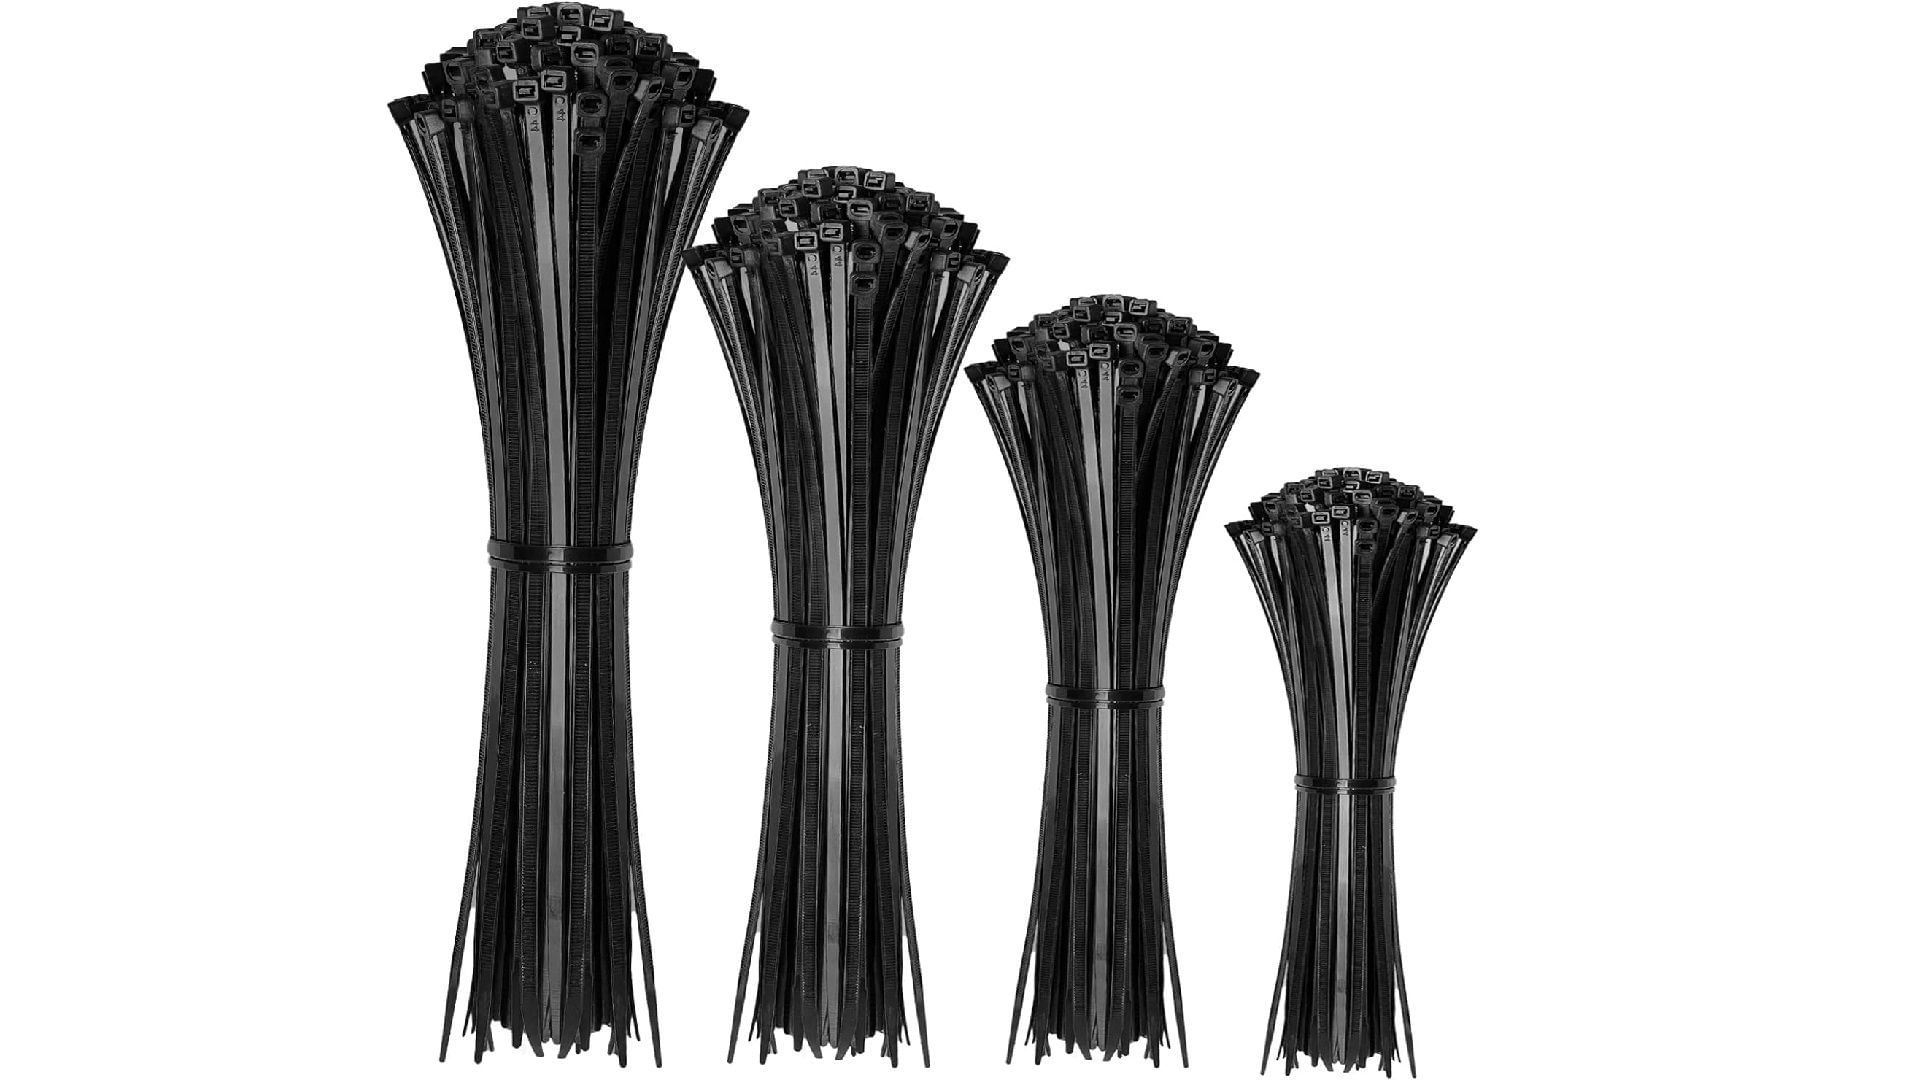
Zip ties are essential to cable management. Once you are done fitting in all the components, you will be left with a bunch of cables that will all spread out. The zip ties will help you club them together and build a new gaming PC with cleaner aesthetics. Many PC cases have zip ties bundled with the case. If you didn't get yours, buy some from the market.
3) Needle-nose pliers - $7.98

The plier will come in handy when the PCIe expansion brackets don't break off easily. The plier will help you yank them out easily.
4) Thermal paste - $5.38
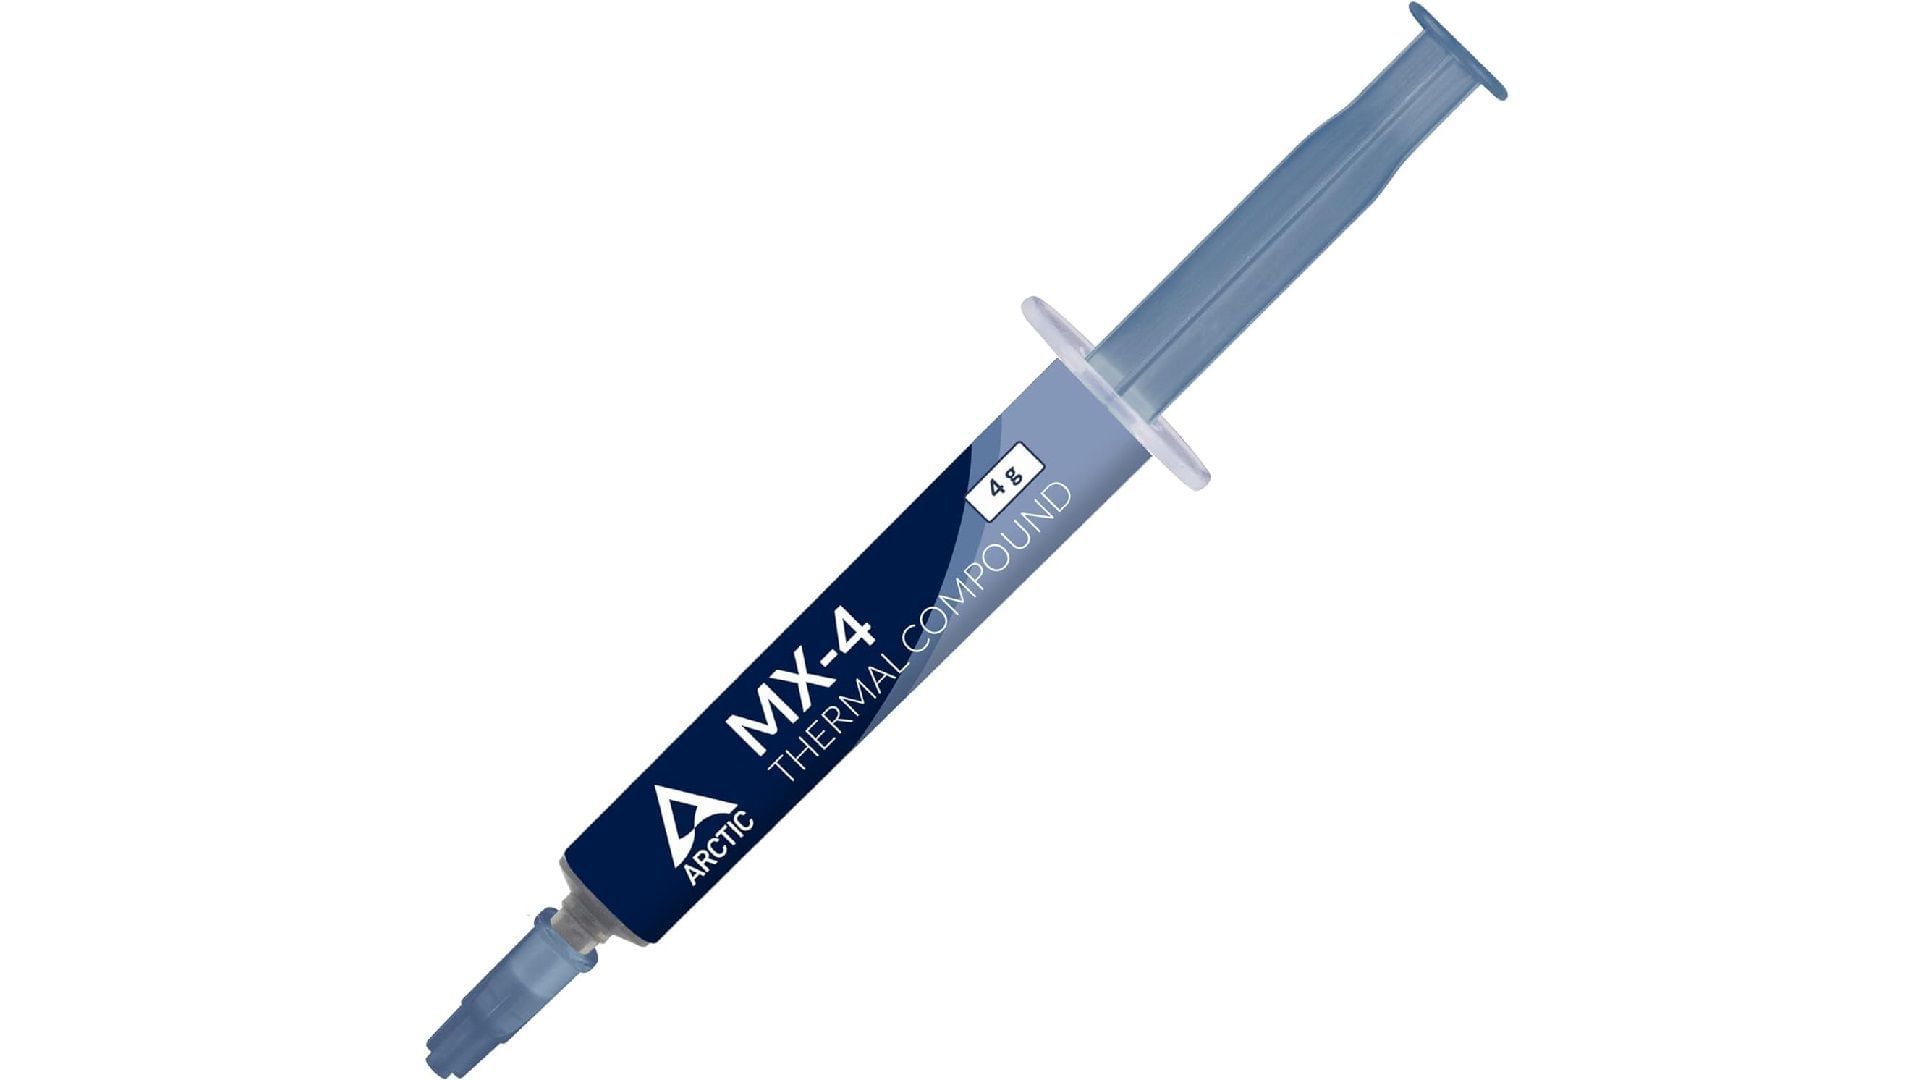
Some CPUs have a cooler bundled inside the CPU box and the thermal paste is usually pre-applied. However, not all CPUs come with a cooler, especially a Ryzen processor. So, you will need to buy some thermal paste.
5) Micro Cutter - $5.47

The Micro cutter will be needed to trim the extra bits of zip ties sticking out. This helps in maintaining and keeping the cable management clean. With the right tools in hand, it's easy to build a new gaming PC.
6) Isopropyl Alcohol Wipes - $5.22
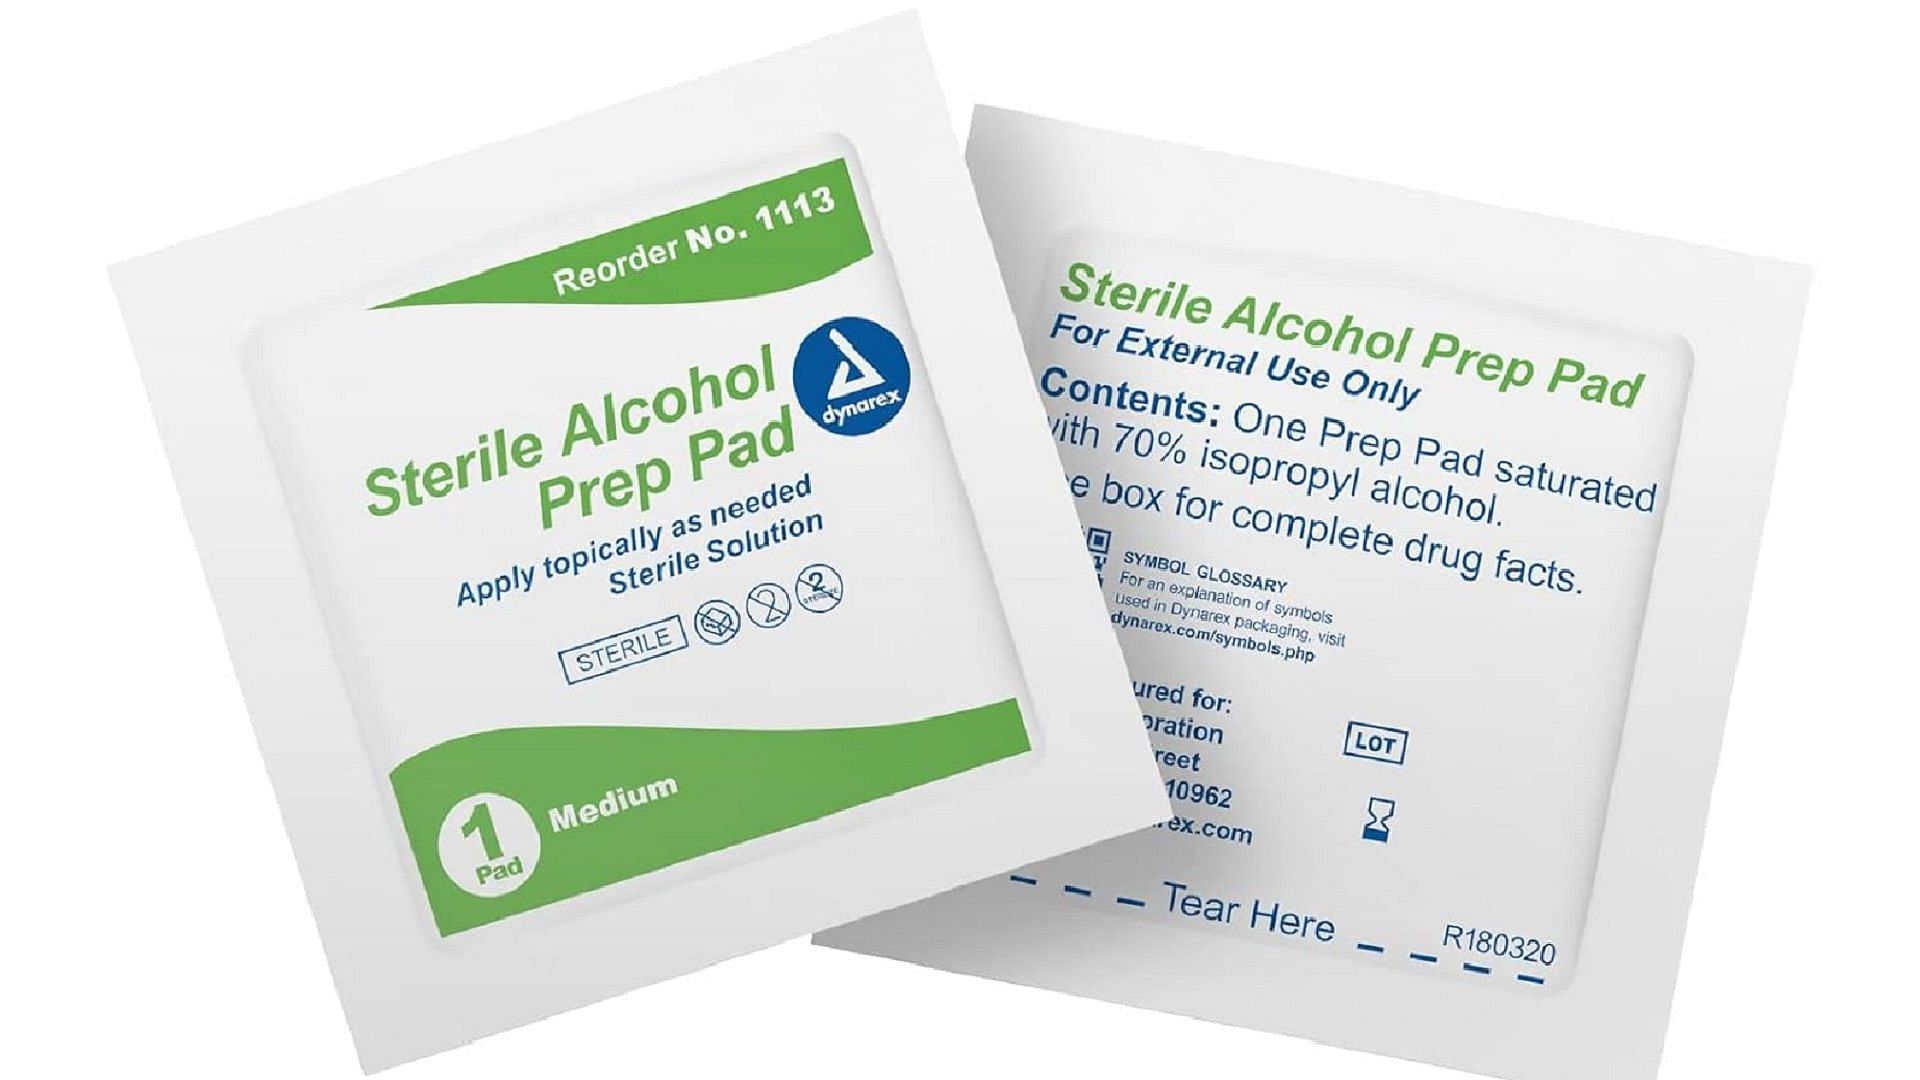
An Isopropyl Alcohol Wipe is essential in cleaning certain things, such as the surface of the CPU where you will be applying the thermal paste.
Components needed to build a new gaming PC
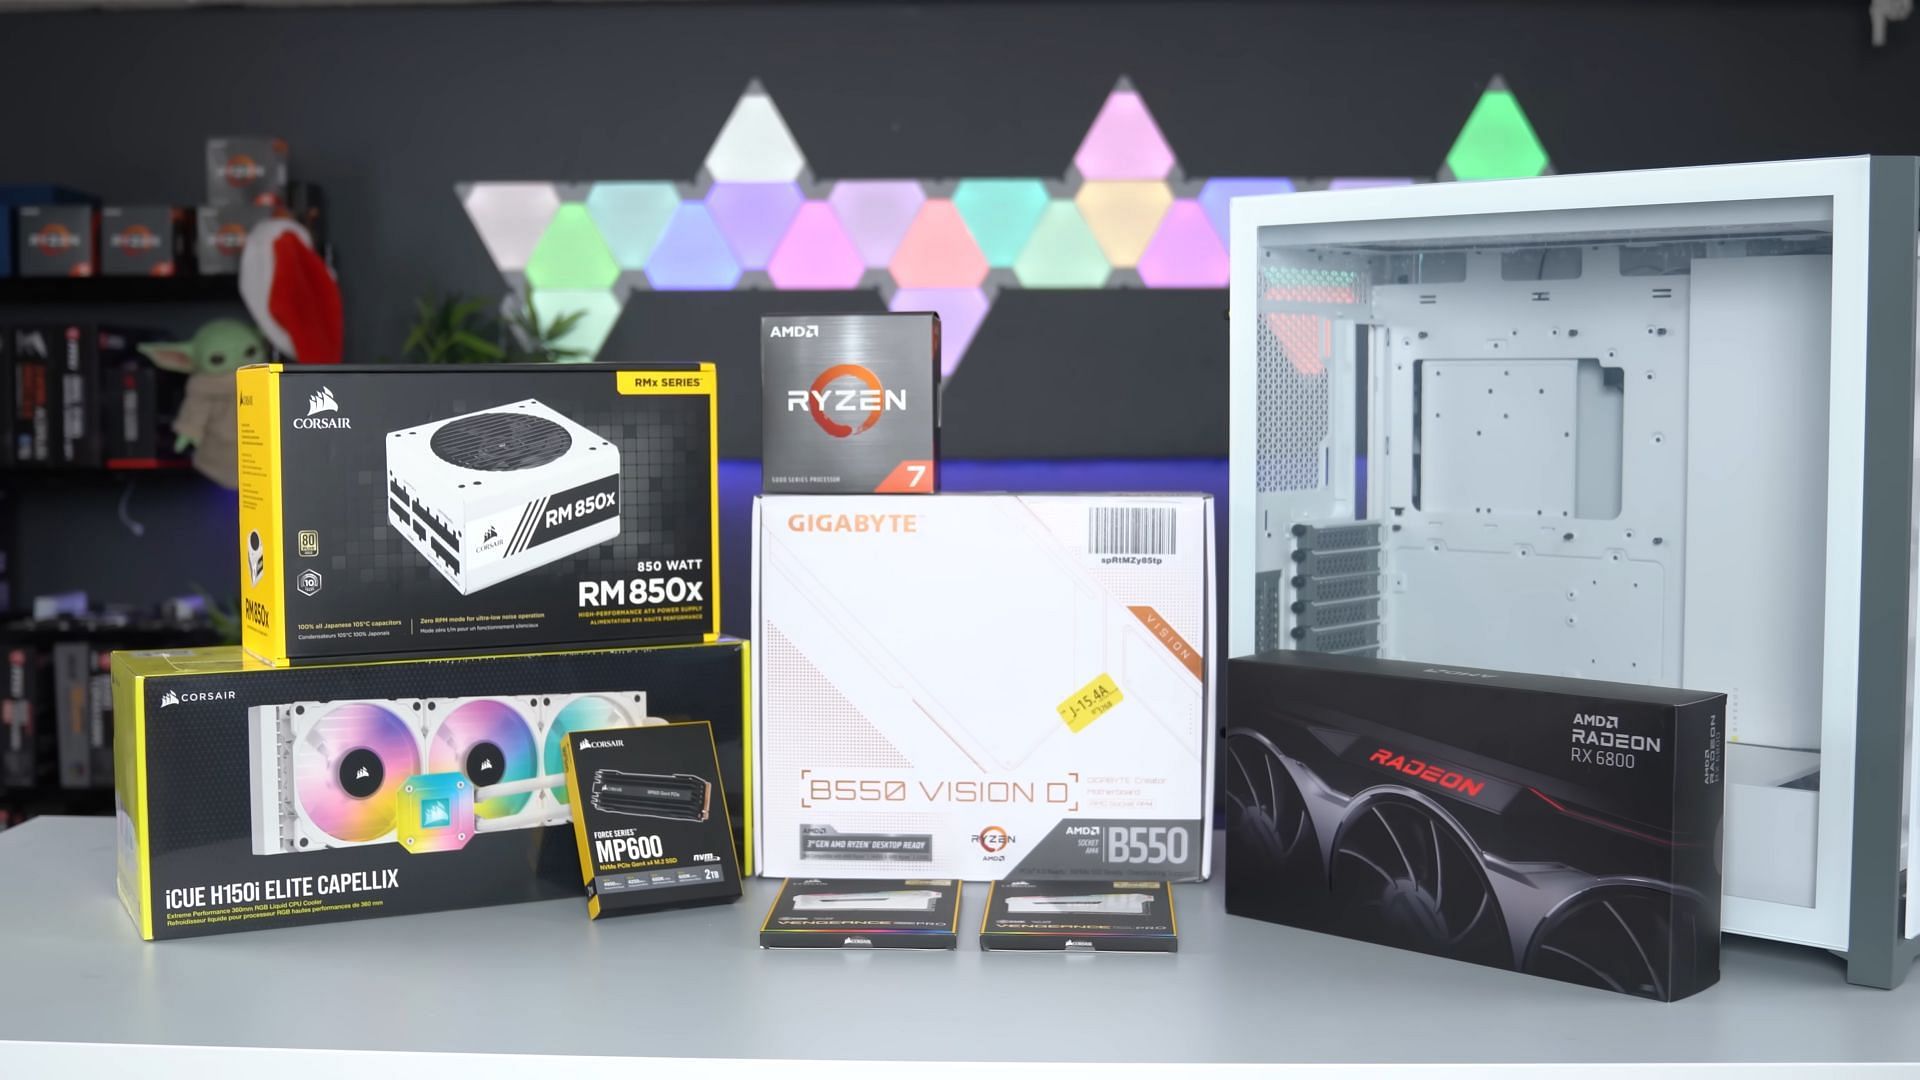
Now that the tools are in place, let's discuss the components that will go into the PC. Since we are targeting a decently powerful gaming PC, we chose high-end components for the best performance. Here are all the components you need to build a new gaming PC:
1) CPU - Ryzen 7800X3D ($357)

This one is a no-brainer. The Ryzen 7800X3D is the fastest gaming processor as of yet. Since it is based on the AM5 platform, you will get a lot of future CPU upgrade options without needing to buy a new motherboard.
2) Motherboard - Gigabyte X670 Gaming X AX V2 ($209.99)
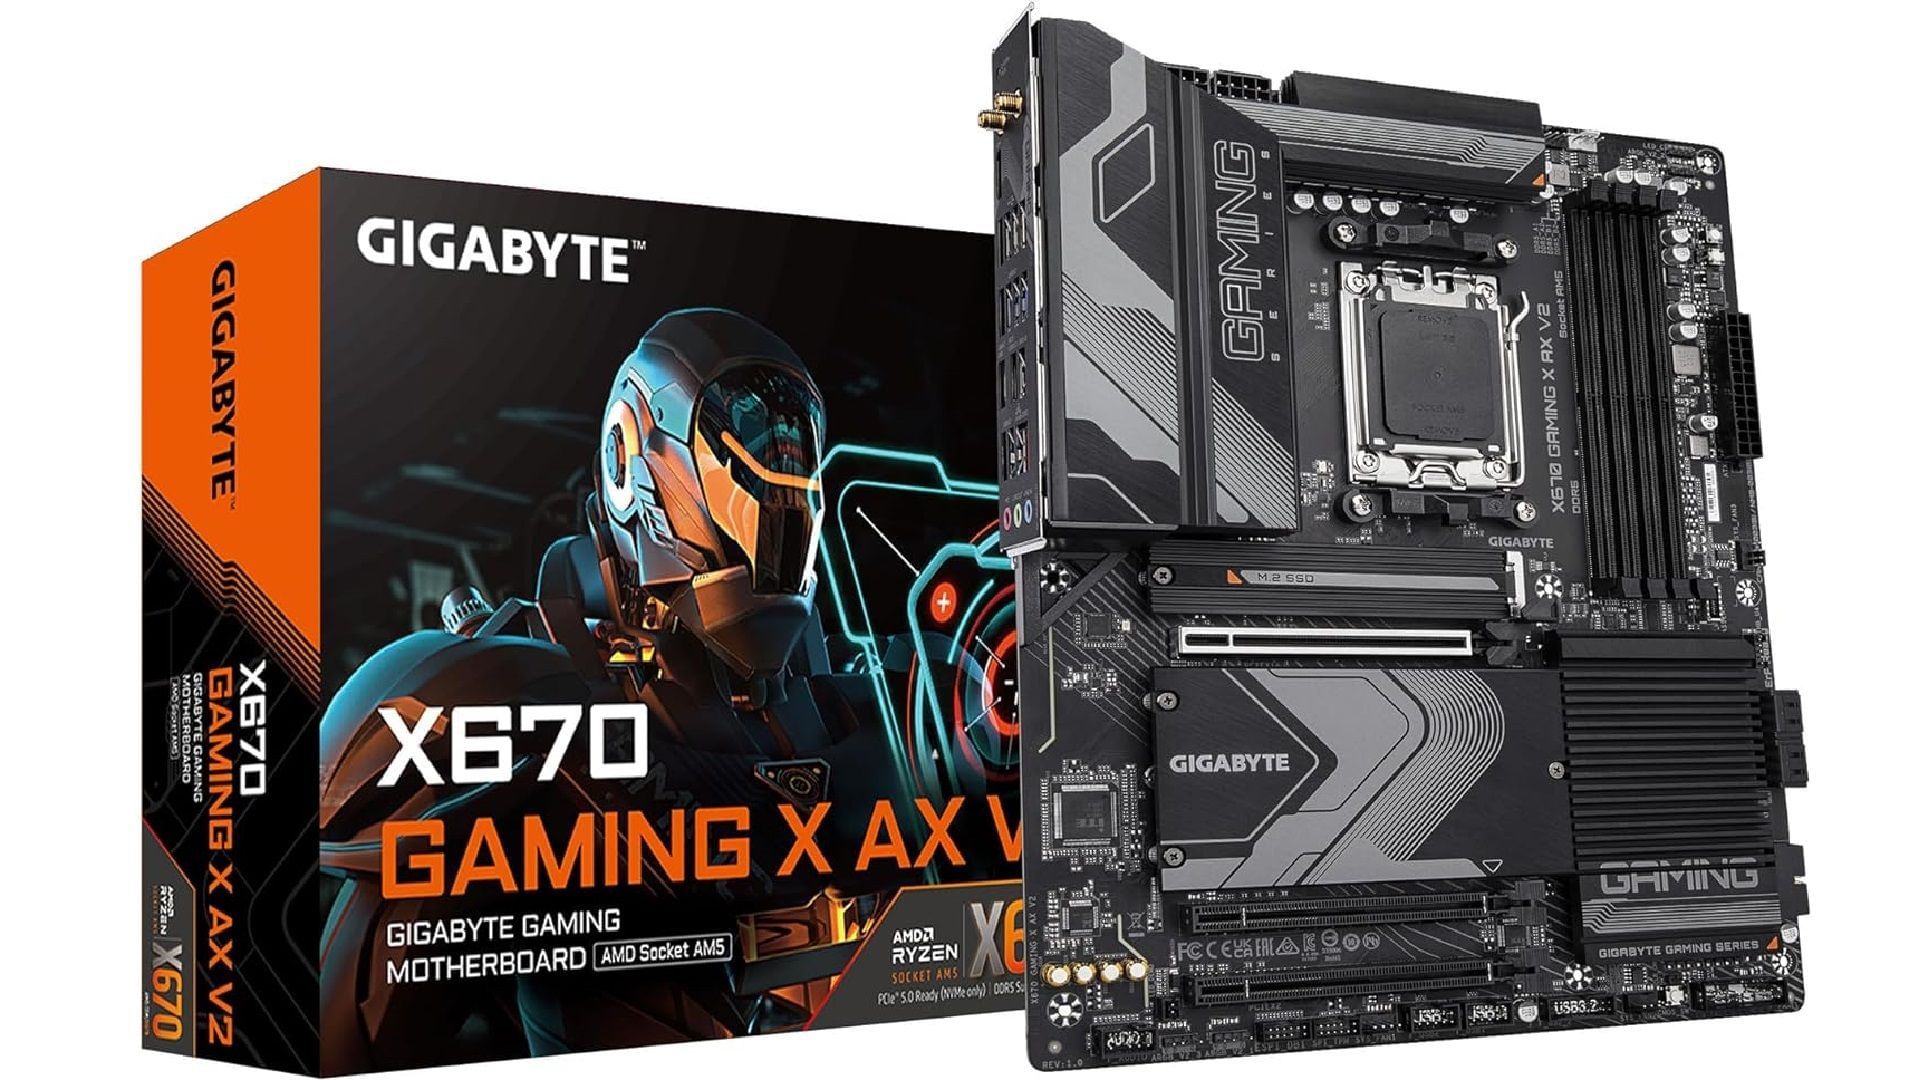
The Gigabyte X670 Gaming X AX V2 is a budget AMD motherboard that has an X670 chipset. It's a fantastic chipset and gets you a host of perks. It also has support for PCIe Gen 5 SSDs.
3) RAM - CORSAIR VENGEANCE LPX DDR5 RAM 32GB [2x16GB] ($69.98)
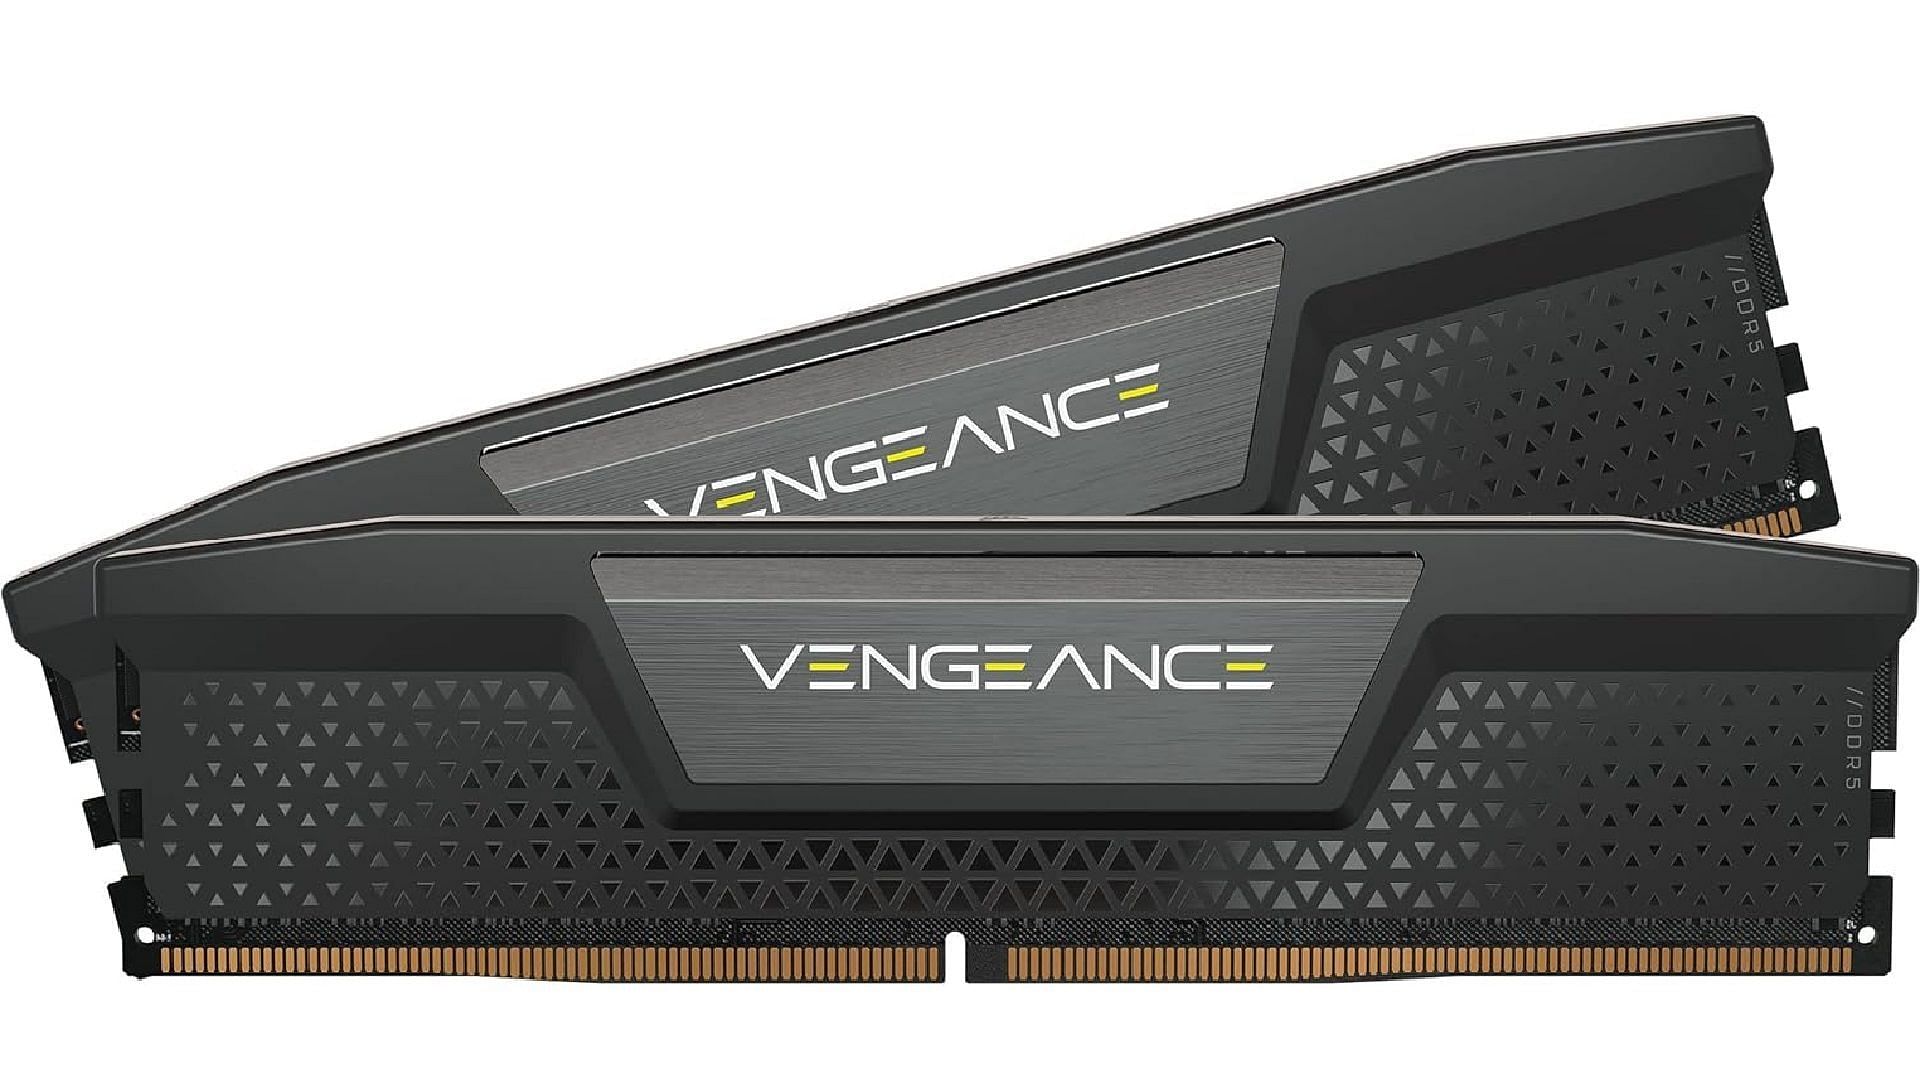
For RAM, it's best to go with 32GBs as more and more game makers list 32GB RAM in the system requirements list. While 16GBs may be fine for now, it won't age well. A 32GB of RAM is recommended to build a new gaming PC.
4) SSD - Sabrent Gen 5 NVMe 1TB SSD ($189.99)
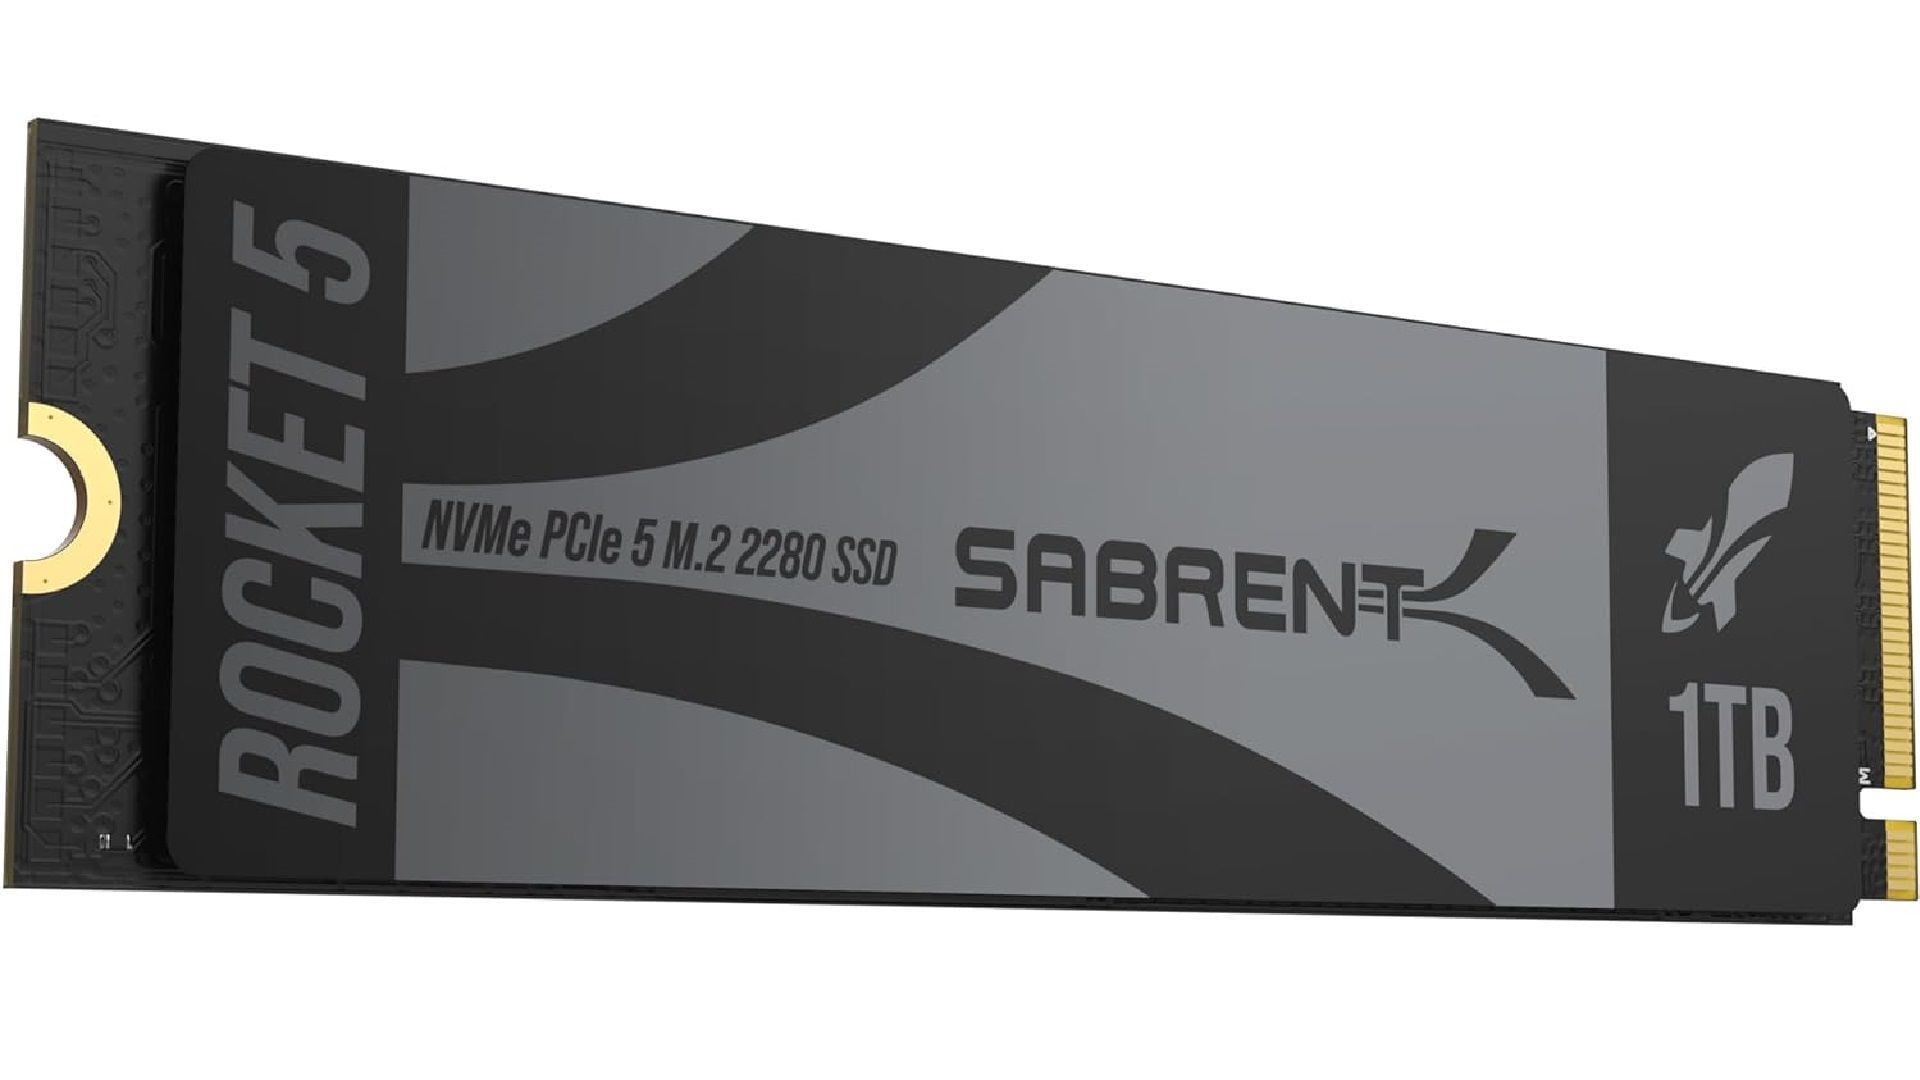
For SSDs, it's best to go with the Gen 5 NVMe SSDs. The motherboard on this list certainly supports it, and this Sabrent Rocket 5 will get you speeds of over 14000MB/s. It is also DirectStorage certified, which will make games load almost instantly.
5) ARCTIC Freezer 7 X ($26.75)
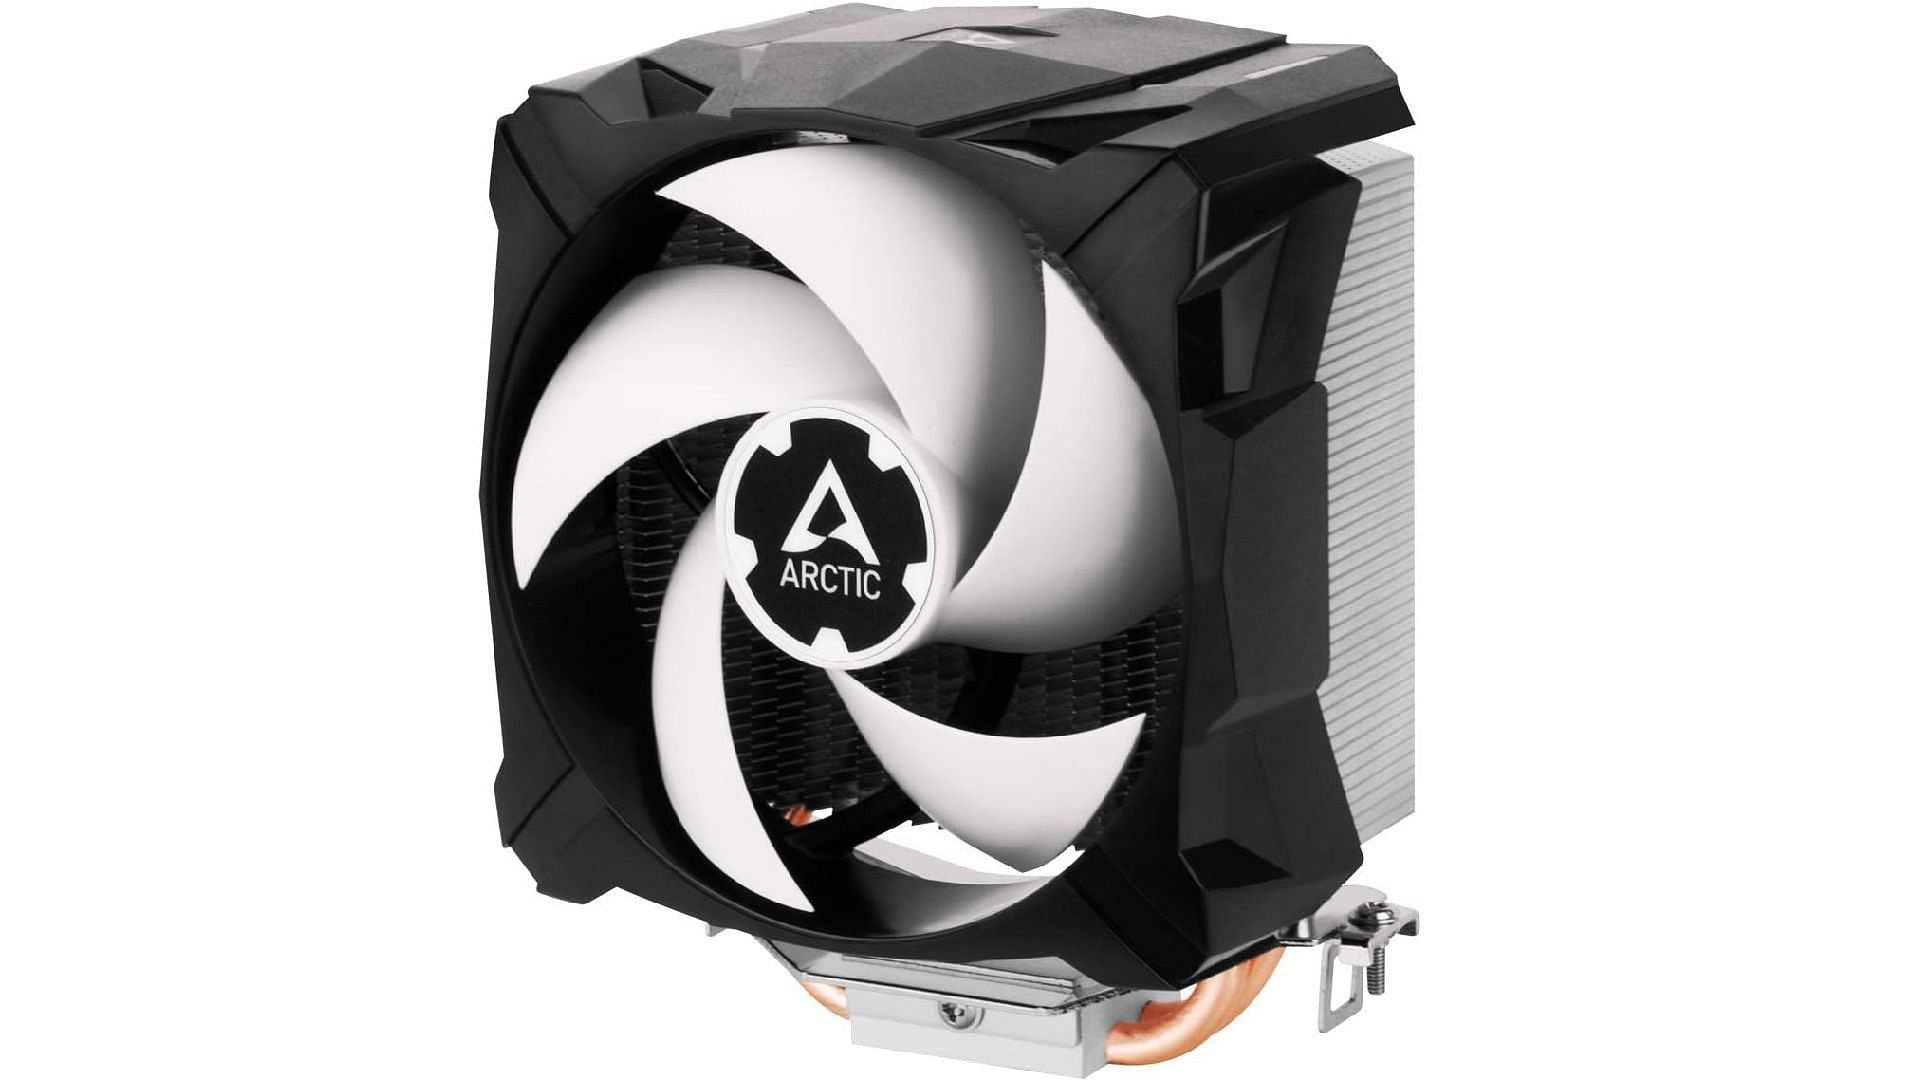
The ARCTIC Freezer 7 X is a brilliant CPU cooler that can easily handle the Ryzen 7800X3D and keep its temperature under control. It also has near-silent operations, hence it will have no interruptions on your gaming session.
6) PSU - Cooler Master MWE Gold 850 V2 Full Modular ($89.99)
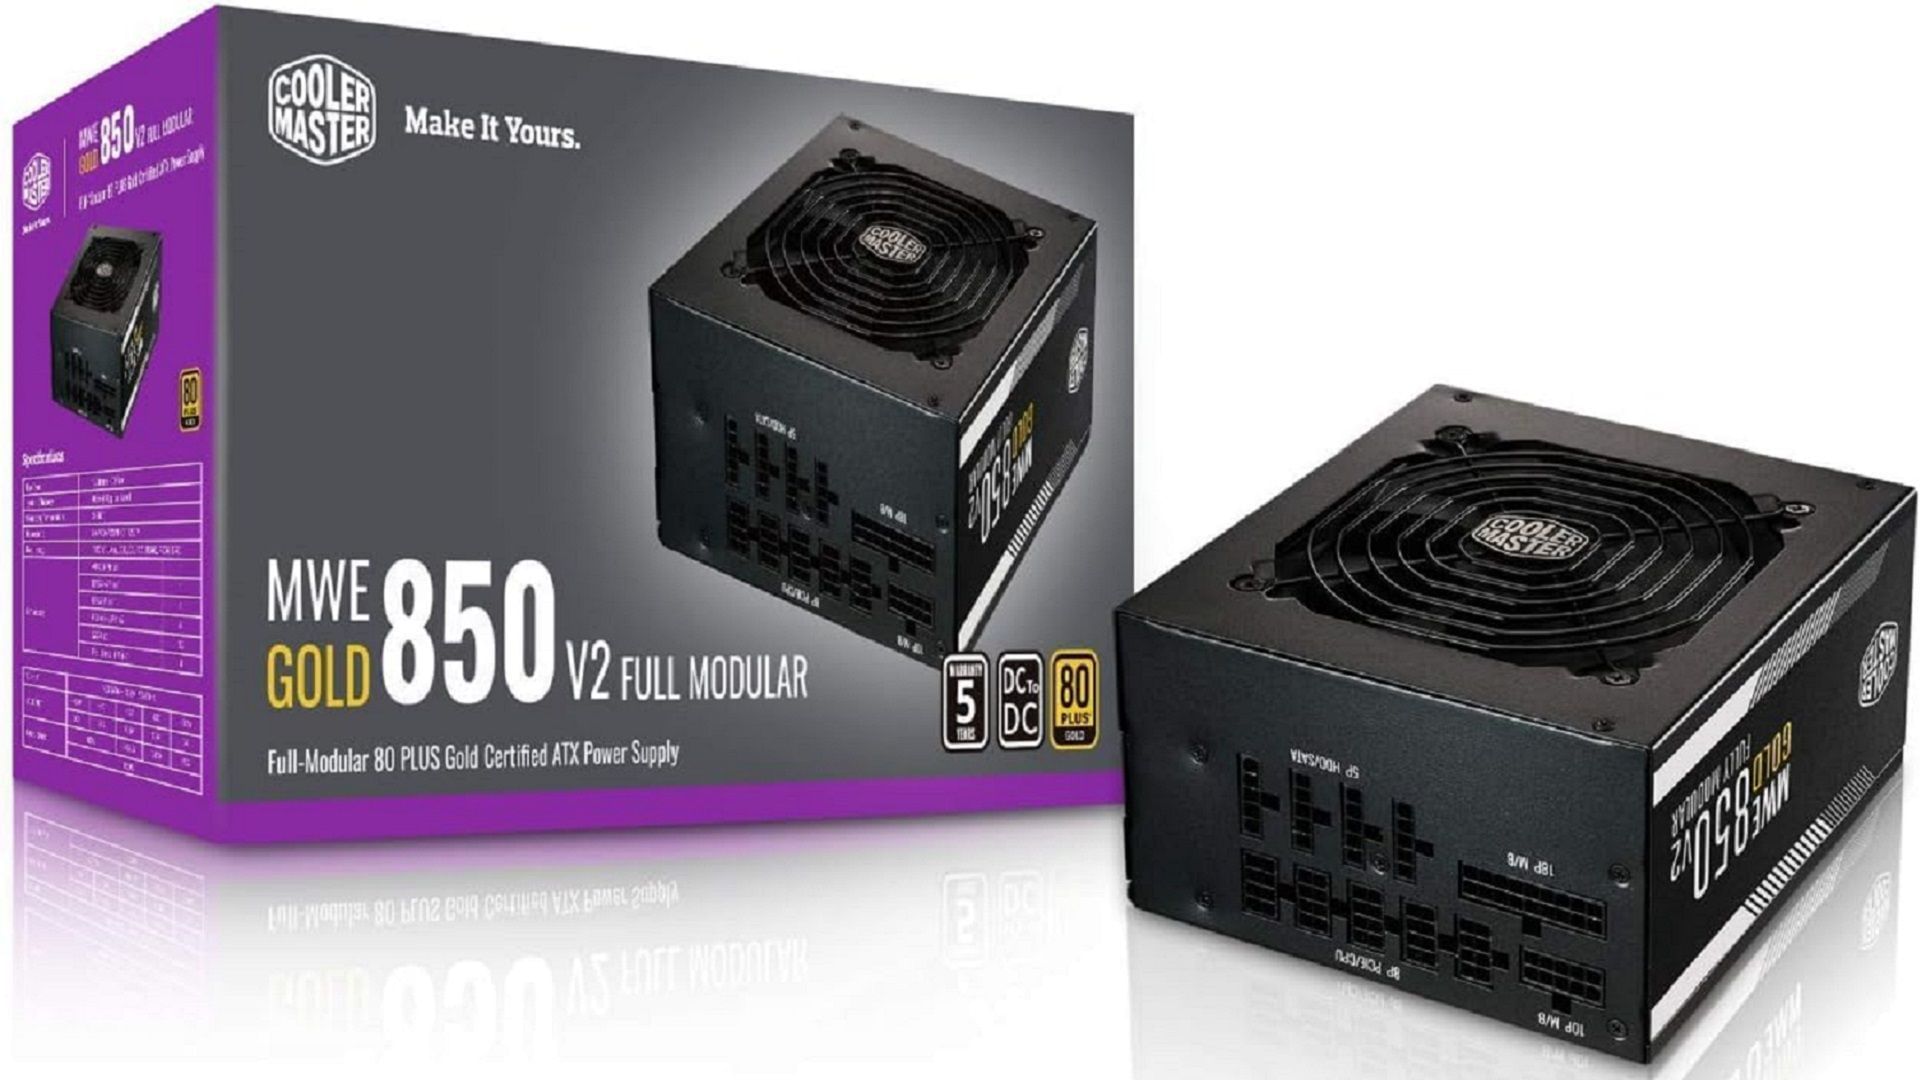
The PSU is the one component that no one should cheap out on. It's the component that powers every other component, and you want it to be the best. This Cooler Master MWE Gold 850W V2 is the best in this price range and can easily support any GPU.
7) GPU - Sapphire Pulse AMD Radeon RX 7900 XT ($699.99)
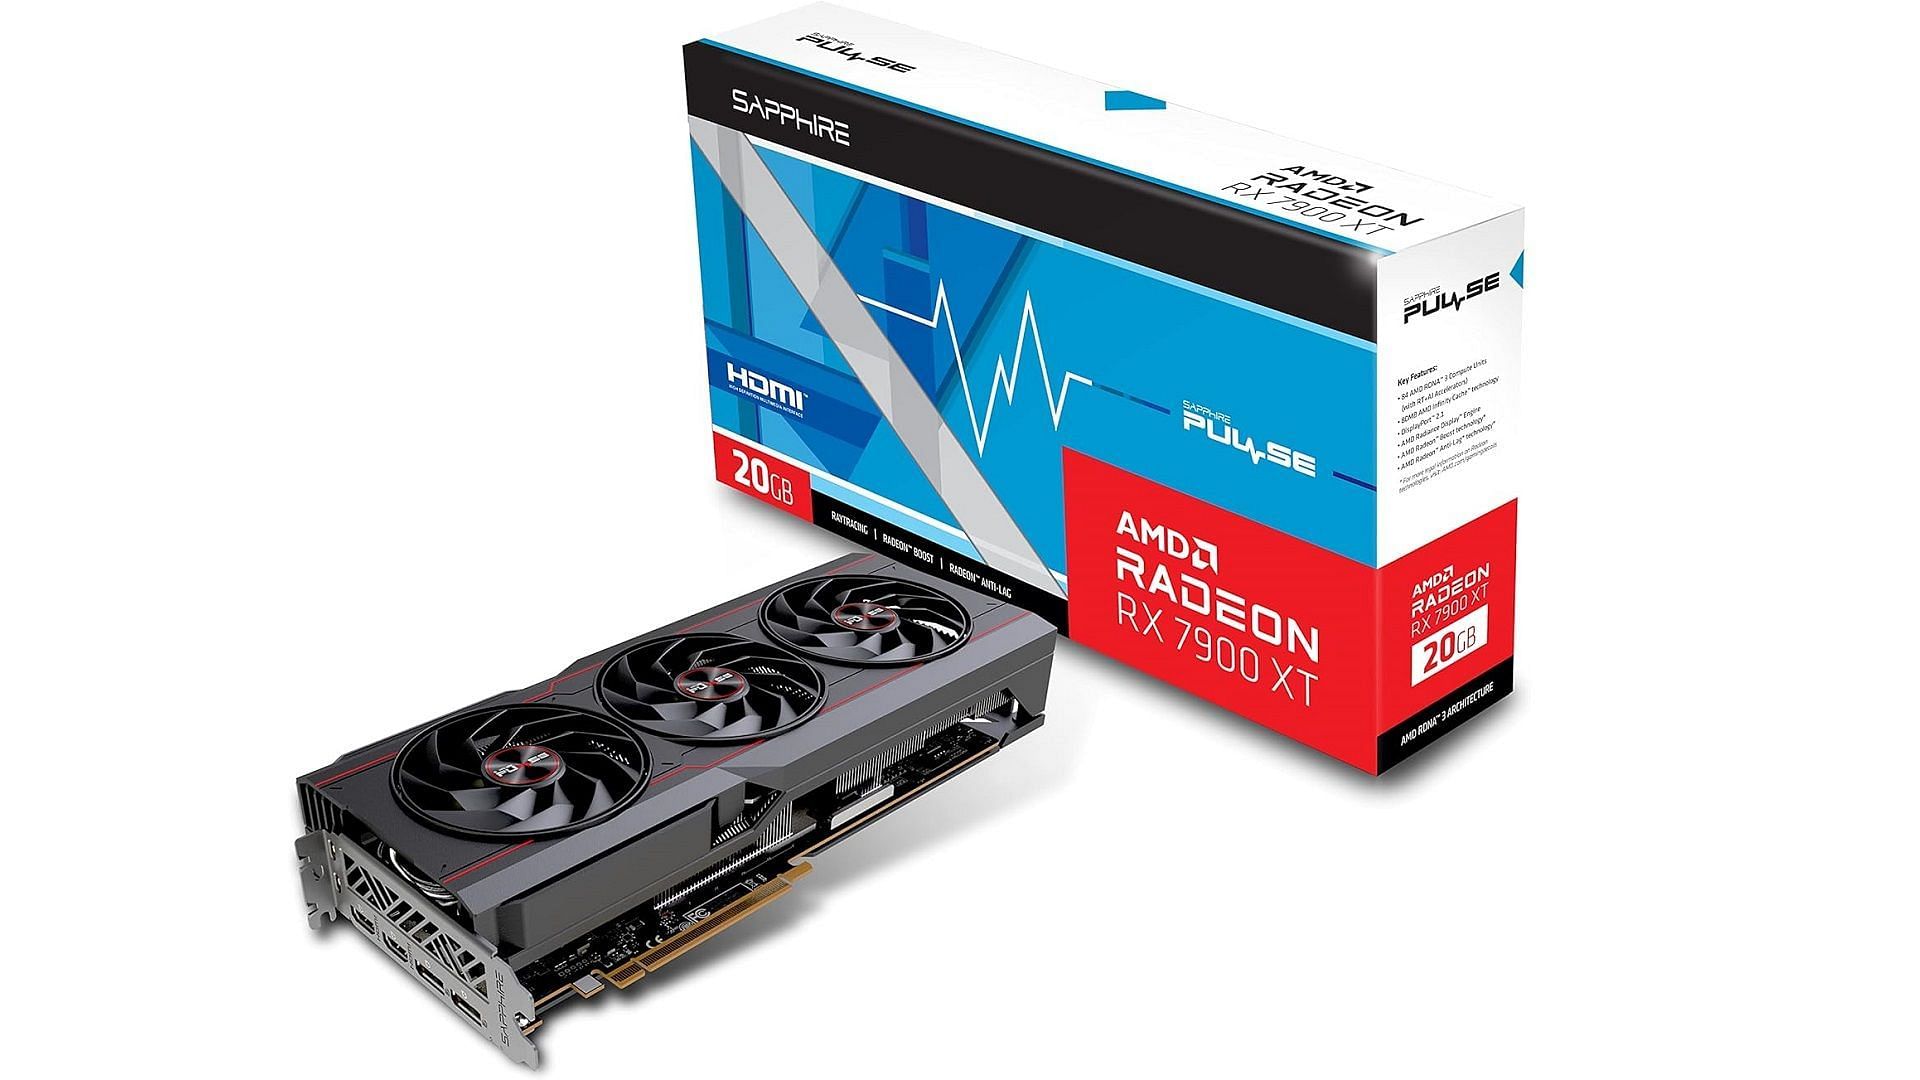
A good GPU is a must-have to build a new gaming PC, and the Radeon RX 7900 XT is one beast of a unit. At its current pricing, it provides an incredible value. For 1440P gaming, it's one of the best GPUs to choose.
8) PC case - MSI MAG PANO M100R PZ gaming PC case ($104)
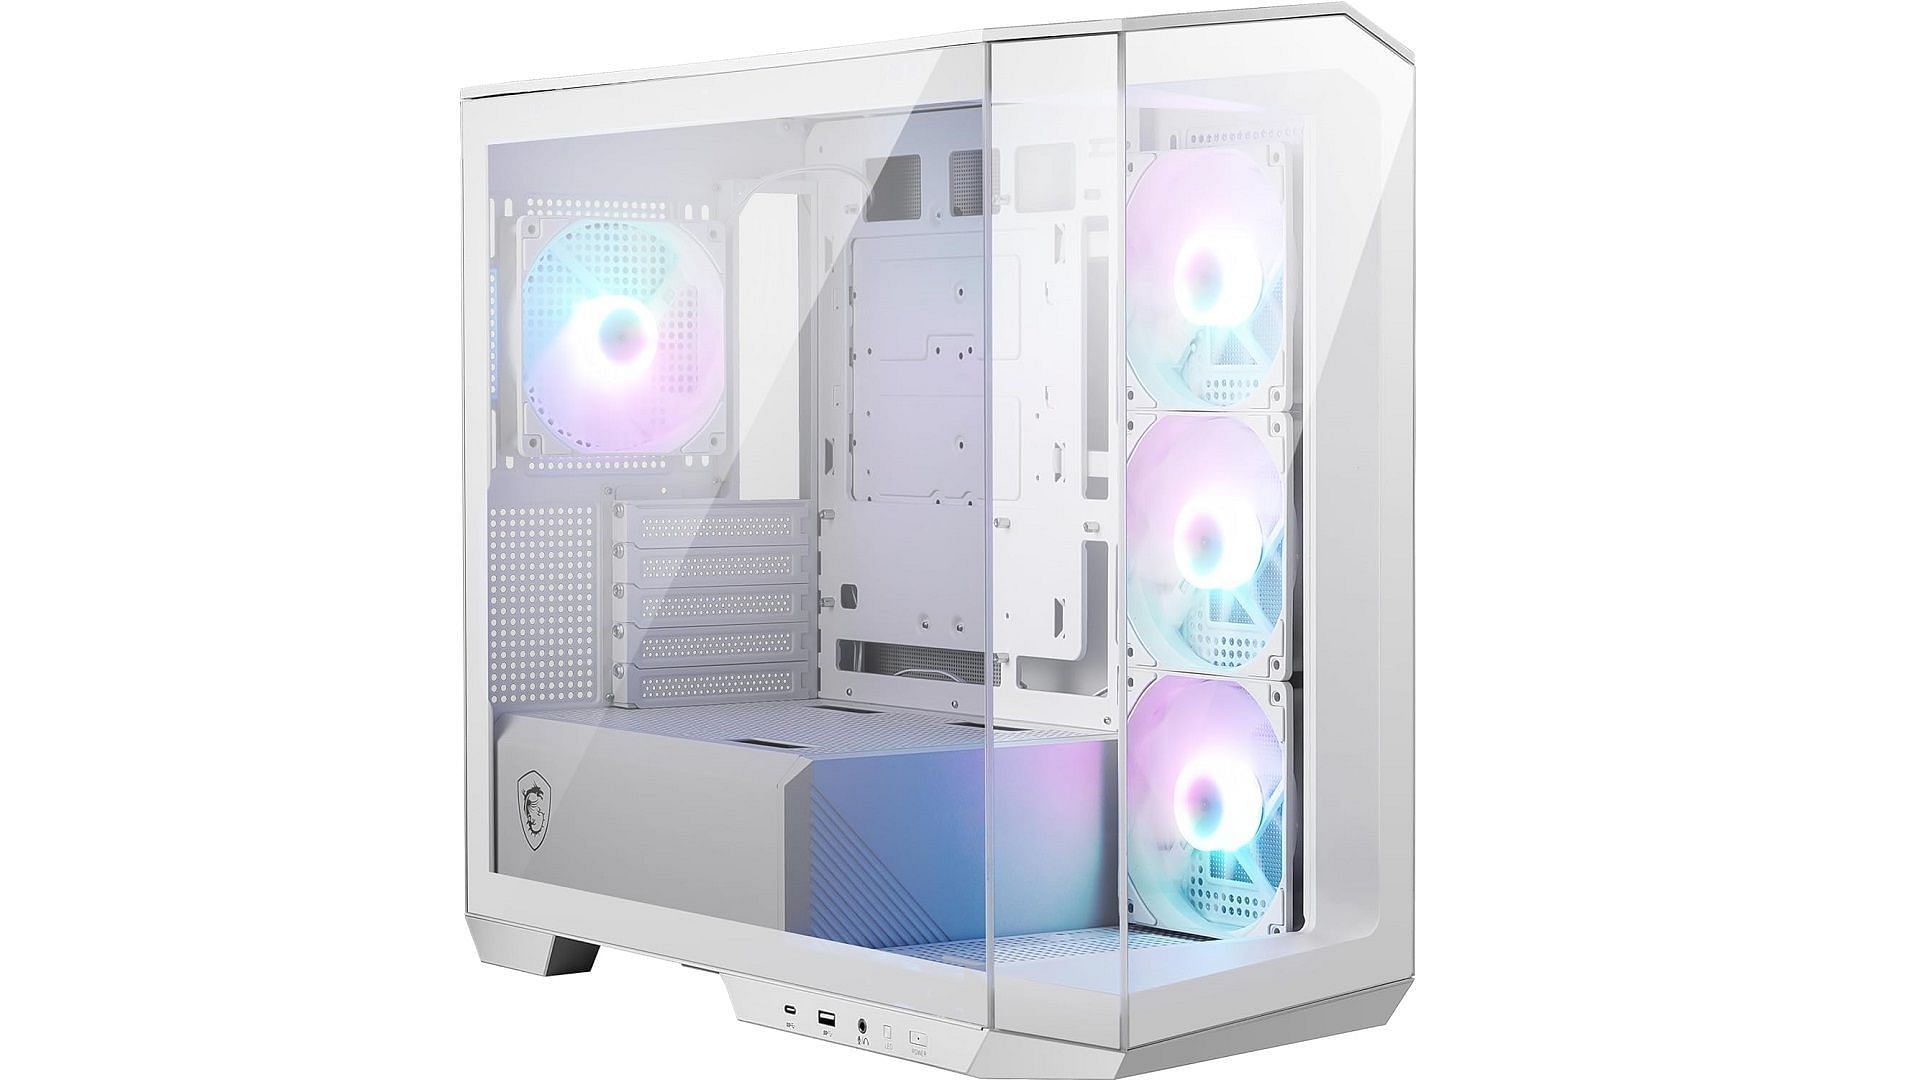
The MSI MAG Pano M100R PZ gaming PC case is one of our favorite RBG gaming PC cases. It features a panoramic view of the inside components, and its RGB fans will light up everything inside. Also, it comes attached with all the fans, so you don't need to install them separately.
9) Monitor - Samsung Odyssey G5 27" G55A ($269.99)
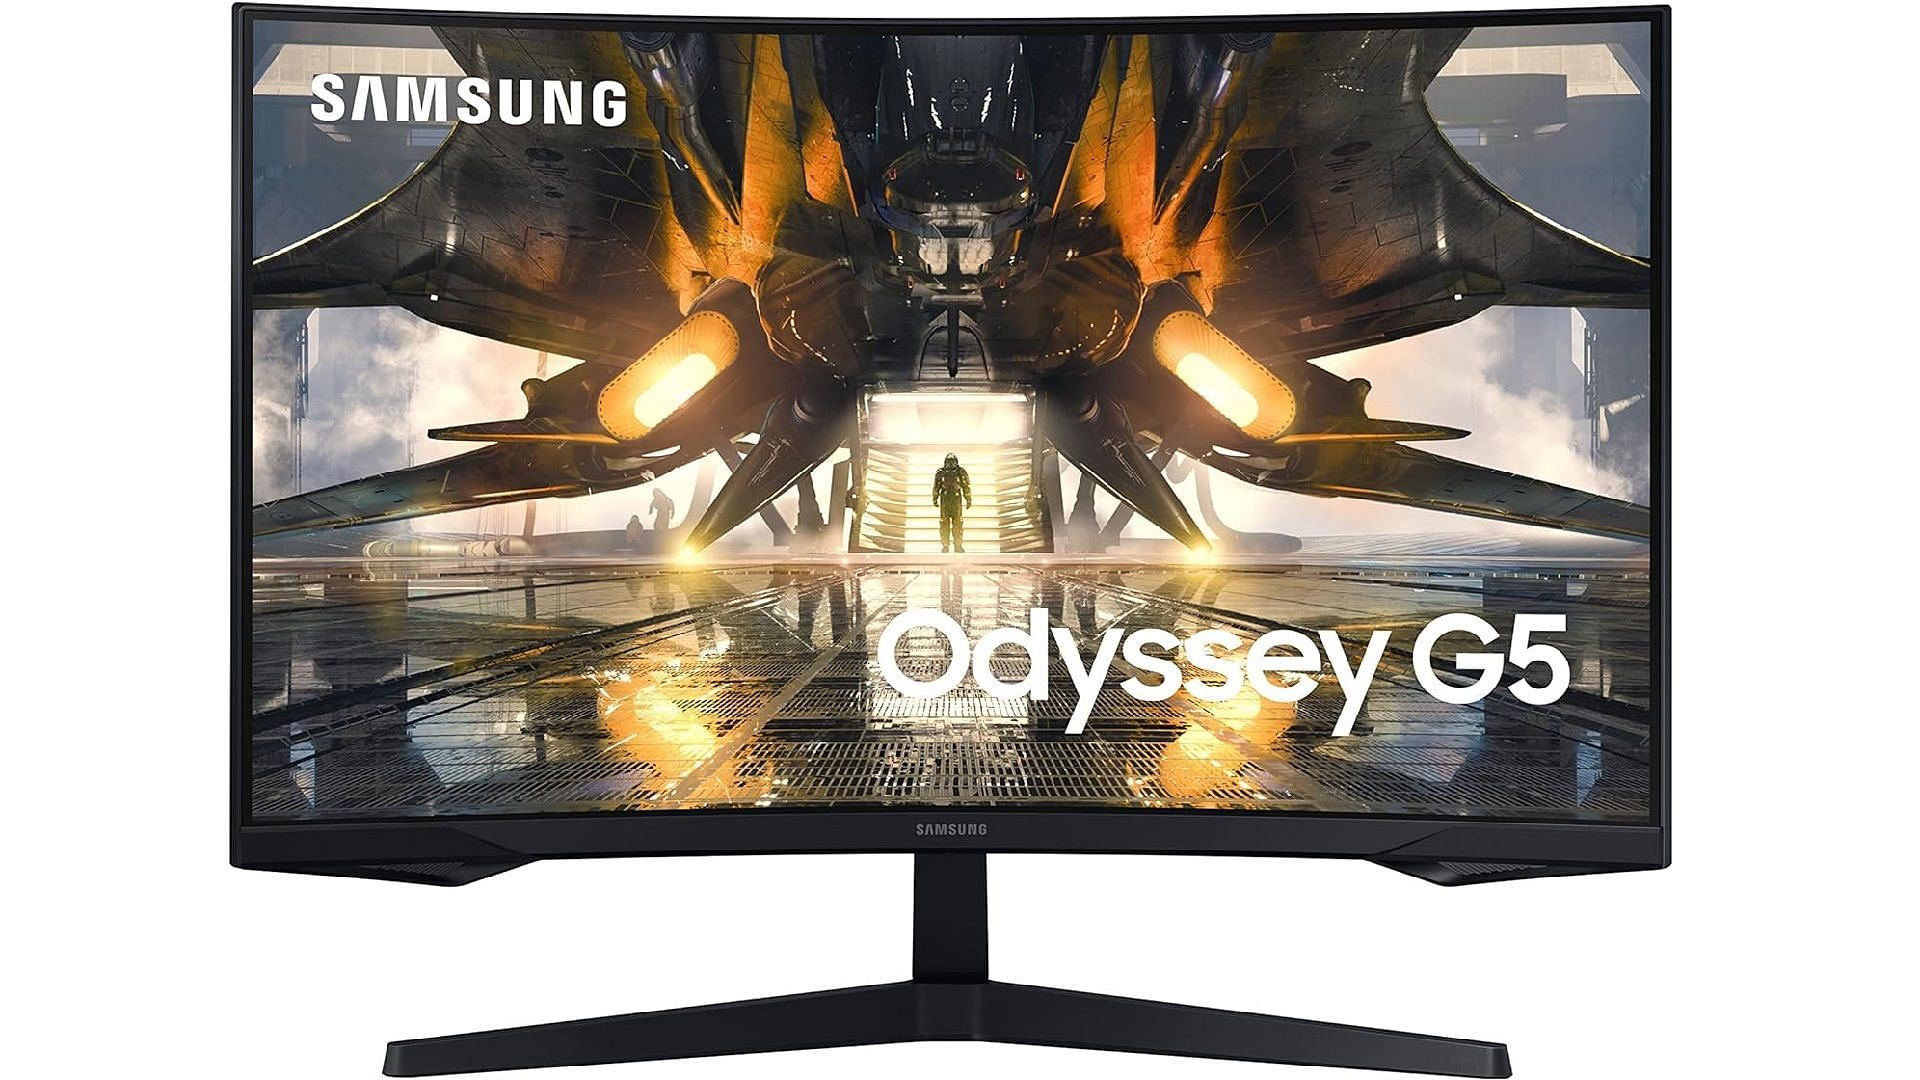
For the display, we chose the Samsung Odyssey G5. Its fantastic QHD display will complement the Radeon 7900 XT GPU and provide stellar graphics for you to enjoy.
10) Peripherals - Keyboard and Mouse
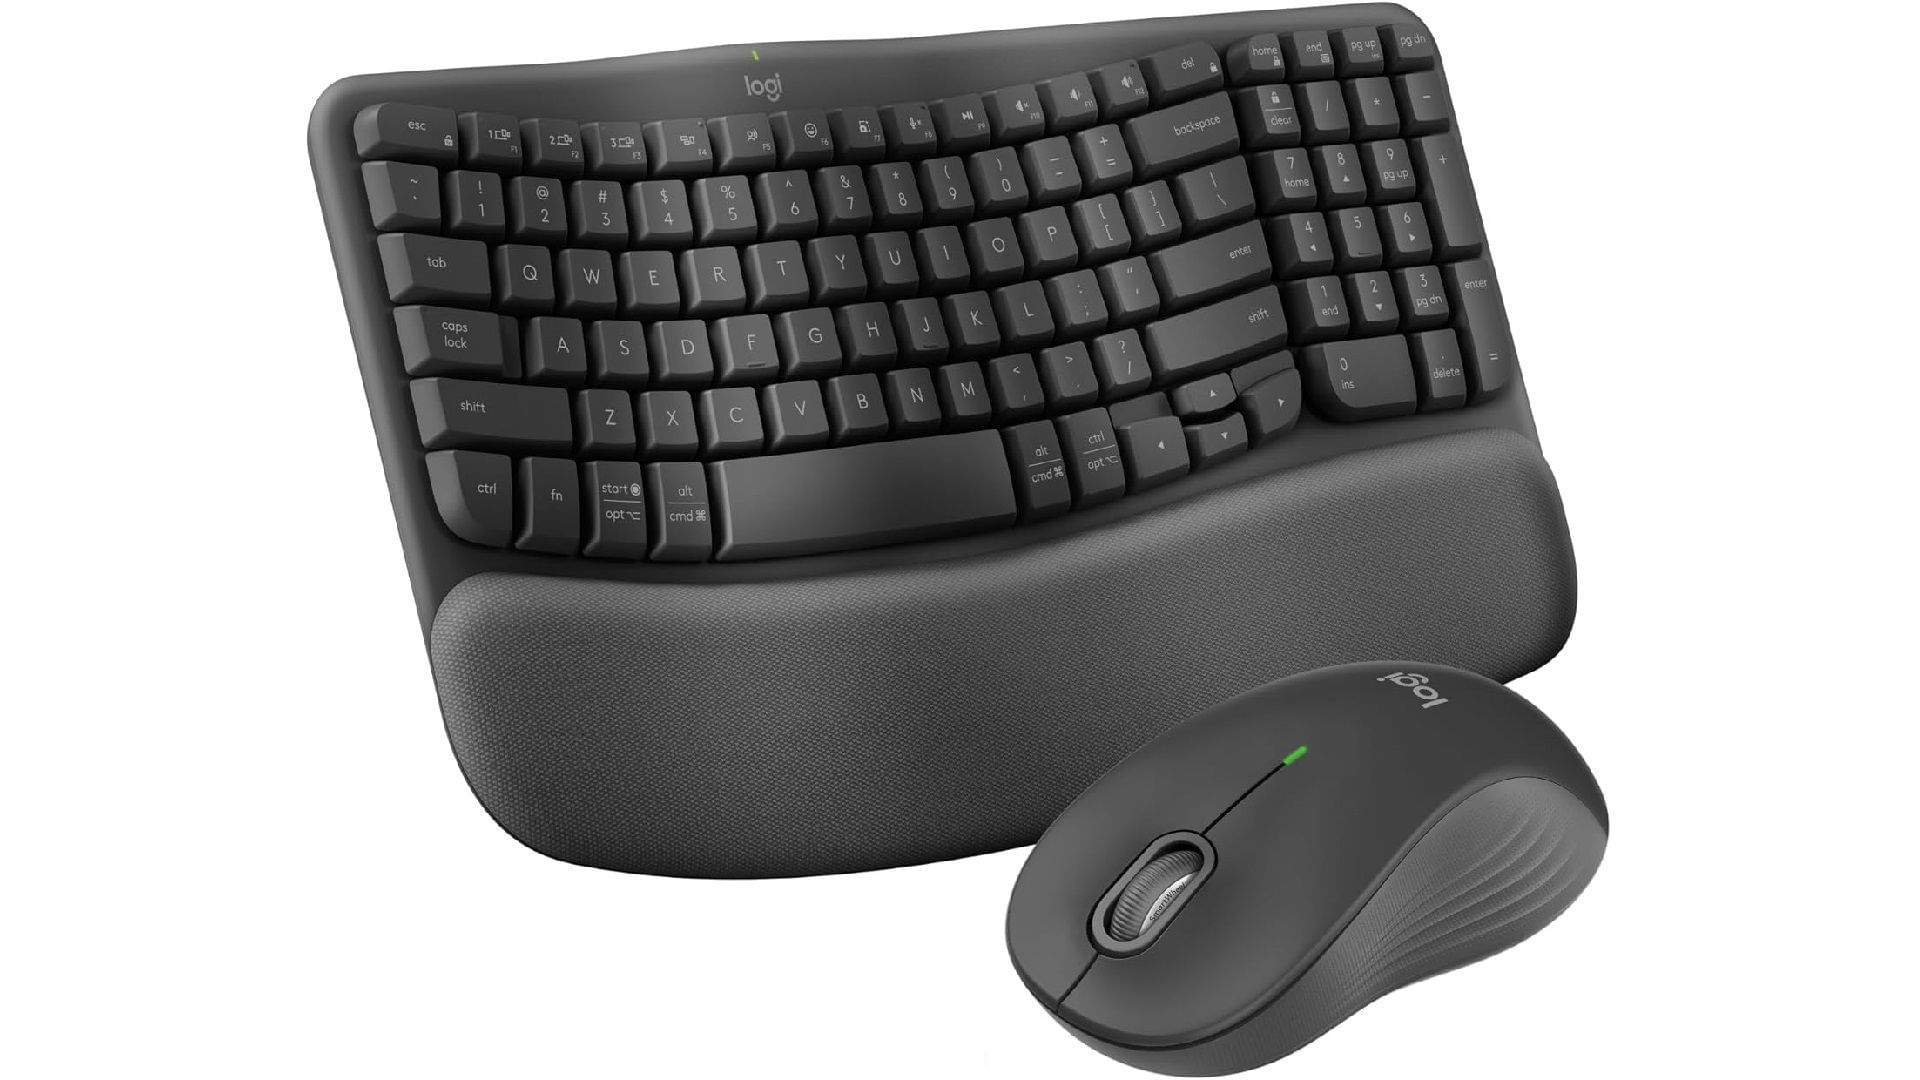
Lastly, buy a mouse and keyboard of your choice. It's best to choose these two peripheral devices on your own. They are highly subjective, and not everyone has the same choice. Some prefer mechanical keyboards, while others membrane keyboards.
How to build a new gaming PC in 2024 - Step-by-step
1) Unbox every component
The first thing you need to do to build a new gaming PC is to unbox every component. It is important to know all the parts you're dealing with and ensure they are not damaged. Also, ensure they are ready to be installed in the next steps.
2) Installing the CPU
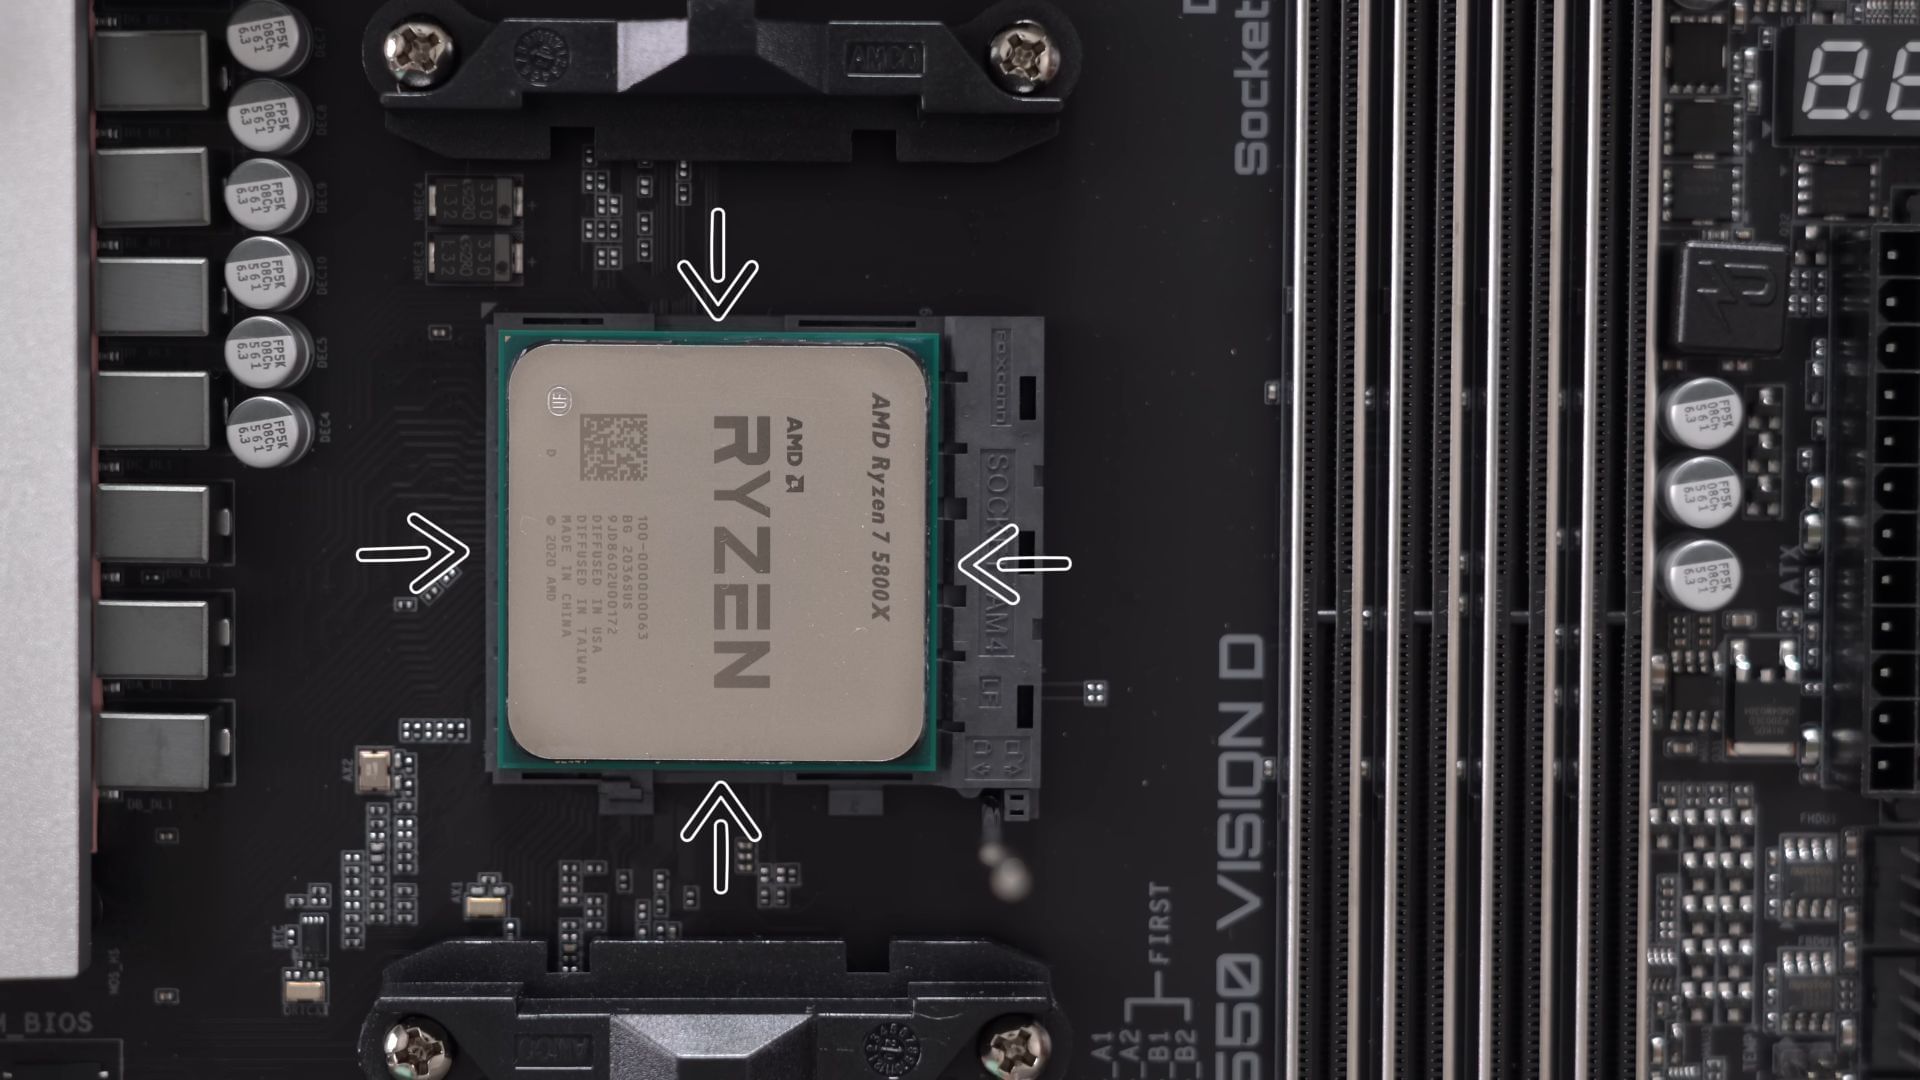
Bring out your motherboard and place it on top of a box. Next, gently slide the socket lever and lift the socket bracket. Place the CPU inside the socket by matching the arrow on the CPU corner with the arrow on the corner of the socket.
Now, put the socket bracket on top of the CPU and gently start pushing down the socket lever to its original position. As soon as you do, the plastic cover on the socket bracket will fly off from the pressure. Don't get alarmed. This is supposed to happen. This is the first component to install to build a new gaming PC.
3) Installing the CPU cooler

Put some thermal paste on the CPU. Next, separate the fan from the heatsink, making it easier to install the cooler. Now, refer to the CPU cooler's manual on how to mount the CPU cooler. Once that's done, connect the fan back to the heatsink and connect the fan cable to the motherboard.
4) Installing the RAM sticks
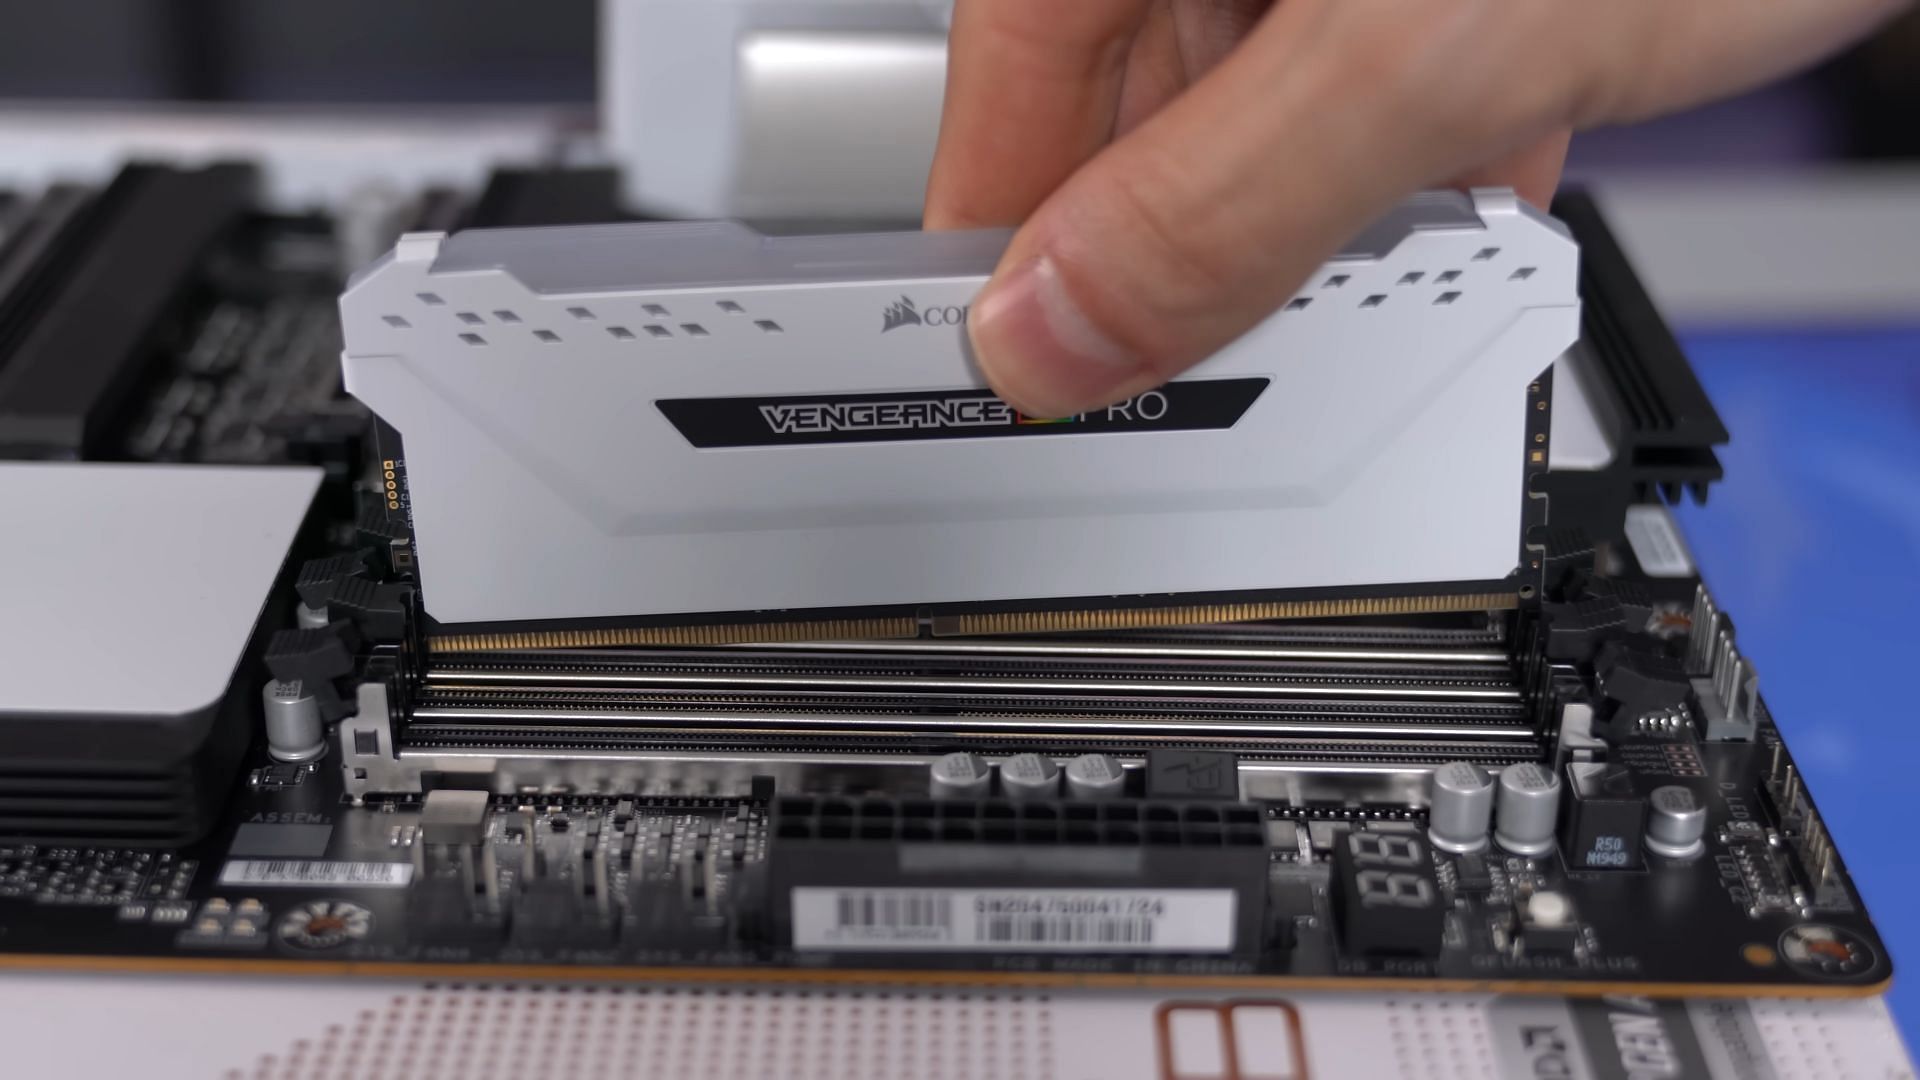
Now, it's time to install the two 16GB RAM sticks. Align the notch on the motherboard to the ones on the RAM sticks. Connect both sticks on alternate RAM slots to achieve dual-channel memory configuration. So, either install the two sticks on slots 1 and 3 or install them on slots 2 and 4.
5) SSD installation
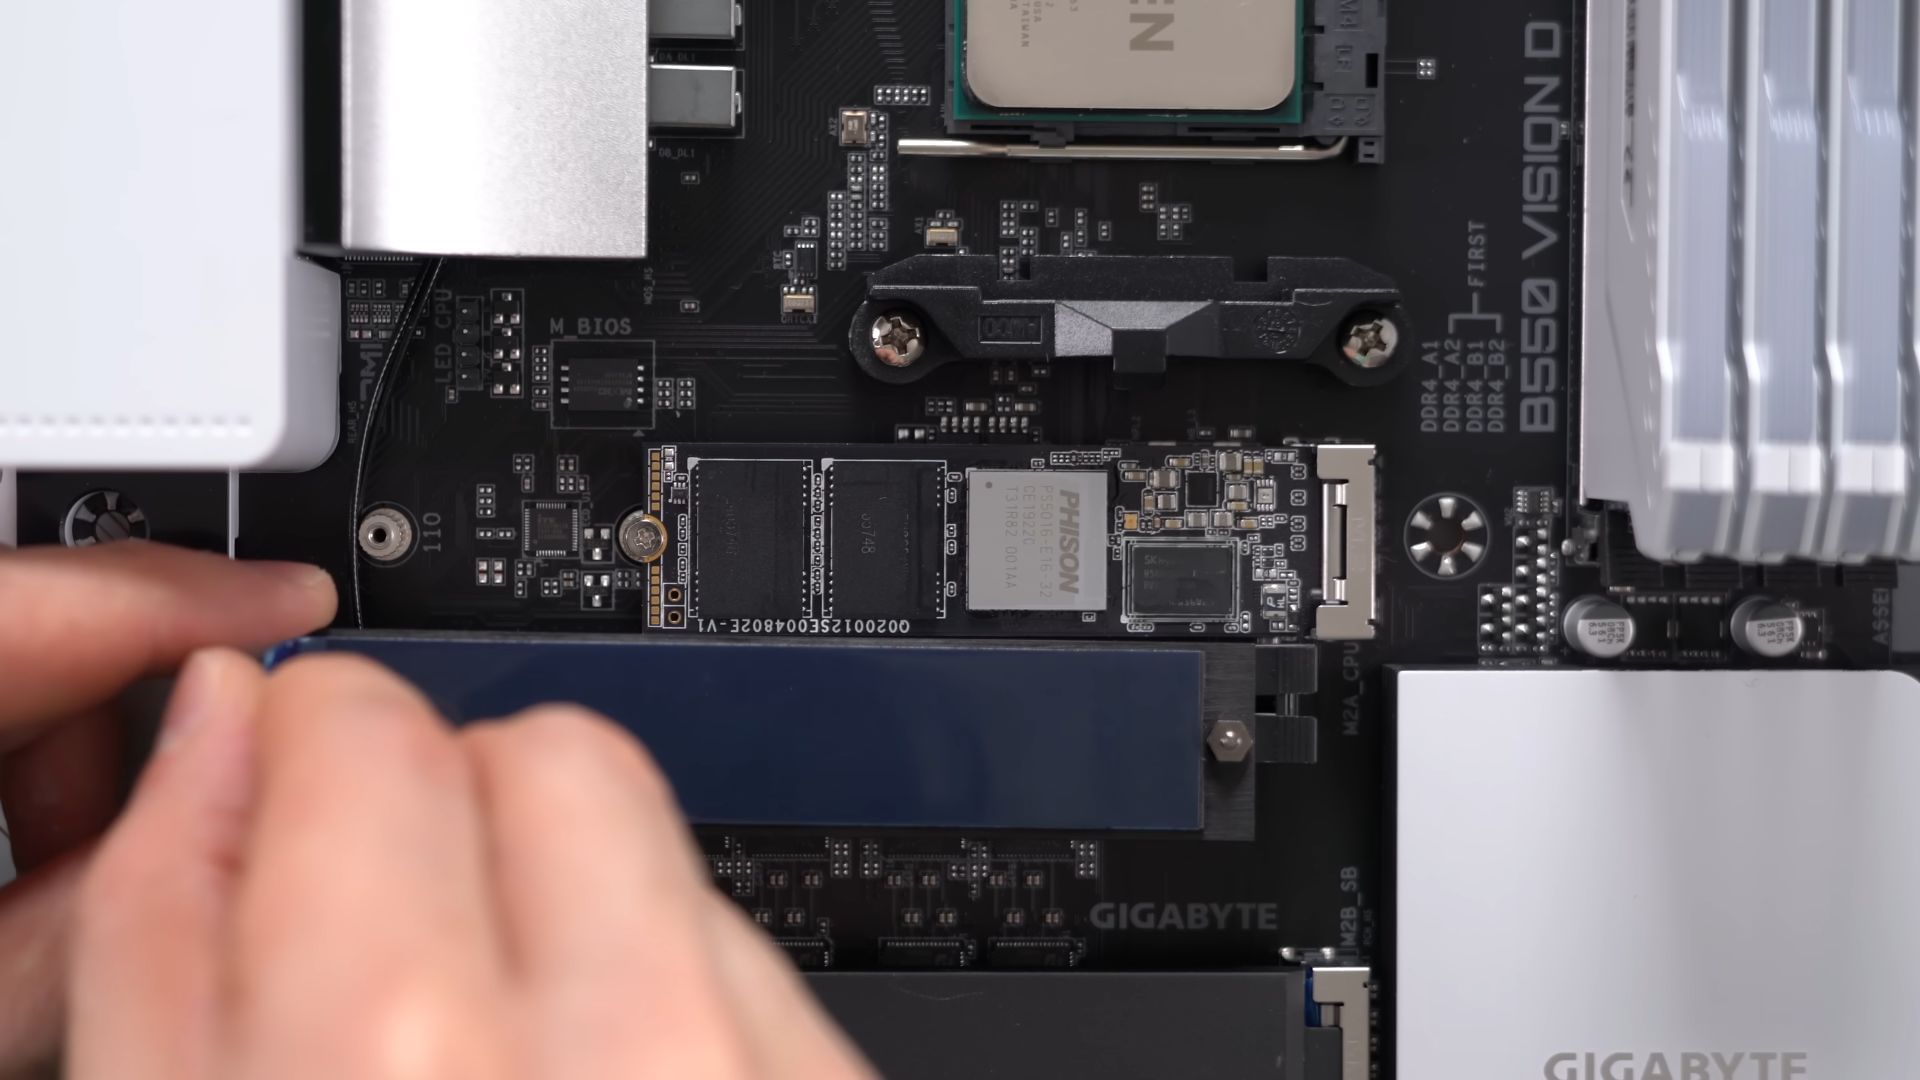
Unscrew the cover on top of the SSD to expose the M.2 slot. Remember to use the topmost slot to get the best performance. Put the SSD in the M.2 connector. Then, gently push it down and put the screw in.
6) Installation of the motherboard in the PC case
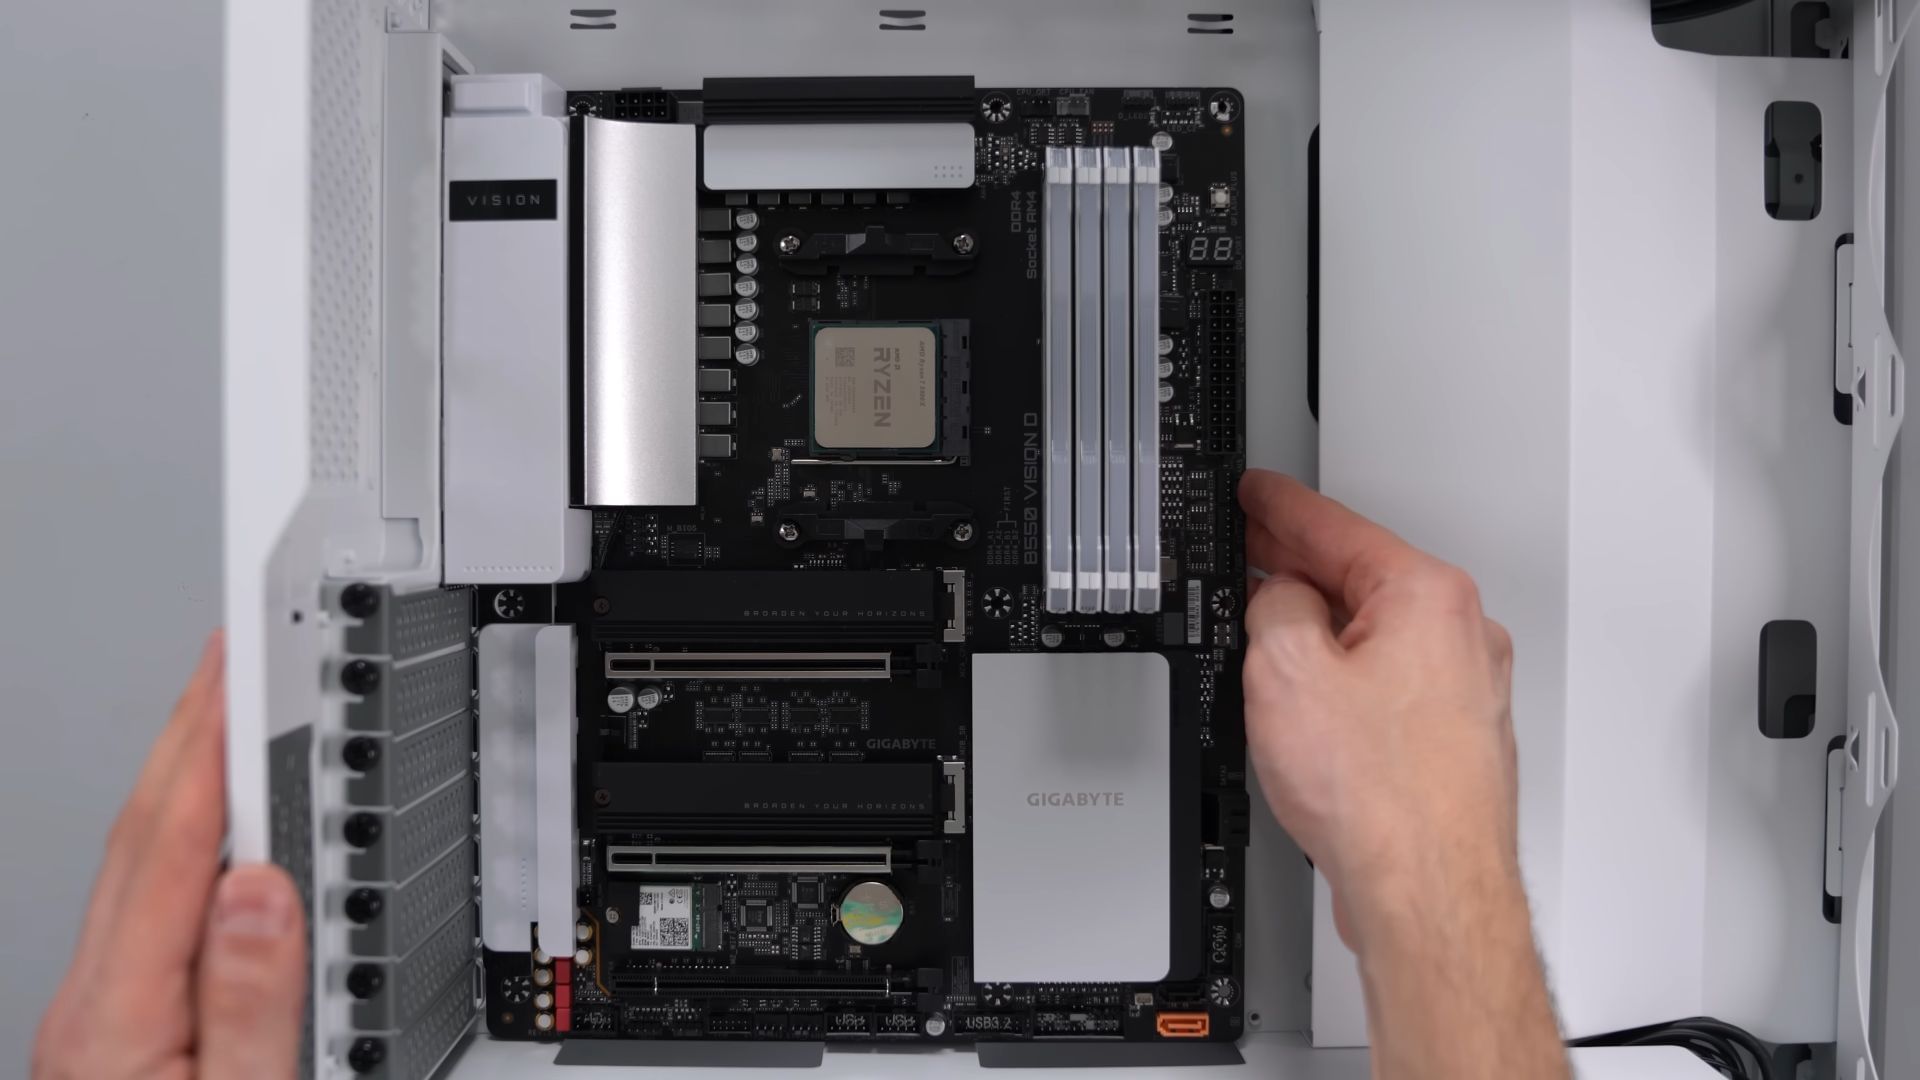
Most PC cases have motherboard standoffs already installed, but if it doesn't have them, install them accordingly. Put the motherboard in and align the screw holes to the standoffs and screw it in. Some motherboards don't have the IO shield bracket attached. So, in that case, put it into the rear side of the PC case before screwing the motherboard in.
7) Install the PSU in the gaming PC case
Now, install the PSU in the PSU shroud and screw it tightly. The location of the PSU shroud can change depending on the PC case. It can be located at the bottom or behind the motherboard.
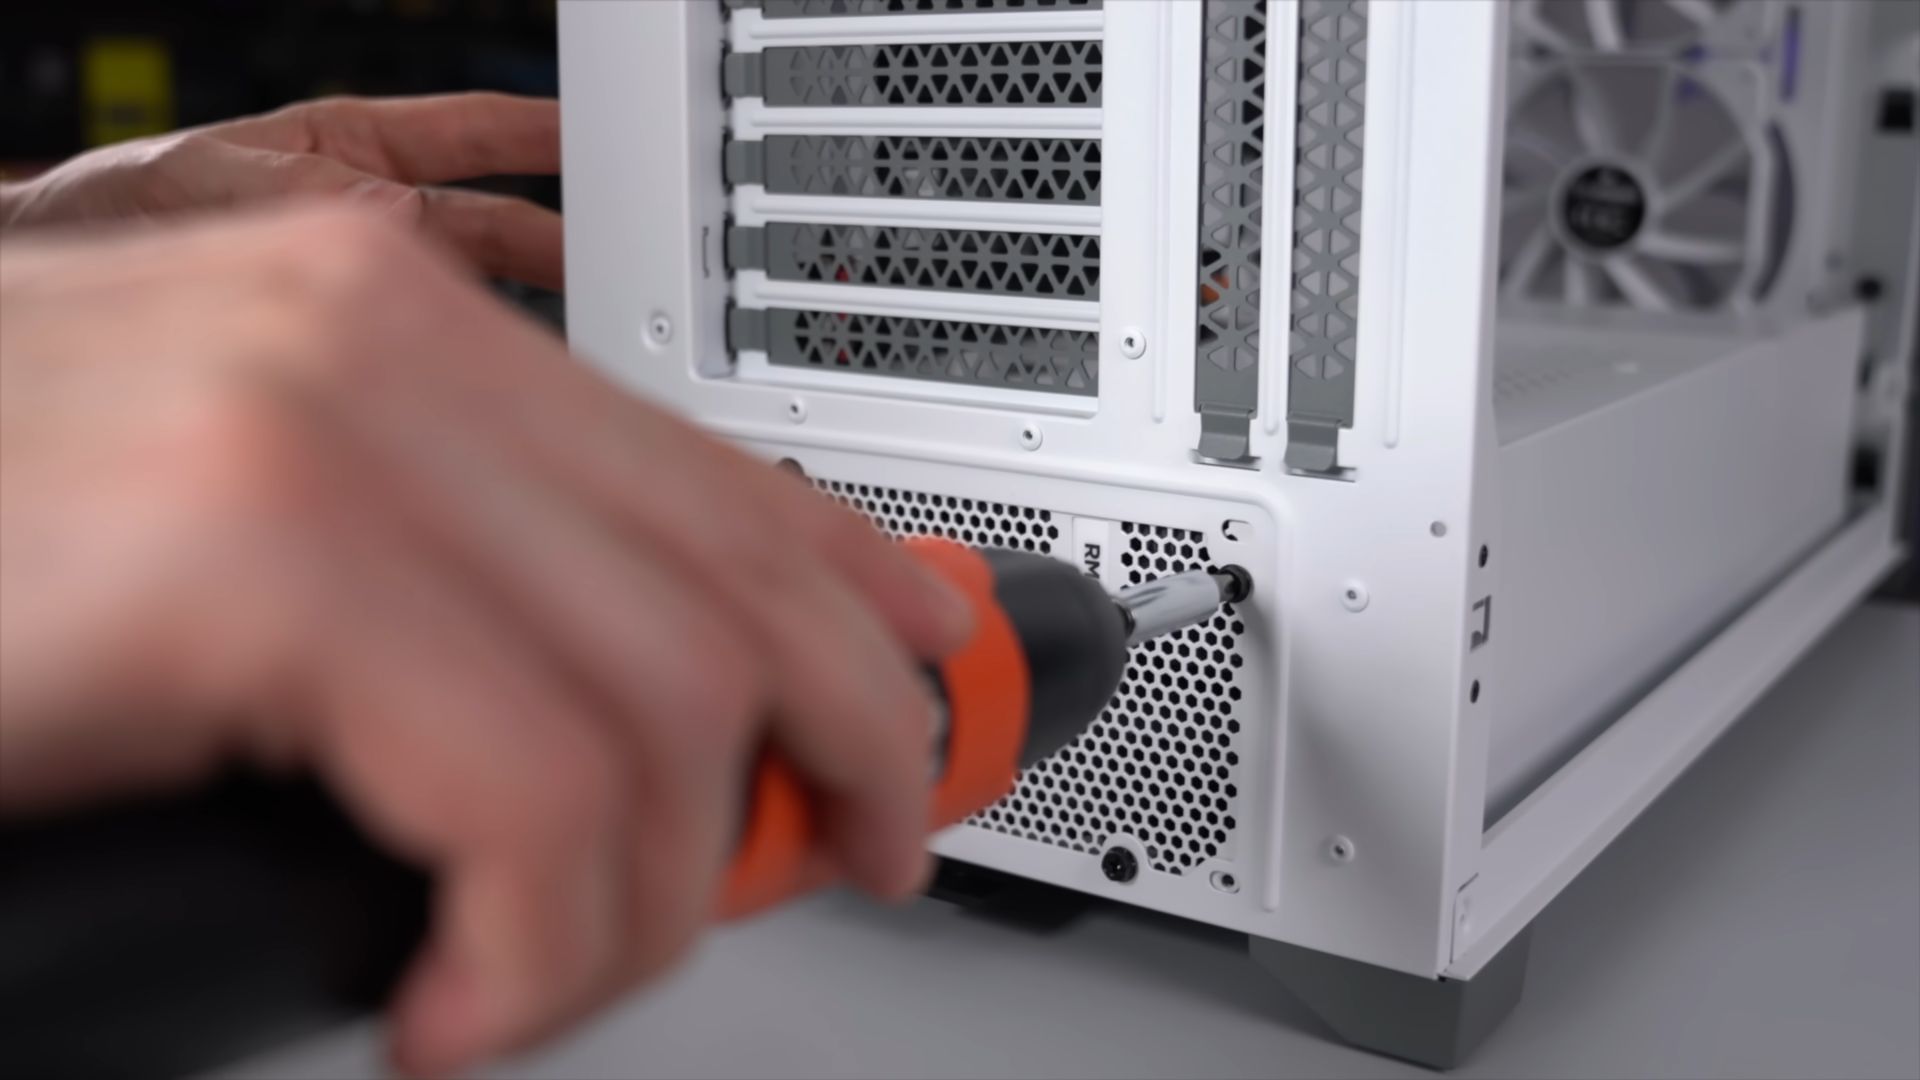
8) Install the GPU
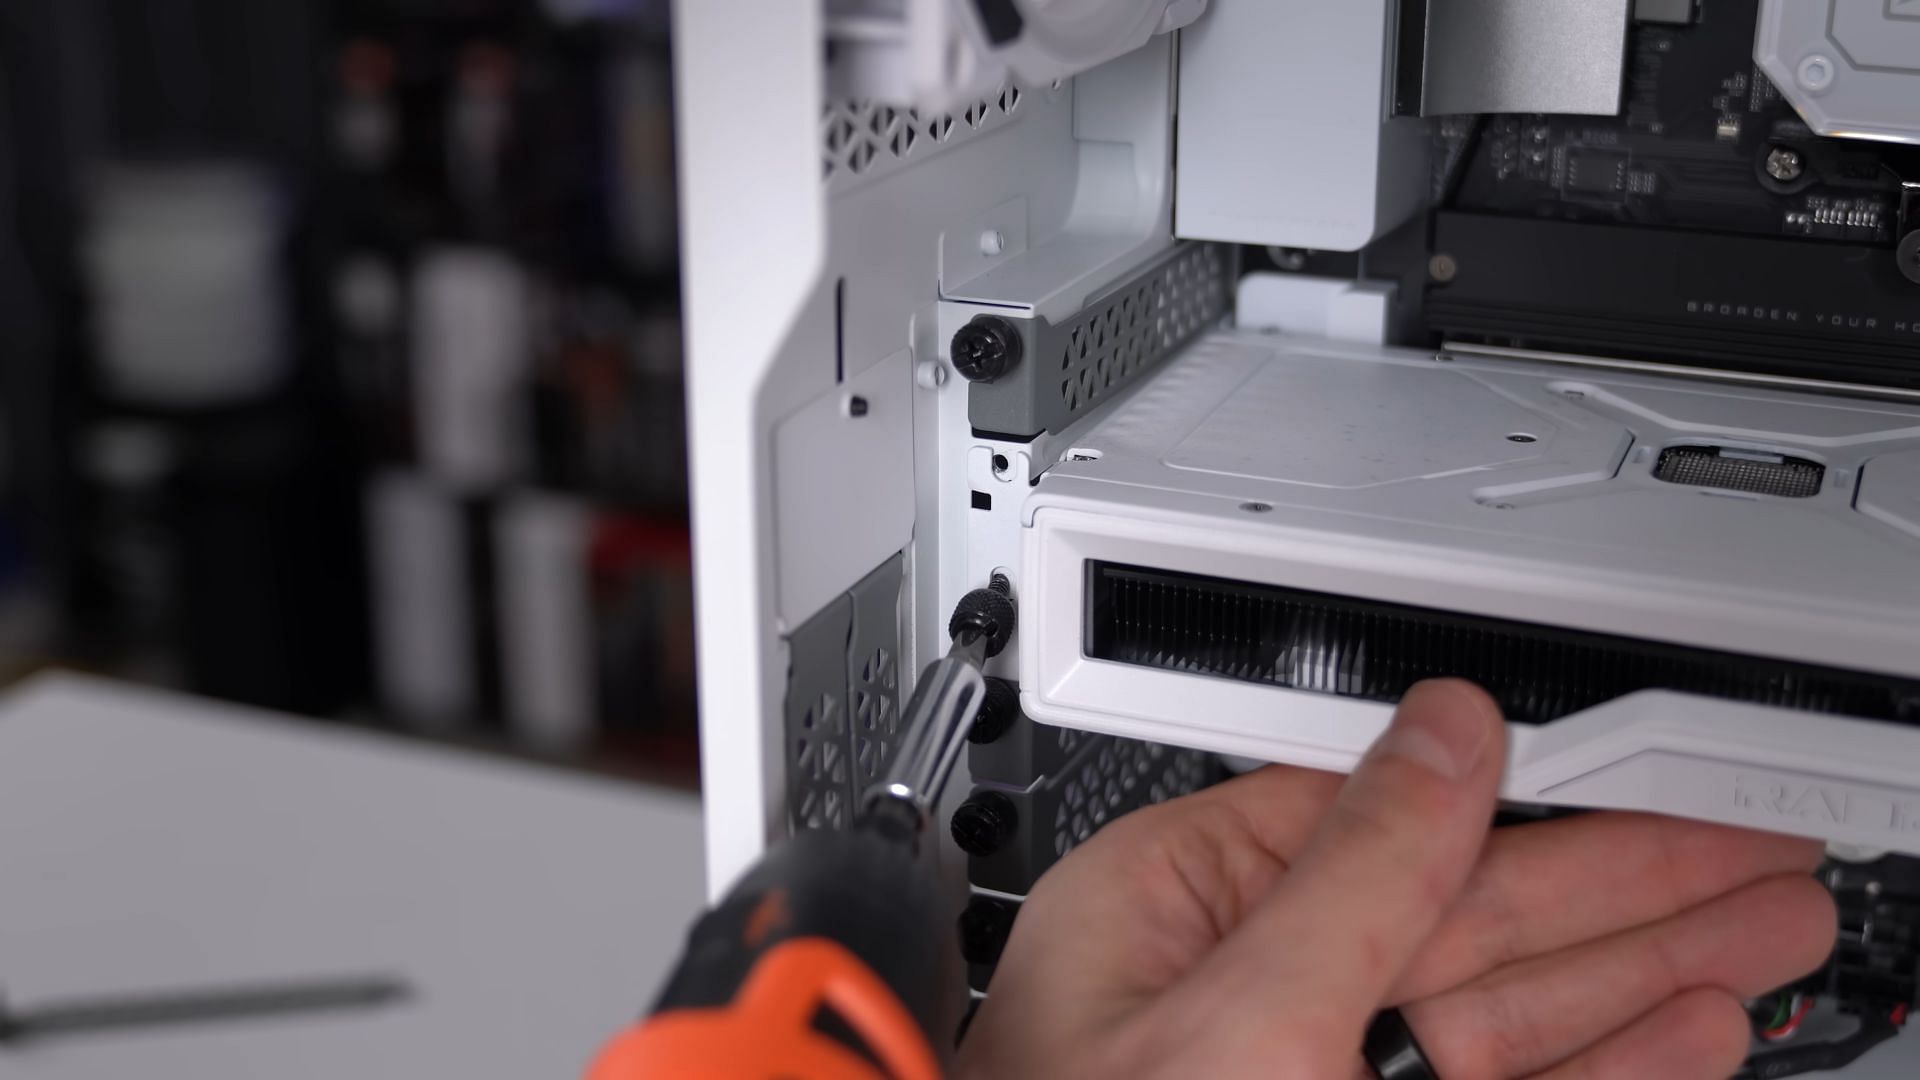
Pop out the gaming PC case's expansion shields using the plier and put the GPU into the motherboard's PCIe slot. When pushing the GPU gently into the PCIe slot, you should hear a click, confirming that it's in. Now, screw the GPU IO shield.
9) Connect the PSU cables
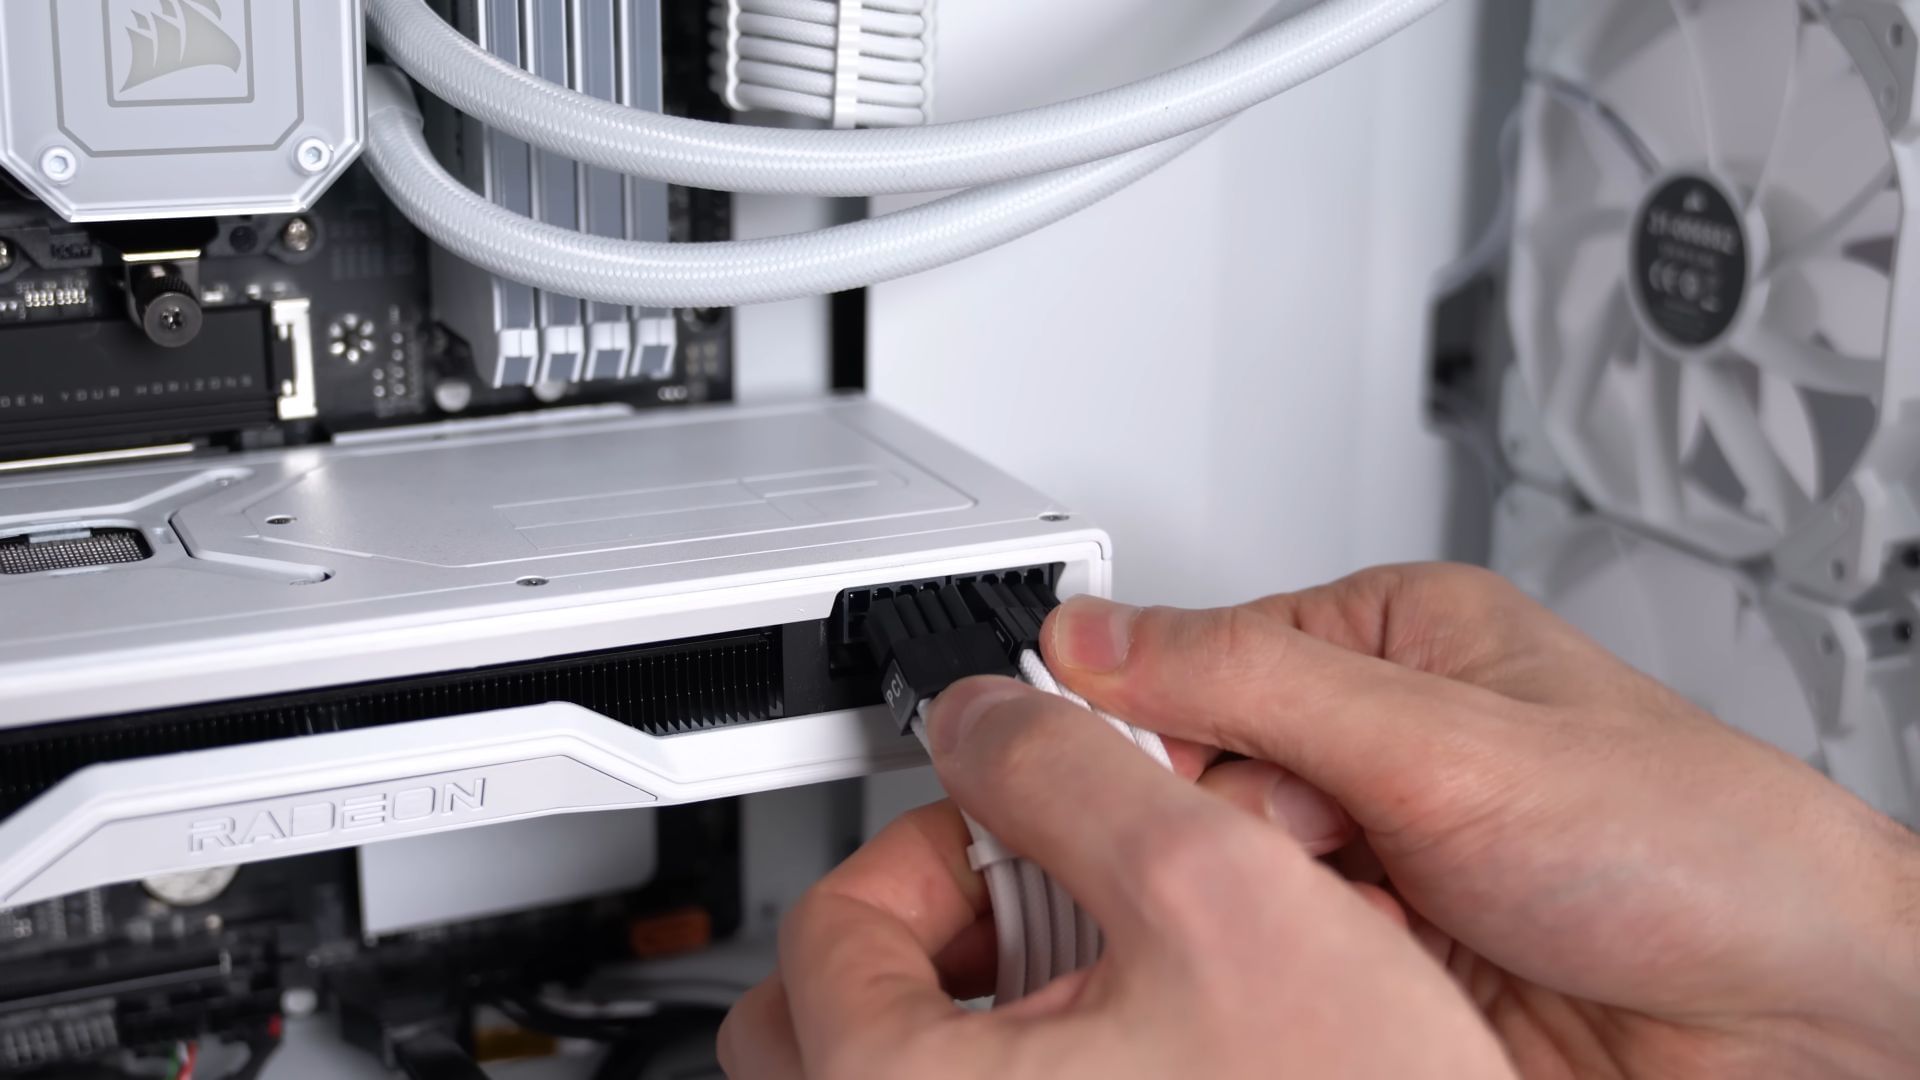
At long last, everything is in its place. Now, all you need to do is connect all the cables to both ends. First, connect the 24-pin motherboard cable to the PSU side and then connect the other end of the cable to the motherboard. Please note the two ends of the cable are not interchangeable, and doing so can seriously damage the components.
Put the PSU end of the cable in the PSU and the other end on the motherboard side. The same goes for the CPU's 8-pin connector, GPU's 8-pin connectors, SATA connectors, and more. Connect all the cables and check everything once again. Next, connect the PC case's front IO cables to the motherboard.
10) Cable management and close-ups
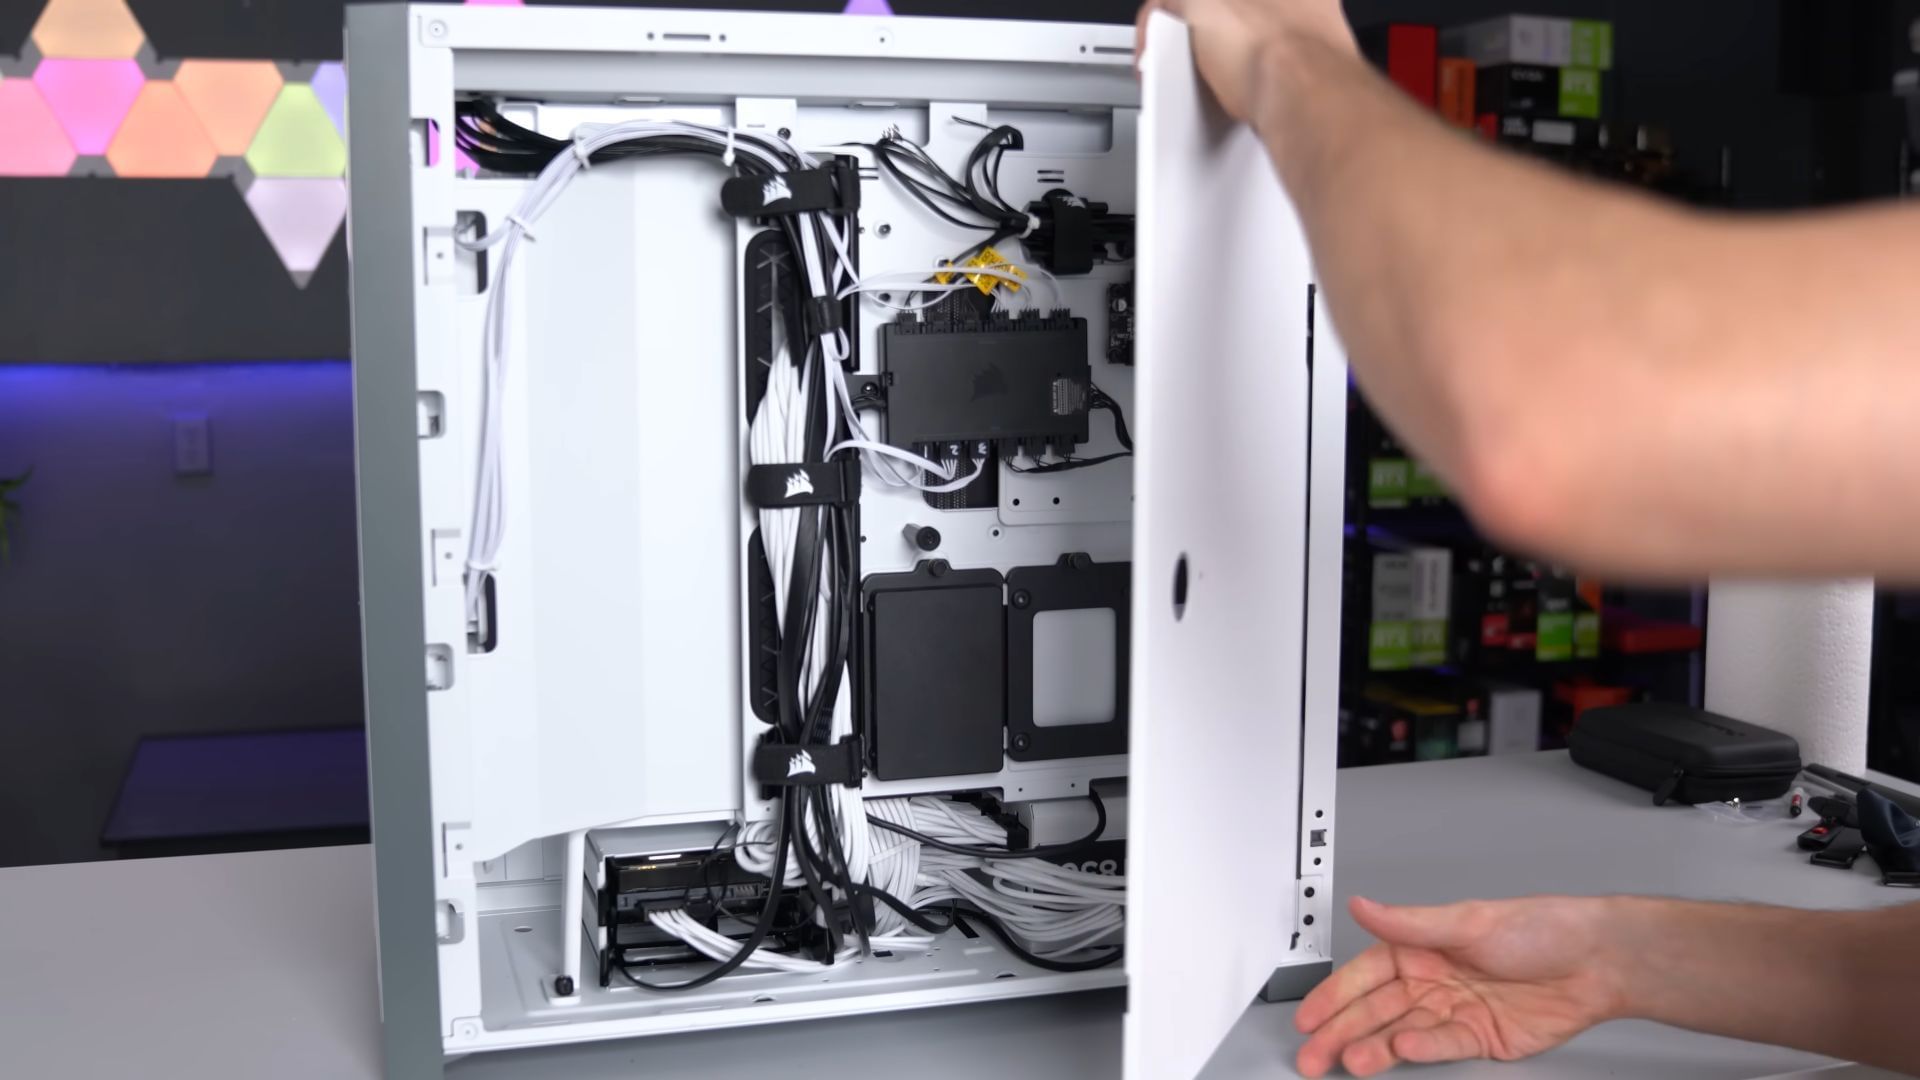
It's all done now. Just use the zip ties to group the cables together and then close all side panels to finish it.
Now it's time to connect the PC to the monitor and connect the peripherals like the mouse and keyboard. Next, turn on the power and remember to turn on the switch behind the PSU. It's one of the most common mistakes people make. Also, the first boot can take a bit of time, so have some patience.
This is all you need to know on how to build a new gaming PC in 2024. You will get the hang of it once you start building the PC. Just ensure that the right pieces of equipment are purchased and that you do not lose your cool. It is a time-consuming task to build a new gaming PC and it can definitely test your patience. So, make sure this doesn't affect your build.