'%20x='0'%20y='0'%20height='100%25'%20width='100%25'%20%0A%20%20%20%20%20%20%20%20%20%20xlink%3Ahref='data:image/jpg;base64,/9j/4AAQSkZJRgABAQAAAQABAAD/2wCEAAMDAwMDAwQEBAQFBQUFBQcHBgYHBwsICQgJCAsRCwwLCwwLEQ8SDw4PEg8bFRMTFRsfGhkaHyYiIiYwLTA+PlQBAwMDAwMDBAQEBAUFBQUFBwcGBgcHCwgJCAkICxELDAsLDAsRDxIPDg8SDxsVExMVGx8aGRofJiIiJjAtMD4+VP/AABEIAAYACgMBIgACEQEDEQH/xABiAAEBAQAAAAAAAAAAAAAAAAAABAcQAAICAgIDAAAAAAAAAAAAAAECAxIAEQQFEyJBAQEBAAAAAAAAAAAAAAAAAAAHCBEBAQABBAIDAAAAAAAAAAAAAQIRAAMEBRITIkFR/9oADAMBAAIRAxEAPwDcL9pPbU8UHgnZoUWO4mV0KVnJ0RVvYVyuMcsIokaIvUWKqQCfugTjGTl2Mw9dxT17Z4WgkA4T7Qy6Y+I1PP30q/nEqNKZz+a//9k='%3E%3C/image%3E%3C/svg%3E)
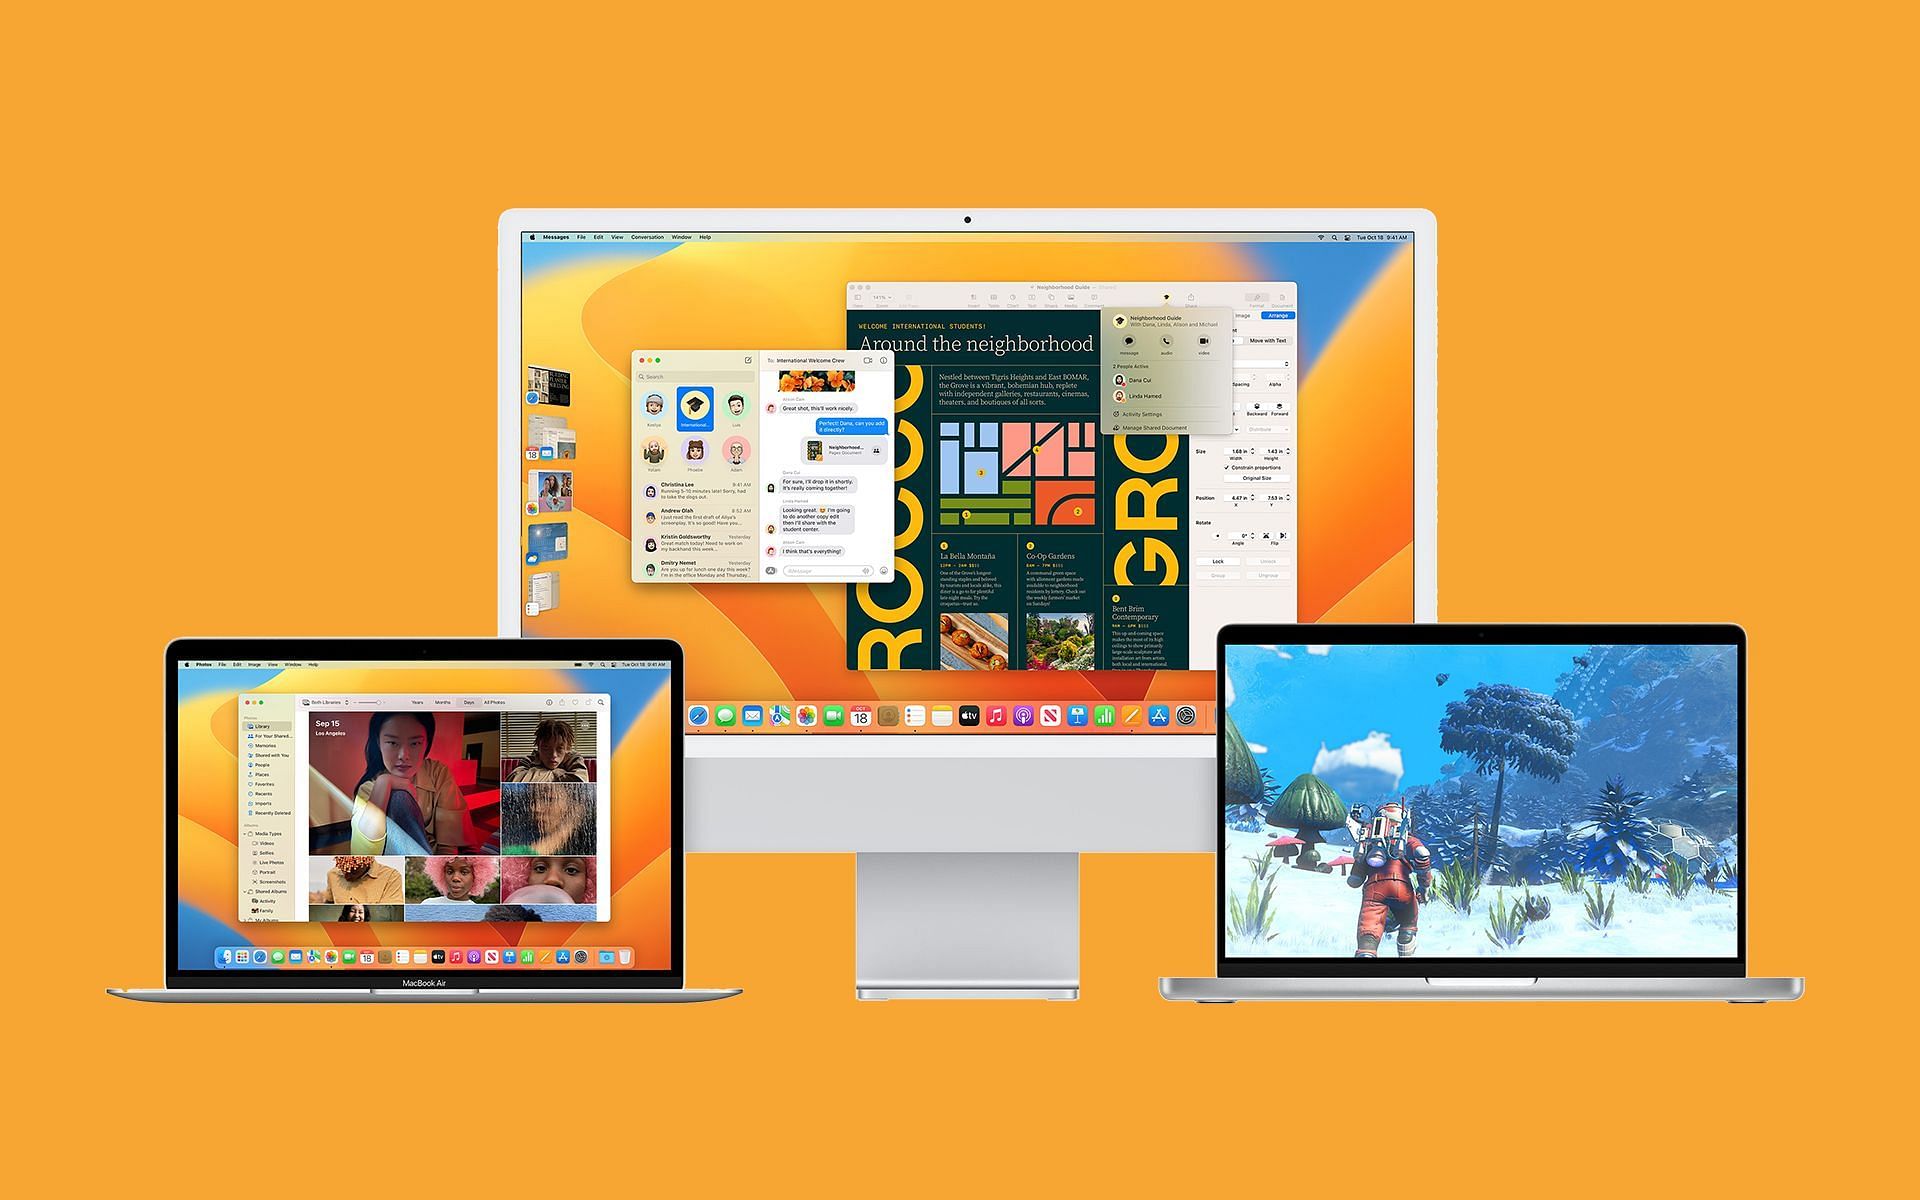
Ventura is the latest operating system released by Apple and is the 13th major update to the Macbook. It was released on October 24 last year and has introduced various new and updated features.
The new operating system mainly provides security and patches to various existing bugs and issues. It is compatible with most Macbooks released in the past few years.
It has received many minor updates for apps and software such as Messages, Mail, FaceTime, etc. This article will guide users on downloading and installing the latest version of the Apple operating system.
MacOS 13 Ventura can be downloaded and installed in various ways
Apple macOS 13 is designed to be faster and more stable, focusing on providing users with a smooth and seamless experience. It is recommended that users check if their Macbook is compatible with the latest release. The operating system is available for upgrade in any Macbook released in 2017 or later.
It is also recommended that users create a backup for important files and documents, as major updates can generally corrupt various files during the process. The device should also be plugged in during the download and installation process and connected to a reliable internet connection.
1) Using the App Store
- Open the App Store.
- Search for "Ventura" in the search bar and select the macOS Ventura software.
- Click on View and select the Get option.
- The System Preferences menu will open up, click on the Download option.
- The software will be downloaded, and the installation window will pop up.
- Click on the Continue option and accept the terms and conditions.
- Select the disk on which you want to install the operating system and continue.
- Enter the password and click on Unlock. The installation process will begin.
Once the installation is finished, the Macbook will require a restart and the upgrade process will begin. The device may require some additional time during the first-time setup to optimize the OS.
2) Using a Bootable USB Drive
- Go to the App Store.
- Search and download the Ventura operating system and follow the instructions.
- The installer will pop up. Close the installer using the Command + Q shortcut keys on the keyboard.
- Download the macOS 13 Ventura installer from the App Store.
- Insert a USB drive into your Mac and launch Disk Utility.
- Select the USB drive in Disk Utility and click on the Erase button.
- Choose Mac OS Extended (Journaled) as the format and GUID Partition Map as the scheme, then click on Erase.
- Once the erase process is complete, quit the Disk Utility application.
- Open Terminal and enter the following command: sudo /Applications/Install\ macOS\ 13\ Ventura.app/Contents/Resources/createinstallmedia --volume /Volumes/MyVolume. Replace "MyVolume" with the name of your USB drive.
- Wait for the process to complete and restart the Macbook and hold down the Option key during boot.
- Select the USB drive you created and click on the "Install macOS" option.
- Select the drive you want to install the operating system and follow the on-screen instructions to complete the installation process.
The above steps will remove all the data from the hard drive and perform a clean installation of macOS Ventura. The data in the drives should be backed up before the installation process.