'%20x='0'%20y='0'%20height='100%25'%20width='100%25'%20%0A%20%20%20%20%20%20%20%20%20%20xlink%3Ahref='data:image/jpg;base64,/9j/2wBDAAYEBQYFBAYGBQYHBwYIChAKCgkJChQODwwQFxQYGBcUFhYaHSUfGhsjHBYWICwgIyYnKSopGR8tMC0oMCUoKSj/2wBDAQcHBwoIChMKChMoGhYaKCgoKCgoKCgoKCgoKCgoKCgoKCgoKCgoKCgoKCgoKCgoKCgoKCgoKCgoKCgoKCgoKCj/wgARCAAHAAoDASIAAhEBAxEB/8QAFgABAQEAAAAAAAAAAAAAAAAAAAUH/8QAFQEBAQAAAAAAAAAAAAAAAAAAAgP/2gAMAwEAAhADEAAAANZrkF//xAAhEAADAAEDBAMAAAAAAAAAAAABAgMEABExBhITISJBYf/aAAgBAQABPwCdL4HWF82iMcC8IymfJv6WZ7wF+vkwP7p647OzAcnfjX//xAAXEQEBAQEAAAAAAAAAAAAAAAABAgAD/9oACAECAQE/AOFLdDv/xAAYEQEBAAMAAAAAAAAAAAAAAAACAQADBP/aAAgBAwEBPwDpMOsKZ//Z'%3E%3C/image%3E%3C/svg%3E)
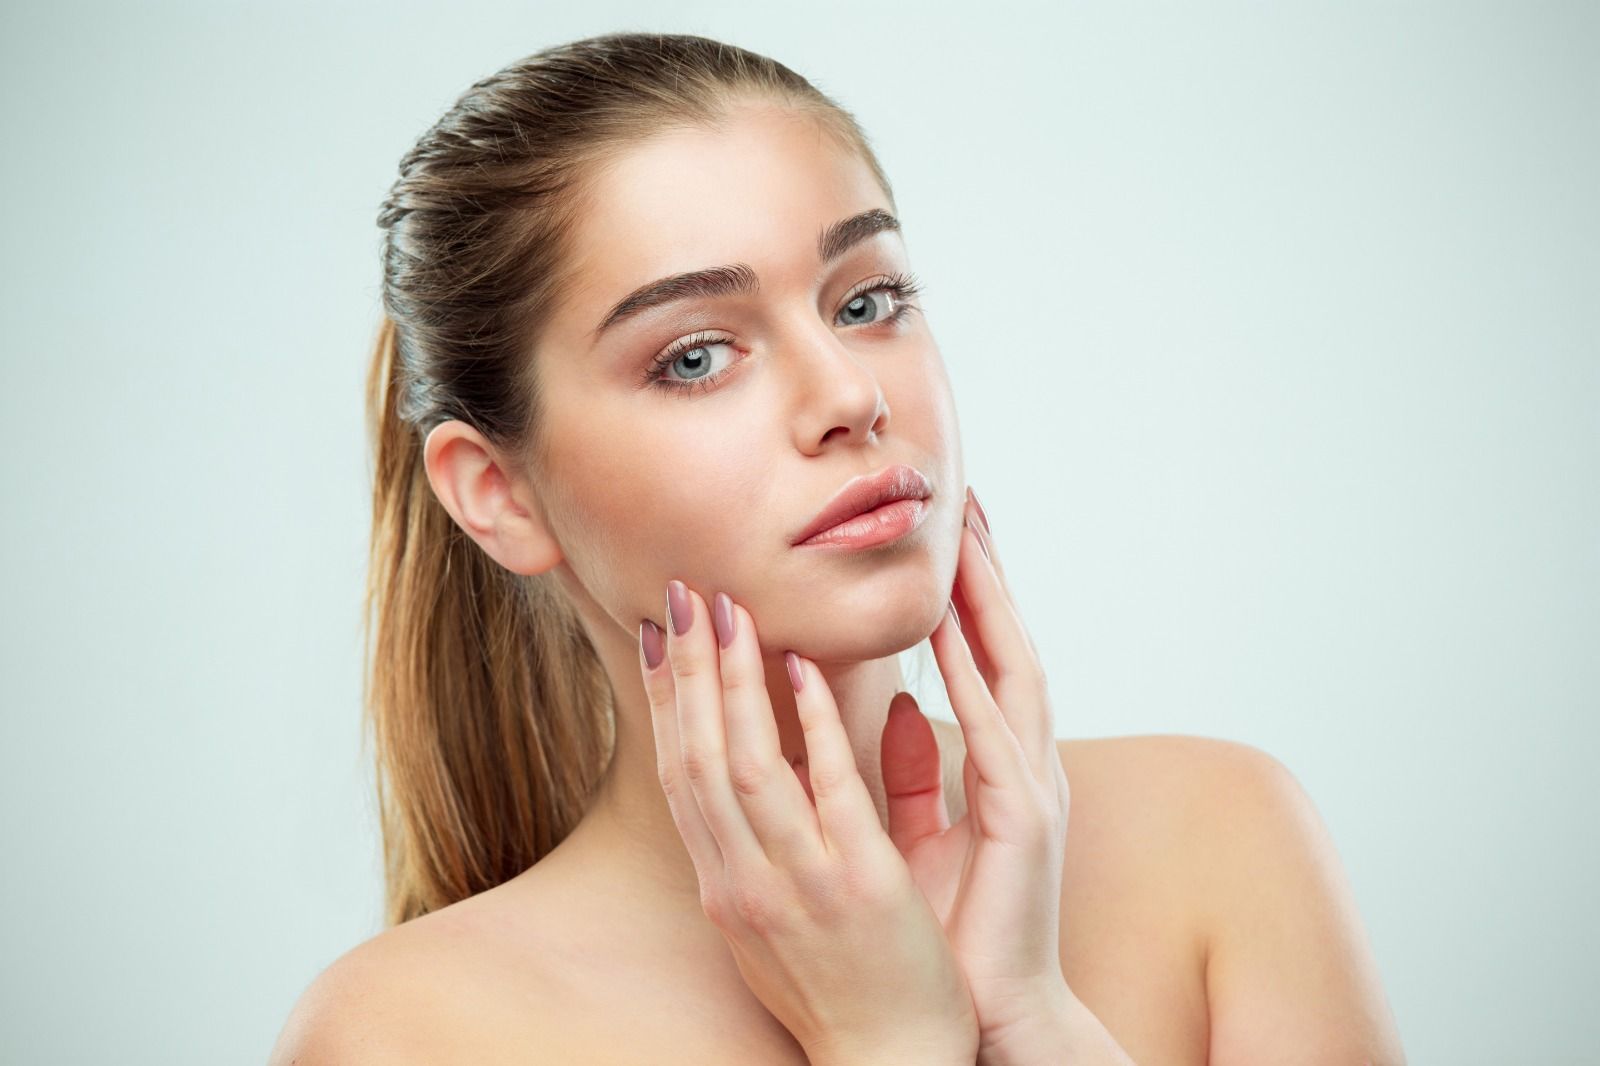
Using homemade facial products has been in vogue since beauty enthusiasts realized the harmful chemicals found in industry-made products can deteriorate their skin health. Alongside the convenience of making one at home, there are plenty of other benefits offered by these homemade facial products. They just have to be made and applied with proper care.
Whether made from natural components or extracted from organic alternatives, every industrial product goes through some chemical stages that might add toxins to them. These toxins, when applied to the skin, can prove to be quite harmful, carrying a long list of side effects with them.
Instead of them, you can try DIY homemade facial products as an alternative to the industrially manufactured ones as they promise no harm and provide your skin with utmost care.
Easy DIY Homemade Facial Products To Try
1. DIY homemade facial scrub
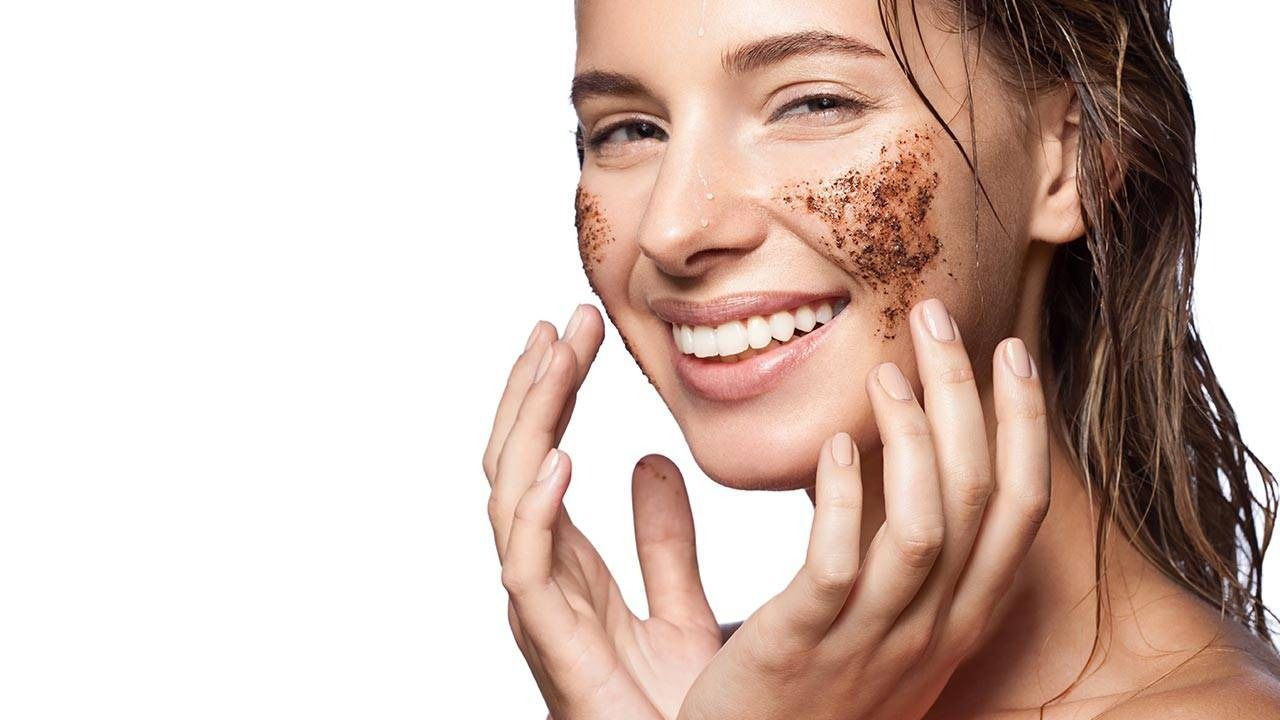
Select a base ingredient: The base ingredient should be any of these:
- Sugar (gentle exfoliation)
- Salt (avoid for sensitive skin)
- Oatmeal (ideal for sensitivity)
- Ground coffee (stimulating exfoliation)
Begin with 1/4 cup of any of them.
Choose a liquid component:
- Honey (antibacterial, moisturizing)
- Yogurt (probiotics, lactic acid)
- Olive/coconut oil (added moisture)
Use 1-2 tablespoons.
Consider optional additions:
- Essential oils
- Aloe vera gel
- Mashed fruits for extra nourishment.
Procedure:
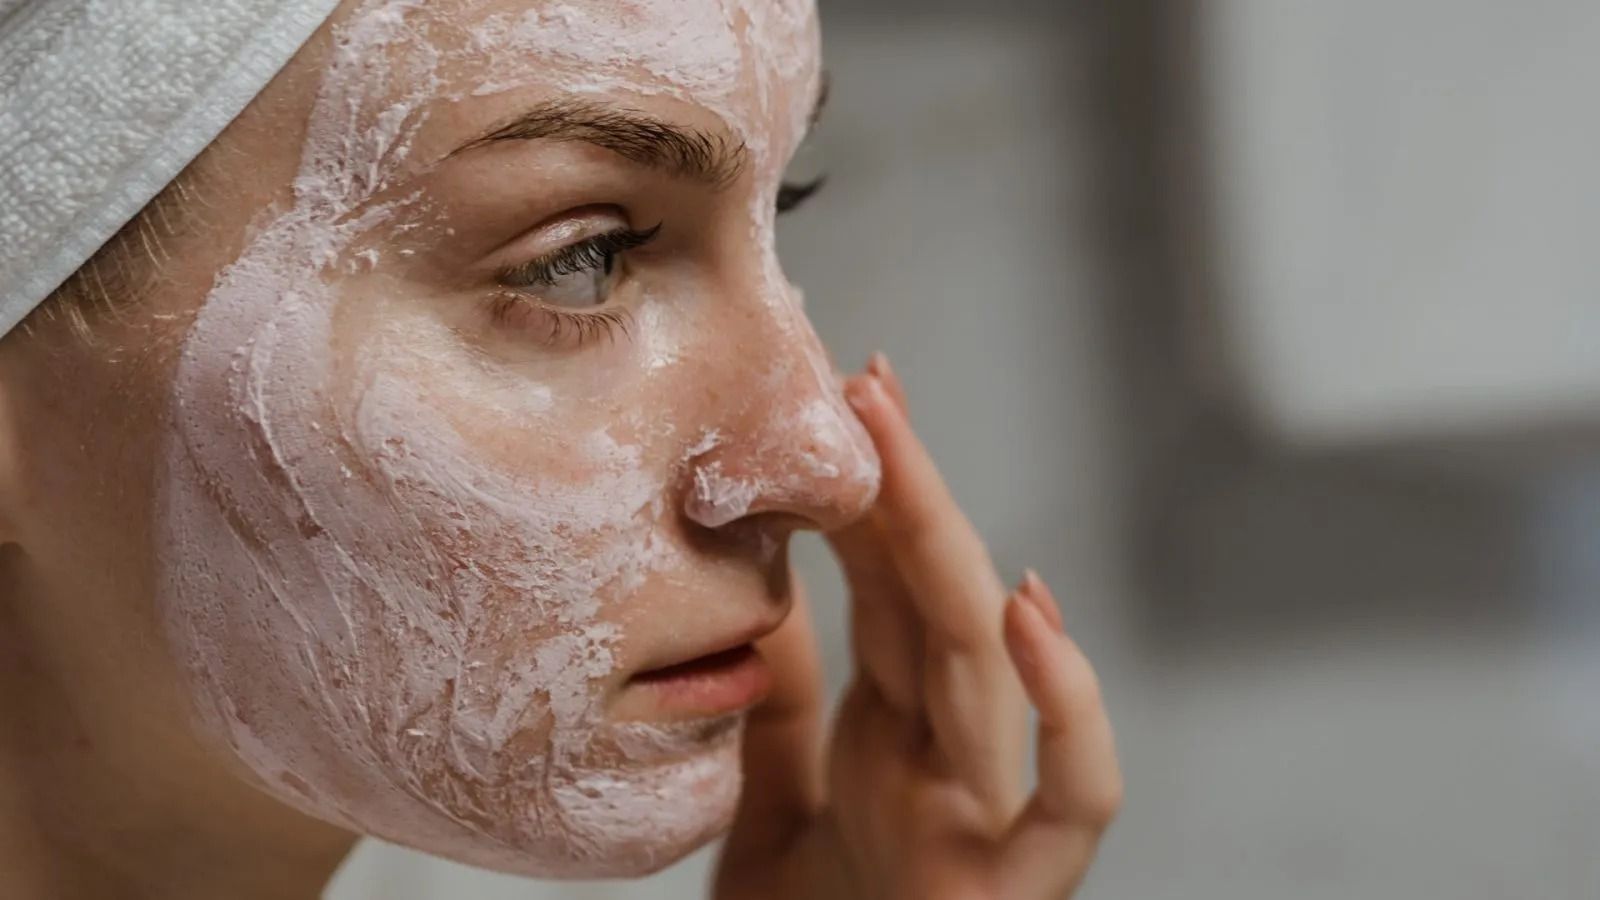
Preparation: Gather ingredients and utensils. Ensure a clean workspace.
Blend ingredients: Mix your base and liquid ingredients to achieve a paste-like consistency.
Optional ingredients: Incorporate extras like essential oils or mashed fruits.
Cleanse skin: Wash your face to remove makeup and impurities.
Apply scrub: Use clean fingers or a brush to apply to your damp face and neck. Gently massage in circular motions.
Avoid sensitive areas: Skip the eye area and any open wounds or acne.
Allow to sit (optional): Leave for a few minutes if using ingredients like honey or yogurt.
Rinse: Remove the scrub with lukewarm water and pat dry with a soft towel.
Moisturize: Finish with an appropriate moisturizer.
Storage: Refrigerate leftover scrub in an airtight container for a few days.
Frequency: Use 2-3 times weekly to avoid over-exfoliation.
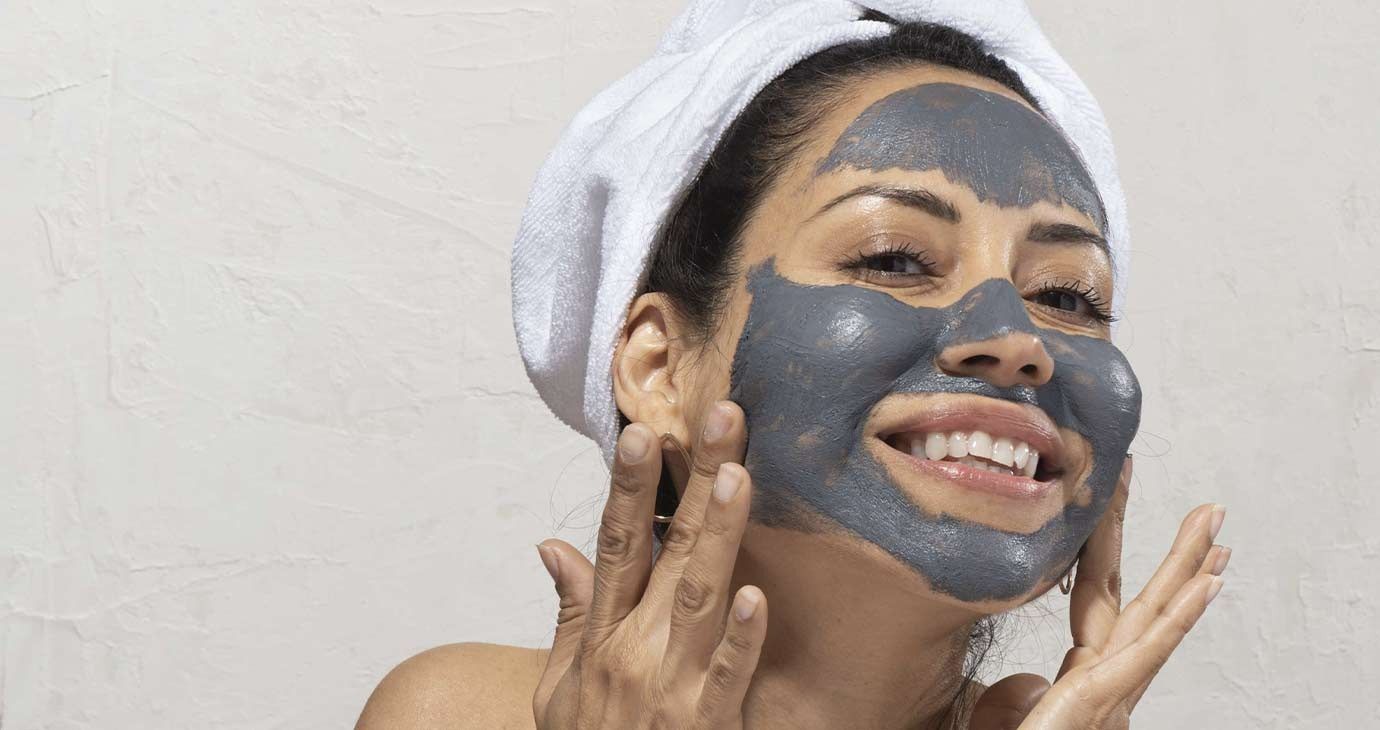
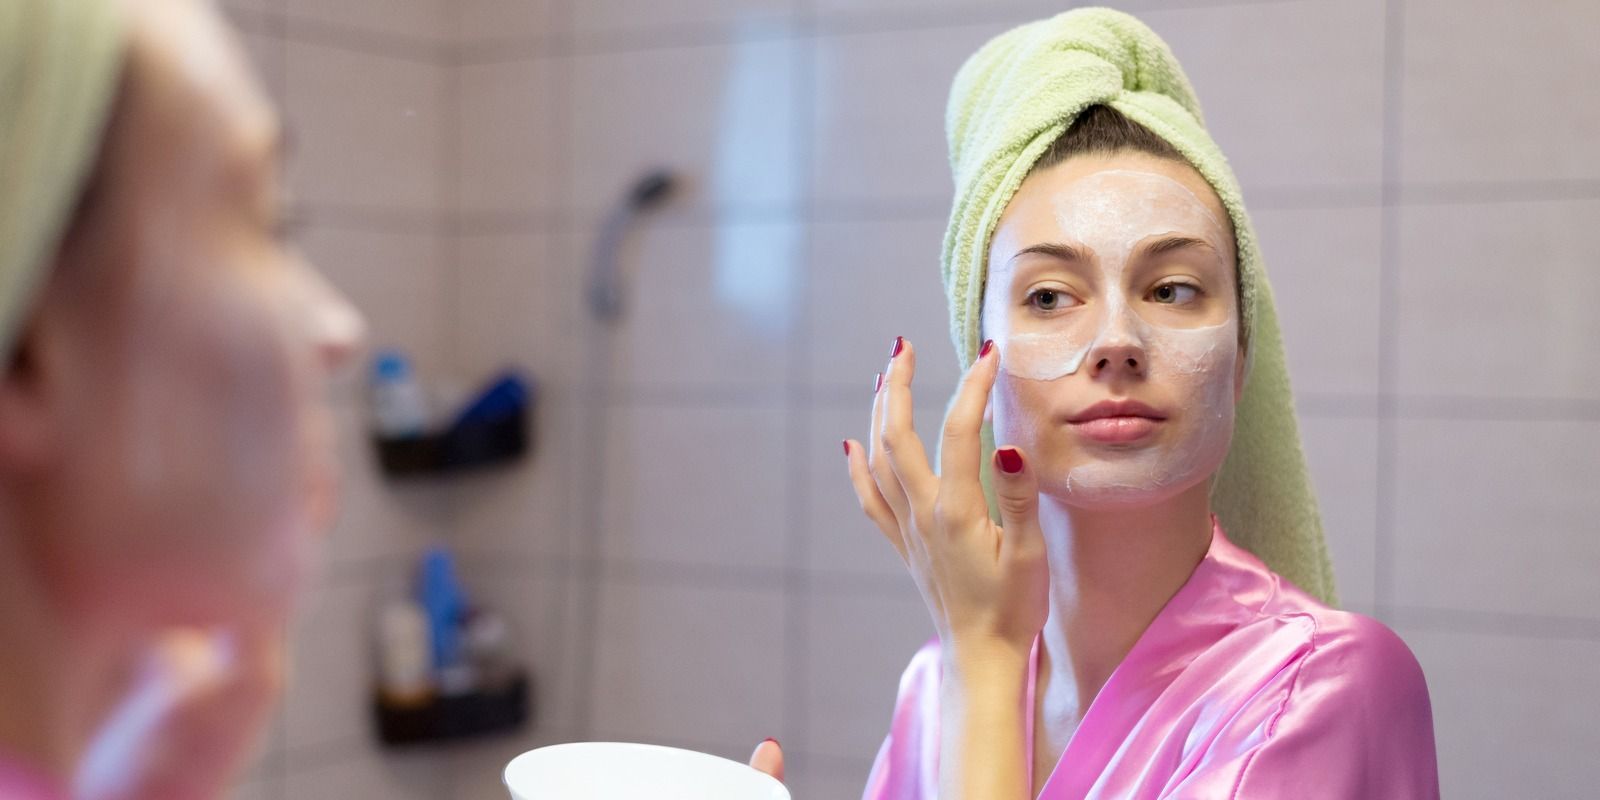
2. DIY homemade facial mask
Base ingredient selection: Begin by choosing an appropriate base ingredient for your skin type:
- For oily or acne-prone skin, opt for clay
- If you need hydration and mild exfoliation, consider yogurt
- Dry or sensitive skin benefits from avocado
- For a nourishing mask, select a banana
- Aloe vera gel is soothing and hydrating
Enhance with optional add-ins: Elevate your mask's effectiveness with additional ingredients like:
- Honey (with antibacterial and moisturizing properties)
- Oatmeal (for gentle exfoliation)
- Essential oils tailored to your specific skincare needs.
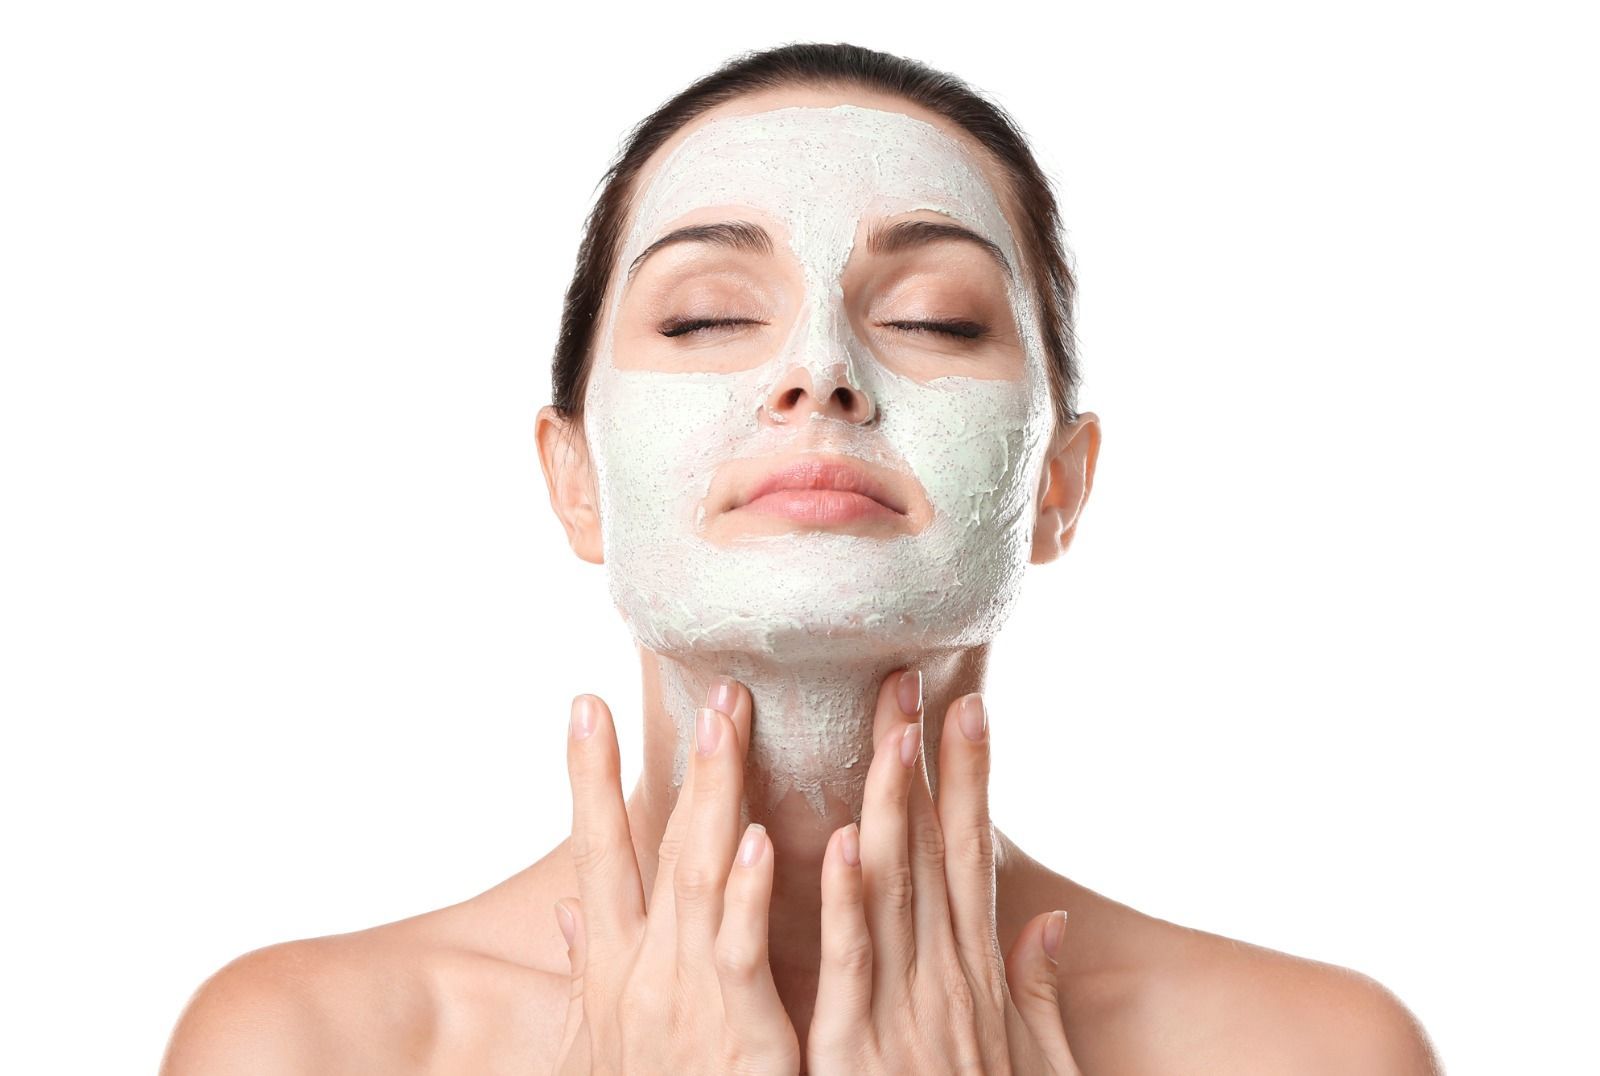
Procedure
Ingredient preparation: Assemble your chosen ingredients and gather any necessary tools.
Mask creation: In a mixing bowl, combine your base ingredient with optional add-ons, adjusting quantities for the desired consistency.
Prep your face: Start with a clean face, ensuring it's free from makeup.
Application: Apply the mask evenly over your face, excluding the eye area, using clean fingers or a brush.
Relaxation time: Allow the mask to work its magic for 15-20 minutes, or as directed by the ingredients you've used.
Rinse thoroughly: Remove the mask by rinsing with lukewarm water and gently pat your face dry with a soft towel.
Seal with moisturizer: Finish by applying an appropriate moisturizer to lock in the benefits.
Storage: Any leftover mask mixture can be stored in an airtight container in the refrigerator and should be used within a few days.
Frequency: Incorporate masks in your routine 1-2 times a week, adjusting as needed based on your skin's requirements.
3. DIY homemade facial moisturizer
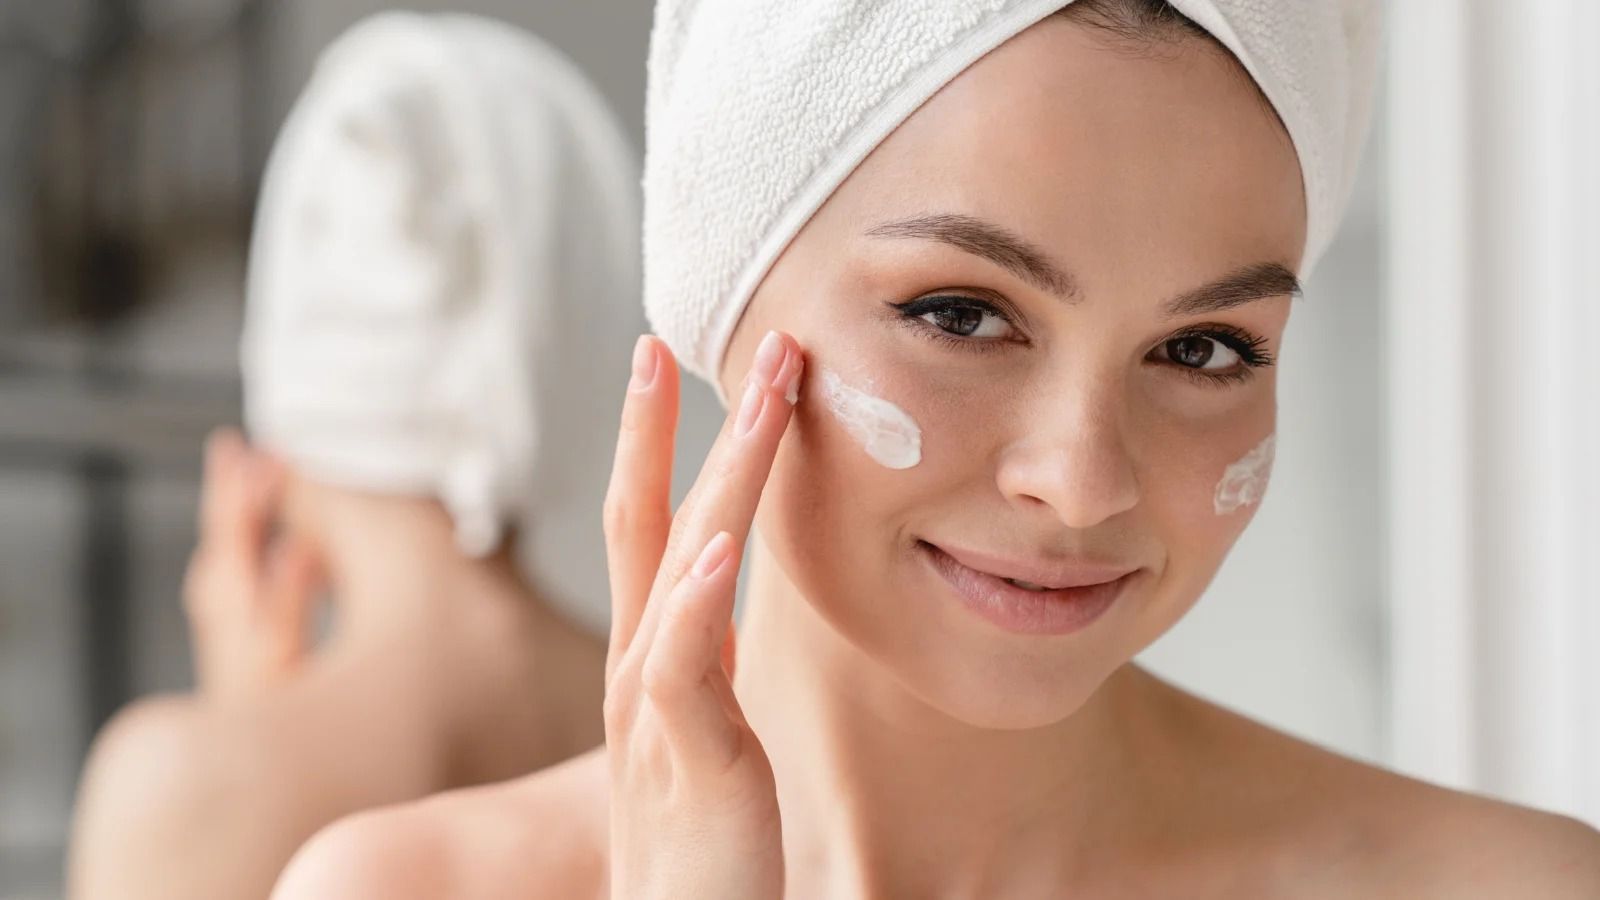
Base ingredient selection: Start by choosing a base ingredient for your moisturizer.
- Coconut oil (for deep hydration)
- Shea butter (for intense moisture)
- Aloe vera gel (for soothing and light hydration)
- Jojoba oil (for a non-greasy feel)
Optional enhancements: Customize your moisturizer with optional additions, such as:
- Essential oils (like lavender for relaxation or tea tree for acne-prone skin)
- Vitamin E oil (for added nourishment)
- Beeswax (for a thicker consistency)
Procedure

Ingredient preparation: Gather your selected ingredients and any necessary tools.
Moisturizer creation: In a clean bowl, combine your chosen base ingredient with optional enhancements, adjusting quantities for your desired texture and scent.
Face preparation: Before applying your moisturizer, ensure your face is clean and free from any previous skincare products.
Application: Gently massage a small amount of the moisturizer onto your face and neck using upward, circular motions.
Absorption time: Allow the moisturizer to absorb into your skin for a few minutes.
Storage: Store any leftover moisturizer in an airtight container in a cool, dark place.
Frequency: Apply your DIY moisturizer daily, preferably in the morning and evening, to maintain skin hydration.
Incorporating Them into Your Daily Routine
Incorporating these three homemade skincare products into your daily routine can lead to healthier, glowing skin. Start your day with the DIY facial scrub, choosing the base ingredient and liquid component that best suits your skin's needs. Gently massage it onto your damp face and neck, exfoliating away impurities while leaving your skin refreshed. Use it 2-3 times a week to prevent over-exfoliation.
For a mid-week treat, indulge in the DIY facial mask. Tailor the base ingredient to your skin type, whether it's clay for oily skin or avocado for dry, sensitive skin. This mask revitalizes your complexion, offering hydration or gentle exfoliation depending on your choice. Applying it once or twice a week provides that extra pampering your skin deserves.
Finally, conclude your daily skincare routine with the DIY facial moisturizer. Select a base ingredient that aligns with your skin's needs, be it deep hydration with coconut oil or soothing properties from aloe vera gel. This custom moisturizer seals in the benefits of your scrub and mask, leaving your skin nourished and protected. Apply it morning and night for continuous hydration.
Now that you know how to make and apply these DIY homemade facial products, there shouldn't be much problem using them. Refer to the steps when in doubt, and enjoy having a happier and healthier skin.