
'%20x='0'%20y='0'%20height='100%25'%20width='100%25'%20%0A%20%20%20%20%20%20%20%20%20%20xlink%3Ahref='data:image/jpg;base64,/9j/2wBDAAYEBQYFBAYGBQYHBwYIChAKCgkJChQODwwQFxQYGBcUFhYaHSUfGhsjHBYWICwgIyYnKSopGR8tMC0oMCUoKSj/2wBDAQcHBwoIChMKChMoGhYaKCgoKCgoKCgoKCgoKCgoKCgoKCgoKCgoKCgoKCgoKCgoKCgoKCgoKCgoKCgoKCgoKCj/wgARCAAGAAoDASIAAhEBAxEB/8QAFgABAQEAAAAAAAAAAAAAAAAAAAYH/8QAFAEBAAAAAAAAAAAAAAAAAAAABP/aAAwDAQACEAMQAAAAyaODm//EAB0QAAICAgMBAAAAAAAAAAAAAAIDAQUAEQQhMdH/2gAIAQEAAT8AGwtlUyubDOMItaakjoihGu+h+7x1Wxzja1gEwykinXszn//EABgRAAMBAQAAAAAAAAAAAAAAAAECAxEA/9oACAECAQE/ABelBjtvf//EABgRAAIDAAAAAAAAAAAAAAAAAAABAhIh/9oACAEDAQE/AG6yw//Z'%3E%3C/image%3E%3C/svg%3E)
Players often wonder how to add shaders to Minecraft Bedrock and transform its vanilla world with stunning visuals. The extensive community has created thousands of such add-ons that can change anything in-game, ranging from the sky's color to the water's tint. These packs are a great way for players to dive into the ocean of Minecraft mods and navigate their way further.
Here's how you can add shaders to Minecraft Bedrock.
Note: Currently, adding shaders is possible only with Render Dragon, which is available for Minecraft Bedrock Preview.

Chart New Territories with the ultimate Minecraft Seed Generator!
Here's how you can add shaders to Minecraft Bedrock
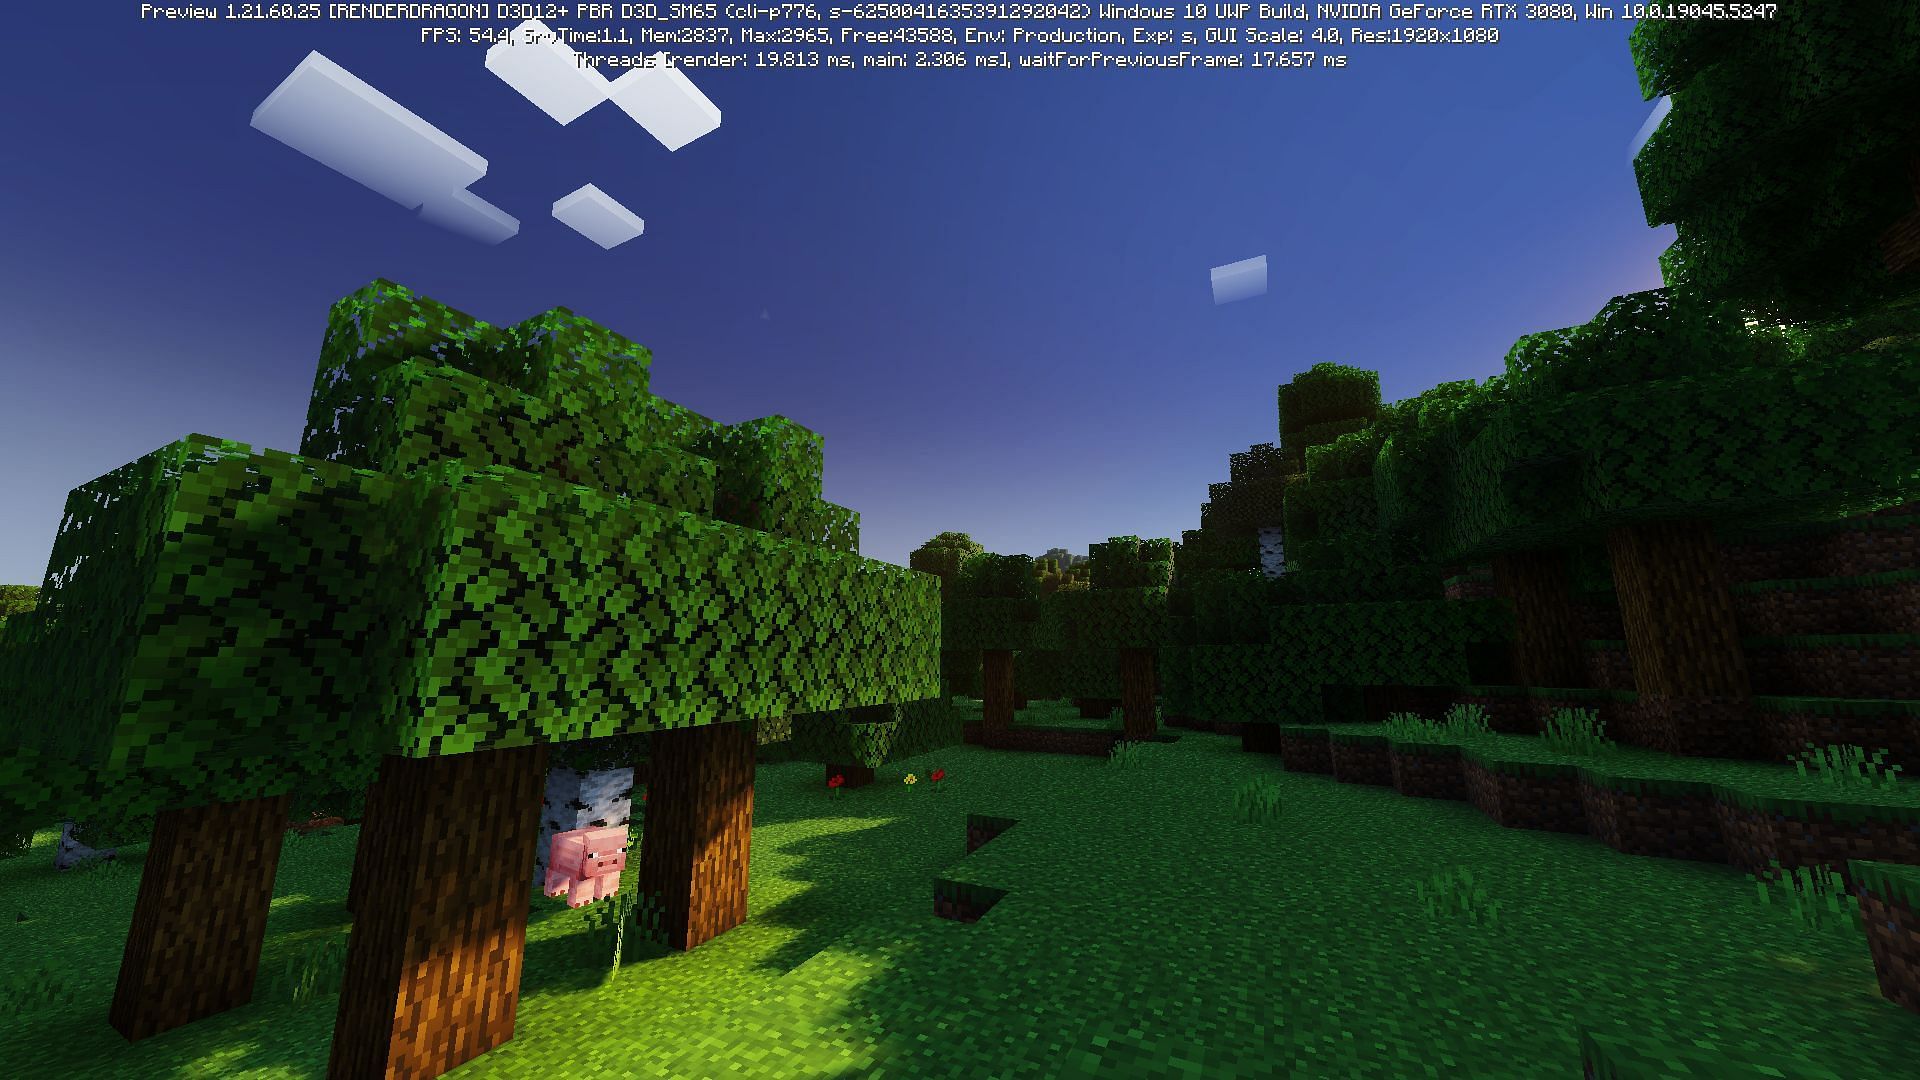
You can add shaders to Minecraft Bedrock with the help of Render Dragon, the new graphics engine that provides a sneak peek at the new Deferred Rendering pipeline. It allows players to utilize the ray-tracing features on their PC to get stunning visual improvements. It can be enabled from the Experiments tab when creating a new world, allowing players to use PBR-enabled resource packs.
However, as of now, Render Dragon is available only on Preview. You can access it from the official Minecraft launcher and try out its new features before they are fine-tuned and officially released down the line. That said, here's how you can add shaders to Minecraft Bedrock:
- Search for and download your preferred Minecraft Bedrock shader from popular repositories like Curseforge, MCPEDL, etc. It is recommended to download packs with Deferred Rendering to enjoy the experience to the fullest extent.
- Once downloaded, locate the ".mcpack file" from your download directory.
- Right-click on the downloaded pack and select Open With.
- Next, choose Minecraft Preview from the list of available options and wait for the pack to get imported. You will get a notification after this process is completed.
- Once done, create a new world and head down to the Resource Packs tab.
- In the available tab, click on the "Activate" button next to the shader pack's name.
- Next, go to the Experiments tab and make sure to enable all the features. You will get a warning prompt at this point; simply select "Turn on Experiments" and proceed. This is an important step since the pack needs Render Dragon to function. However, it is recommended that you toggle all the experimental features to "ON".
- Now, you can adjust additional settings like game mode, behavior packs, etc (optional).
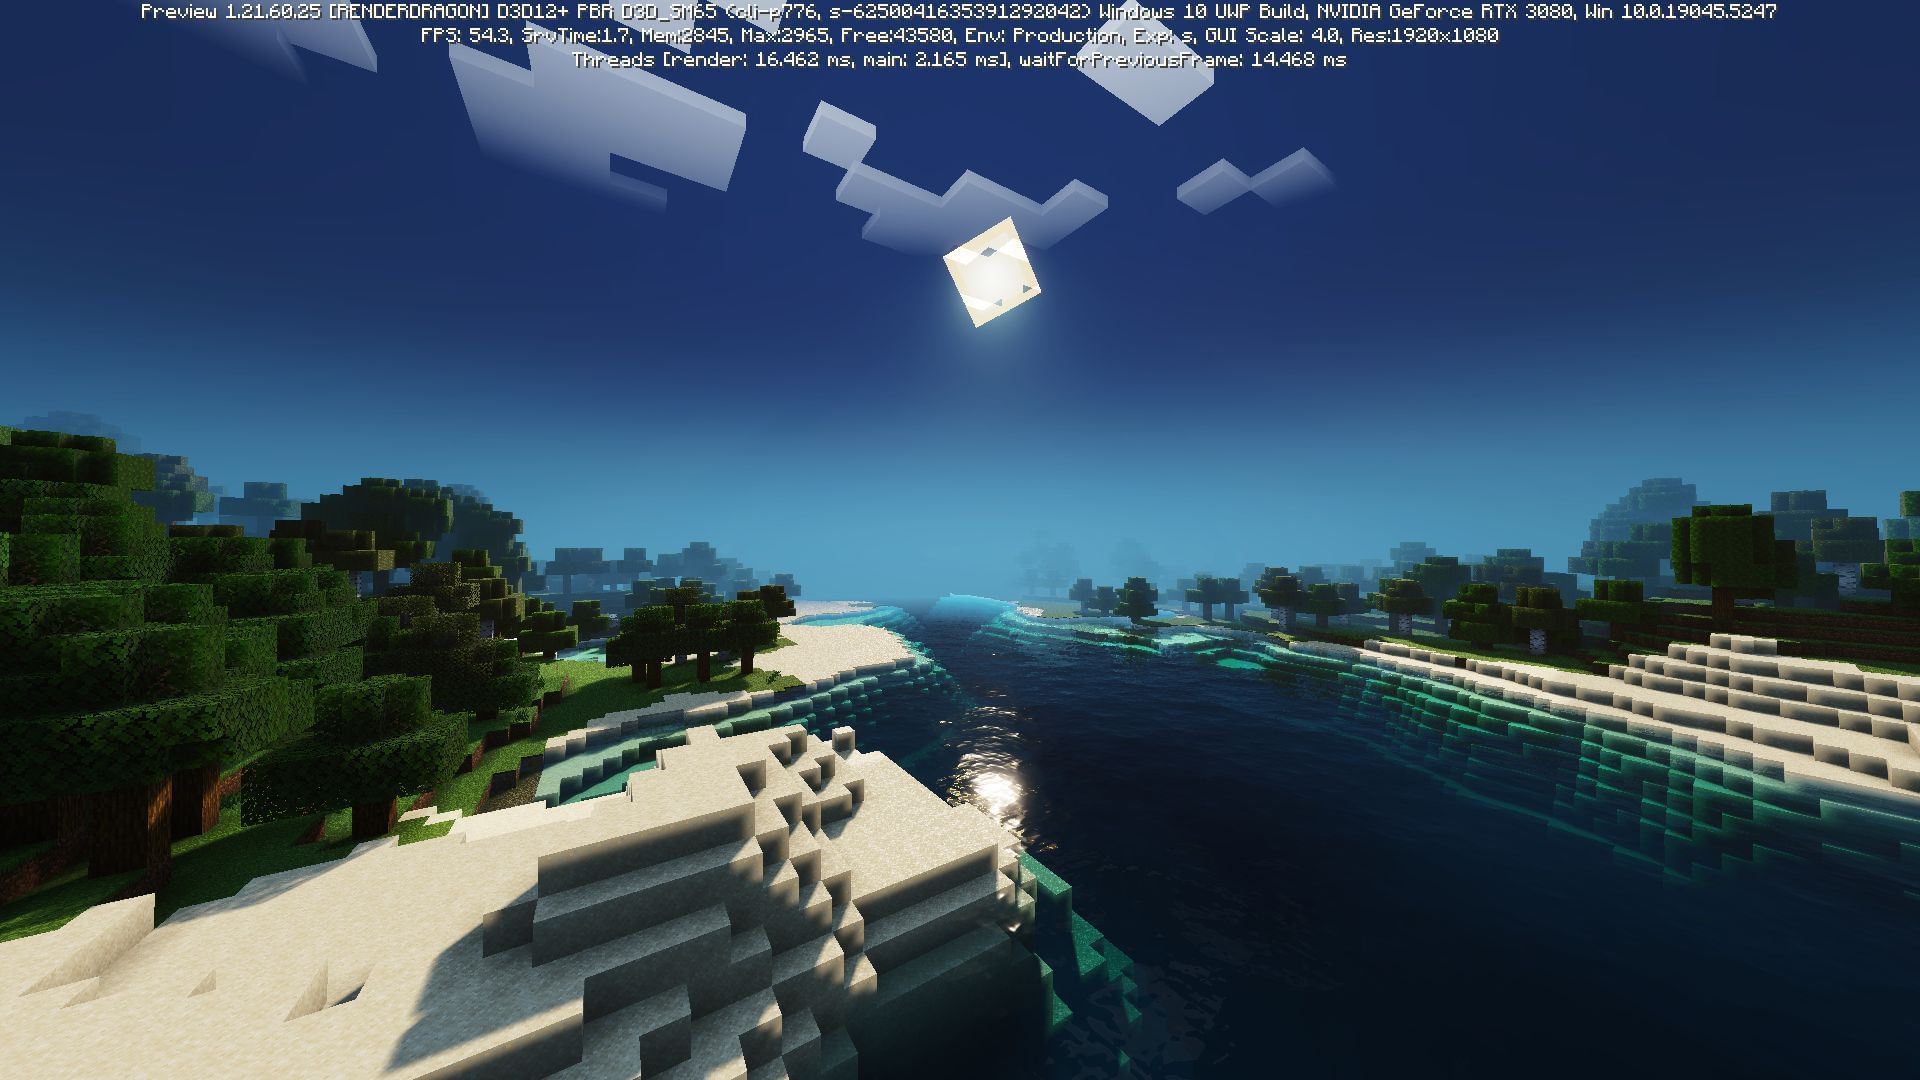
- Once done, create your world and you will be able to enjoy the stunning visuals of the shader pack you downloaded.
Note that it will take a while for the shader packs to load, during which you're advised not to close the game. You can also go to the Settings tab and modify the settings of your pack if the option is available.
Additionally, in the case of a Deferred Rendering pack, you may feel the world is too dark or too bright. In such cases, simply head to the Rendering settings within the shader's tab in Settings to modify parameters like brightness and contrast till you reach your desired lighting levels.
We recommend trying out these features in a new world, without additional add-ons, resource packs, or behavior packs. This will prevent unnecessary conflict and game crashes, offering you a seamless experience after you add shaders to Minecraft Bedrock.
Also read: How to get a night vision helmet
Check out our other articles:
- New update to add new trades for cartographer and wandering trader
- 6 best structures for finding armor trims
- How to get pale oak wood
- How to get an X-ray pack for 1.21.4
- 5 best cherry blossom village seeds

Uncover new worlds with our Minecraft Seed Generator!