
'%20x='0'%20y='0'%20height='100%25'%20width='100%25'%20%0A%20%20%20%20%20%20%20%20%20%20xlink%3Ahref='data:image/jpg;base64,/9j/2wBDAAYEBQYFBAYGBQYHBwYIChAKCgkJChQODwwQFxQYGBcUFhYaHSUfGhsjHBYWICwgIyYnKSopGR8tMC0oMCUoKSj/2wBDAQcHBwoIChMKChMoGhYaKCgoKCgoKCgoKCgoKCgoKCgoKCgoKCgoKCgoKCgoKCgoKCgoKCgoKCgoKCgoKCgoKCj/wgARCAAGAAoDASIAAhEBAxEB/8QAFgABAQEAAAAAAAAAAAAAAAAAAAMH/8QAFQEBAQAAAAAAAAAAAAAAAAAAAwT/2gAMAwEAAhADEAAAAMHkBZ//xAAeEAADAAEEAwAAAAAAAAAAAAABAgMEAAUREyEiMf/aAAgBAQABPwDa93zhbHmWl2O3WKhPfgn5ydX2/Jlek2MGZWKk8nzr/8QAFxEAAwEAAAAAAAAAAAAAAAAAAAECIf/aAAgBAgEBPwClp//EABgRAAIDAAAAAAAAAAAAAAAAAAABAgMS/9oACAEDAQE/AK4rCZ//2Q=='%3E%3C/image%3E%3C/svg%3E)
Minecraft texture packs primarily fall into two camps: aesthetic and utility. FullBright is one of the best-known utility texture packs. It increases the game's brightness considerably, making it much easier to see even in otherwise pitch-black environments. Since the texture pack is so useful, knowing how to install it is essential.
Detailed below is everything players need to know about manually installing the FullBright texture pack. Note that Optifine is required for it to work properly and must be installed first.

How to manually install the FullBright Minecraft texture pack
1) Find the FullBright texture pack
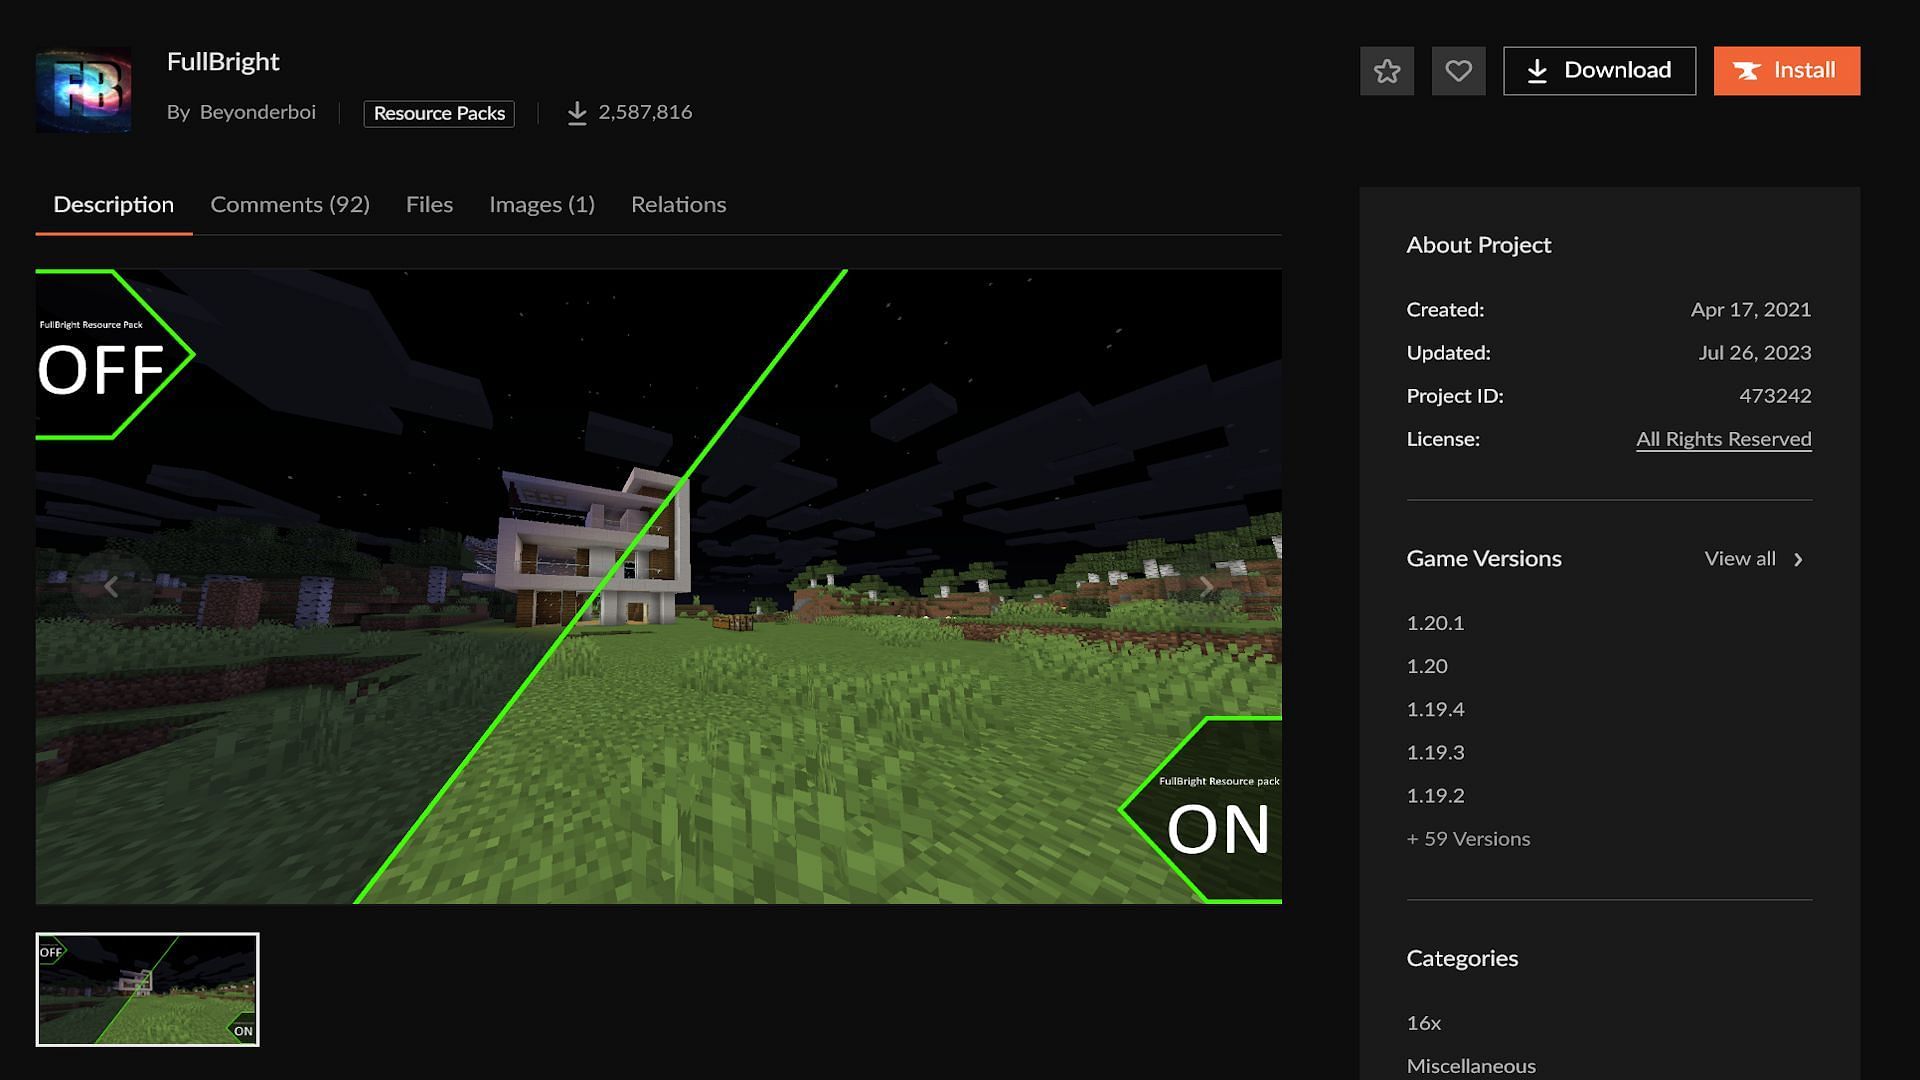
Chart New Territories with the ultimate Minecraft Seed Generator!
FullBright CurseForge link: https://www.curseforge.com/minecraft/texture-packs/fullbright
Assuming Optifine is already installed, the first thing you'll need to do to use the FullBright texture pack is find it.
The texture pack is available on both the Modrinth and CurseForge Minecraft modded launchers, depending on player preference. Go to either's website and search for "FullBright" or use the link provided above.
2) Download it
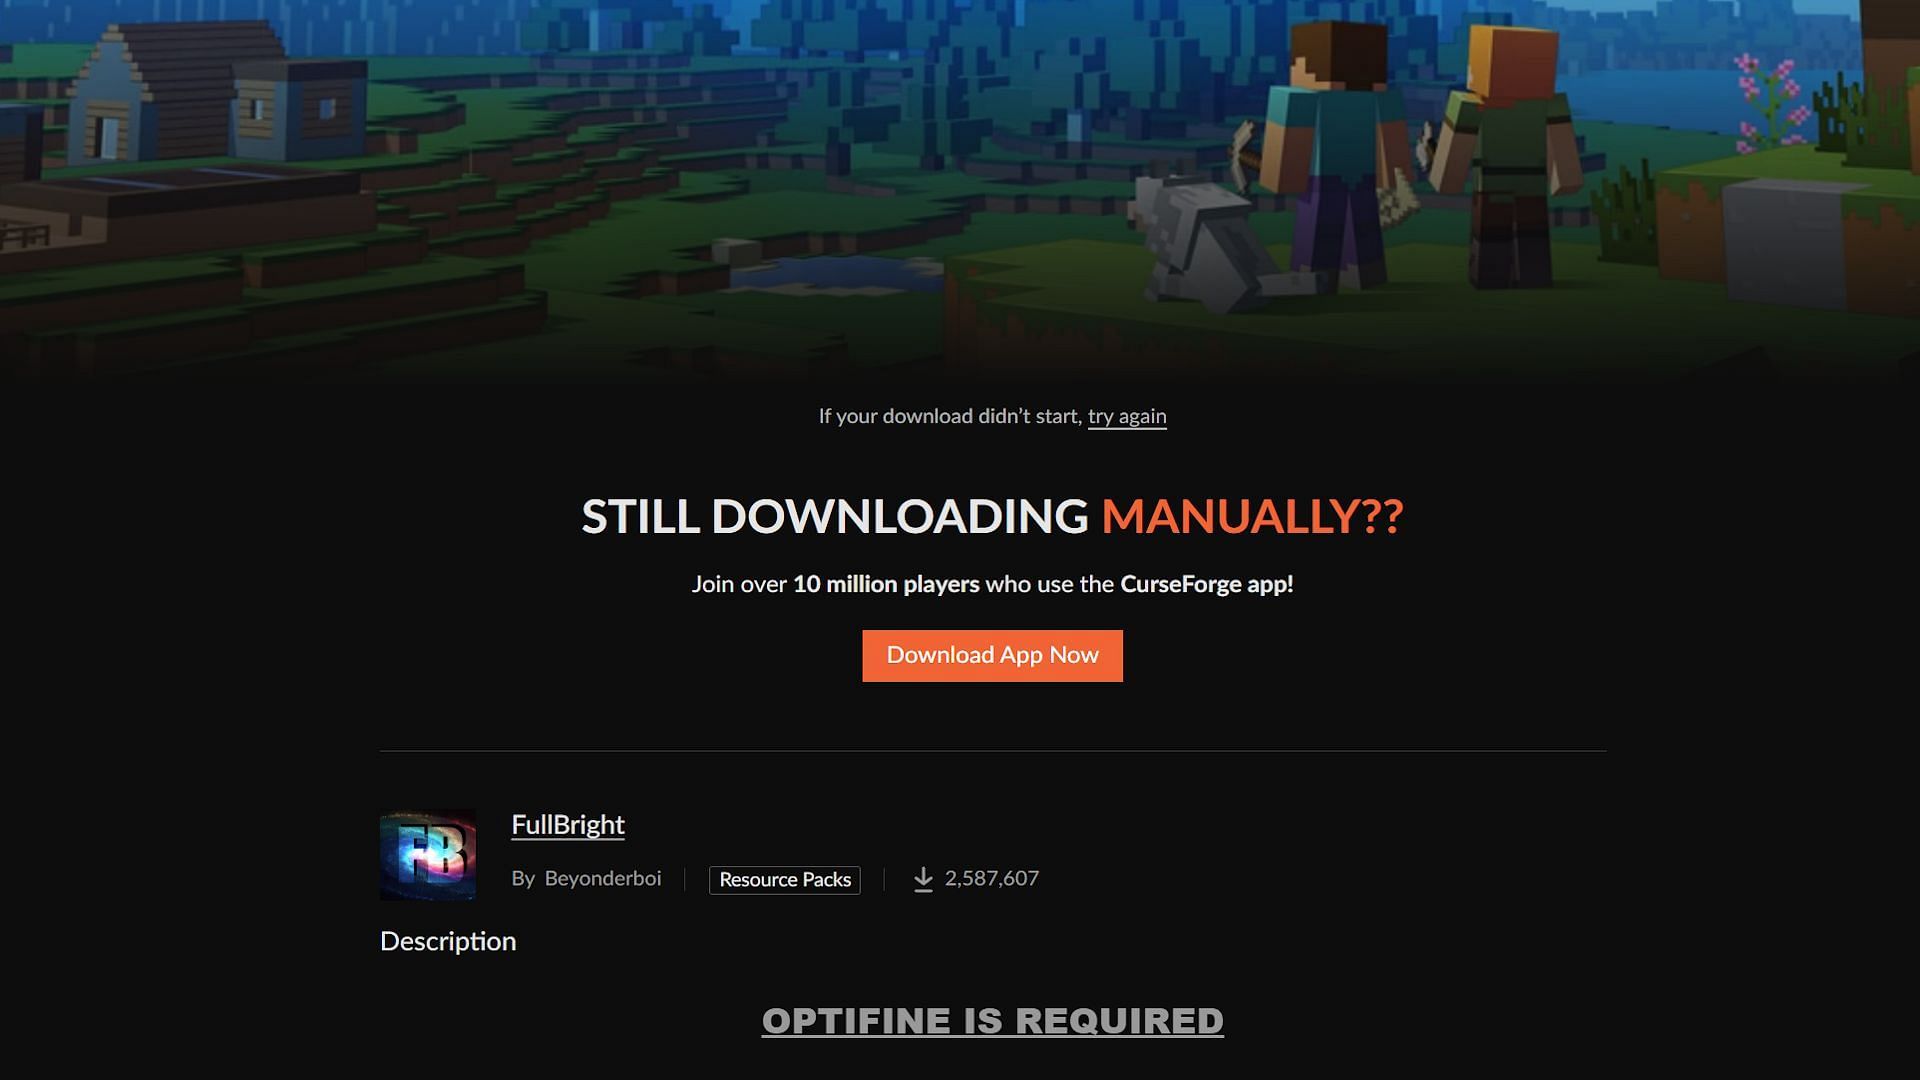
Once the texture pack has been located, simply download the version of it for whichever one of Minecraft's many updates you're playing on. There are versions ranging from 1.20 all the way back to 1.6.1. If using the CurseForge website provided above, downloading the file will require switching to the "Files" tab.
From here, scan the list of files for one matching your game's version. Then, use the three dots to either install the pack using the CurseForge app or download the file. This tutorial focuses on manually installing the texture pack, so hit the "Download file" button.
3) Install the pack
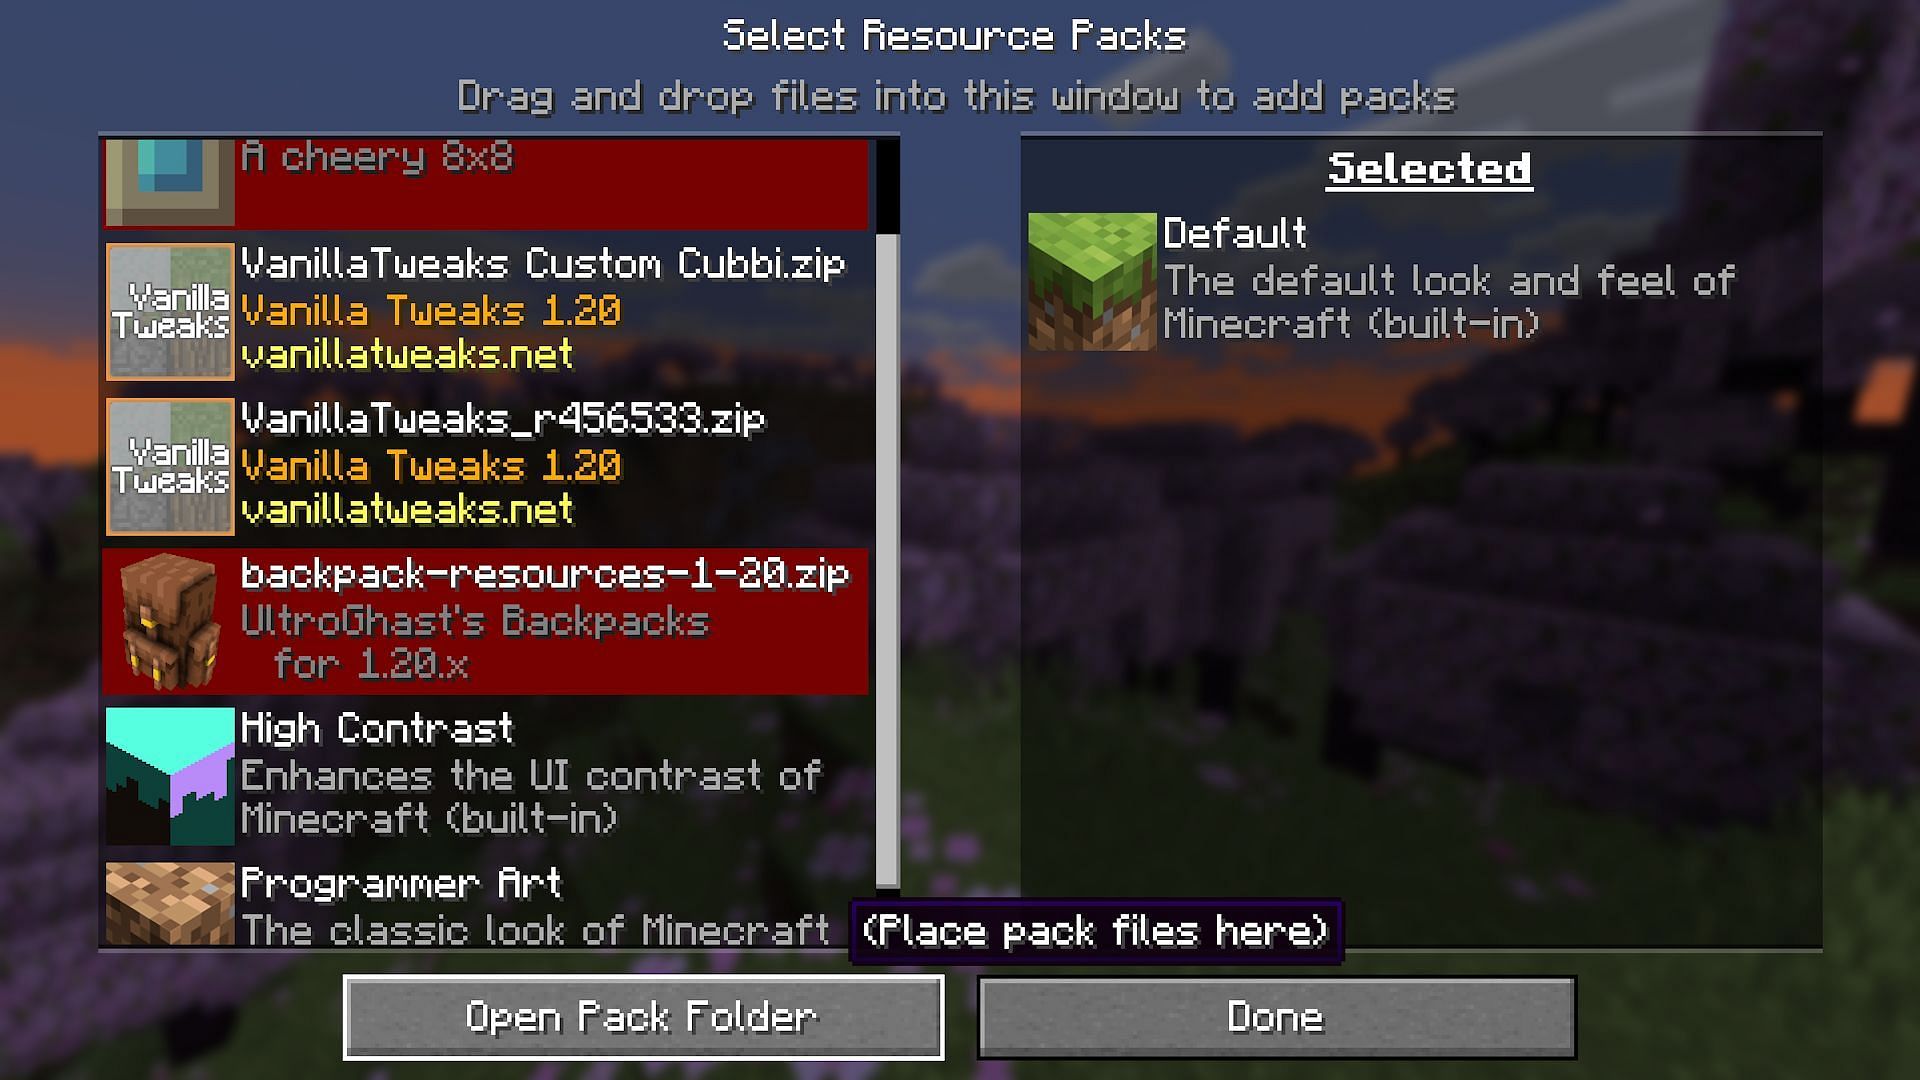
With the pack downloaded, the next step is to actually install it. To do this, launch the game. Once at the main menu, hit "Options" and then the "Resource Packs" button. This will open the list of resource packs installed in the current game profile. Hit the "Open Pack Folder" button to automatically open the folder where the resource and texture packs are stored.
Actually installing the Minecraft texture pack is simple. All you need to do is cut and paste the downloaded texture pack into this resource pack folder.
4) Enable the pack
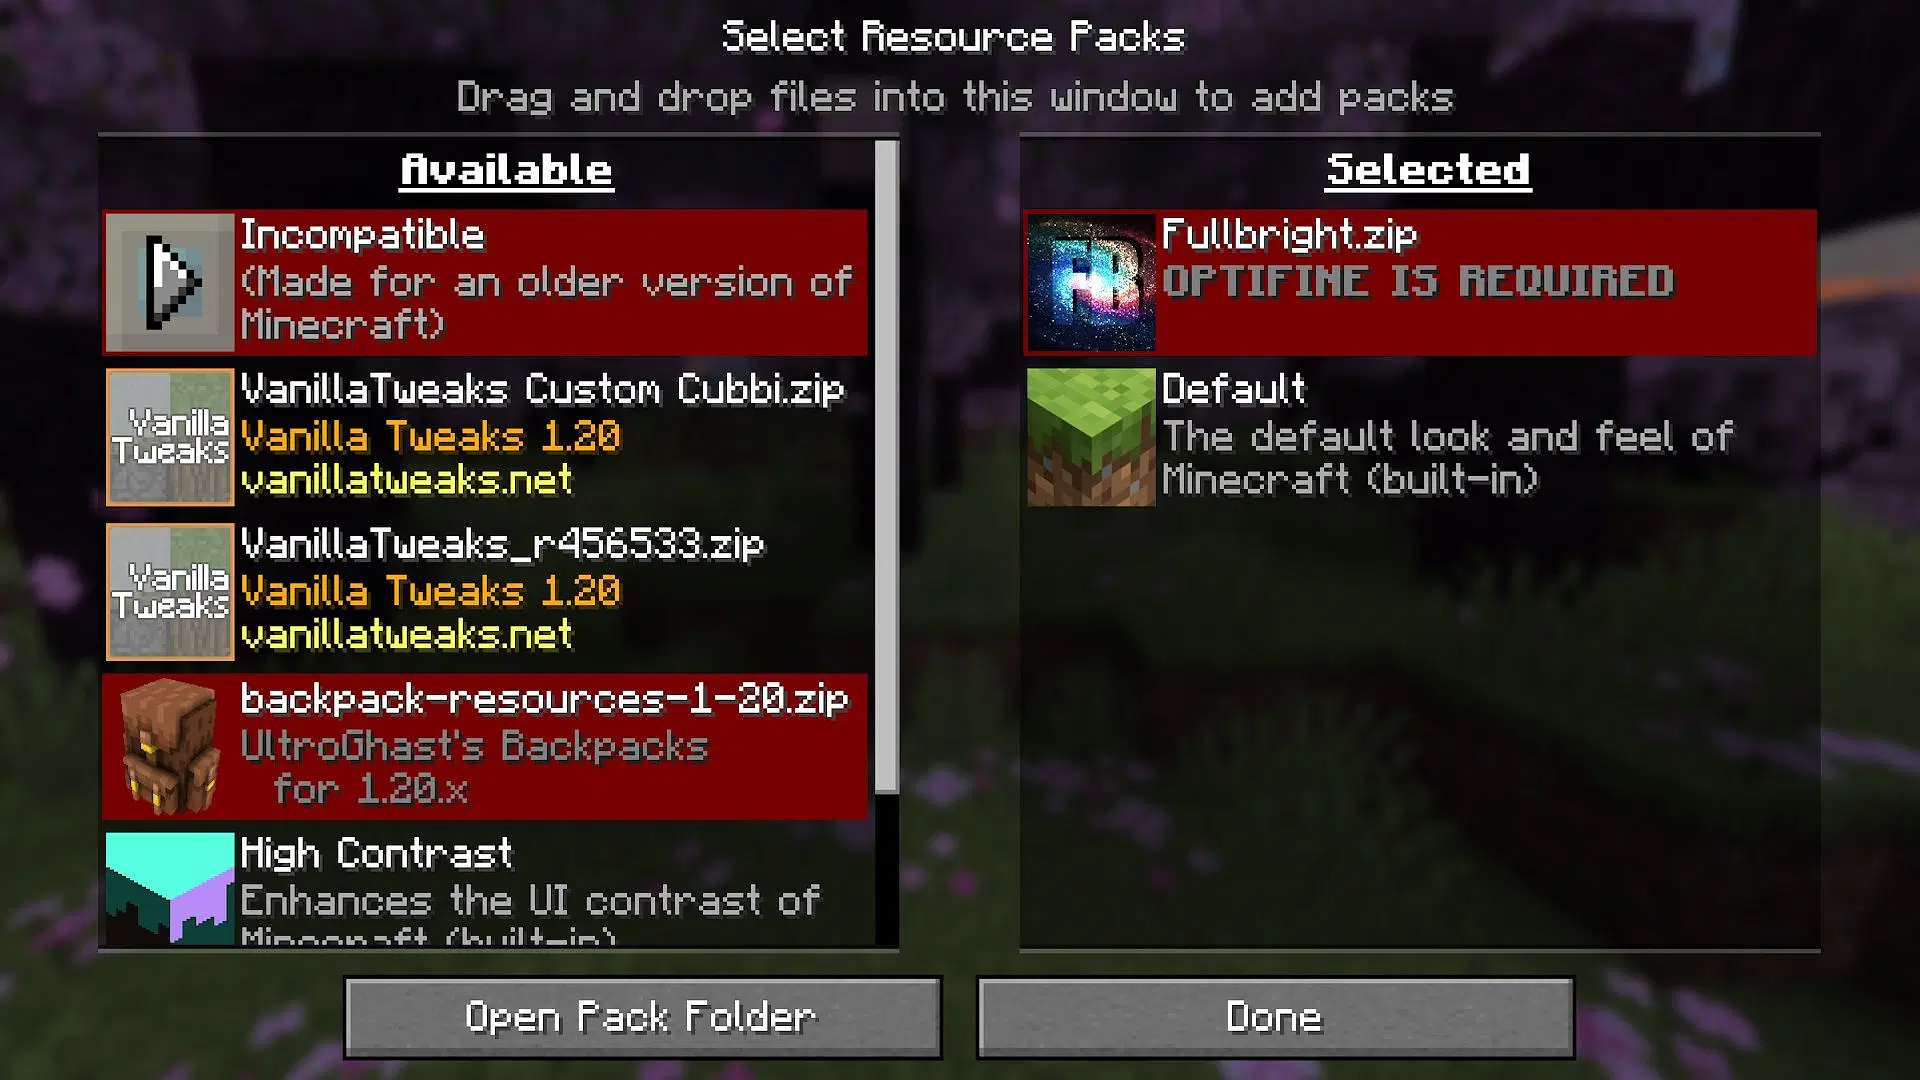
Now that the pack has been installed, return to the game. To enable the installed texture pack, click to move the texture pack from the list of "Available" packs to "Selected" packs. This will enable the texture pack and allow the game to actually render with it.
5) Test in-game
Now that the pack has been successfully installed and enabled, the last thing to do is load into a world to test. The changes should be noticeable almost immediately.
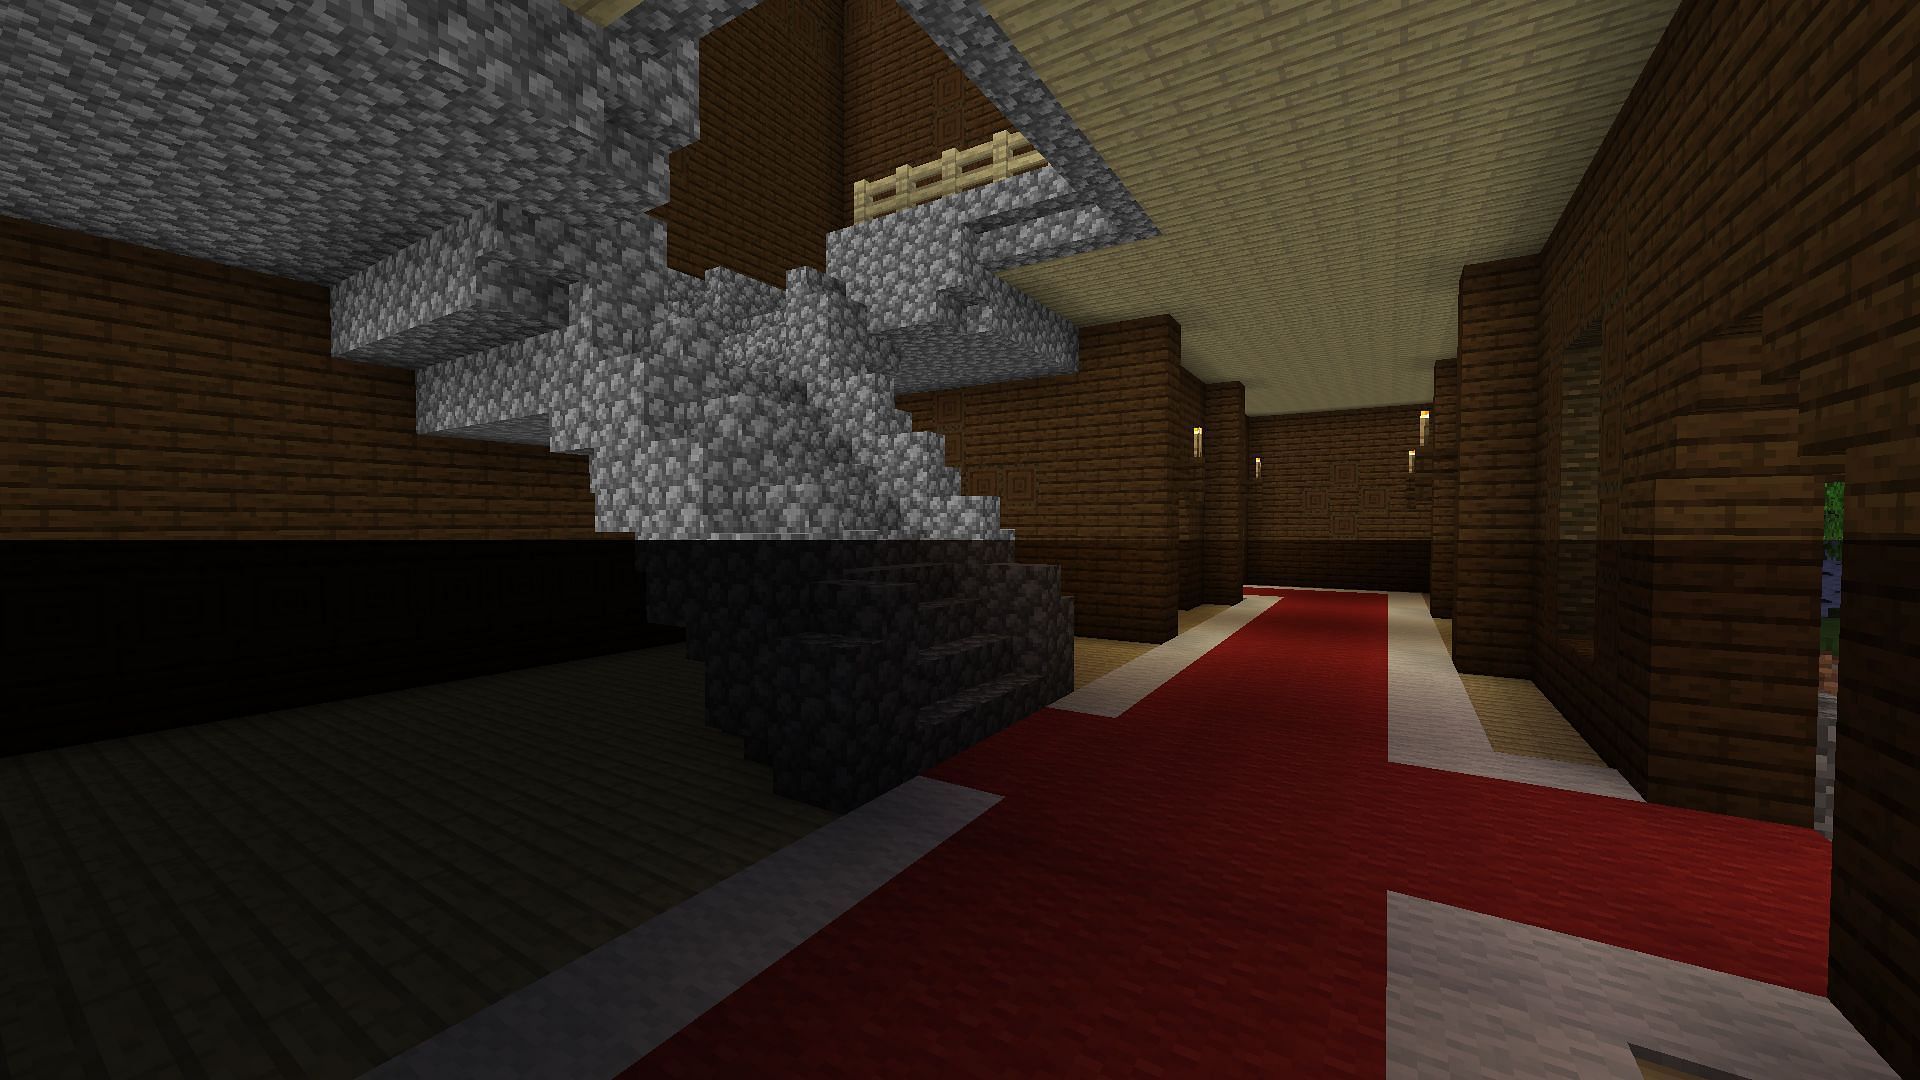
The game should be exponentially brighter than it used to be, making even previously well-lit Minecraft survival bases noticeably easier to see in.

Uncover new worlds with our Minecraft Seed Generator!