

'%20x='0'%20y='0'%20height='100%25'%20width='100%25'%20%0A%20%20%20%20%20%20%20%20%20%20xlink%3Ahref='data:image/jpg;base64,/9j/2wBDAAYEBQYFBAYGBQYHBwYIChAKCgkJChQODwwQFxQYGBcUFhYaHSUfGhsjHBYWICwgIyYnKSopGR8tMC0oMCUoKSj/2wBDAQcHBwoIChMKChMoGhYaKCgoKCgoKCgoKCgoKCgoKCgoKCgoKCgoKCgoKCgoKCgoKCgoKCgoKCgoKCgoKCgoKCj/wgARCAAGAAoDASIAAhEBAxEB/8QAFgABAQEAAAAAAAAAAAAAAAAAAAUH/8QAFQEBAQAAAAAAAAAAAAAAAAAAAAH/2gAMAwEAAhADEAAAAMxlEf/EACAQAAIBAwQDAAAAAAAAAAAAAAECAwAFEQQGITEUU9L/2gAIAQEAAT8AuVrZtA0UarnhQWlOBz31SbYuIRR5UYwPa3zX/8QAFBEBAAAAAAAAAAAAAAAAAAAAAP/aAAgBAgEBPwB//8QAFREBAQAAAAAAAAAAAAAAAAAAAAH/2gAIAQMBAT8Aj//Z'%3E%3C/image%3E%3C/svg%3E)
Minecraft is a sandbox game that allows you to install all kinds of mods. Mods are third-party software that contains additional features that usually aren't available officially in the game. These features can be extra menus in the settings, performance tweaks, graphic tweaks, new blocks, mobs, items, biomes, dimensions, and more. You can install as many mods as you want to change the Minecraft experience.
Most mods are quite flexible, allowing you to configure them to your liking. However, not every mod offers a dedicated settings tab in the game. This is where Mod Menu comes in, as it helps you tweak most single mods in Minecraft. Here is everything you need to know about how to get and use Mod Menu.

Steps to get and use Minecraft Mod Menu
1) Get and install Mod Menu from either CurseForge or Modrinth
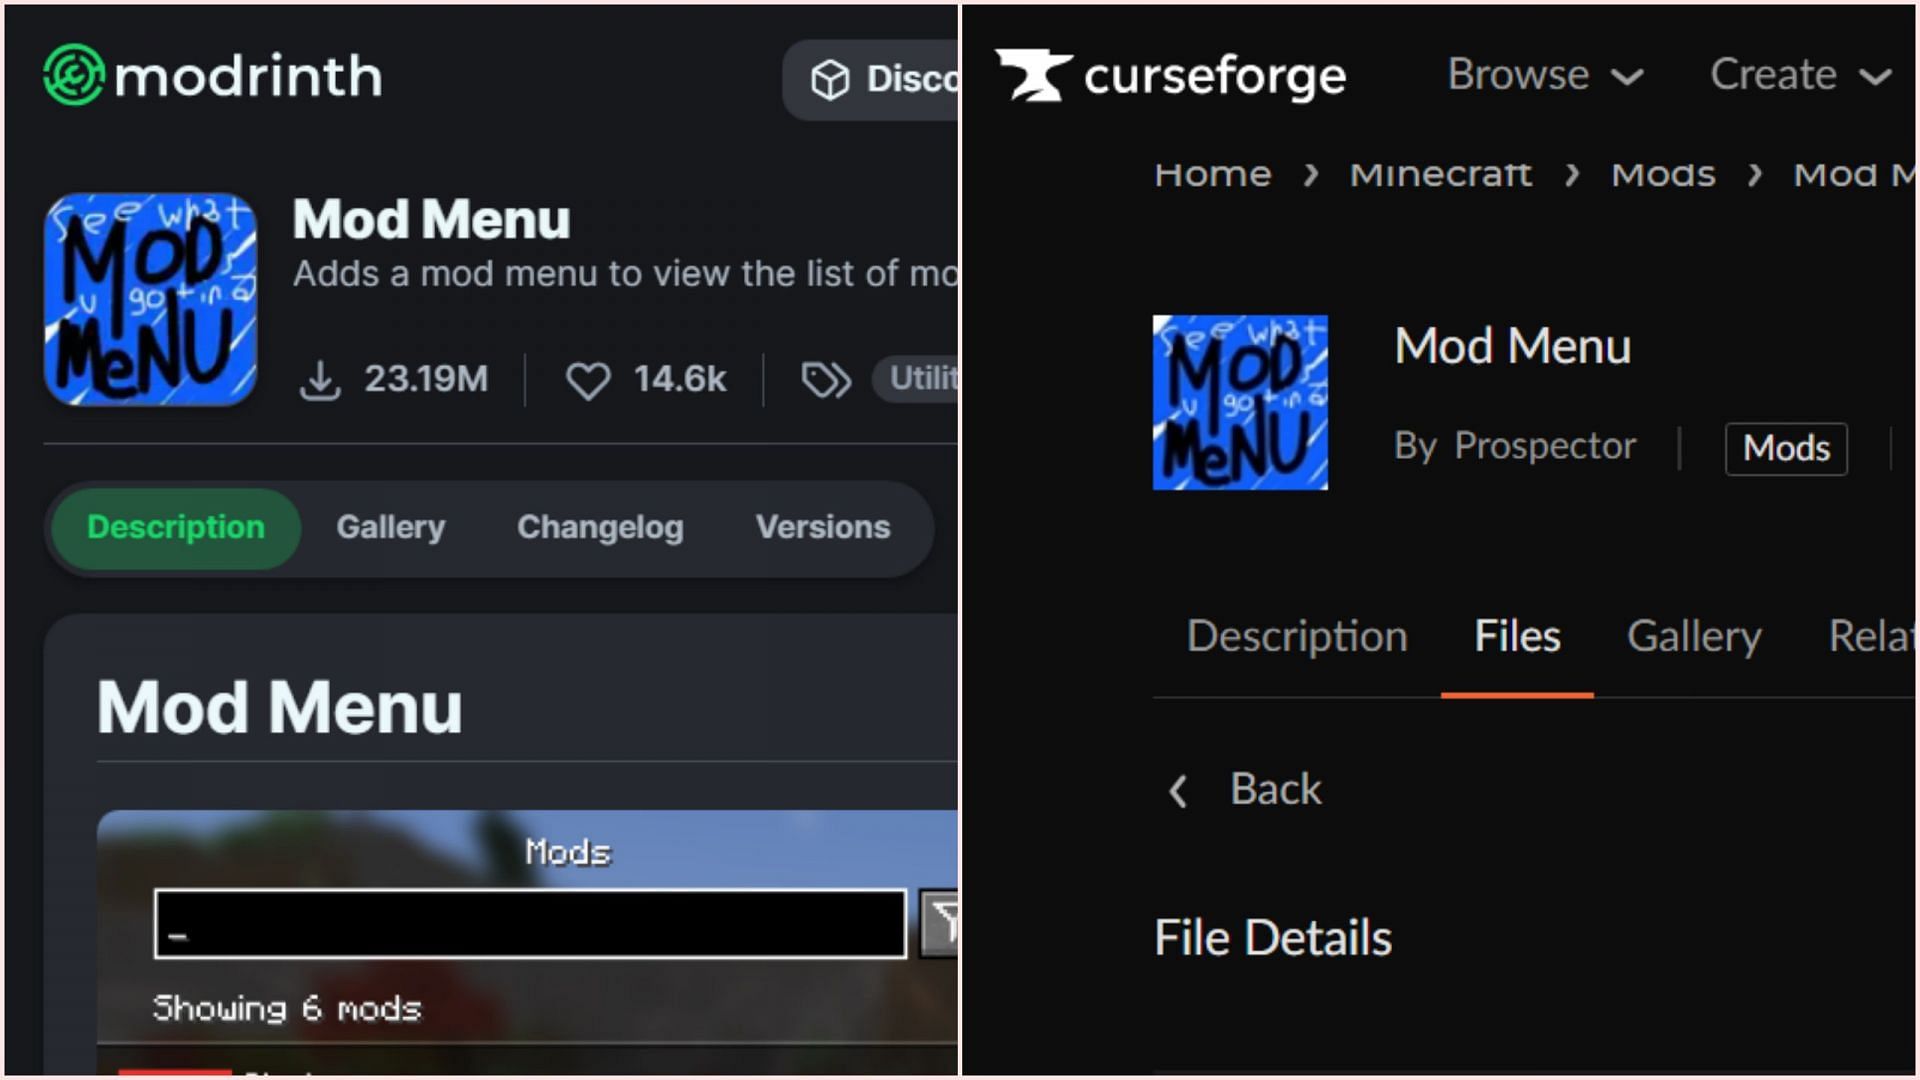
Chart New Territories with the ultimate Minecraft Seed Generator!
CurseForge and Modrinth are considered two of the best websites for Minecraft mods. The Mod Menu can be found on both these websites and can be easily downloaded for the latest 1.21.4 Java Edition version. The download button on both websites will automatically download the latest version of the mod as a .jar file.
Once the file is downloaded, you must paste it in Minecraft's main directory on your device, under the 'mods' folder. The official game directory will usually be present here: C:\Users\admin\AppData\Roaming\.minecraft\mods.
2) Install Fabric API for Mod Menu to work
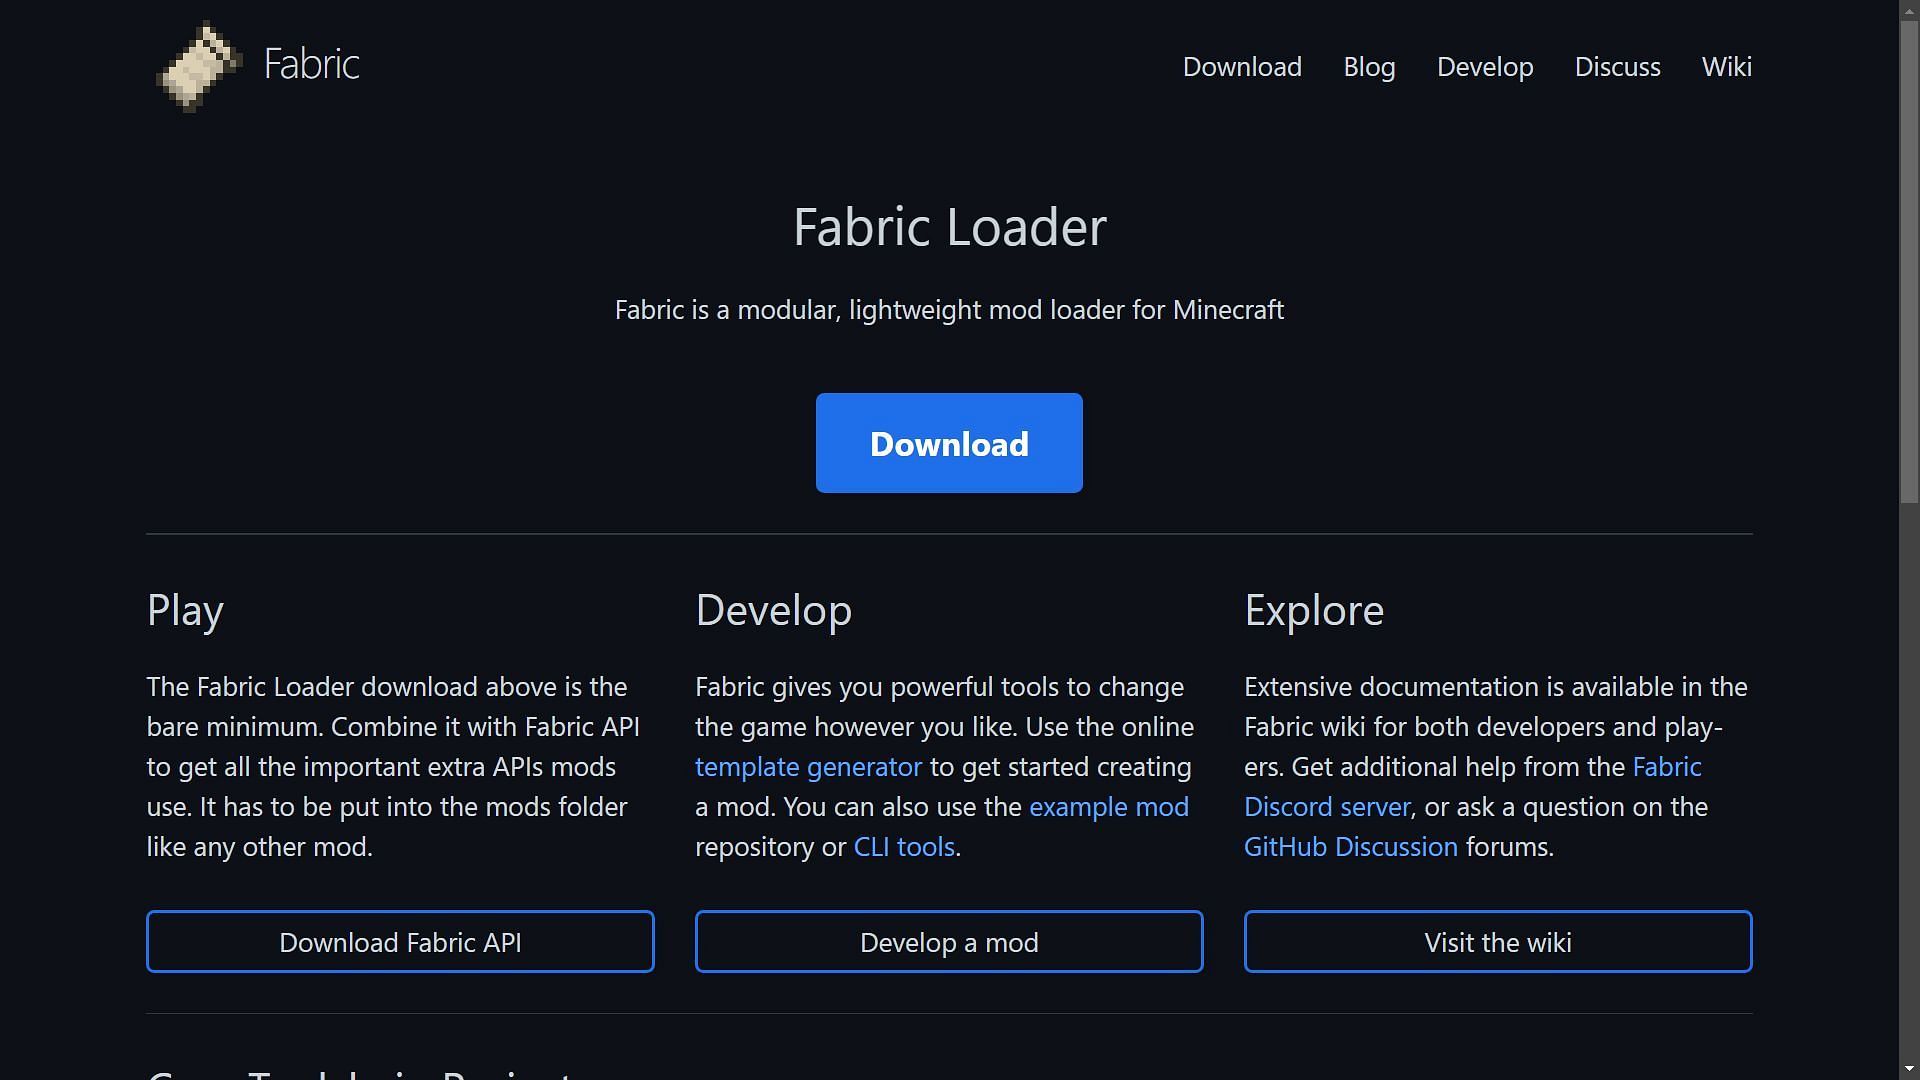
For any mod to run on Minecraft, you need to install a modding API or mod loader. Mod Menu currently supports Fabric and Quilt mod loaders. Since Fabric is more popular and works with thousands of mods, it is recommended and used in this guide.
You can head over to Fabric's official website and download the installer from it. Once you open the installer, you can install the loader for the latest version of Java Edition, which is 1.21.4 as of now. The installer will essentially create a new 1.21.4 Minecraft installation that will appear in the official game launcher.
3) Open the modded game version from the official game launcher
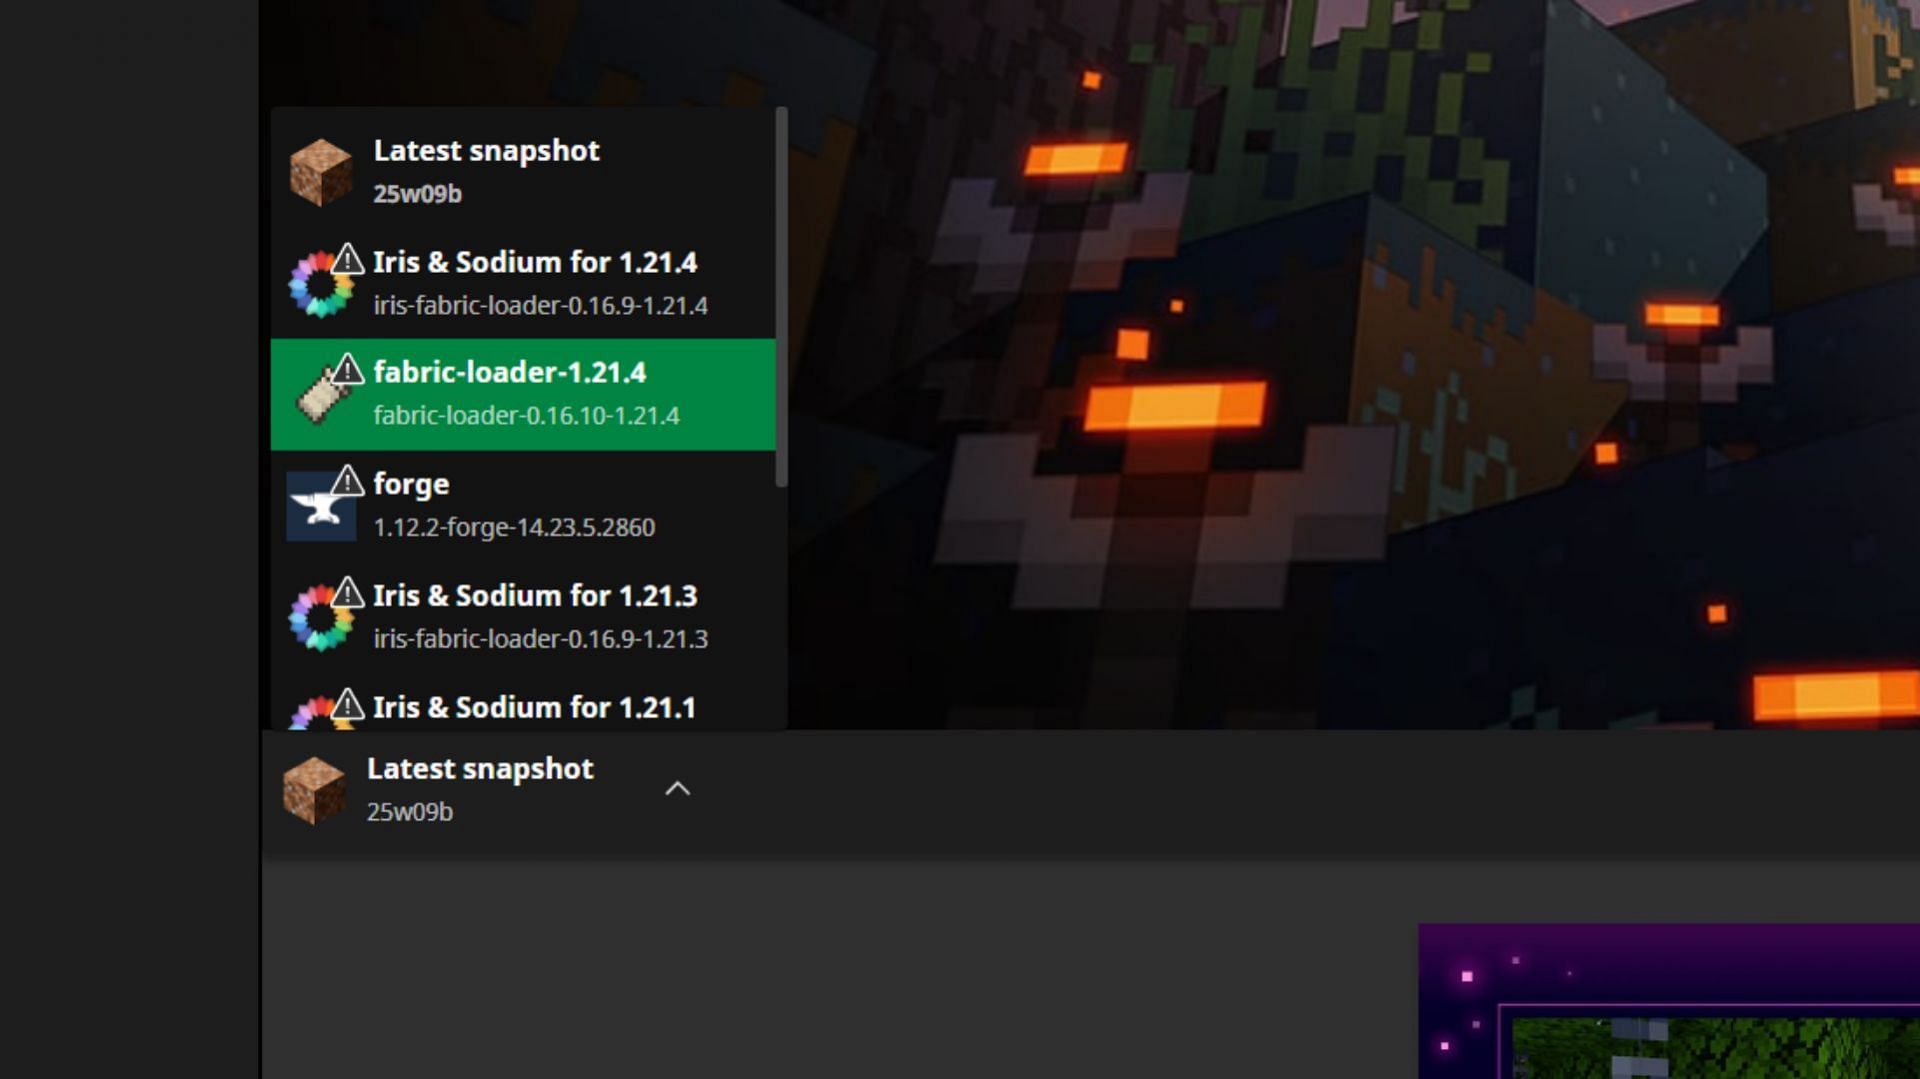
After installing the mod and the Fabric mod loader, you can launch the official game launcher and search for the Fabric modded game version, which should be visible in the drop-down menu.
Simply select the version and hit play. The game should open normally, and you should be able to see an additional 'Mods' tab in the main menu. This means that the Mod Menu is successfully installed.
How to use the Mod Menu
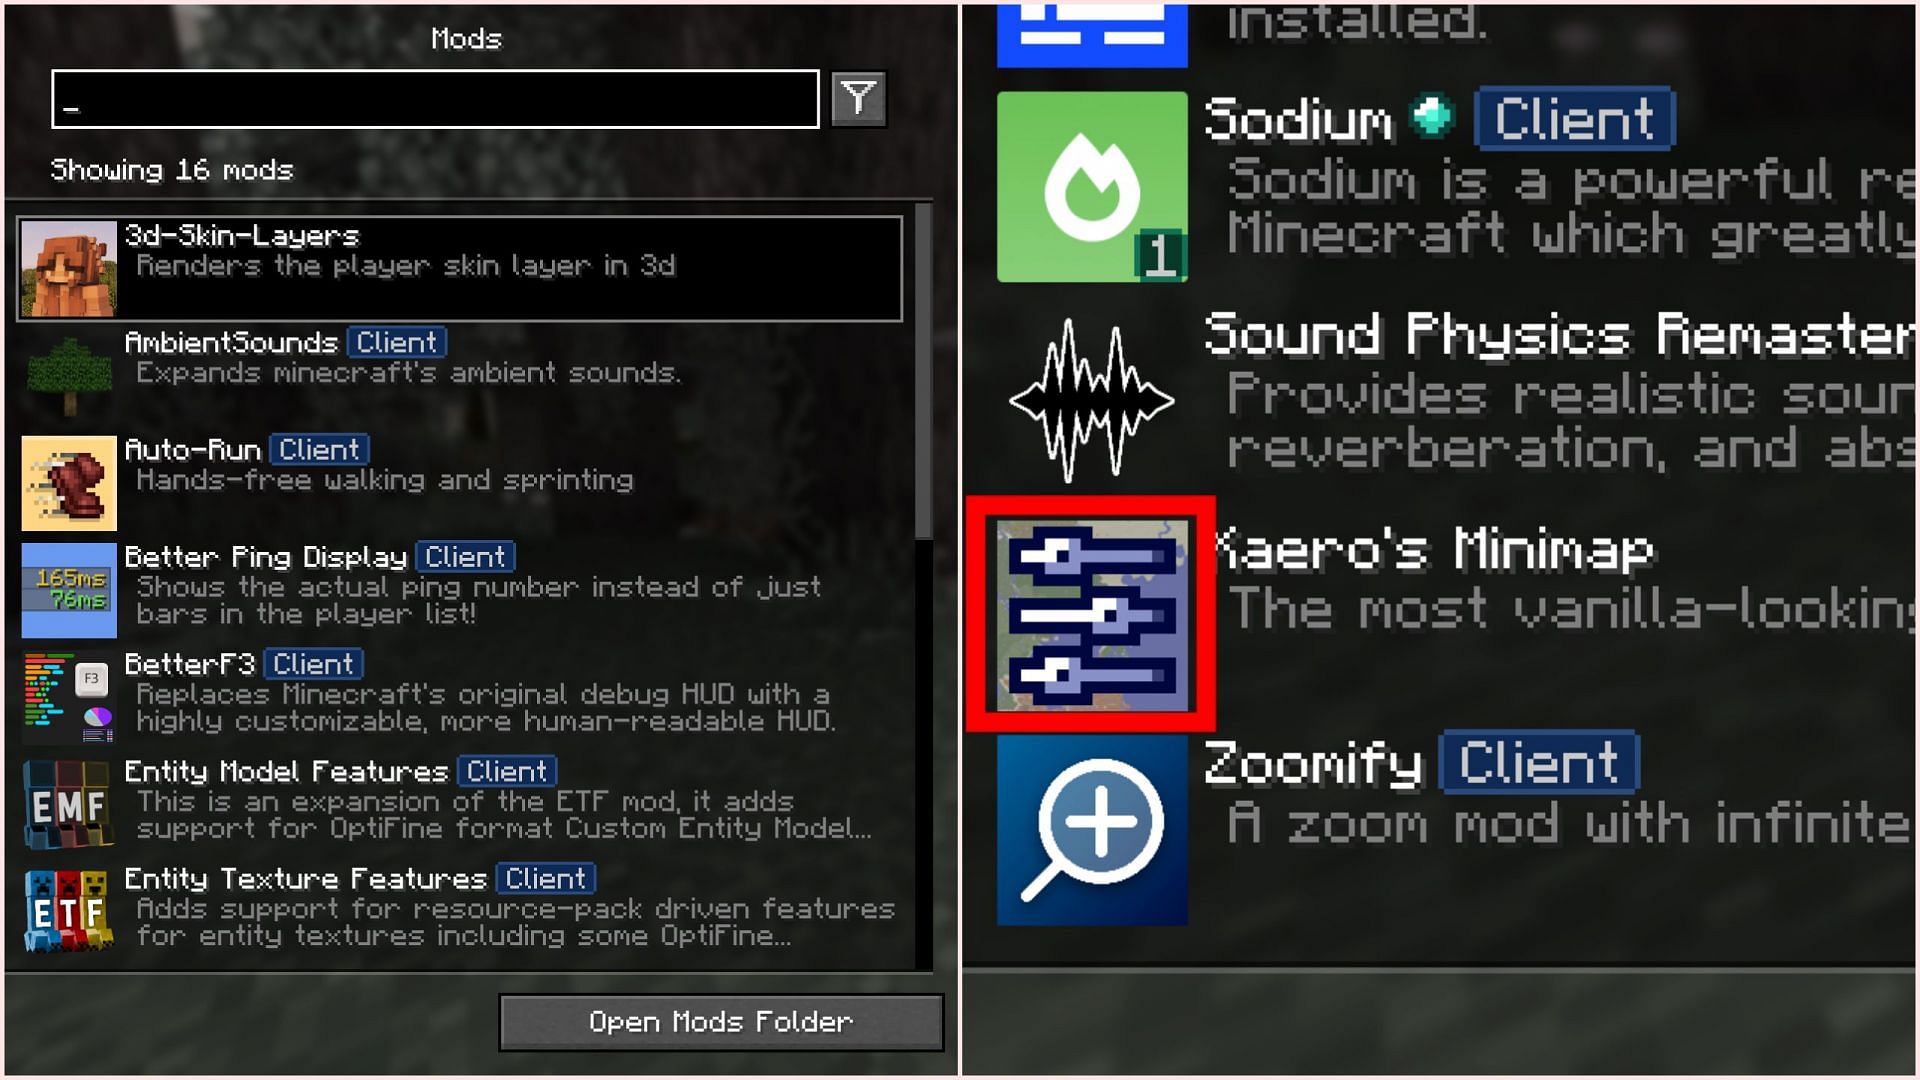
From the main menu or the pause menu, you can head into the mods tab, which will show the list of all the mods you have downloaded and kept in the game directory. The panel on the left will show the list of mods, while the right panel will have a brief description for each entry.
If you want to tweak a mod, simply hover over the square picture each mod has and see if a settings symbol appears on top of it. If it does, then the mod allows some kind of tweaks. You can press on the mod's picture to enter its settings.
For example, in the picture provided above, I have selected Xaero's Minimap mod, which shows the settings symbol, meaning that it can be tweaked using the Mod Menu.
Check out other latest Minecraft articles:
- "the elytra looks god awful": Fans disappointed by elytra's appearance in A Minecraft Movie
- 10 best Minecraft mini games servers in 2025
- How Minecraft caves have improved over the years

Uncover new worlds with our Minecraft Seed Generator!