
'%20x='0'%20y='0'%20height='100%25'%20width='100%25'%20%0A%20%20%20%20%20%20%20%20%20%20xlink%3Ahref='data:image/jpg;base64,/9j/2wBDAAYEBQYFBAYGBQYHBwYIChAKCgkJChQODwwQFxQYGBcUFhYaHSUfGhsjHBYWICwgIyYnKSopGR8tMC0oMCUoKSj/2wBDAQcHBwoIChMKChMoGhYaKCgoKCgoKCgoKCgoKCgoKCgoKCgoKCgoKCgoKCgoKCgoKCgoKCgoKCgoKCgoKCgoKCj/wgARCAAGAAoDASIAAhEBAxEB/8QAFgABAQEAAAAAAAAAAAAAAAAAAAUH/8QAFQEBAQAAAAAAAAAAAAAAAAAAAgP/2gAMAwEAAhADEAAAAMmokl//xAAeEAAABgMBAQAAAAAAAAAAAAABAgMEEiEFERMAk//aAAgBAQABPwBm3bOXLRJJvxKVMQWMmpExqvQxuwEb83xmC4J9Ucr0iEouya38/f/EABgRAQADAQAAAAAAAAAAAAAAAAEAAgMR/9oACAECAQE/ANlKnJ//xAAYEQACAwAAAAAAAAAAAAAAAAAAAgQREv/aAAgBAwEBPwCCi5o//9k='%3E%3C/image%3E%3C/svg%3E)
Though Minecraft can be played through its official launcher, there are multiple websites created around providing all kinds of mods and packs for the game. These websites also have their dedicated launchers from which players can officially play the game and easily manage third-party features with ease.
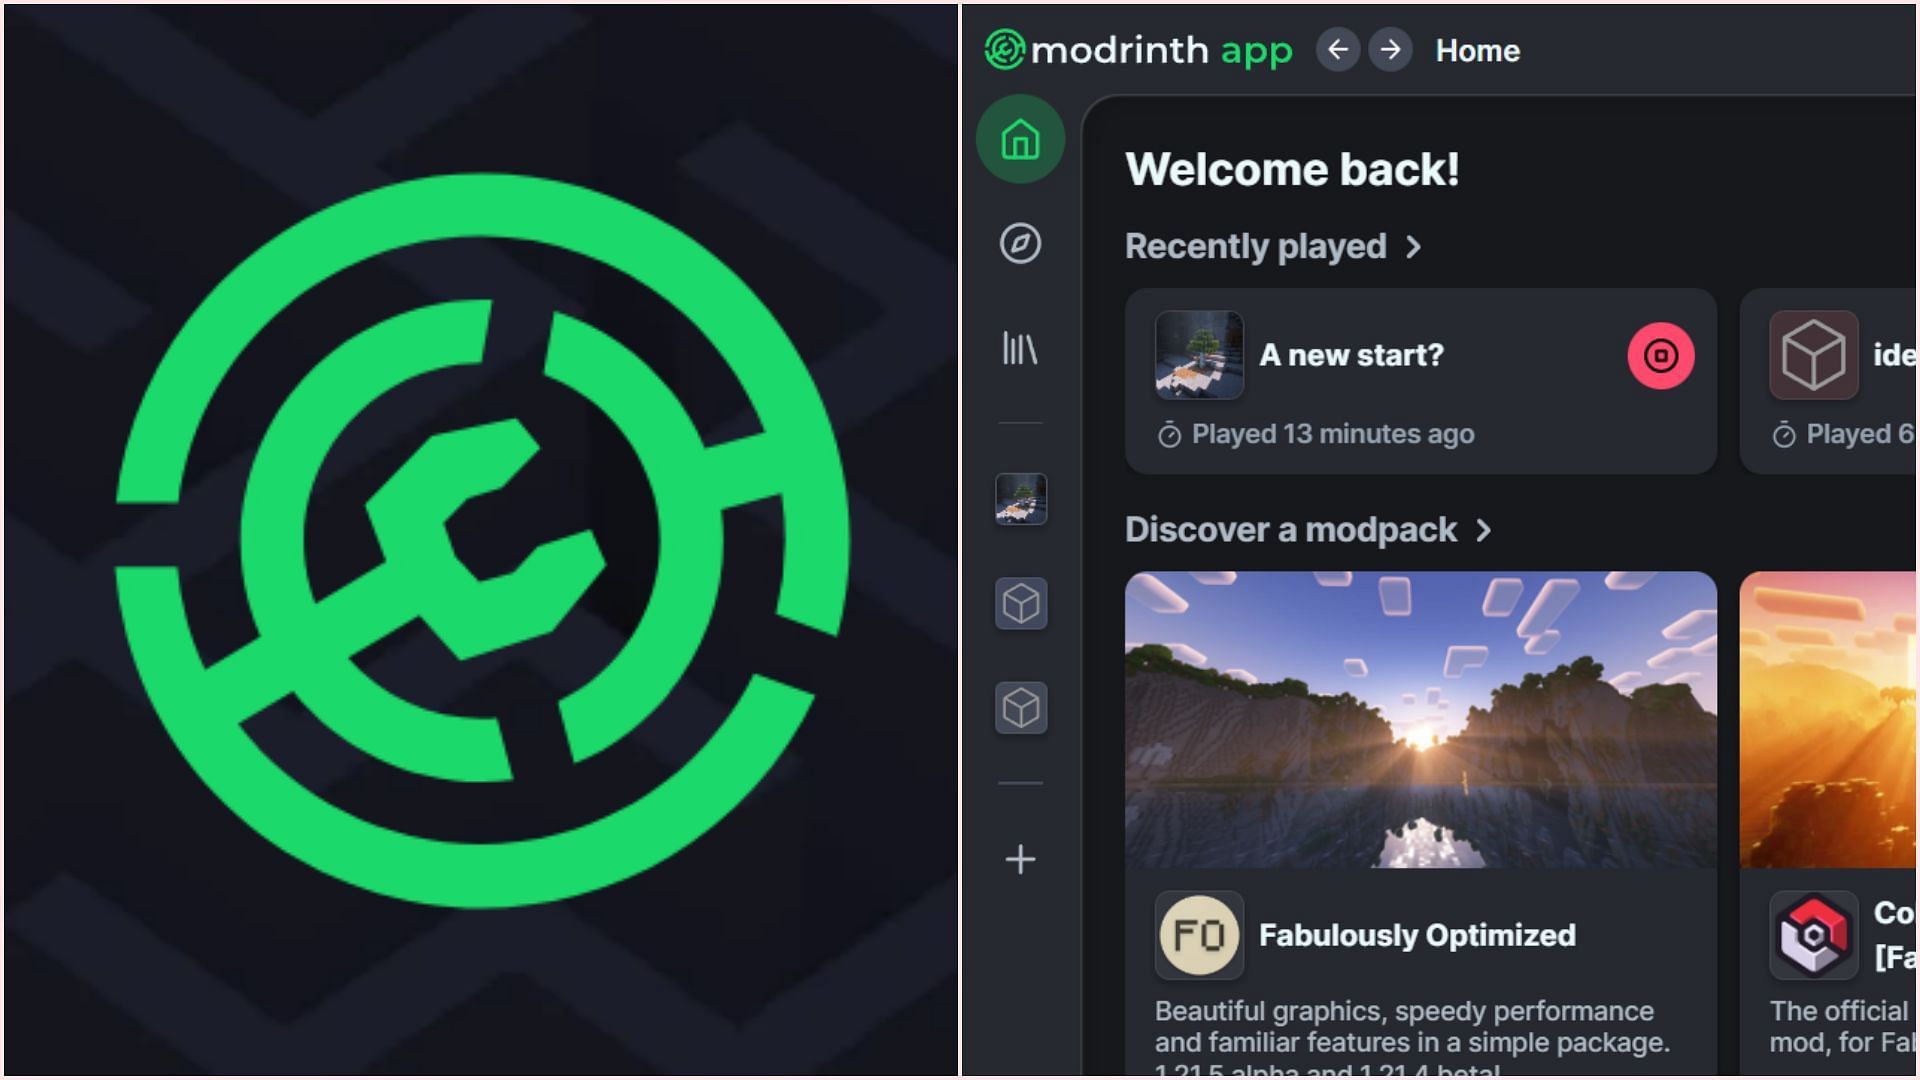
One of the most popular websites that offers mods for the game is called Modrinth. They also have their own Minecraft launcher for playing the game with lots of mods. Here is a short guide for installing and using the Modrinth app.

Steps to install and use the Modrinth App for Minecraft
1) Find and install the Modrinth App
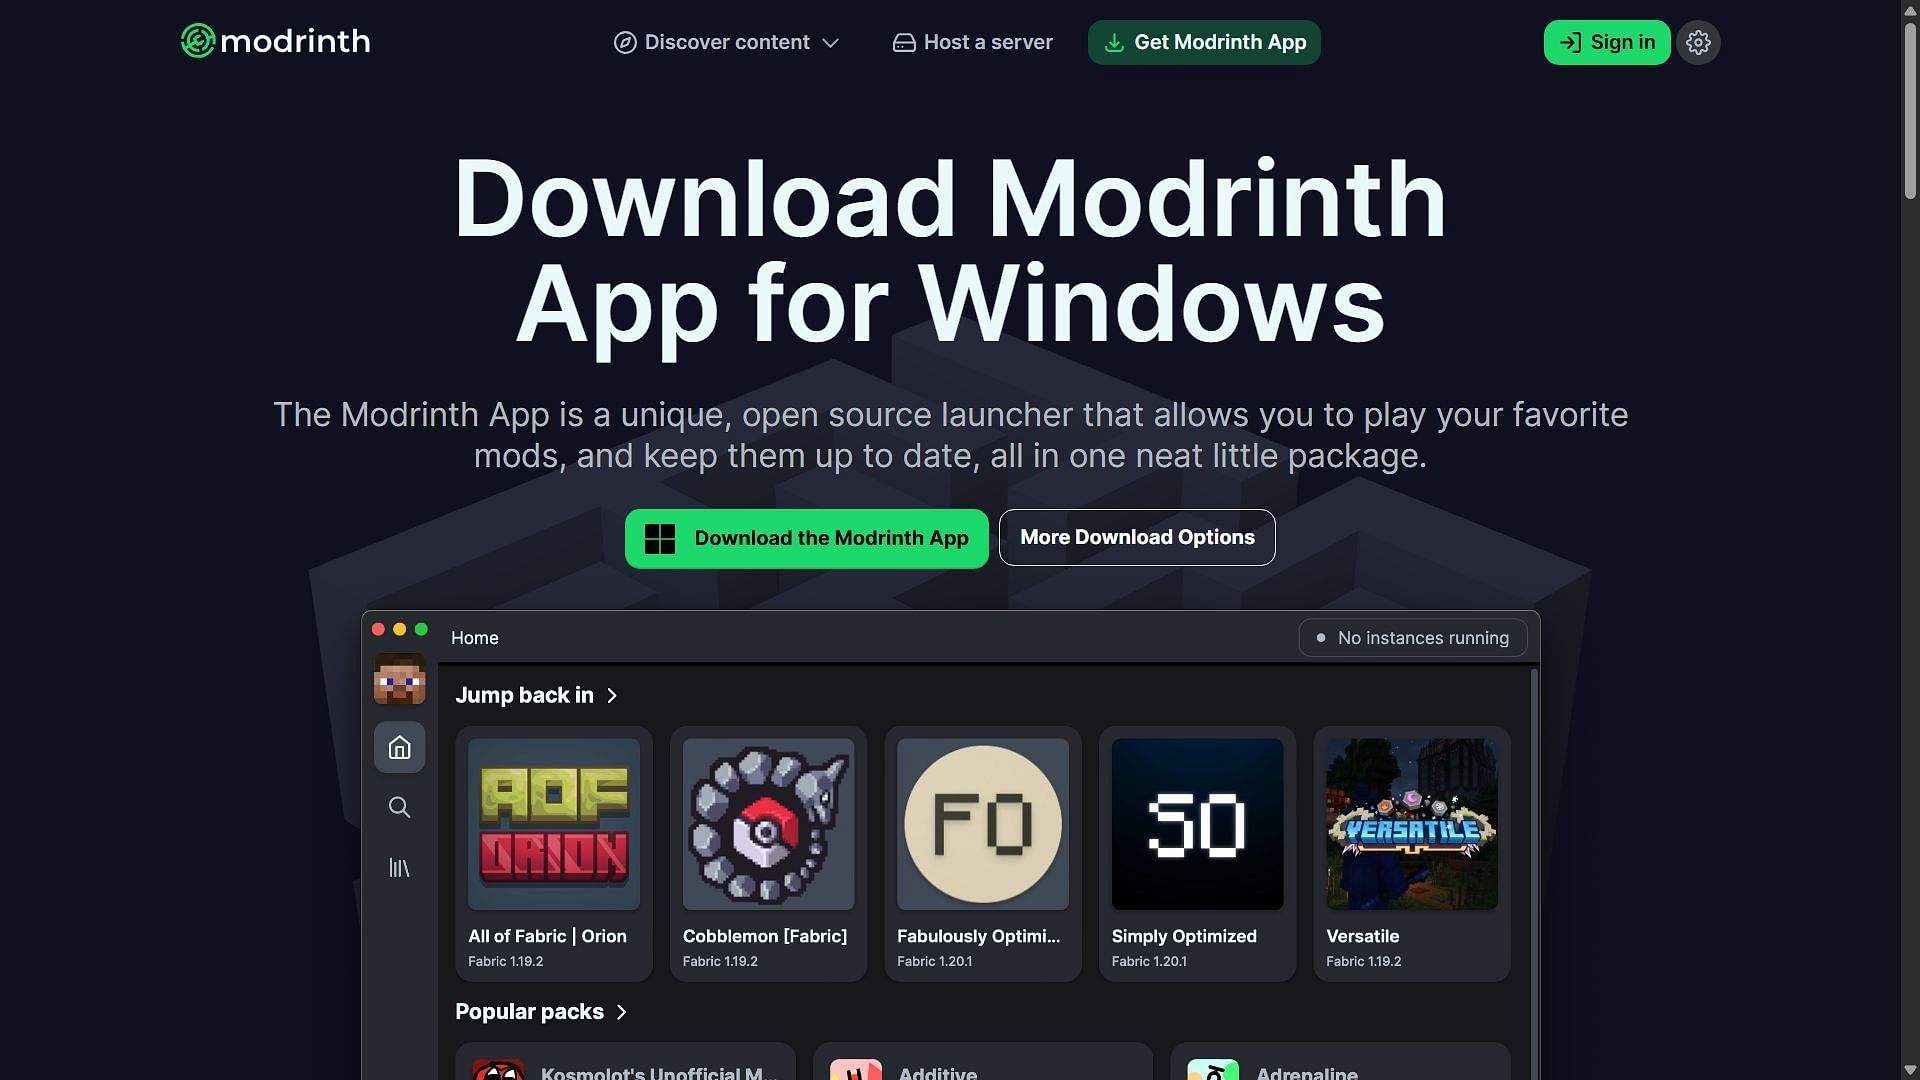
Chart New Territories with the ultimate Minecraft Seed Generator!
First, download the installer for the Modrinth App from its official website. The installer can be downloaded and navigated with ease since it is a fairly simple setup process. You can select the path in which you want to download and install the application.
2) Open the Modrinth App to set it up

Once you have installed the Modrinth App, open it by finding it on your PC. The launcher will open relatively faster than the official game launcher and show you all kinds of modpacks and mods you can download and install.
Before doing so, however, you need to log into your Microsoft account, in which you have the official copy of Java Edition. You can do so by heading to the top right corner of the launcher and adding an account. Once you log in, your gaming username and the face of the current skin applied in Java Edition will show up.
3) Creating a new instance and installing third-party features

After logging in, you can either start exploring Minecraft modpacks from the main screen or create a brand new instance and manually add mods, packs, and shaders. To create a new instance, find a plus button on the left panel of the launcher. Here, you can name the instance, select a mod loader like Fabric or Forge, and then select a game version.
Fabric and Forge are two of the most popular mod loaders through which you can run most mods; hence, they are recommended in this case.
Once you create a new instance, select it from the left panel. When the instance opens, there will be a mod managing screen where an "Install Content" button will be present. The button opens another screen from which you can search and download various mods, shaders, and resource packs for the game. Simply press install on whichever third-party feature you want.
Once it is done, hit the play button from the main instance page and open the modded Minecraft.
If you ran into an error, it will most likely be because some mods need additional mods to work properly. Carefully read the error message and find which additional mods need to be installed.
Check out our latest Minecraft articles:
- 5 best mods to turn Minecraft into a zombie apocalypse game
- Ranking water-related enchantments in Minecraft
- How to transform Minecraft graphics using one mod, shader and resource pack

Uncover new worlds with our Minecraft Seed Generator!