
'%20x='0'%20y='0'%20height='100%25'%20width='100%25'%20%0A%20%20%20%20%20%20%20%20%20%20xlink%3Ahref='data:image/jpg;base64,/9j/2wBDAAYEBQYFBAYGBQYHBwYIChAKCgkJChQODwwQFxQYGBcUFhYaHSUfGhsjHBYWICwgIyYnKSopGR8tMC0oMCUoKSj/2wBDAQcHBwoIChMKChMoGhYaKCgoKCgoKCgoKCgoKCgoKCgoKCgoKCgoKCgoKCgoKCgoKCgoKCgoKCgoKCgoKCgoKCj/wgARCAAGAAoDASIAAhEBAxEB/8QAFgABAQEAAAAAAAAAAAAAAAAAAAIG/8QAFAEBAAAAAAAAAAAAAAAAAAAABf/aAAwDAQACEAMQAAAAvRg6X//EACEQAAEEAgAHAAAAAAAAAAAAAAECAwQFABEGBxQ0VJLi/9oACAEBAAE/ALPmJcyruO5XO9NEqn3VOsEd0kpA0v2xHGlkUJJTE3rx/rP/xAAYEQEAAwEAAAAAAAAAAAAAAAACAAEDBP/aAAgBAgEBPwDt2Y0sm5//xAAYEQEAAwEAAAAAAAAAAAAAAAACAAEEEf/aAAgBAwEBPwDKKZ6p/9k='%3E%3C/image%3E%3C/svg%3E)
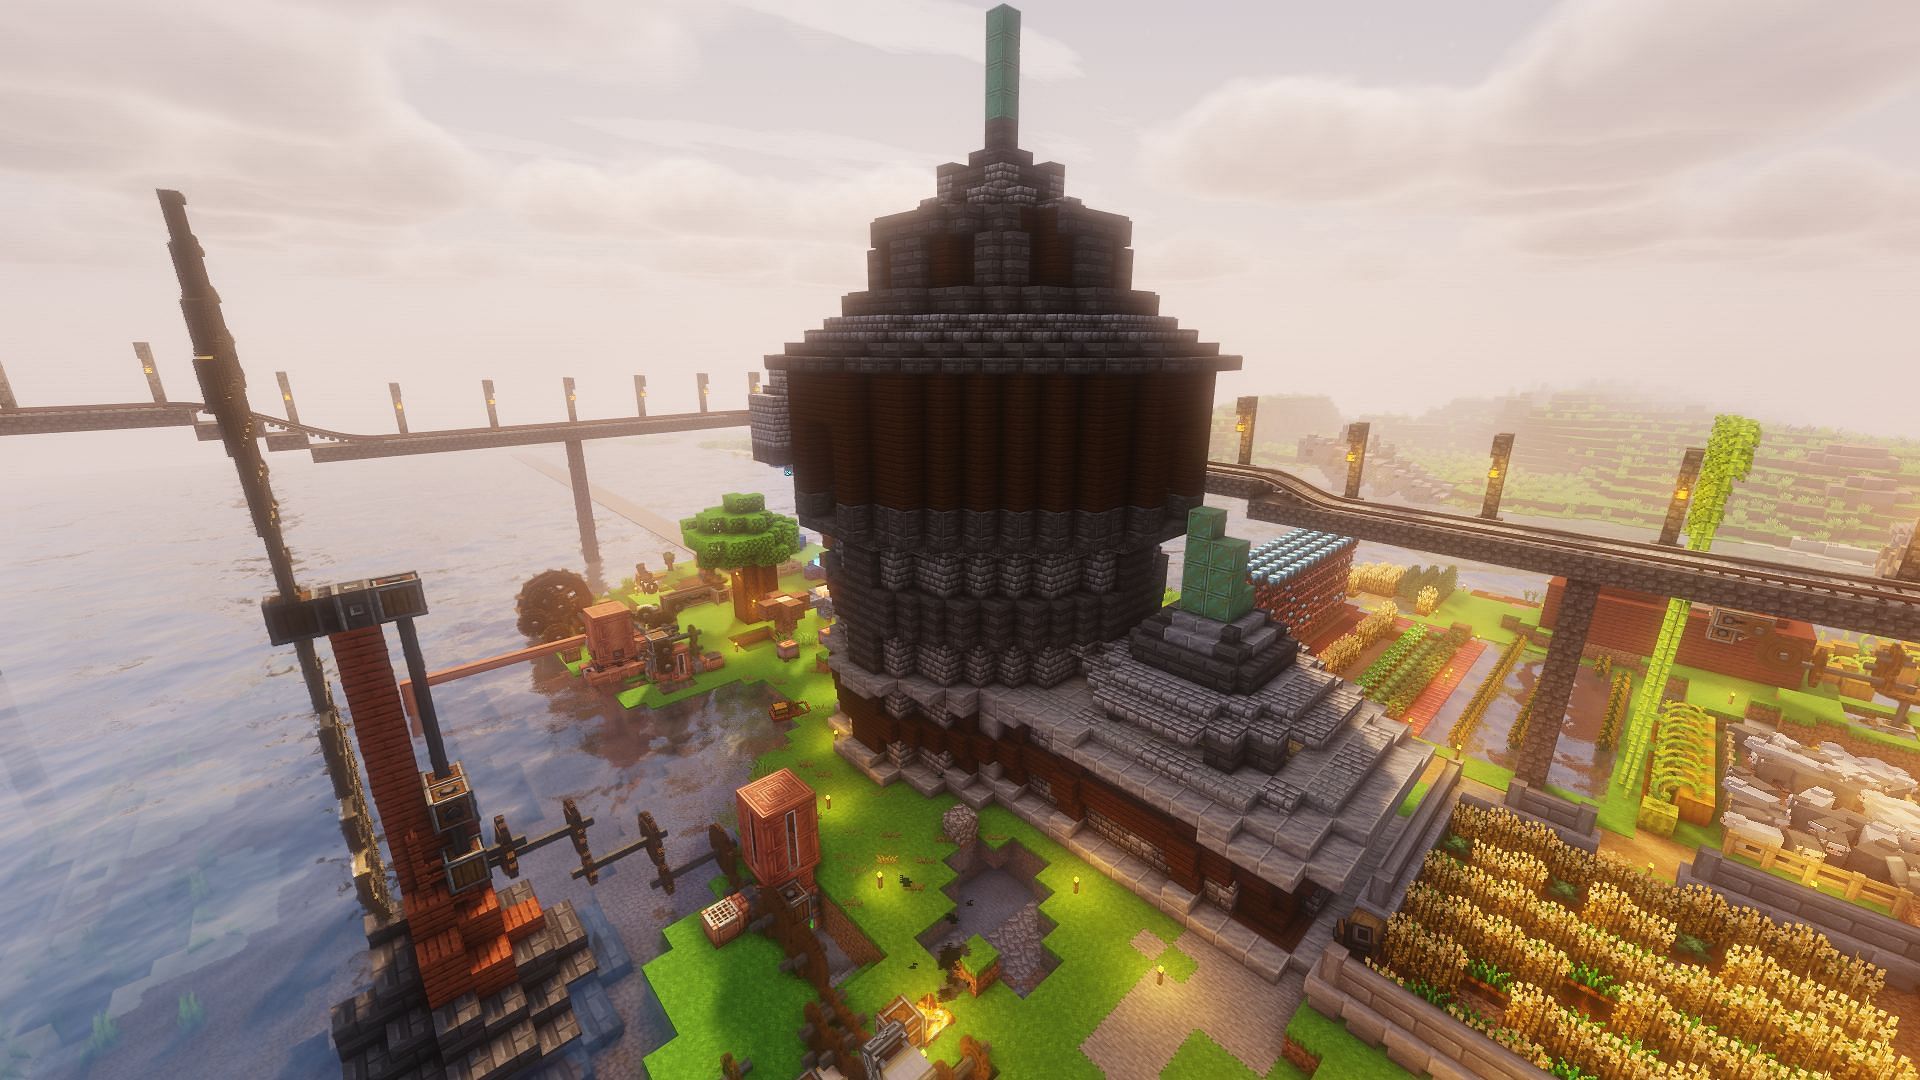
One of the best parts of Minecraft is playing it with friends. There are few things more memorable than killing the ender dragon and working on large-scale builds with buddies. While playing on a public server can scratch that itch, a private server can be much more enjoyable, as there are no strangers to deal with, less lag, and no unpredictable server moderators.
Everything you need to know about making a custom server to play 1.21 with friends can be found detailed below.

How to make a personal Minecraft 1.21 server
1) Install Hamachi

Chart New Territories with the ultimate Minecraft Seed Generator!
The first thing you'll want to do to set up a private Minecraft server is install Hamachi. This program emulates a LAN connection, meaning that players can skip having to do any port forwarding, which is normally one of the most complex parts of custom servers.
2) Create a network
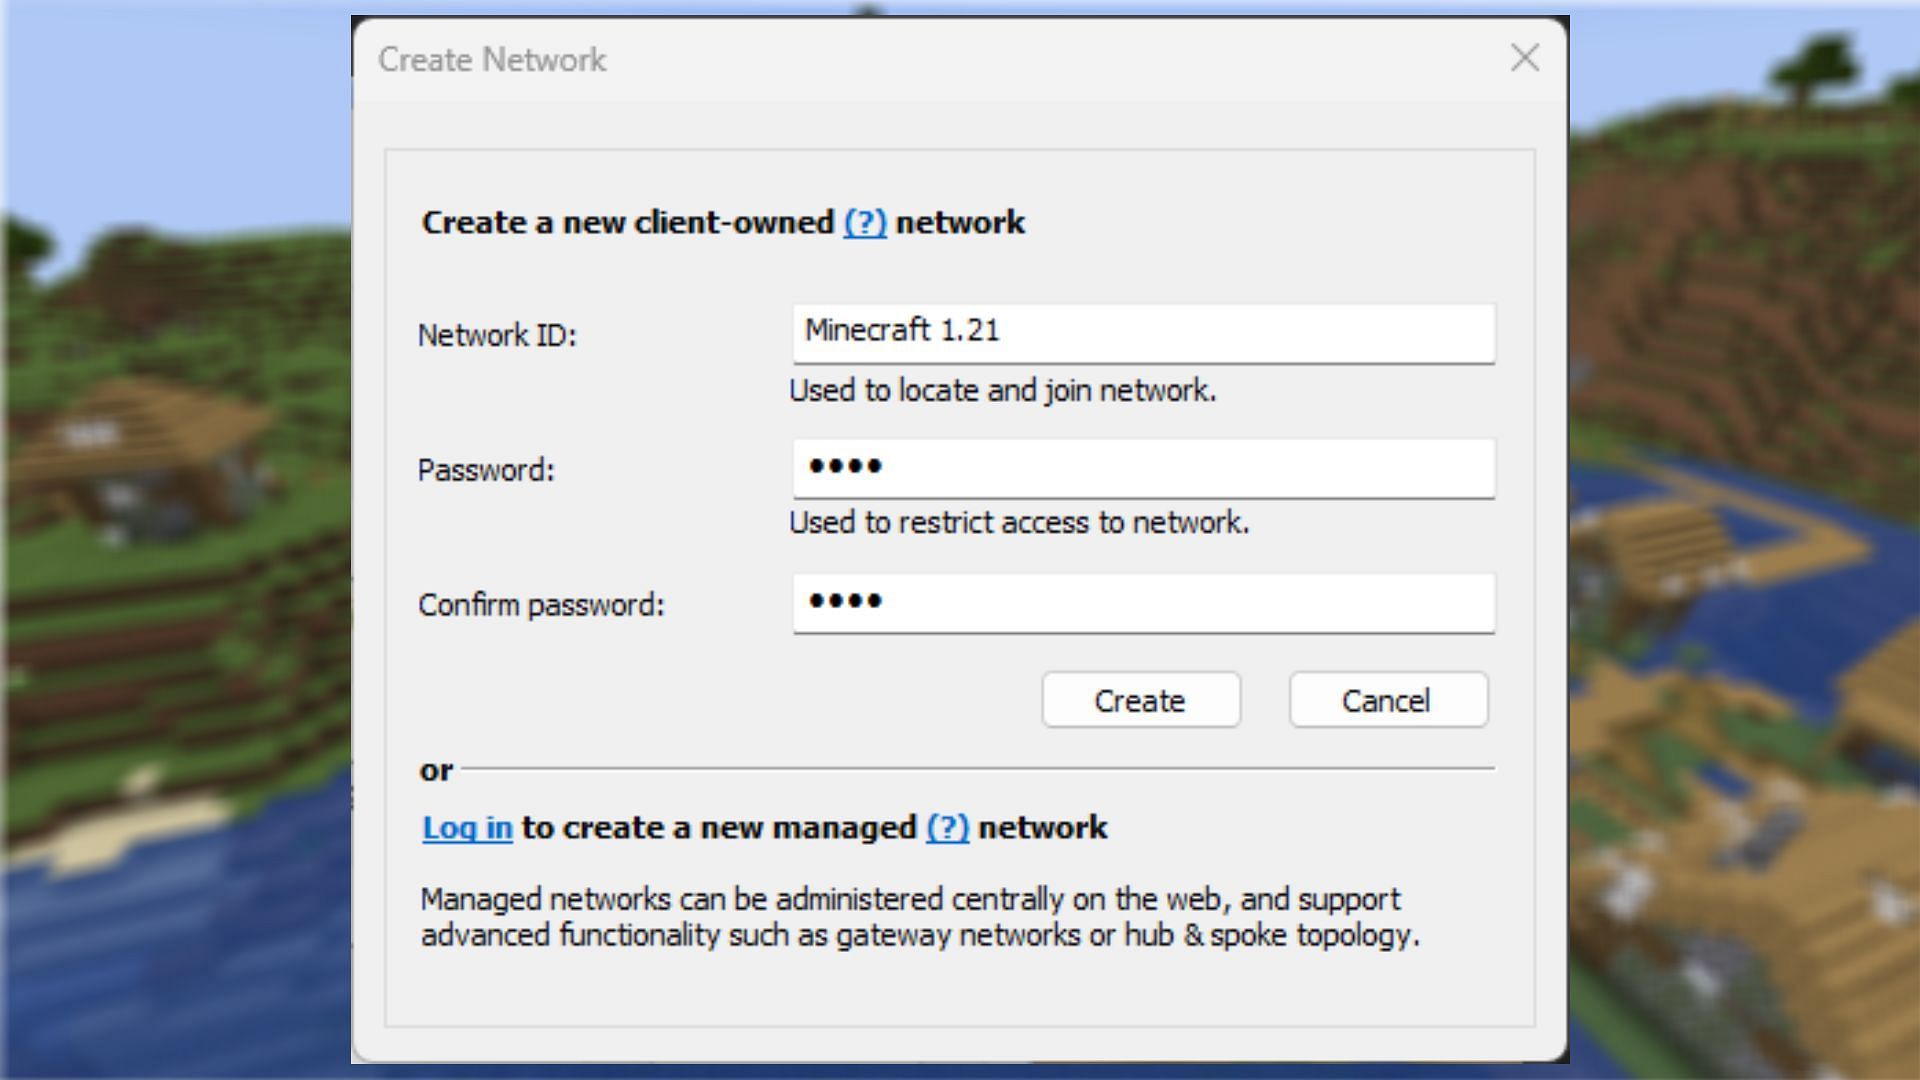
With Hamachi installed and launched, you'll want to take note of the IPv4 address it gives you. You'll also need to create a network for friends to join. Hit the "Network" button, and select "Create a new network" from the list of options. Give it a name and a password. Make sure to note down this password, as your friends will need it to join.
3) Get and run the server jar
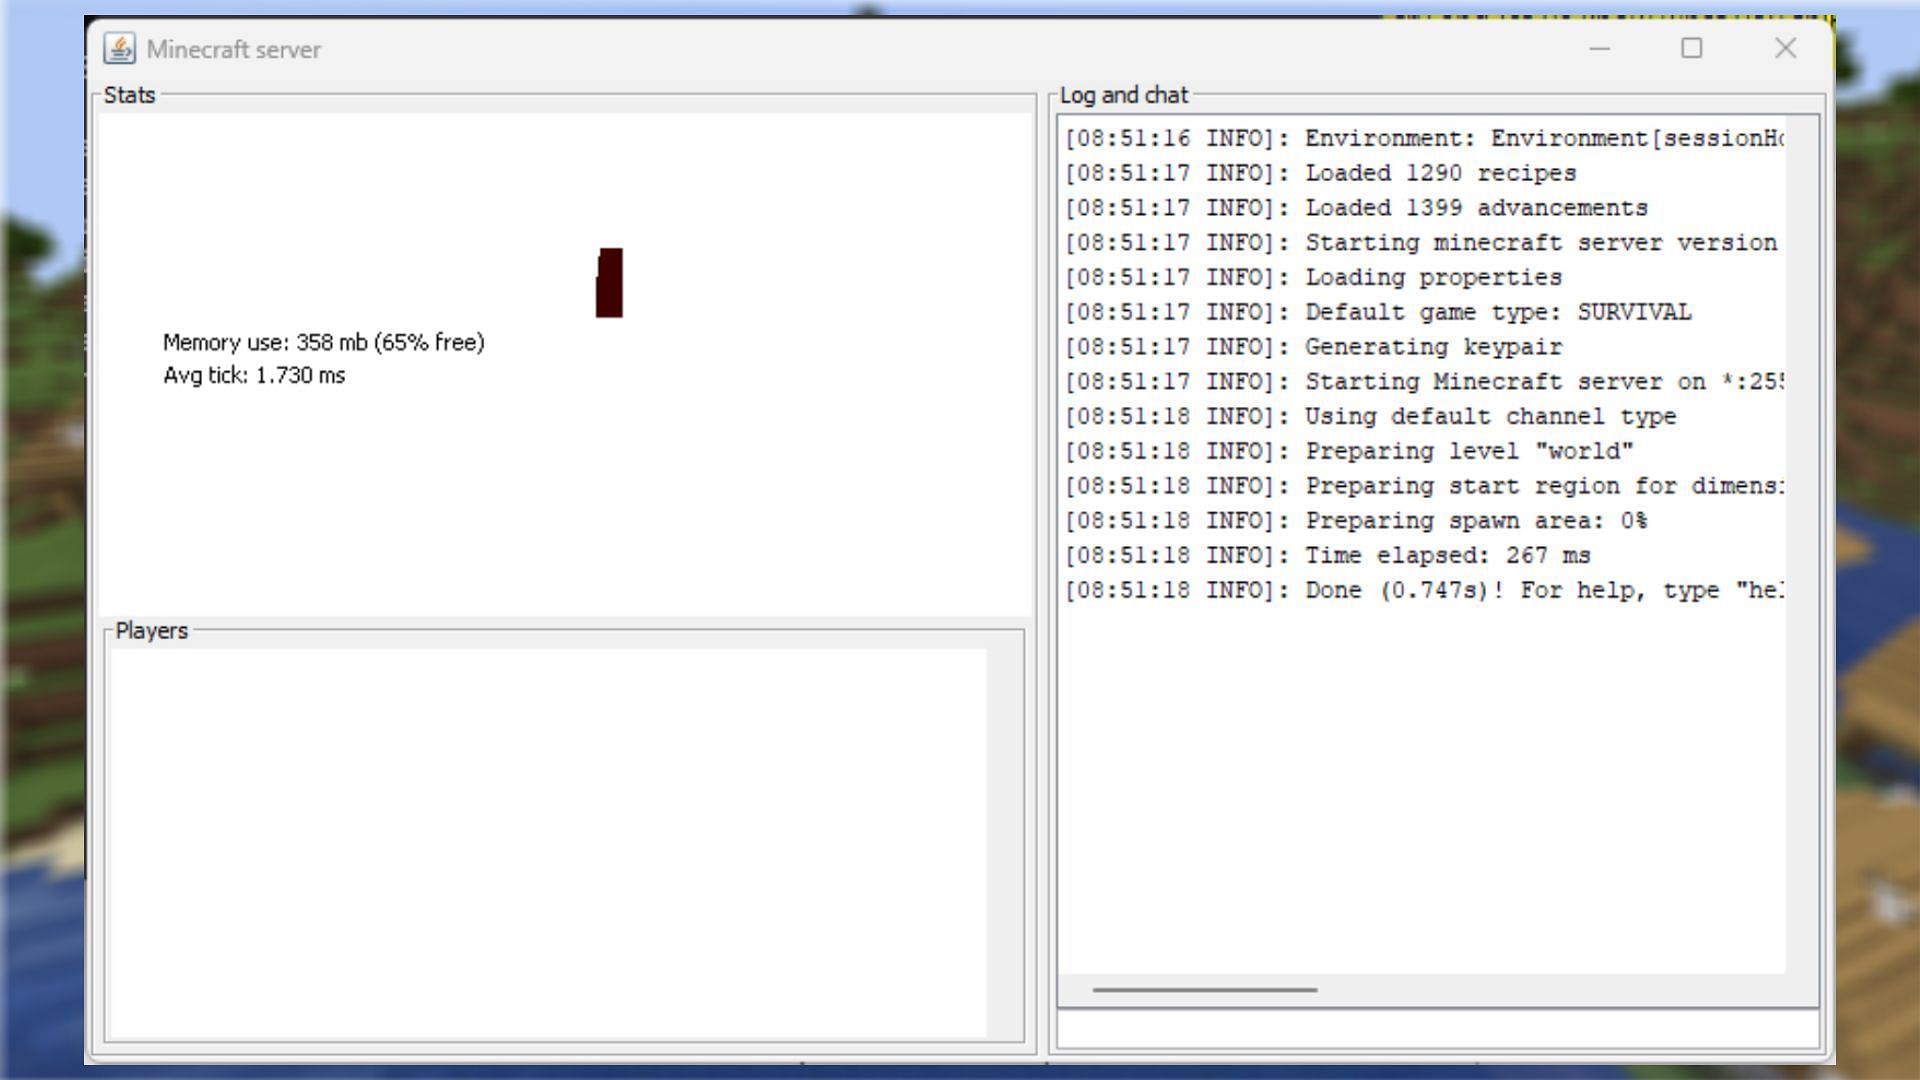
The next thing you'll want to do is download 1.21's jar file. This is the server file itself. Put this into its own folder, properly named, so that you can remember it as your Minecraft 1.21 server. Then run the jar file once. If you have Java 21 installed, a few items should populate the server's folder.
Some Minecraft mods have custom jar files, so keep an eye out for that if using a modpack. Having a pre-made jar file makes using modded content on a server much easier.
4) Change the EULA and make a batch file
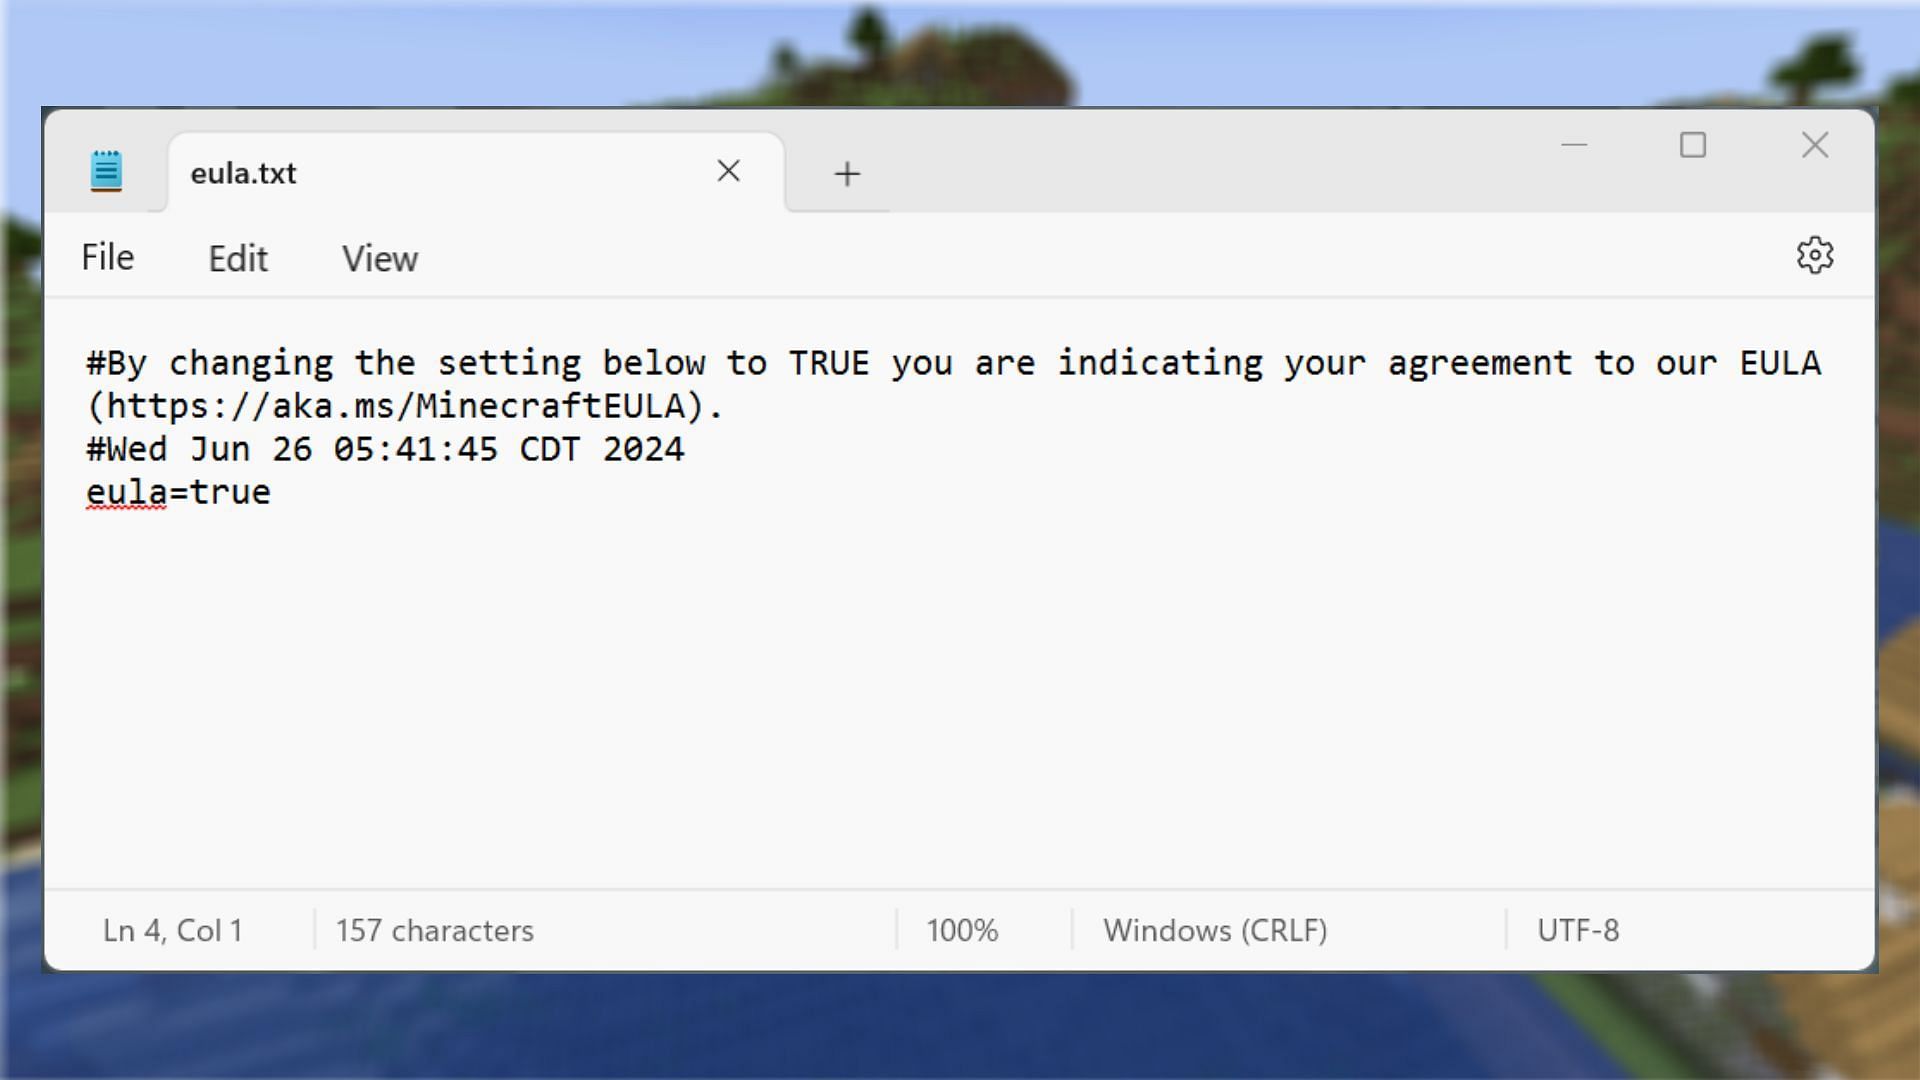
The most important one for now is the EULA. This is a text file that needs to be edited before the server will start. Open the file, change "eula=false" to "eula=true" and save the new text. Then re-run the jar. This will fully launch the server for the first time.
The next thing you'll want to do is create a batch file. This is a file that can automatically open the jar file using preset Minecraft settings. Create a new text document using "start.bat" as the name. If you have file extensions set to show, this will change the file type from a text document into a batch file. Open this in a text editor and paste the following line: java -Xmx1024M -Xms1024M -jar server.jar
The 1024 can be replaced with however much RAM you want to dedicate to the server. Four gigabytes is the recommended minimum, but more is always better, as it boosts Minecraft's FPS and reduces server lag.
5) Join the server and play
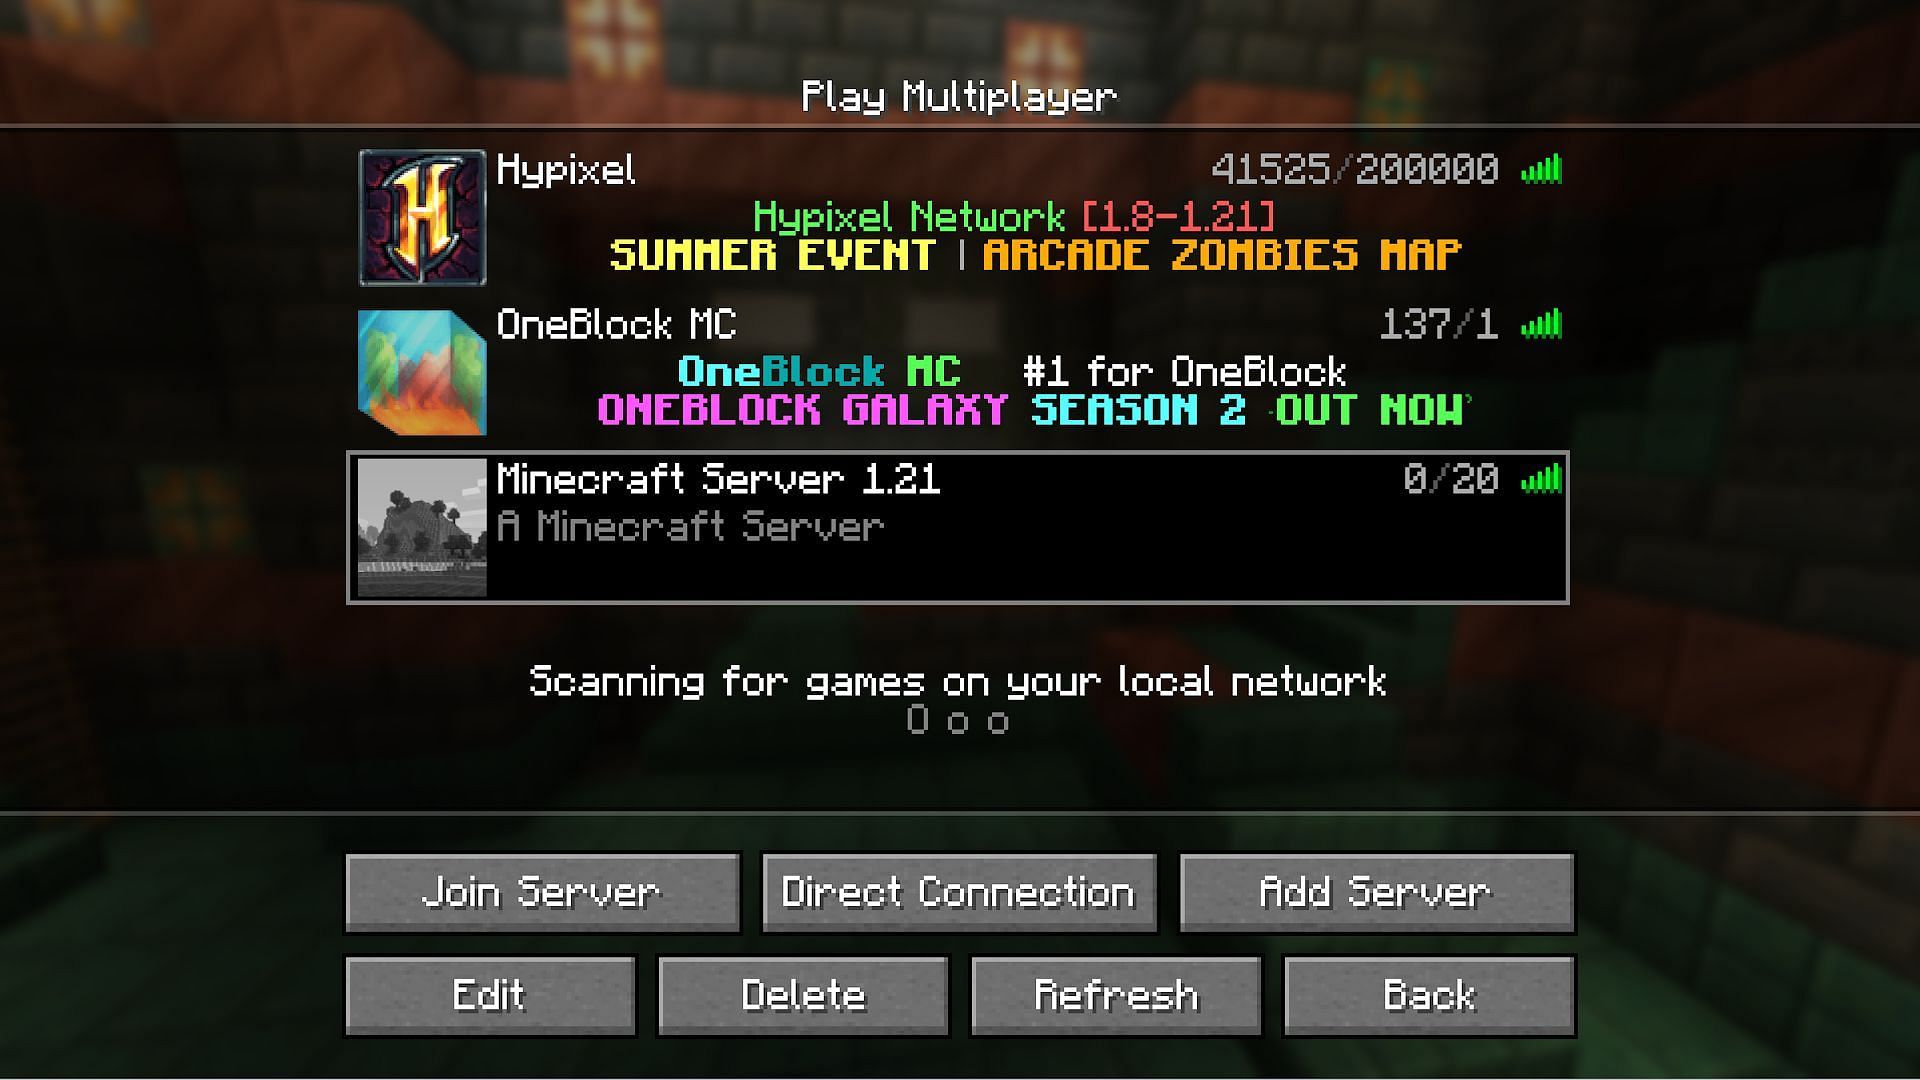
Once the batch file is made, use it to launch the server. Then open up the game and use the IP found within Hamachi to connect to it. Assuming everything has been set up properly, you should be able to join without issues.

Uncover new worlds with our Minecraft Seed Generator!