
'%20x='0'%20y='0'%20height='100%25'%20width='100%25'%20%0A%20%20%20%20%20%20%20%20%20%20xlink%3Ahref='data:image/jpg;base64,/9j/2wBDAAYEBQYFBAYGBQYHBwYIChAKCgkJChQODwwQFxQYGBcUFhYaHSUfGhsjHBYWICwgIyYnKSopGR8tMC0oMCUoKSj/2wBDAQcHBwoIChMKChMoGhYaKCgoKCgoKCgoKCgoKCgoKCgoKCgoKCgoKCgoKCgoKCgoKCgoKCgoKCgoKCgoKCgoKCj/wgARCAAGAAoDASIAAhEBAxEB/8QAFgABAQEAAAAAAAAAAAAAAAAAAAMF/8QAFAEBAAAAAAAAAAAAAAAAAAAABv/aAAwDAQACEAMQAAAA1aARZ//EAB8QAAICAgEFAAAAAAAAAAAAAAEDAgQAIRESE0GRsf/aAAgBAQABPwBaLs7F1K2JQmMVwp9seSOSWa+Z1ujqaK8pDRIkRyfWf//EABgRAAIDAAAAAAAAAAAAAAAAAAABAhES/9oACAECAQE/AJvVJn//xAAWEQADAAAAAAAAAAAAAAAAAAAAAiH/2gAIAQMBAT8AWH//2Q=='%3E%3C/image%3E%3C/svg%3E)
Iron is by far the most useful metal in Minecraft. In the mid-game, iron is essential for making tools, armor, and shields, while late-game players will find themselves using stack after stack of iron to make advanced components like hoppers and crafters. This makes having an abundant source of iron one of the most important things for long-term survival in any world.
Thankfully, some iron farms can be made within the first few days of a world, as a result of how inexpensive their components are. An efficient yet cheap starter iron farm is detailed below for players who want to avoid spending any more time manually mining for iron.

How to make a starter iron farm for Minecraft 1.21
Materials
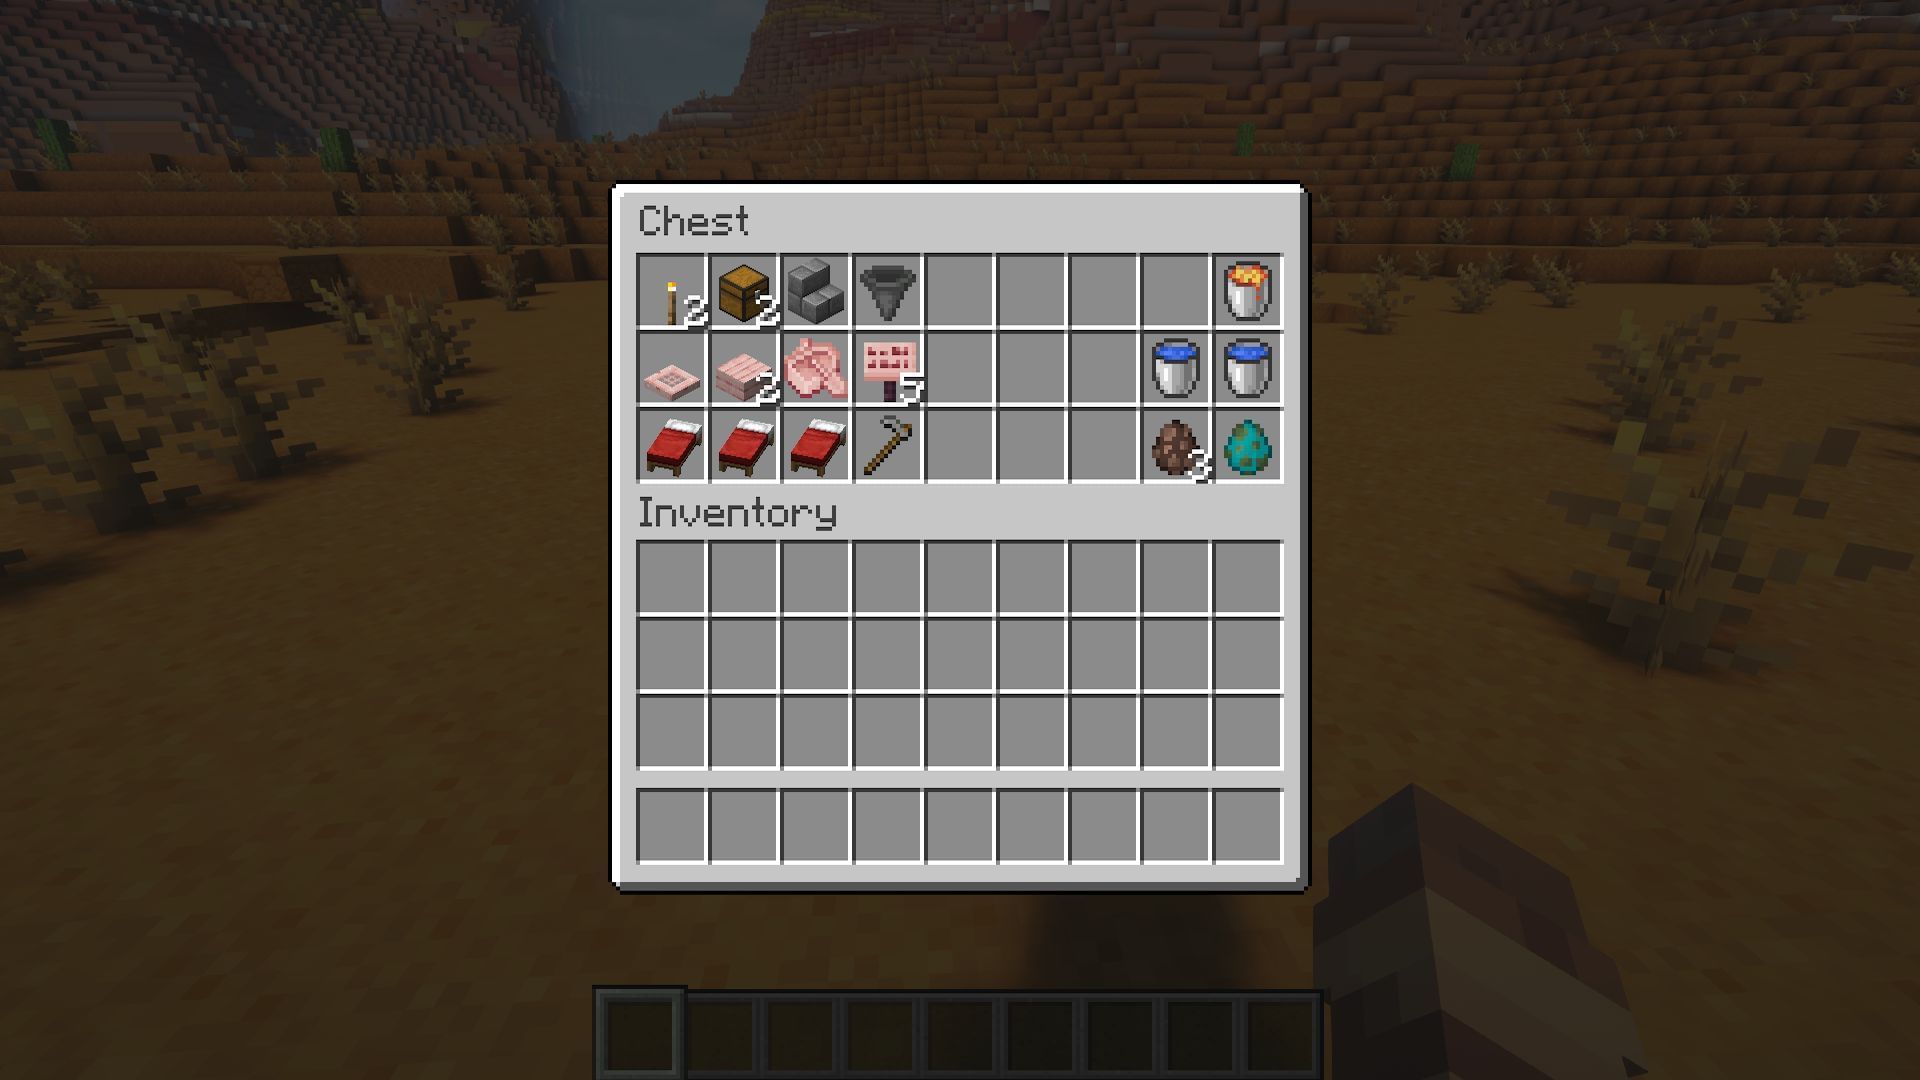
Chart New Territories with the ultimate Minecraft Seed Generator!
What makes this iron farm design great is that none of the materials needed are particularly expensive.
The most expensive materials needed early on are probably the three beds, as wool might not be very abundant before players have a chance to set up a Minecraft wool farm.
1) Find a flat spot
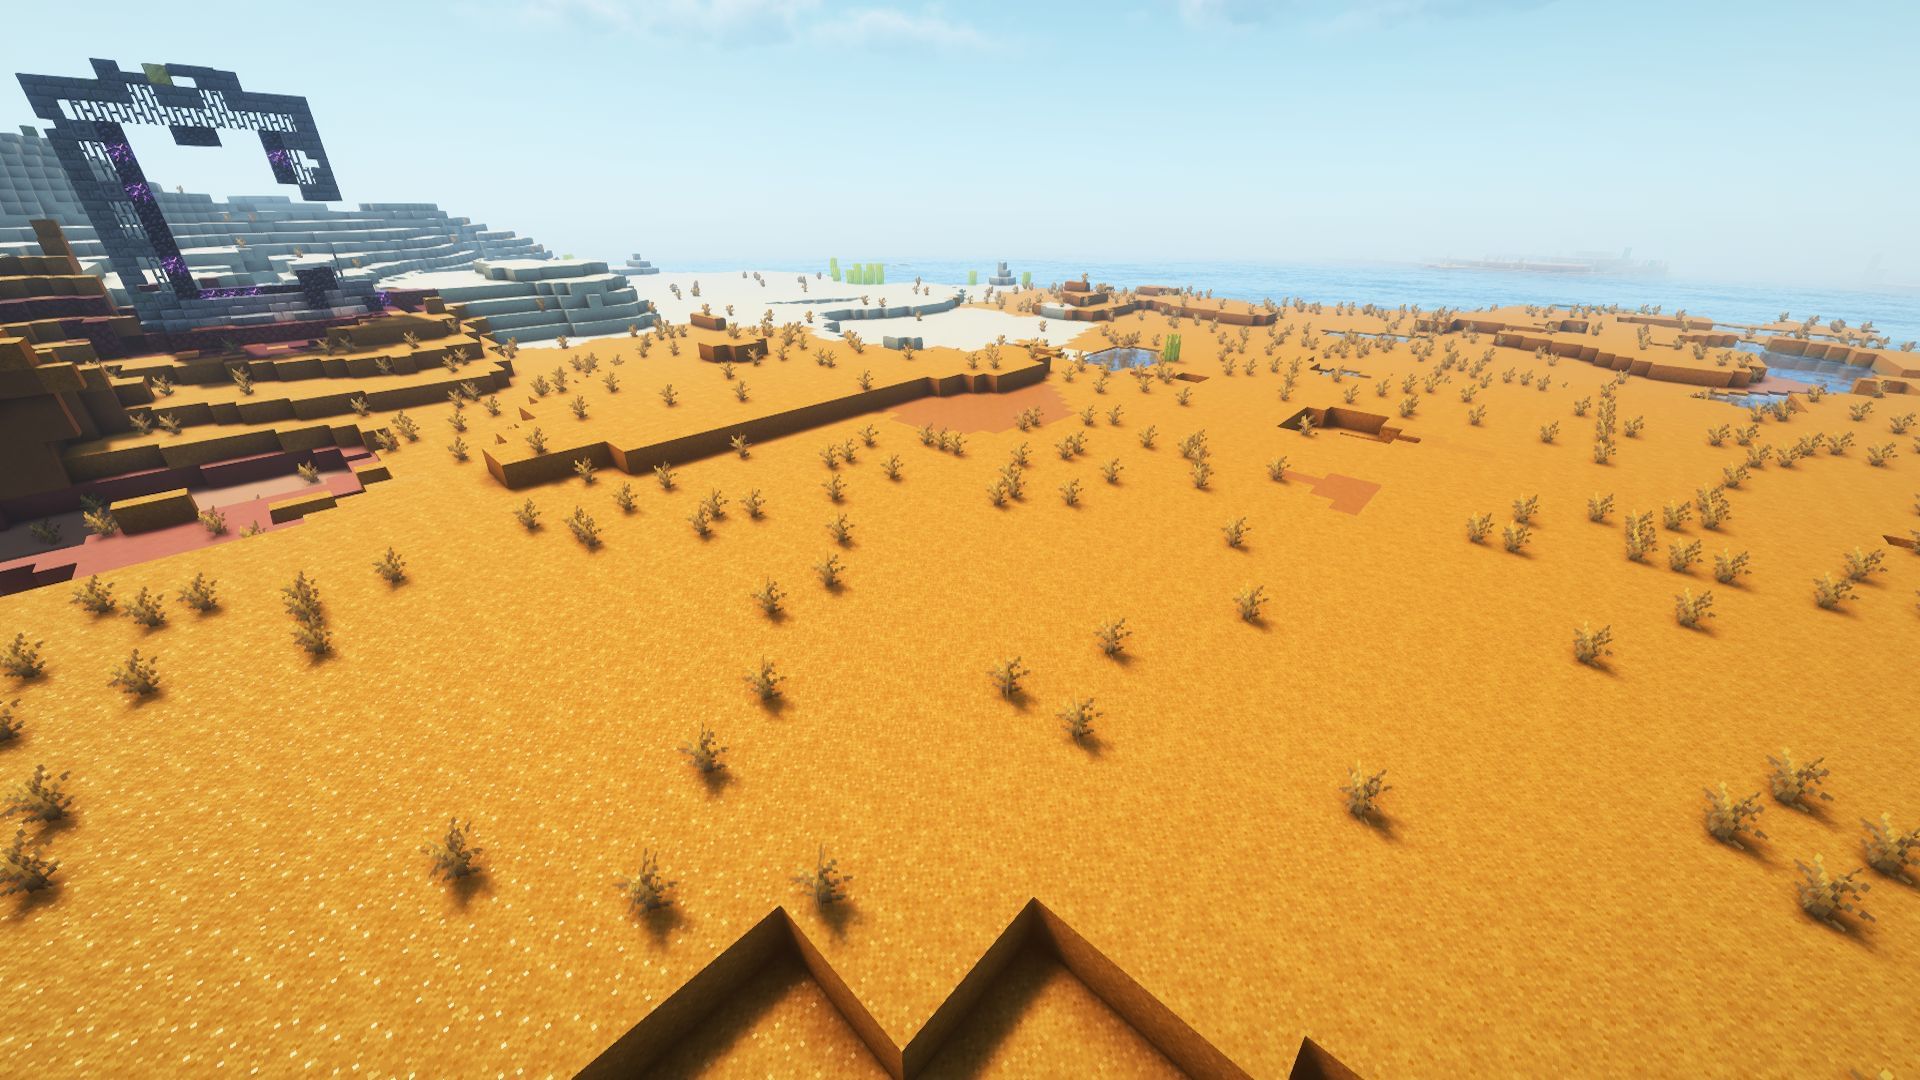
Before you commit to actually building the farm, you'll want to find a nice, flat spot. Hills and slopes can cause golems to spawn in undesired places, making a moderately sized flat area a requirement for a good starter iron Minecraft farm.
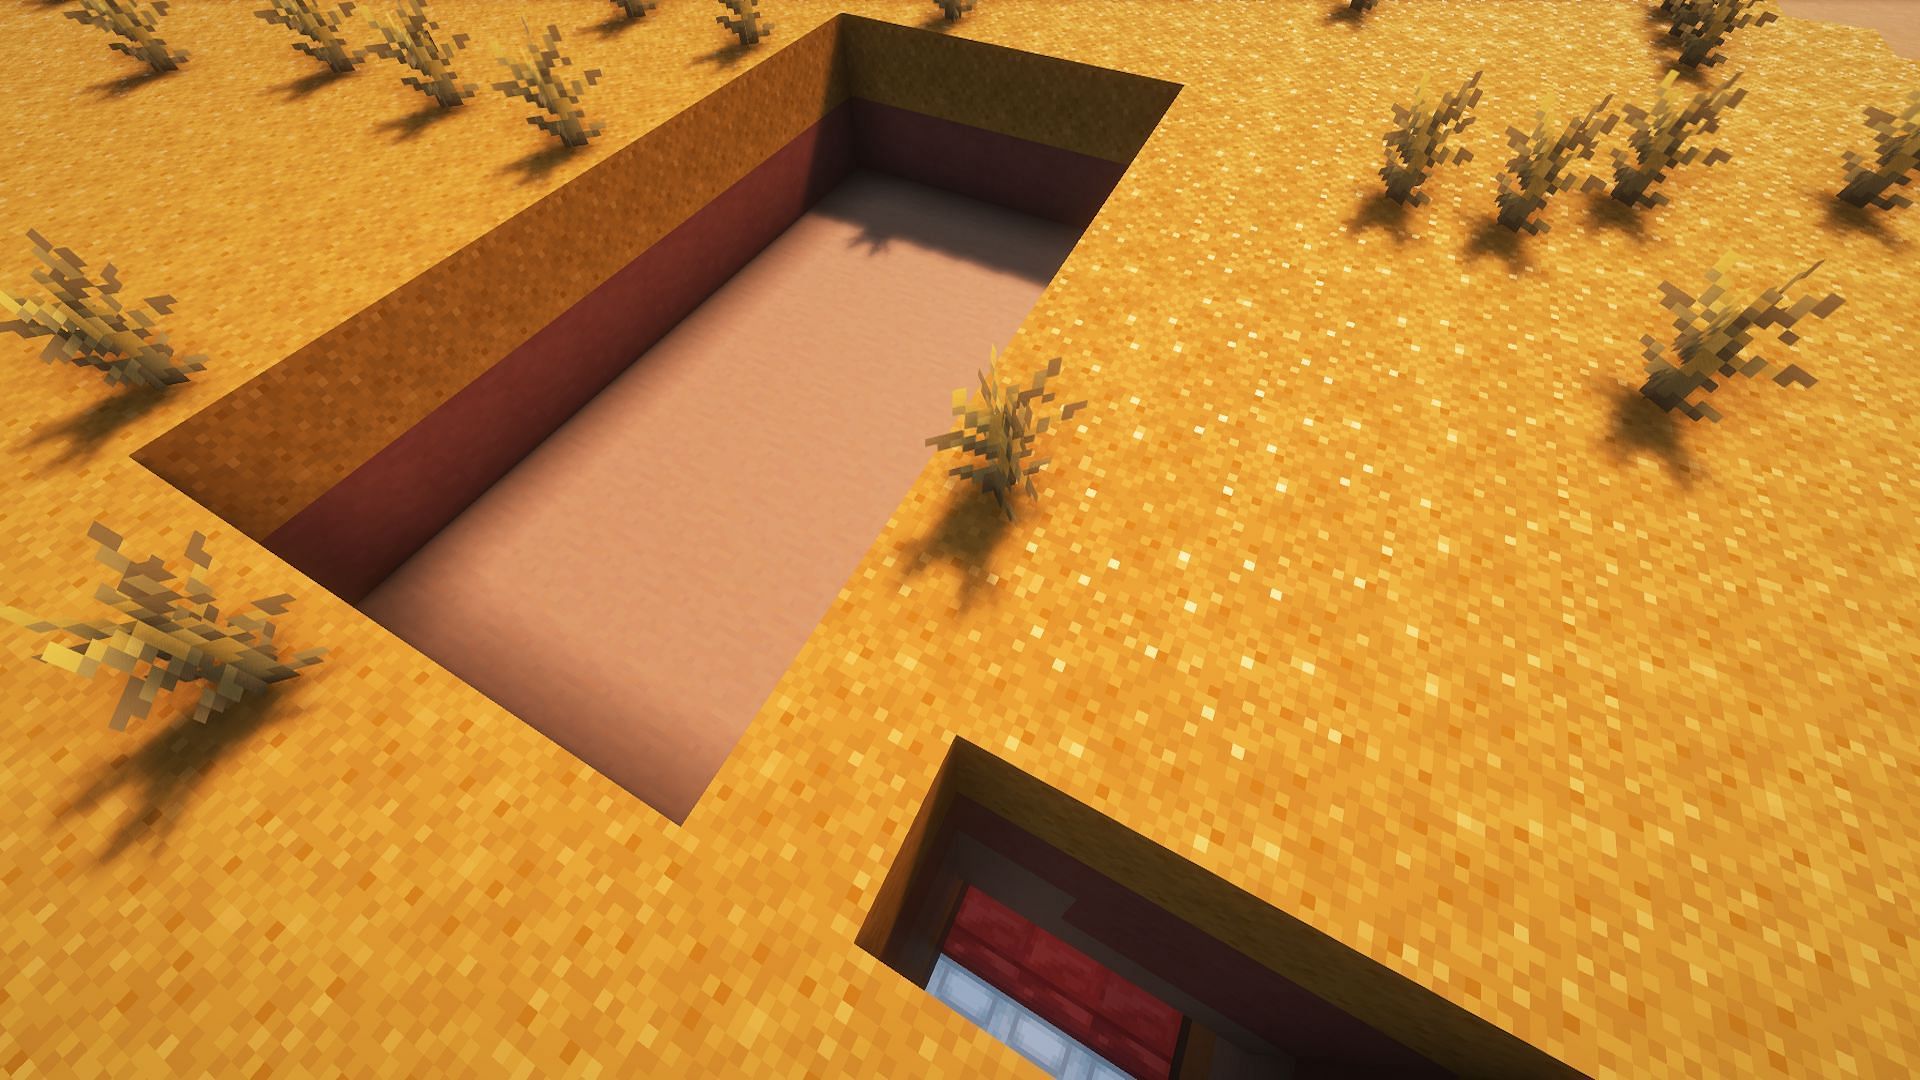
2) Dig a hole
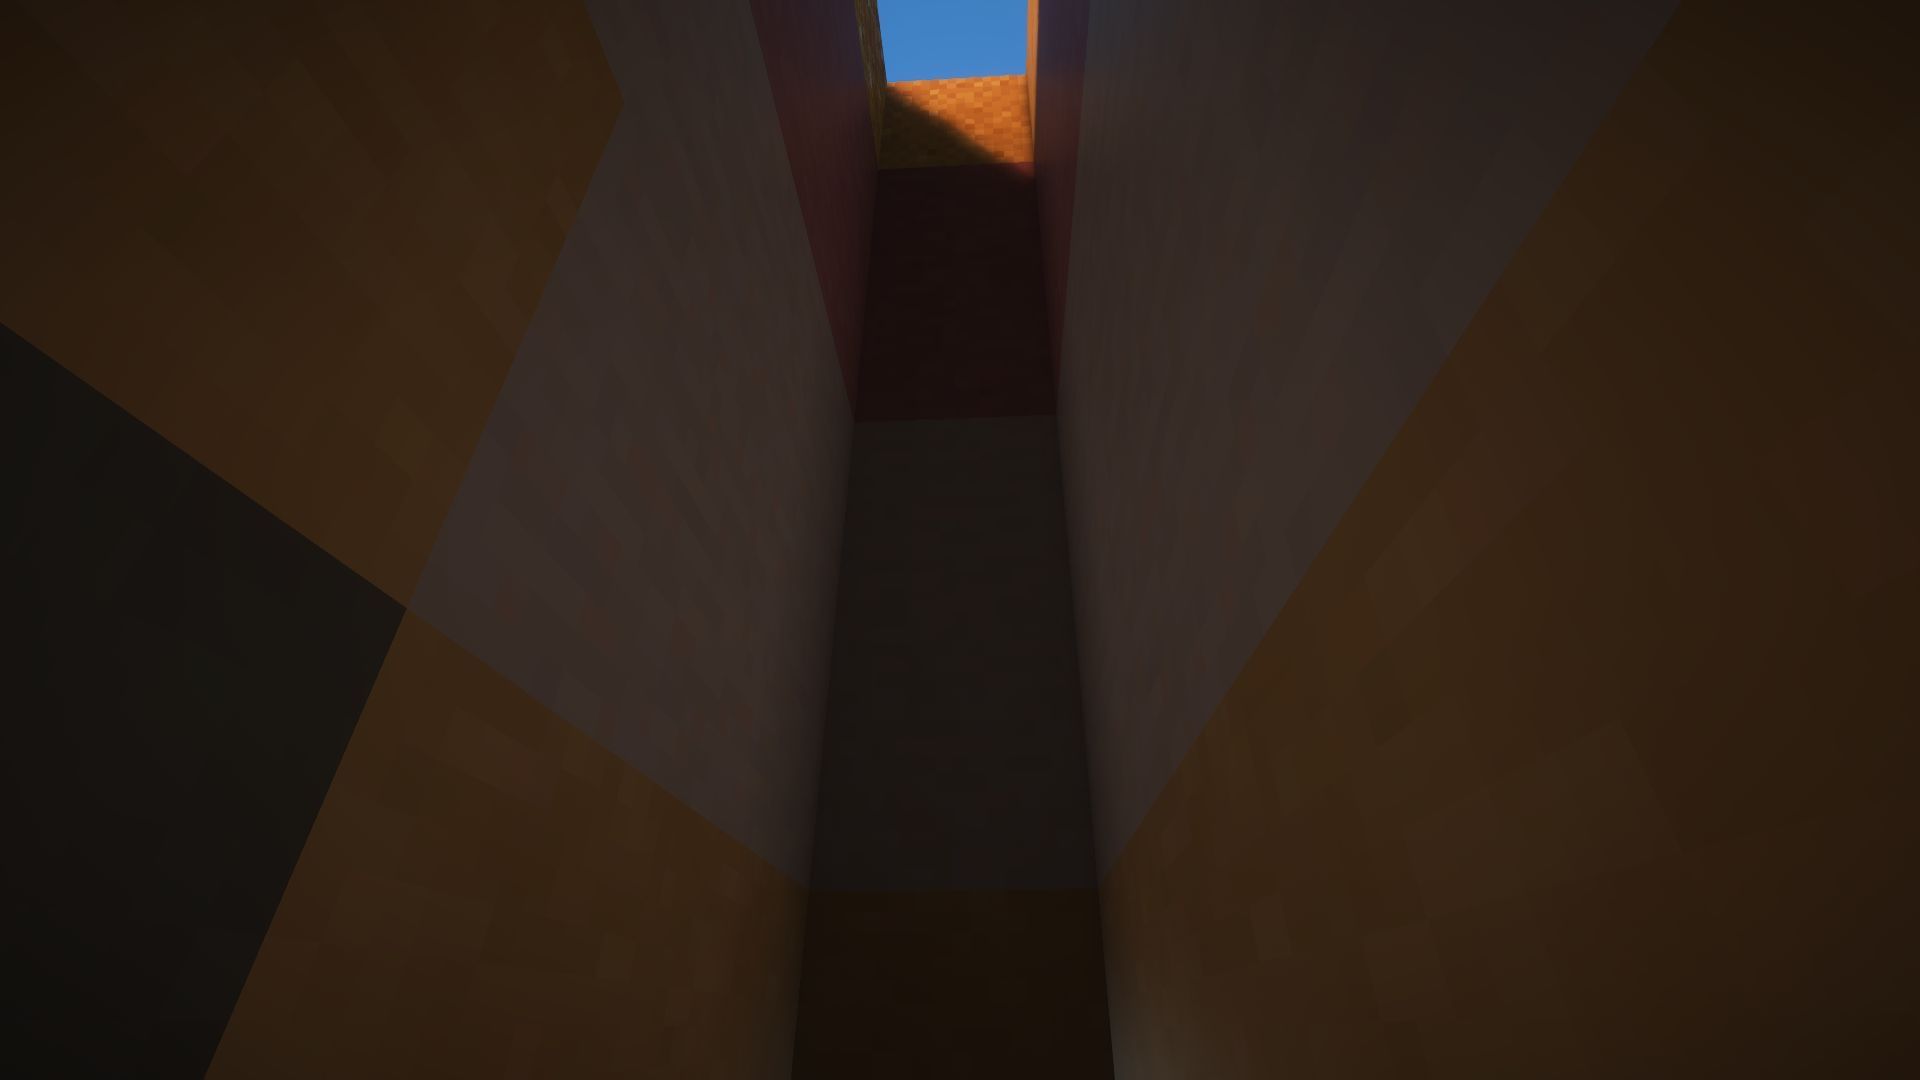
Once you've found a nice flat area, dig out a three-block-long channel. Then, dig this channel down so that it's a total of seven blocks deep. This will keep the villager and zombie chambers safely tucked away entirely underground.
3) Add a room
Add a room to this narrow pit by digging out a three-by-three directly in front of you. Dig out two of these three-by-three layers. This will form a small 3x3x3 room, which will give you space to work in while constructing the farm's internals.
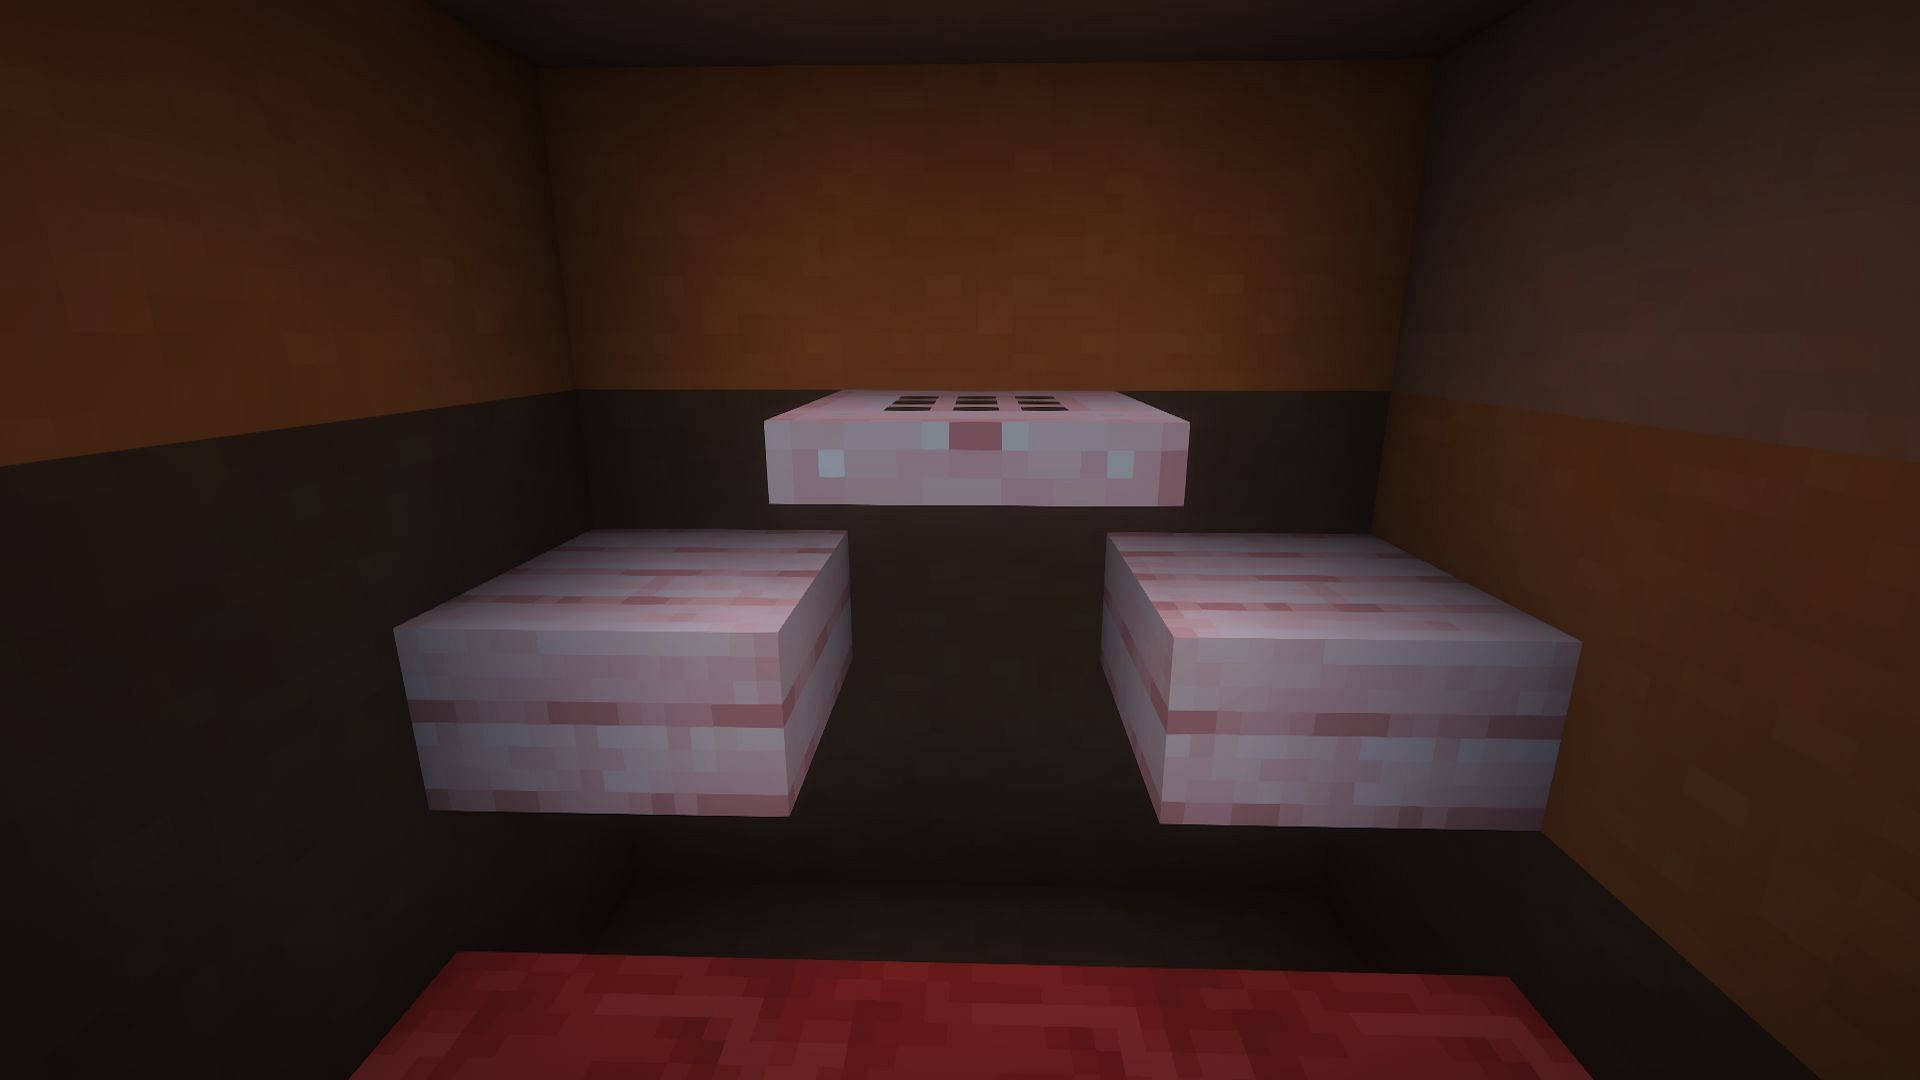
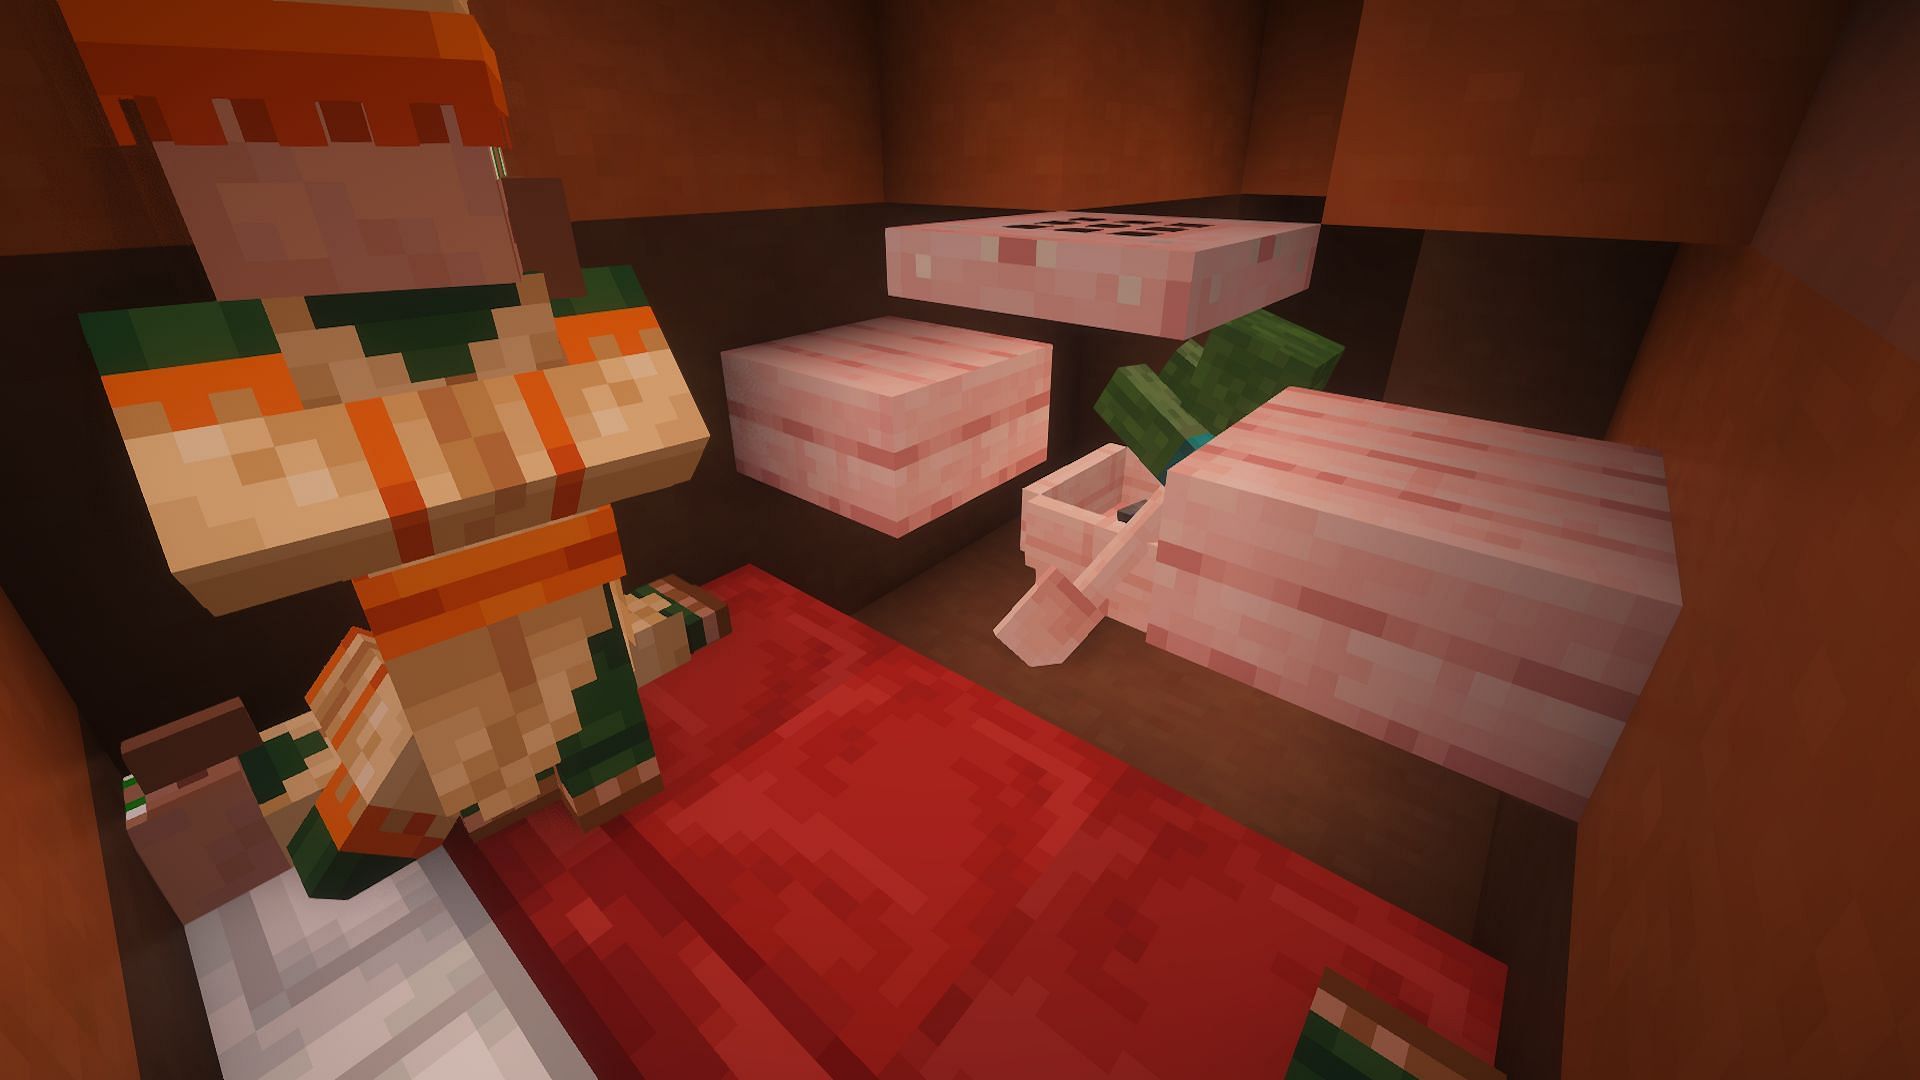
4) Place beds
Now, place three Minecraft beds in this small room. Place them so that the pillows are on the blocks with the seven-block tunnel up to the surface. This is where the villagers will sleep.
There are three beds, as that is the minimum number required for the game to consider an area a village, which is required for villagers to spawn an iron golem when they panic.
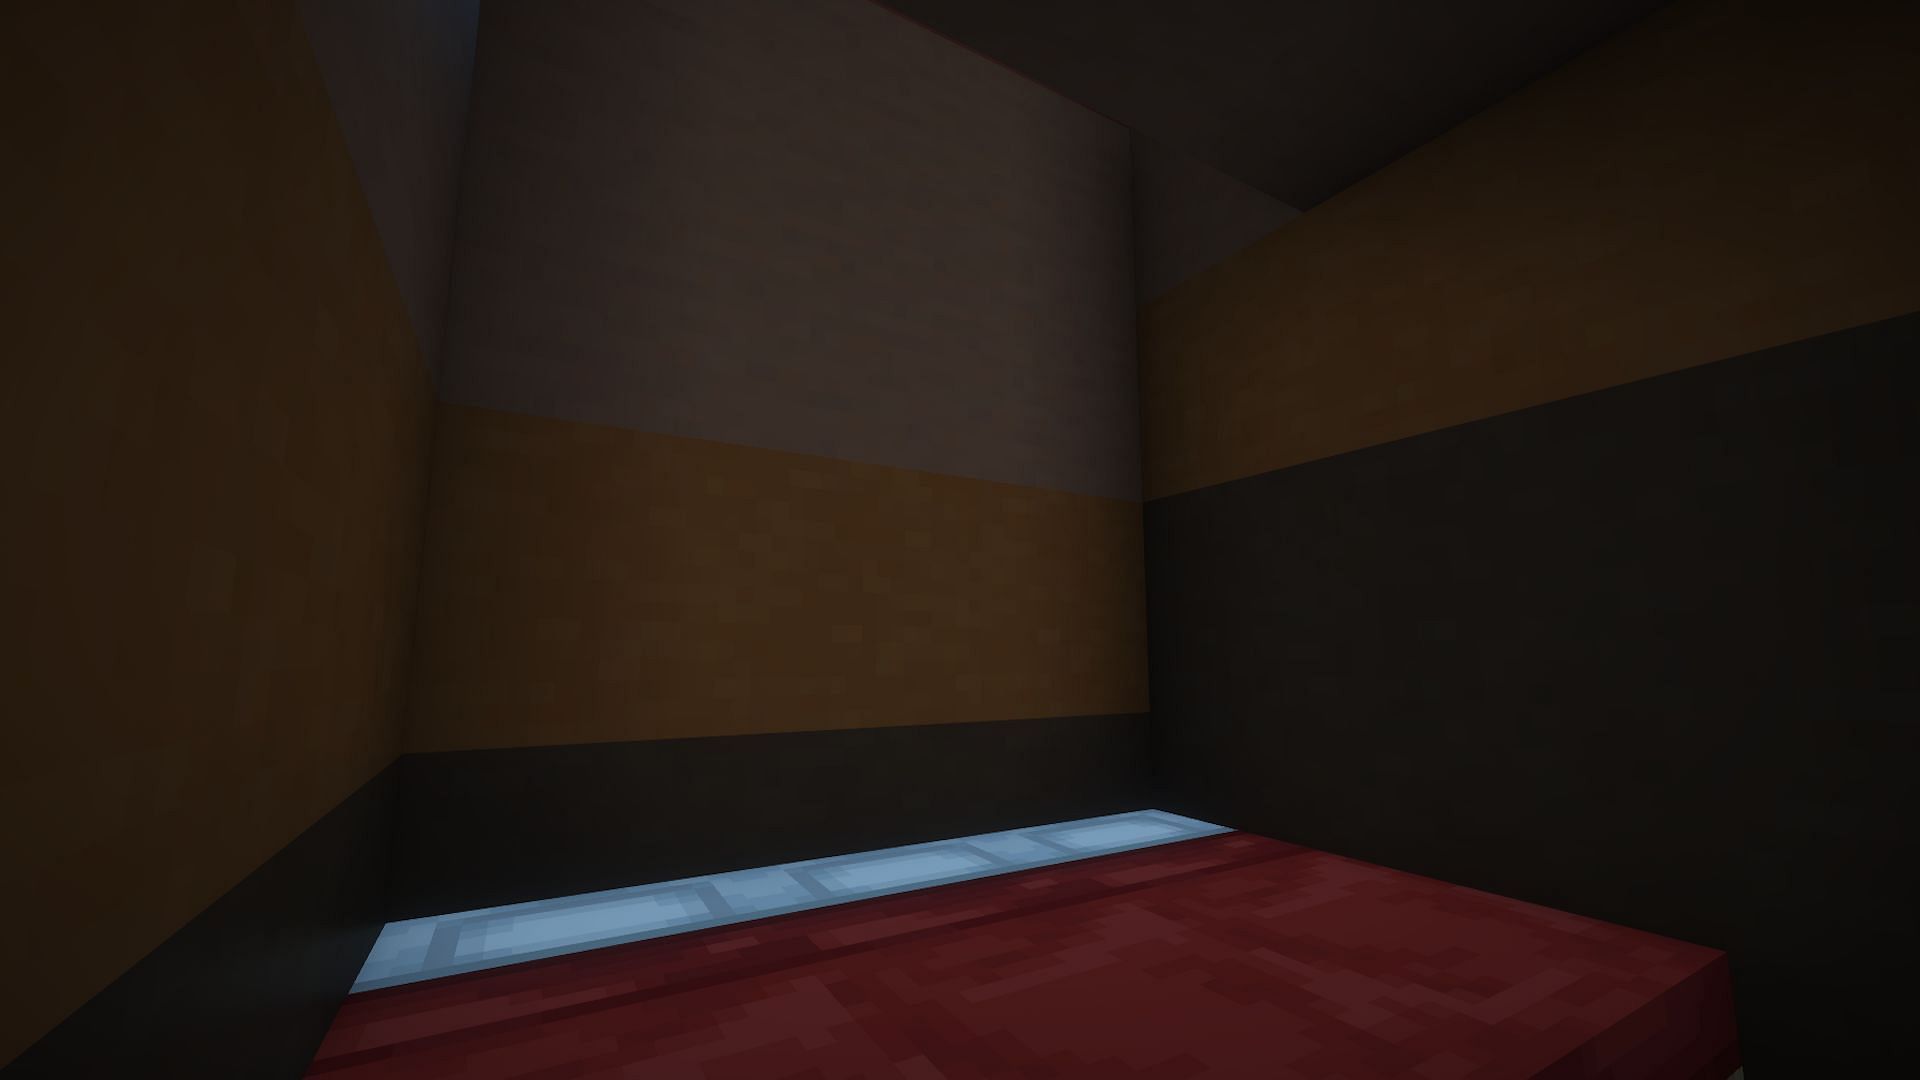
5) Add slabs and a trapdoor
Next, place two slabs and a trapdoor at the foot of these beds. Place the Minecraft trapdoor in such a way that its bottom is flush with the slabs when shut. Then, crouch under this trapdoor and shut it, as the rest of the farm's internals will be built in this direction.
6) Dig out a smaller room
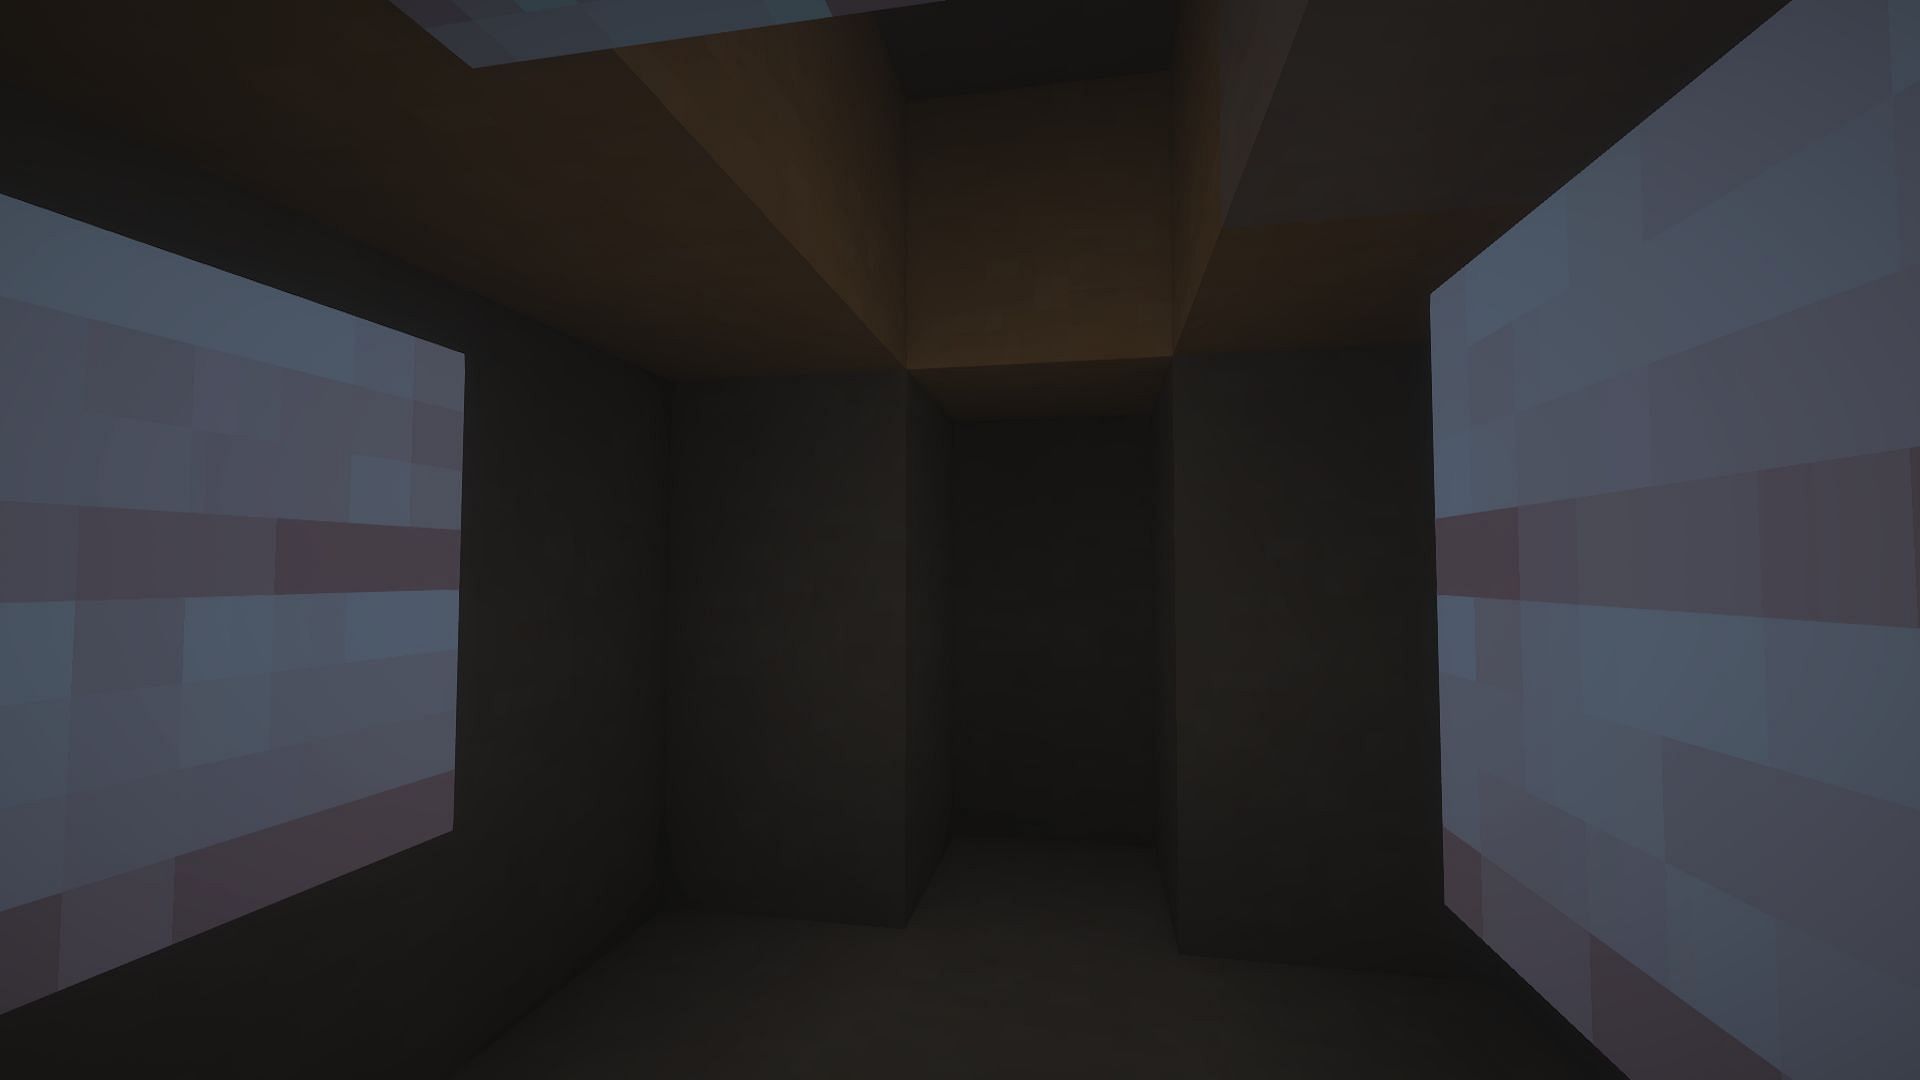
This means a bit more digging. Mine both blocks directly in front of you, and each block to the left and right of them. Do this again, mining away a second three-by-two area. This will form the shape of the small room itself.
Finally, dig out two more blocks in front of you, as well as two blocks from the ceiling, to finish the small room.
7) Place a torch and a boat in this smaller room
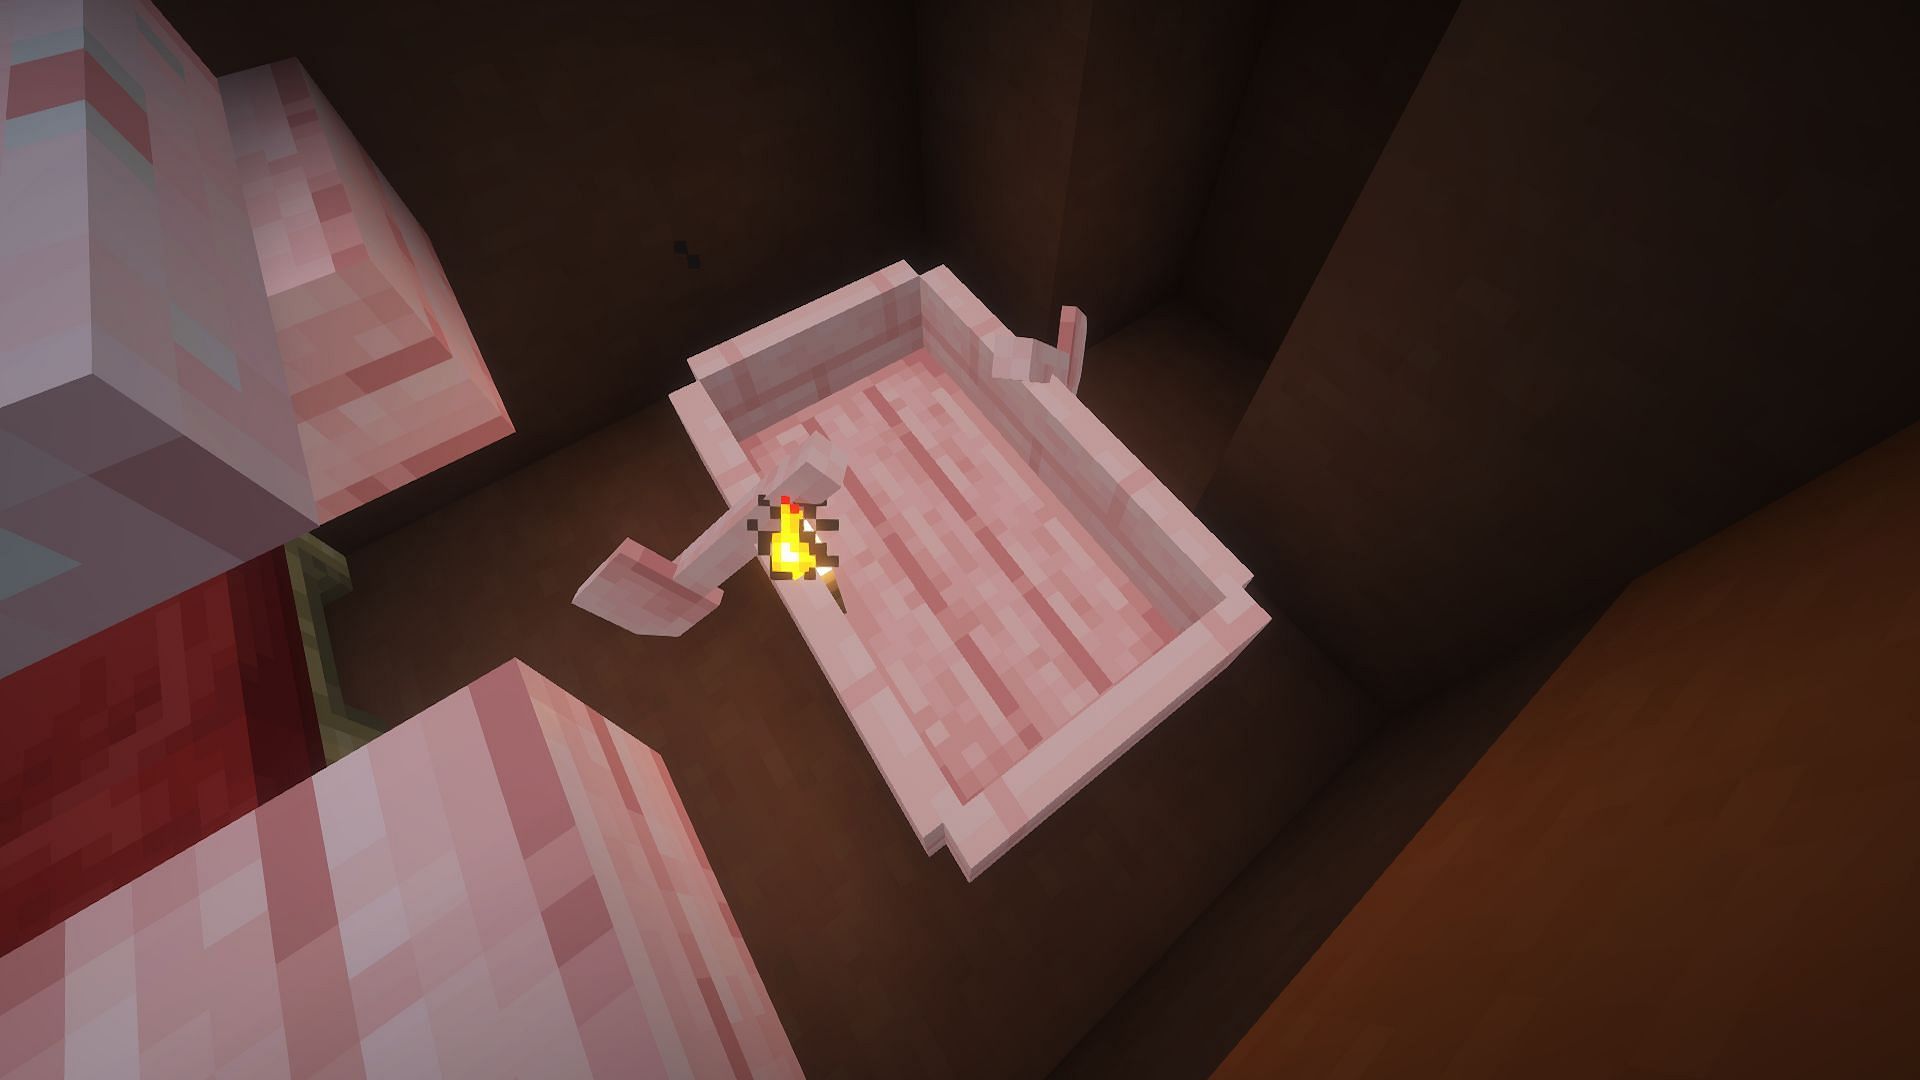
Now that the smaller zombie chamber is finished, add a boat to it close to the center. This is where the zombie will actually be trapped.
Also, add a torch to prevent any extra-dangerous Minecraft hostile mobs from spawning and killing the villagers.
8) Build the kill pit
Now that the farm is lit up and there's a spot to trap a future zombie, exit the hole, move one block to the left, and dig out a five-by-nine pit that's two blocks deep. This is where the iron golems will spawn and then die.
9) Add a collection system
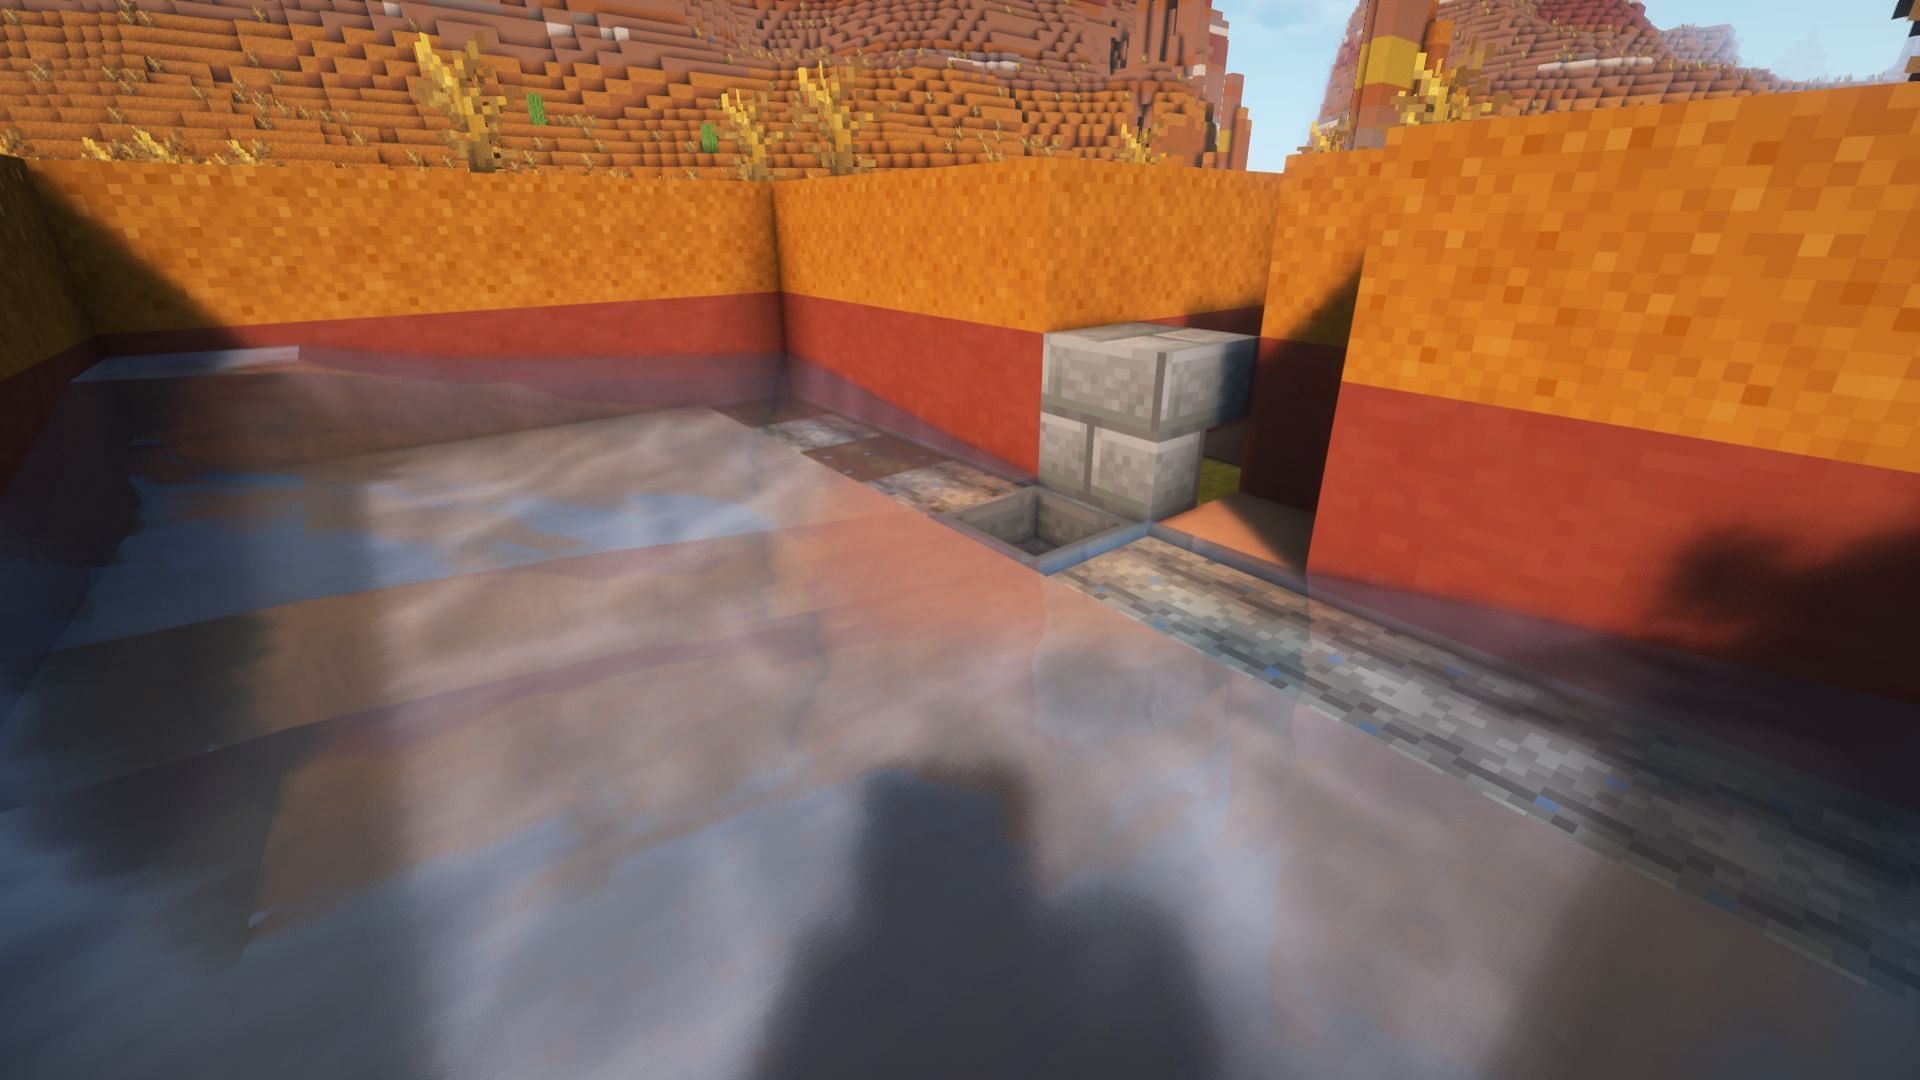
On the side of this pit farthest from the villager area, dig out a spot to add in a double chest with a hopper leading into it. This is where the golem drops will be collected.
Add a staircase made of a non-flammable material here. This will block the lava used to kill the iron golems from leaking out of the farm. Use a hoe to flatten the dirt on either side of the hopper, spawnproofing it.
Finally, place water in each of the two corners. This should flow all the way to the Minecraft hopper.
10) Create the kill-chamber
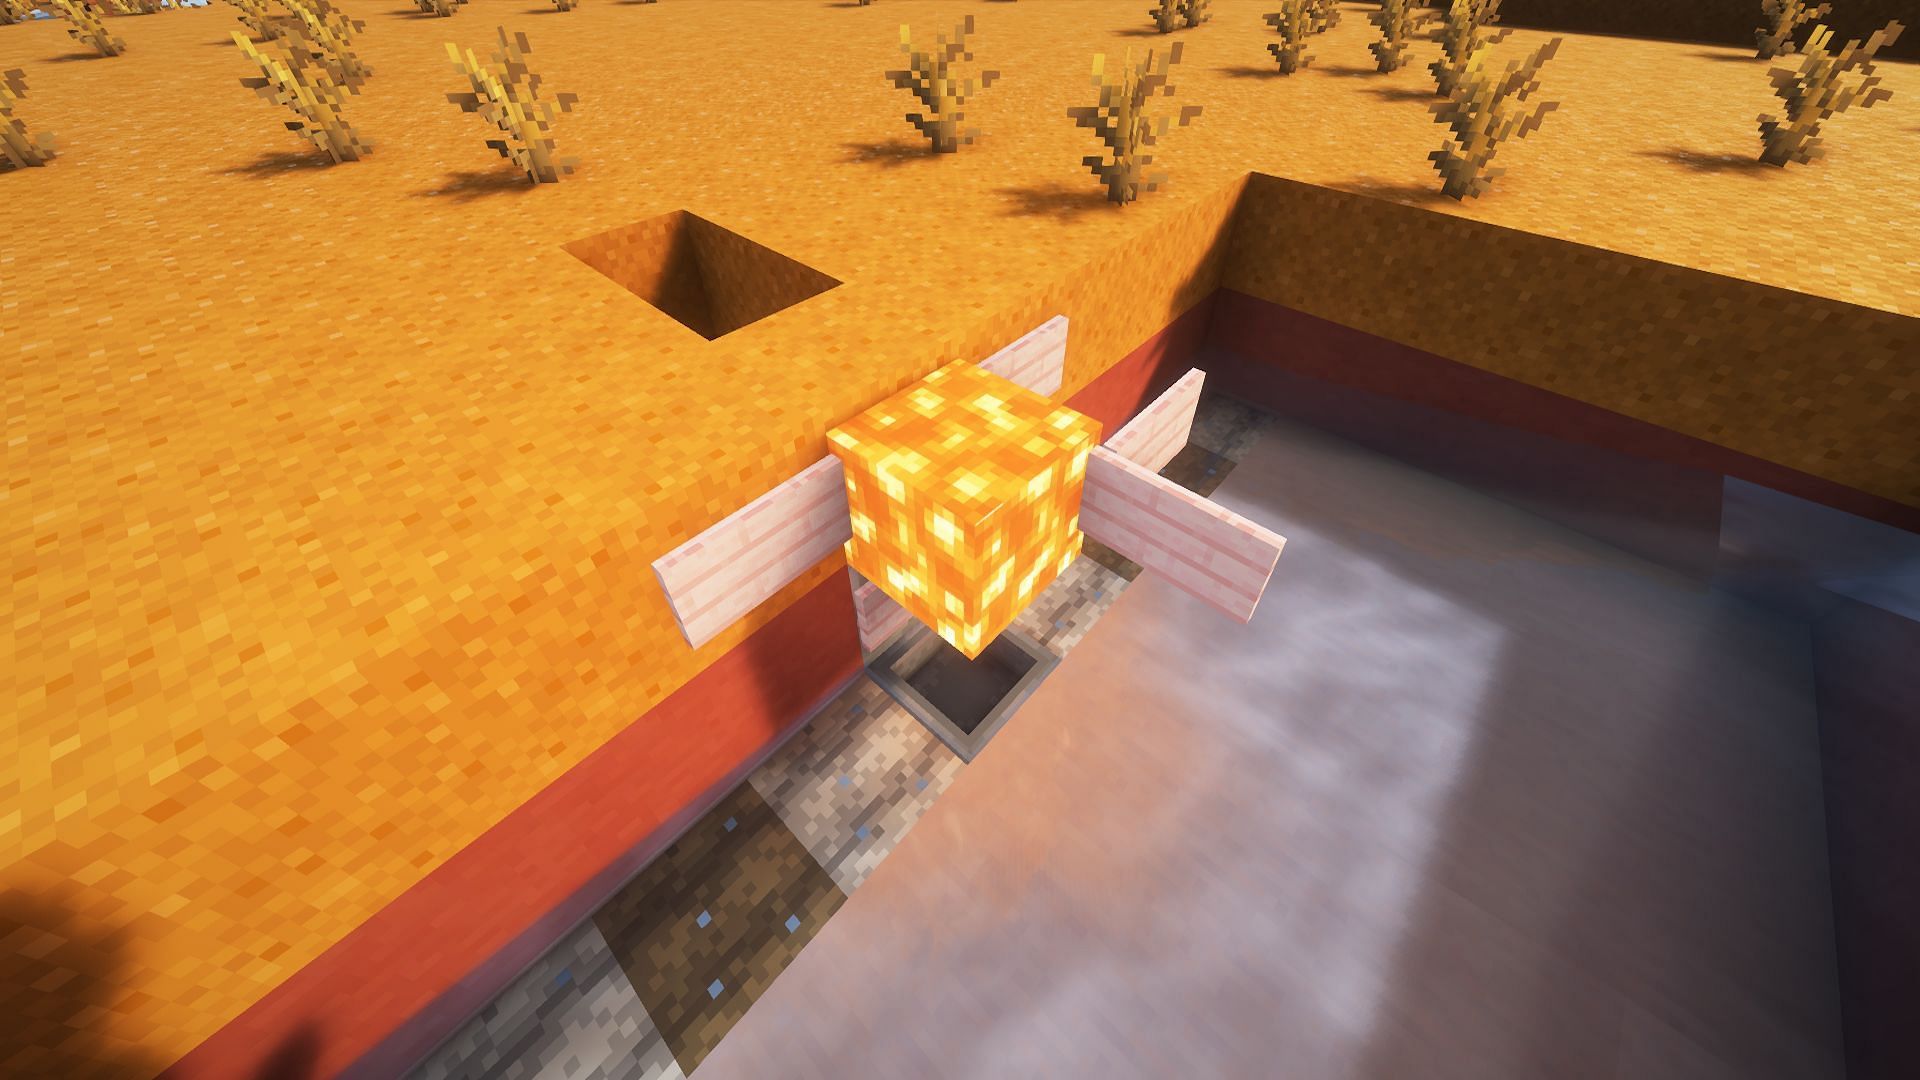
Now that the collection system is finished, it's time to make the kill chamber.
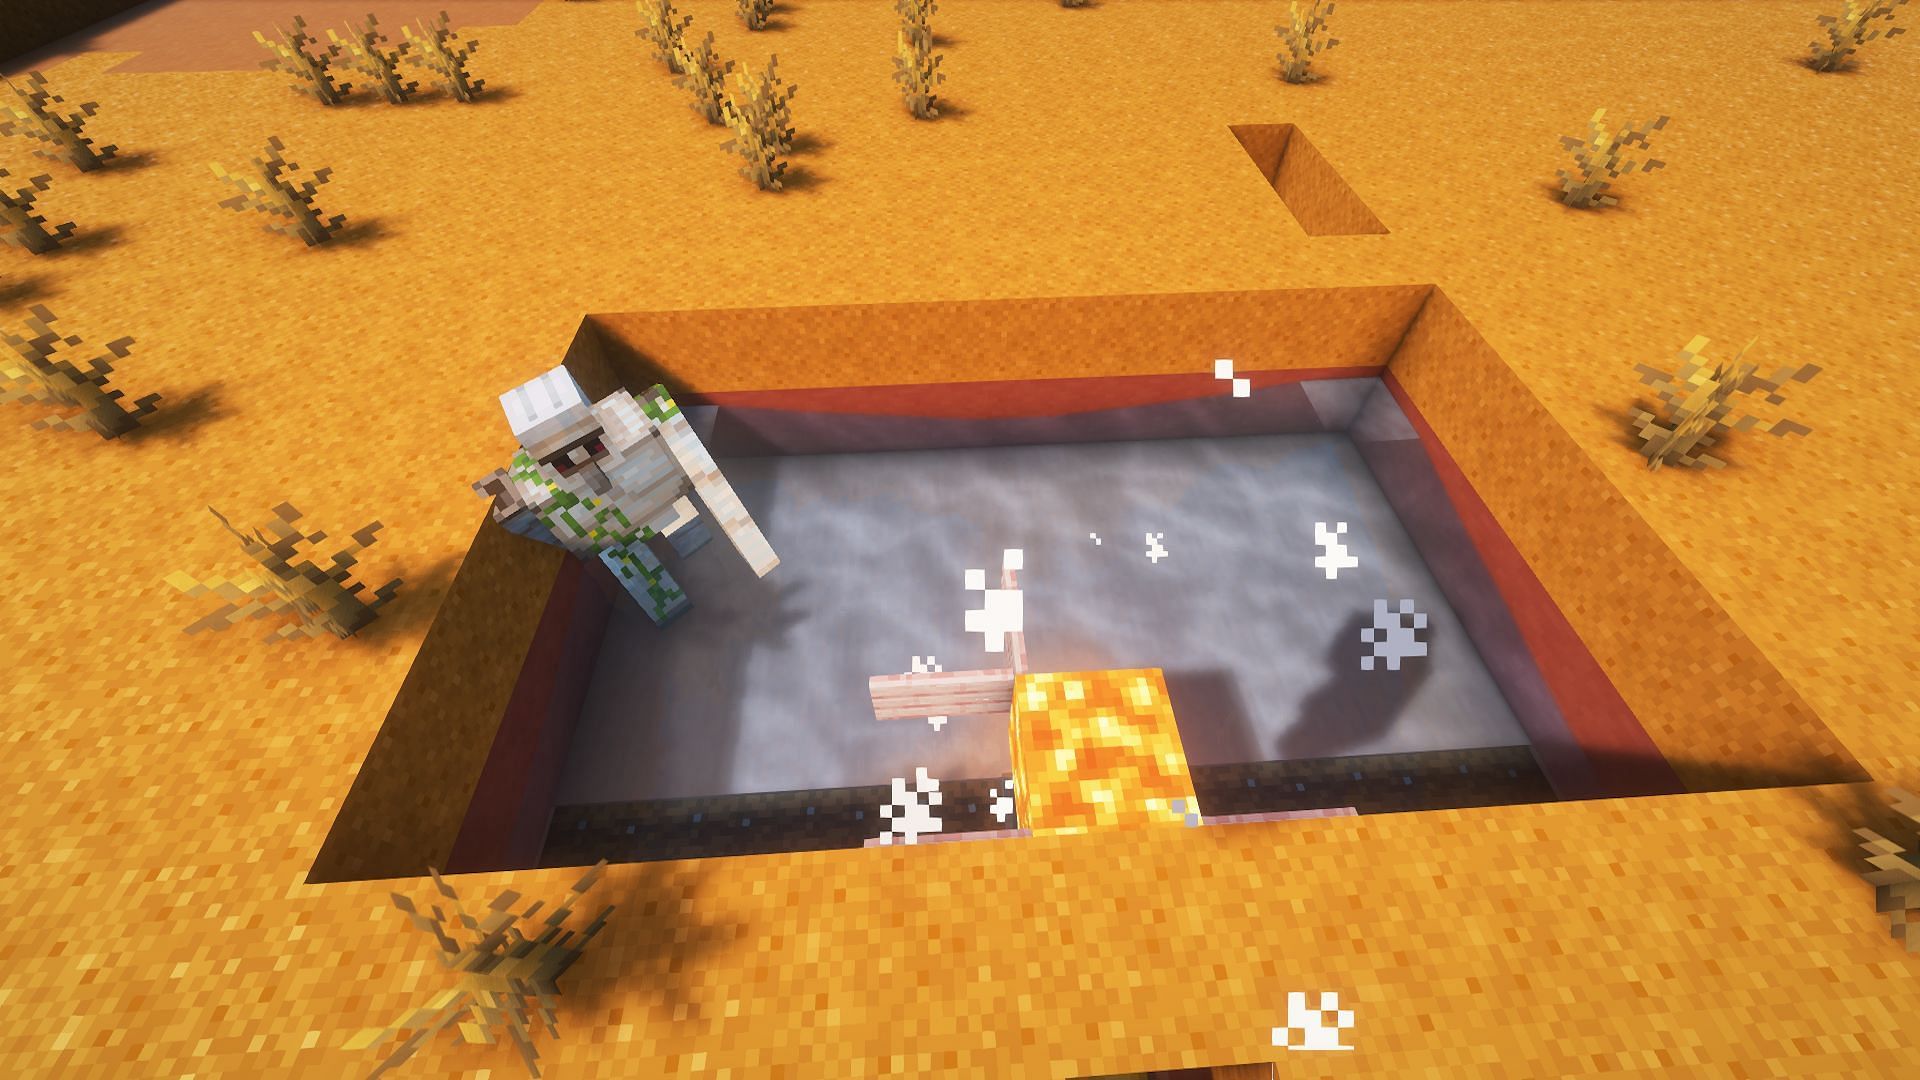
Create a basket of signs. Start by placing one on the staircase, with two in each upper-diagonal direction. Then, crouch and place a sign on one of these corner signs. Add a final fifth sign using the first floating sign as a base. This should give you a spot to put a floating lava source block, which will kill any golems that spawn.
11) Add in the villagers and a zombie
The final step to making this simple iron farm is adding villagers and a zombie. The Minecraft villagers should be easy to get into the farm. Lead over three villagers from a nearby village. Assuming the farm is far enough away from any other villages, they should link to the beds and enter the farm. From here, they can be boxed in.
While it might be tempting to add the Minecraft zombie first to avoid any potential accidental zombifications, this isn't recommended. The zombie being there will prevent the villagers from linking to the beds and willfully entering the farm. Have a zombie chase you into the farm, where it will get stuck in the boat placed previously.
The farm should start working almost immediately, spawning golems in the kill chamber to be melted down by the lava into iron ingots and used in other Minecraft farm builds and other advanced projects.

Uncover new worlds with our Minecraft Seed Generator!