
'%20x='0'%20y='0'%20height='100%25'%20width='100%25'%20%0A%20%20%20%20%20%20%20%20%20%20xlink%3Ahref='data:image/jpg;base64,/9j/2wBDAAYEBQYFBAYGBQYHBwYIChAKCgkJChQODwwQFxQYGBcUFhYaHSUfGhsjHBYWICwgIyYnKSopGR8tMC0oMCUoKSj/2wBDAQcHBwoIChMKChMoGhYaKCgoKCgoKCgoKCgoKCgoKCgoKCgoKCgoKCgoKCgoKCgoKCgoKCgoKCgoKCgoKCgoKCj/wgARCAAGAAoDASIAAhEBAxEB/8QAFgABAQEAAAAAAAAAAAAAAAAAAAYH/8QAFAEBAAAAAAAAAAAAAAAAAAAABP/aAAwDAQACEAMQAAAAkNlHD//EACQQAAAEBQMFAAAAAAAAAAAAAAECAwUABBIWIQcRFCIyQlJh/9oACAEBAAE/ANC2advFwUQ4tYNqoiCx6ymCsmOzEWk+eM83Jh6ElibF+B0R/8QAGBEAAgMAAAAAAAAAAAAAAAAAAAECBBH/2gAIAQIBAT8ArrYH/8QAGBEAAgMAAAAAAAAAAAAAAAAAAAECAxH/2gAIAQMBAT8AueSP/9k='%3E%3C/image%3E%3C/svg%3E)
In Minecraft, you will have to explore the world and look for all kinds of resources to progress. Ores are considered one of the most important resources, as you get important earth minerals from them. To find ores, you will have to head down to the caves and mine for hours. Over the years, however, the community has come up with third-party features called X-ray add-ons that can help spot ores in a world.
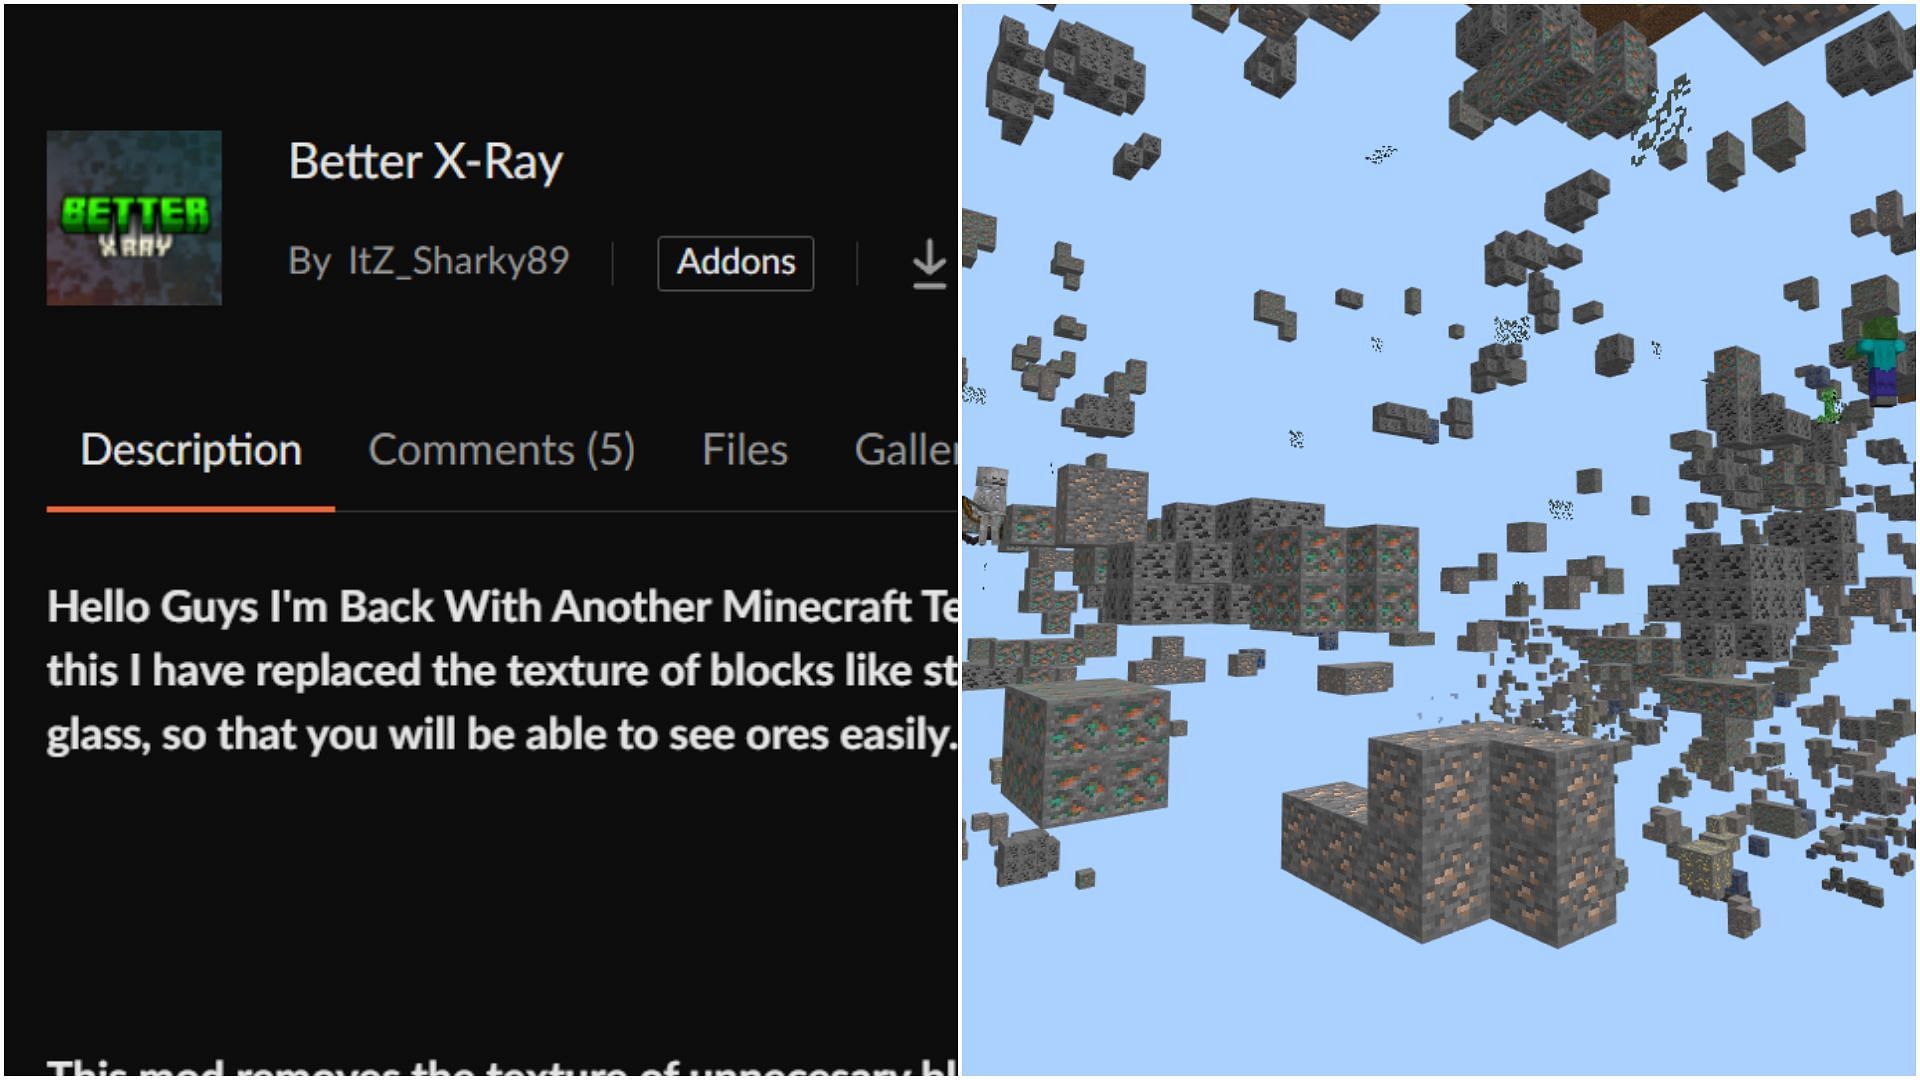
One of the most popular X-ray add-ons for the Bedrock Edition is called Better X-ray. Here is a short guide on how to install and use the add-on for Minecraft Bedrock Edition.

Steps to download and use the Better X-ray add-on for Minecraft Bedrock Edition
1) Find and download Better X-ray
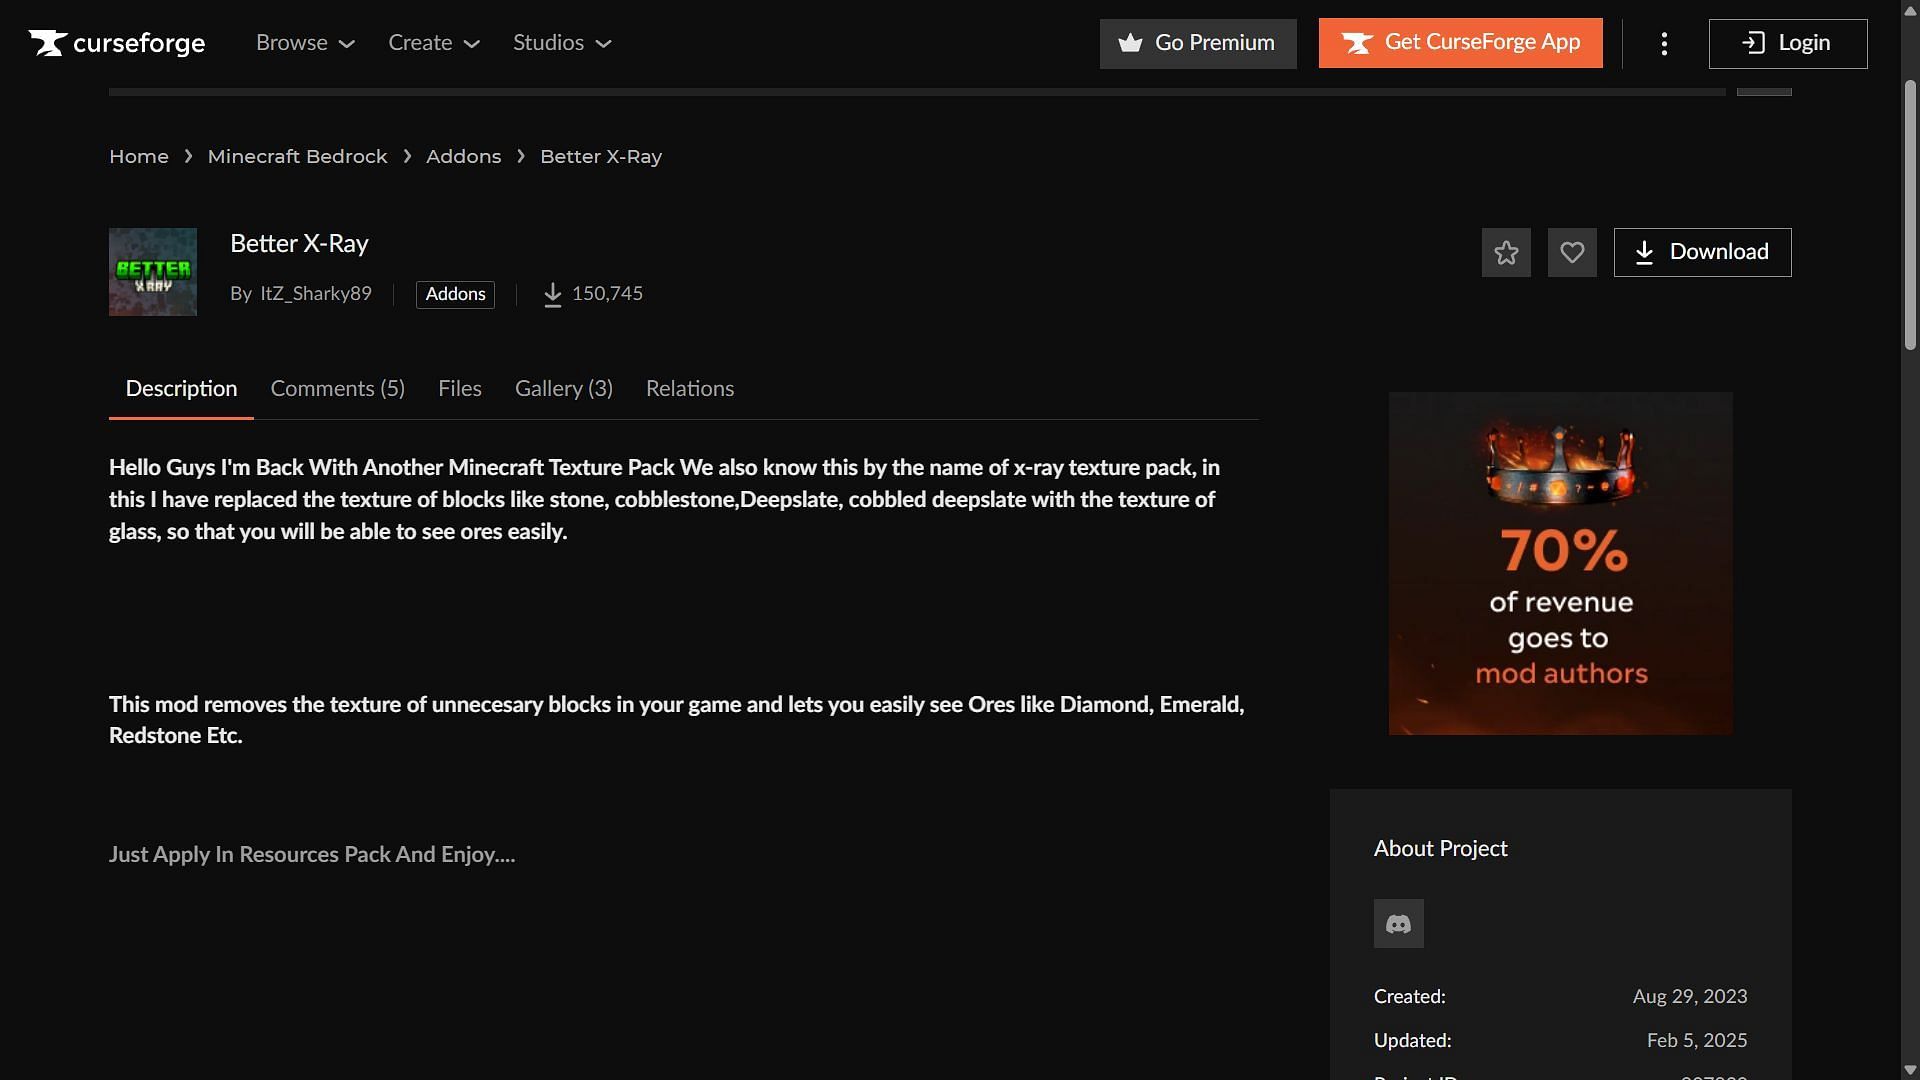
Chart New Territories with the ultimate Minecraft Seed Generator!
First, you will need to find and download Better X-ray from the CurseForge website. This website is the best for finding any Minecraft-related mods, resource packs, add-ons, and more.
Once you open the product page, head to the files section and download the latest version of the .mcpack file. Though it officially supports the 1.21.51 game version, it will work on all the latest game versions.
2) Importing Better X-ray add-on into Bedrock Edition
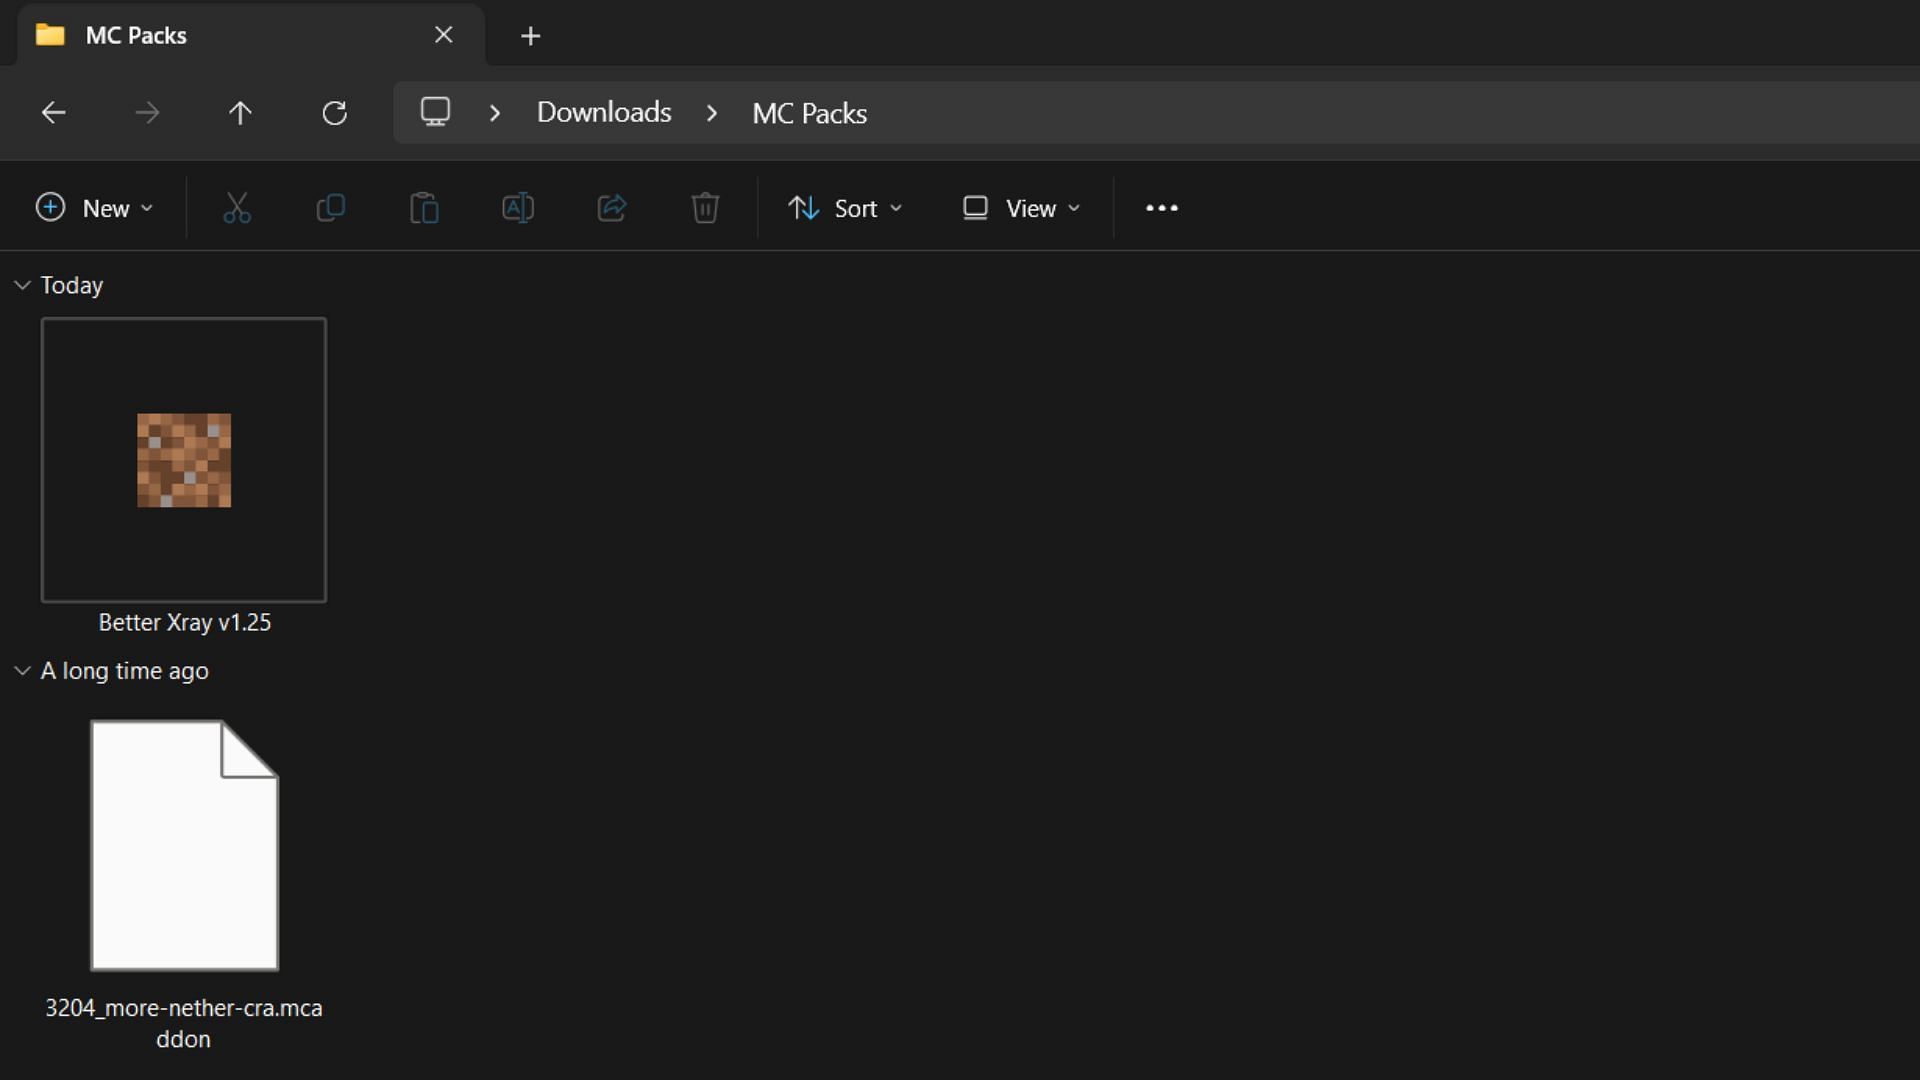
After downloading the .mcpack file, you will have to run the file directly. This will automatically open Minecraft Bedrock Edition and install the add-on.
If you have Minecraft Bedrock beta and preview installed, you should be mindful about which game version the add-on gets installed into. As shown in the picture above, the icon shows that the .mcpack file will open the preview version. If this is the case, change it to the stable version by selecting 'Minecraft' in the 'open with' option by right-clicking it.
3) Enabling and using Better X-ray in Minecraft
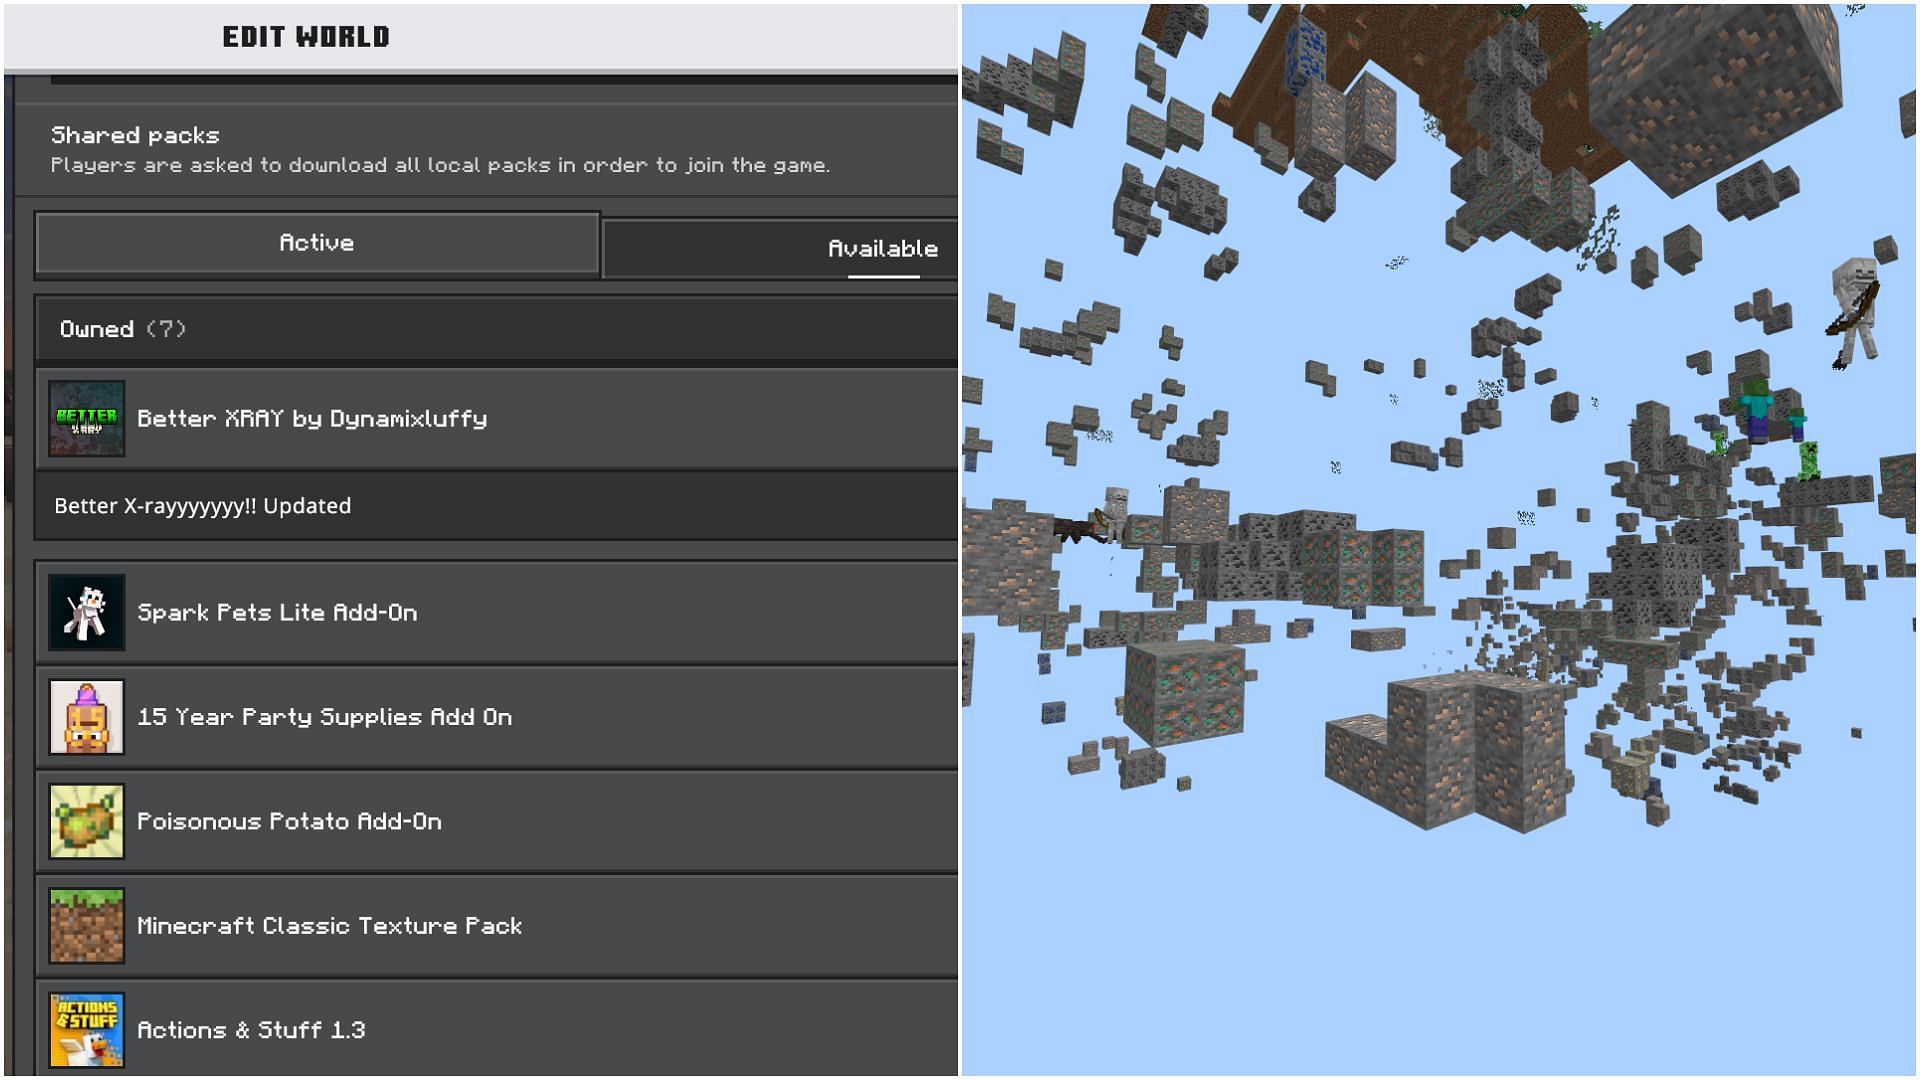
Once Better X-ray is imported into Bedrock Edition, you must activate the add-on in any world, new or old. While creating a new world, head to the resource pack section, find Better X-ray in the available section, and activate it. For an existing world, click on the edit button in the single-player world list page, head to resource packs, and activate the add-on.
After the add-on has been activated, you can head into the world to test it out. You will notice that many underground blocks, especially stone-related blocks, are completely invisible, showing ore distribution in a Minecraft world.
It is suggested to toggle off smooth lighting and use night vision to clearly see all the ores present below the ground.
Check out our latest Minecraft articles:
- Minecraft Nyctophobia mod guide: Features and how to download
- 4 best mods for Minecraft Spring to Life update
- Minecraft 2025 summer drop release: What we know so far

Uncover new worlds with our Minecraft Seed Generator!