
'%20x='0'%20y='0'%20height='100%25'%20width='100%25'%20%0A%20%20%20%20%20%20%20%20%20%20xlink%3Ahref='data:image/jpg;base64,/9j/2wBDAAYEBQYFBAYGBQYHBwYIChAKCgkJChQODwwQFxQYGBcUFhYaHSUfGhsjHBYWICwgIyYnKSopGR8tMC0oMCUoKSj/2wBDAQcHBwoIChMKChMoGhYaKCgoKCgoKCgoKCgoKCgoKCgoKCgoKCgoKCgoKCgoKCgoKCgoKCgoKCgoKCgoKCgoKCj/wgARCAAGAAoDASIAAhEBAxEB/8QAFQABAQAAAAAAAAAAAAAAAAAAAAX/xAAVAQEBAAAAAAAAAAAAAAAAAAADBP/aAAwDAQACEAMQAAAAvWAKv//EABwQAAICAgMAAAAAAAAAAAAAAAECAwQAEQVBwf/aAAgBAQABPwDjoobky1bldCFUzKVJ6OvcWjVCgBW1n//EABURAQEAAAAAAAAAAAAAAAAAAAAR/9oACAECAQE/AK//xAAVEQEBAAAAAAAAAAAAAAAAAAABAP/aAAgBAwEBPwAC/9k='%3E%3C/image%3E%3C/svg%3E)
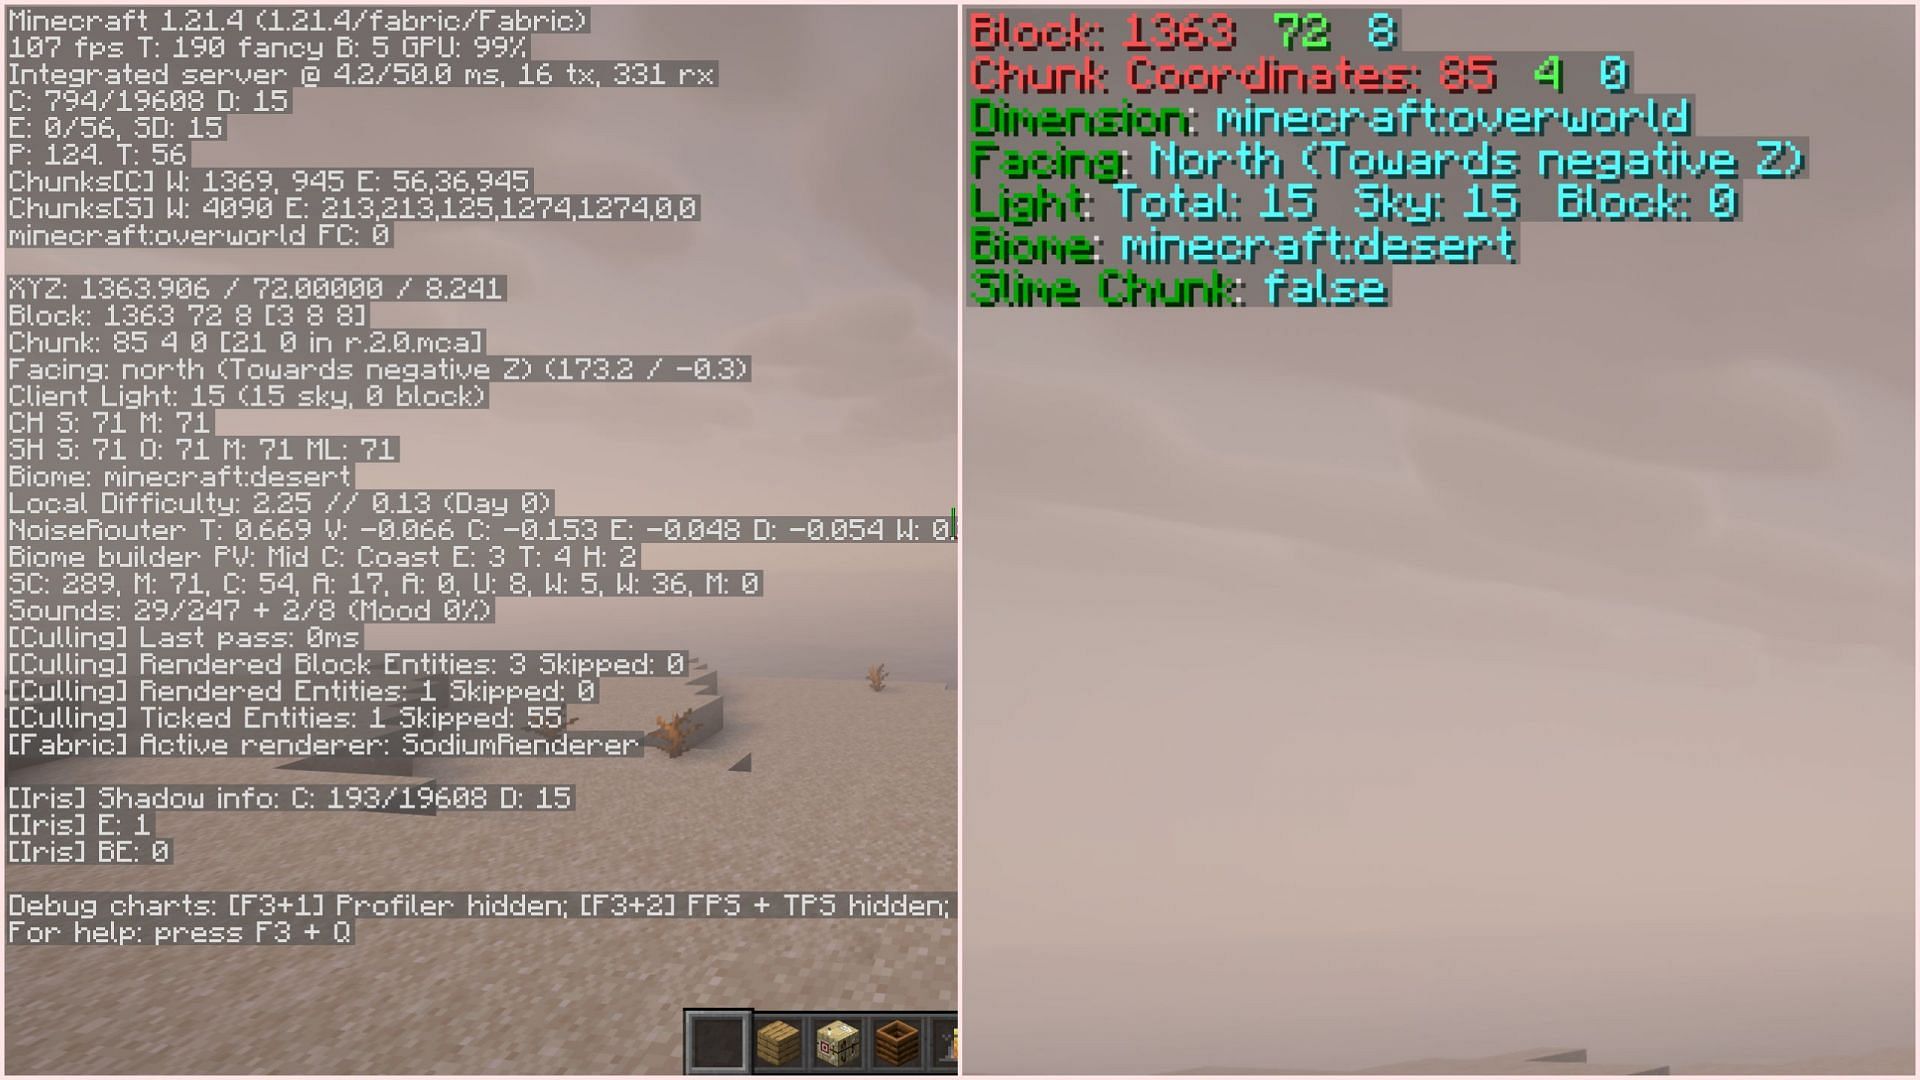
In Minecraft Java Edition, players can press the F3 button on their keyboard to bring up a debug screen. This screen shows player-related details, like their coordinates, the light level of the block they are standing on, the biome they are in, the direction they are facing, etc. It also shows the major specifications of the device the game is running on and how much resource the game is consuming.
However, it is safe to say that the traditional F3 debug screen is extremely cluttered, making it difficult for most players to see desired information at a glance. This is where the mod called BetterF3 comes into play, making the debug screen visually uncluttered. Here is everything to know about the mod.

BetterF3 mod for Minecraft: Features and installation guide
What features does BetterF3 offer?
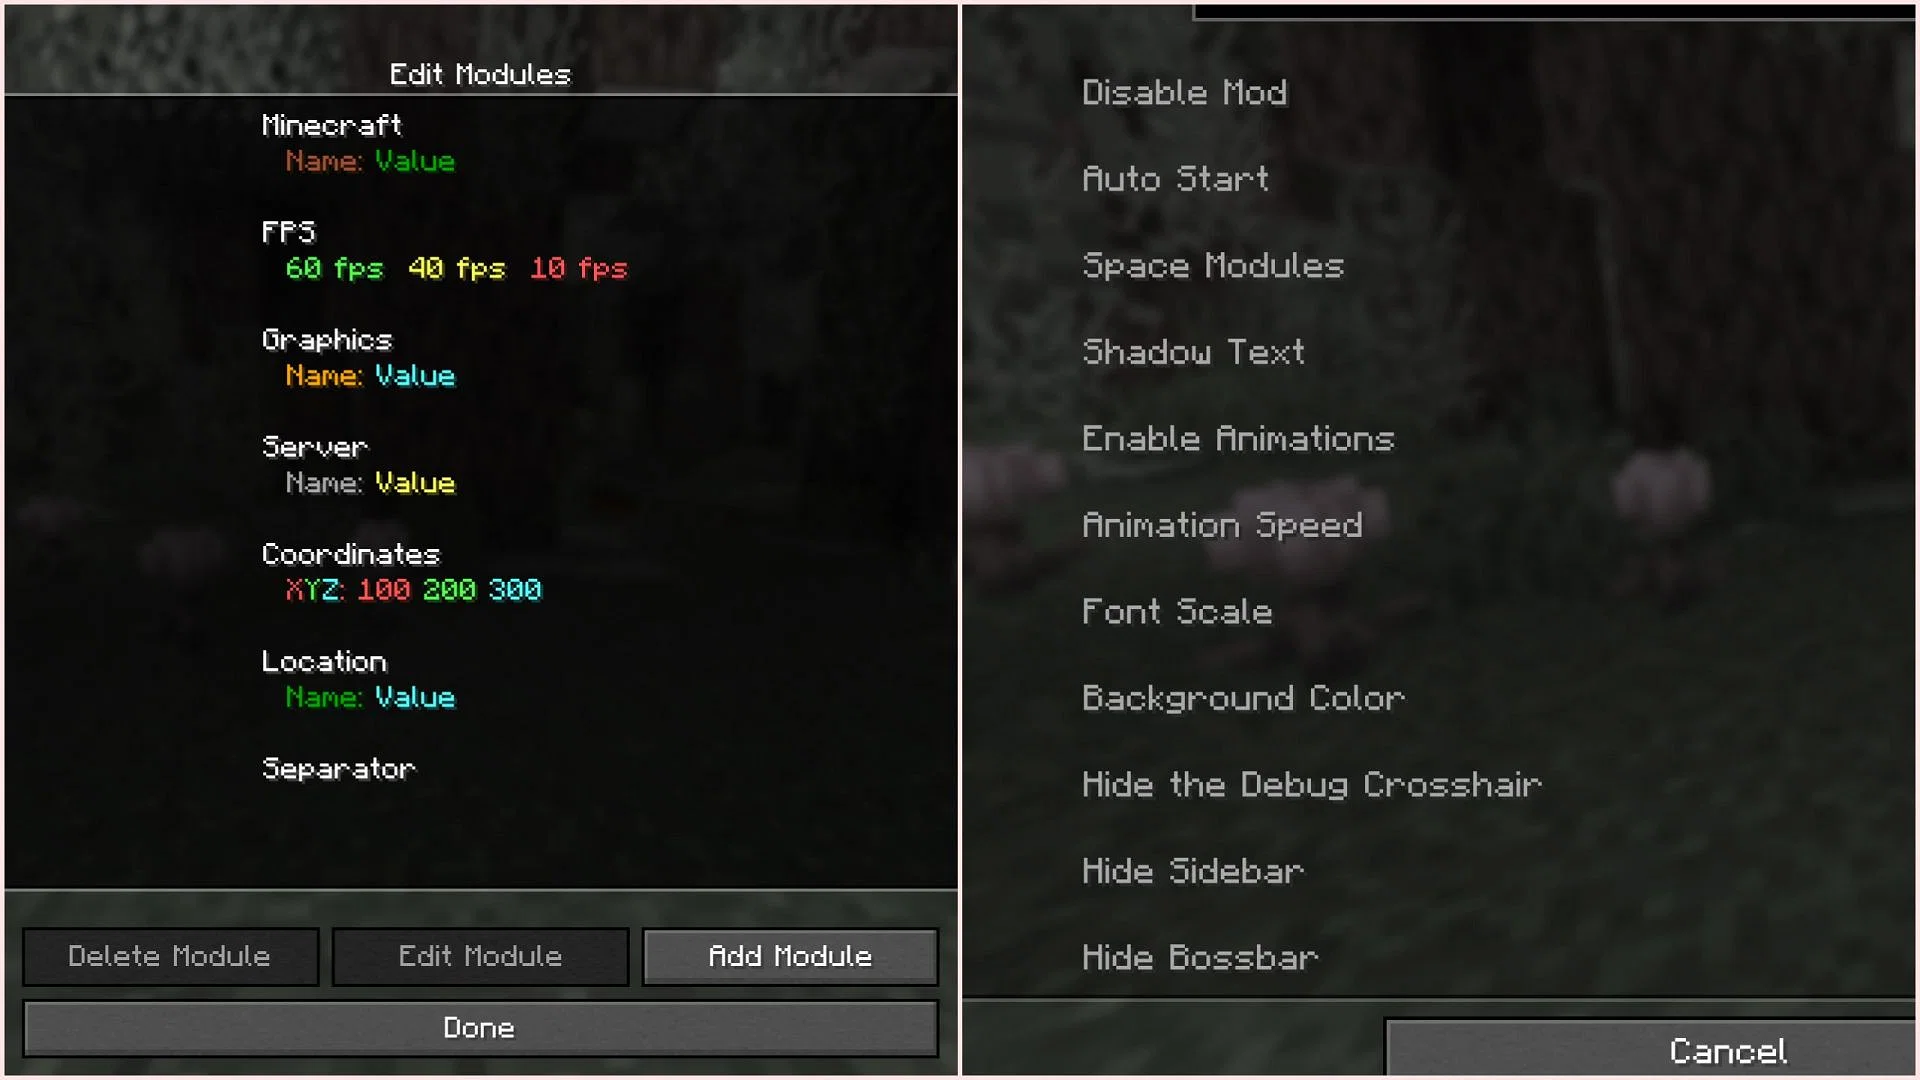
Chart New Territories with the ultimate Minecraft Seed Generator!
In simple terms, the BetterF3 mod makes all the information on the debug screen more compact and color codes them for better visibility. Moreover, it offers a lot of customizations, so much so that players can disable and enable every single line of information shown on the debug screen.
To best customize the debug screen using the BetterF3 mod, players must also install the Mod Menu mod, which allows them to tinker with settings offered by every mod.
In the picture provided above, players can see that the information shown on the debug screen can be enabled or disabled. More technical information like block state, targeted block, etc., can be removed if players want simpler F3 information.
The mod offers so much customization that every detail can be altered. For example, players can even change the color of each axe number that shows up as coordinates.
How to download BetterF3 for Minecraft
Here is a short guide on downloading and installing BetterF3 mod for Minecraft:
- Download and install any one of the following modding APIs: Forge, Fabric, Quilt, or NeoForge. BetterF3 supports the latest 1.21.4 game versions, so the latest modding API can be downloaded and installed without any compatibility issues.
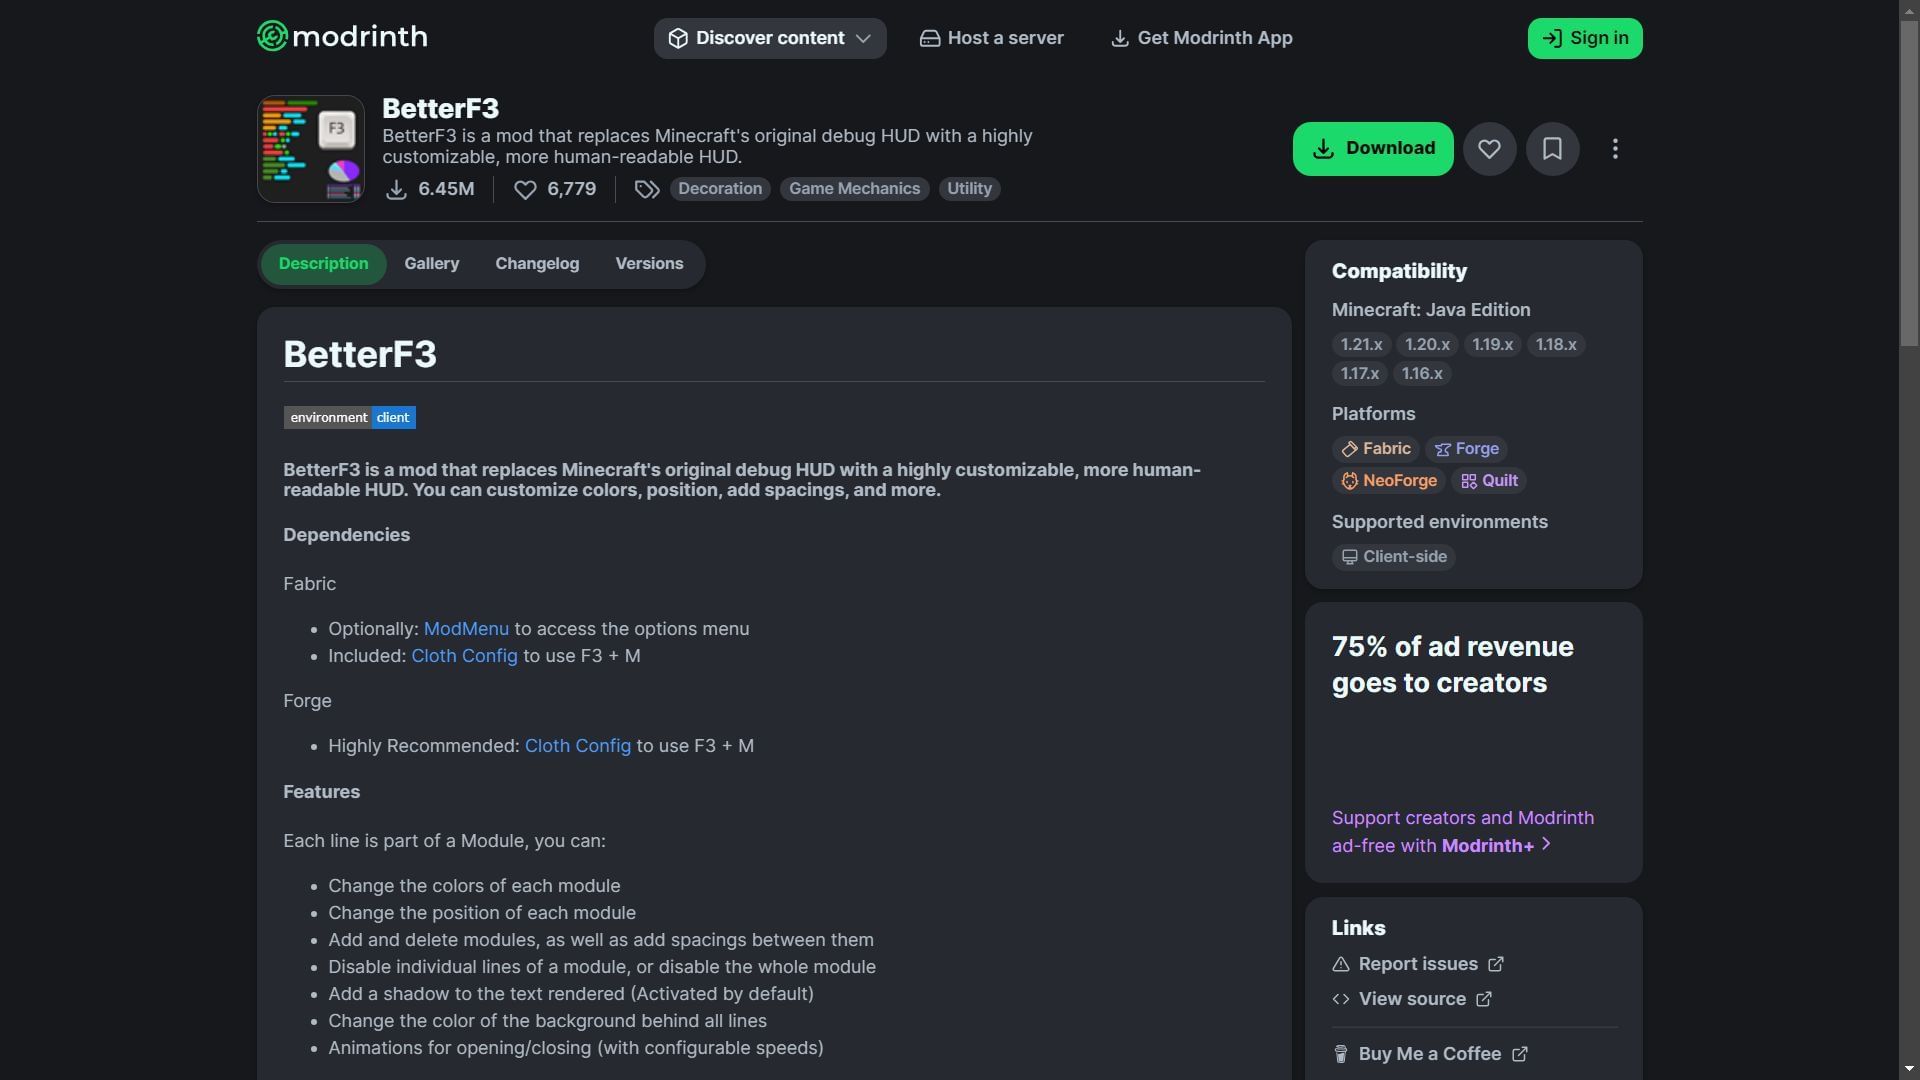
- Head to the Modrinth website and search for the BetterF3 and Mod Menu mods.
- On the mods product pages, find and download the latest mod file, which should be compatible with 1.21.4 and the desired modding API.
- Copy and paste both mod files into the "mods" folder present in the root Minecraft directory, "C:\Users\admin\AppData\Roaming\.minecraft".
- Open the official game launcher and look for the 1.21.4 modded version, created after one of the four modding APIs was installed.
- Open the modded game version, enter a world, and press F3 to see the new, decluttered debug screen.
- You can customize the mod by going to the pause menu, selecting the mods tab, and entering BetterF3's settings.
Check out other latest Minecraft articles:
- How to find and loot shipwreck in Minecraft
- 6 overpowered villager trades in Minecraft
- 5 Minecraft biome mechanics you may not know about

Uncover new worlds with our Minecraft Seed Generator!