
'%20x='0'%20y='0'%20height='100%25'%20width='100%25'%20%0A%20%20%20%20%20%20%20%20%20%20xlink%3Ahref='data:image/jpg;base64,/9j/2wBDAAYEBQYFBAYGBQYHBwYIChAKCgkJChQODwwQFxQYGBcUFhYaHSUfGhsjHBYWICwgIyYnKSopGR8tMC0oMCUoKSj/2wBDAQcHBwoIChMKChMoGhYaKCgoKCgoKCgoKCgoKCgoKCgoKCgoKCgoKCgoKCgoKCgoKCgoKCgoKCgoKCgoKCgoKCj/wgARCAAGAAoDASIAAhEBAxEB/8QAFgABAQEAAAAAAAAAAAAAAAAAAAEH/8QAFAEBAAAAAAAAAAAAAAAAAAAABf/aAAwDAQACEAMQAAAAy2CIn//EABwQAQACAwADAAAAAAAAAAAAAAECBAADEhQxof/aAAgBAQABPwCvqoEZ+XV6NUOYMUfjmzXRZySsgvrrP//EABcRAAMBAAAAAAAAAAAAAAAAAAABAjH/2gAIAQIBAT8Al6f/xAAXEQADAQAAAAAAAAAAAAAAAAAAAQIx/9oACAEDAQE/ALWH/9k='%3E%3C/image%3E%3C/svg%3E)
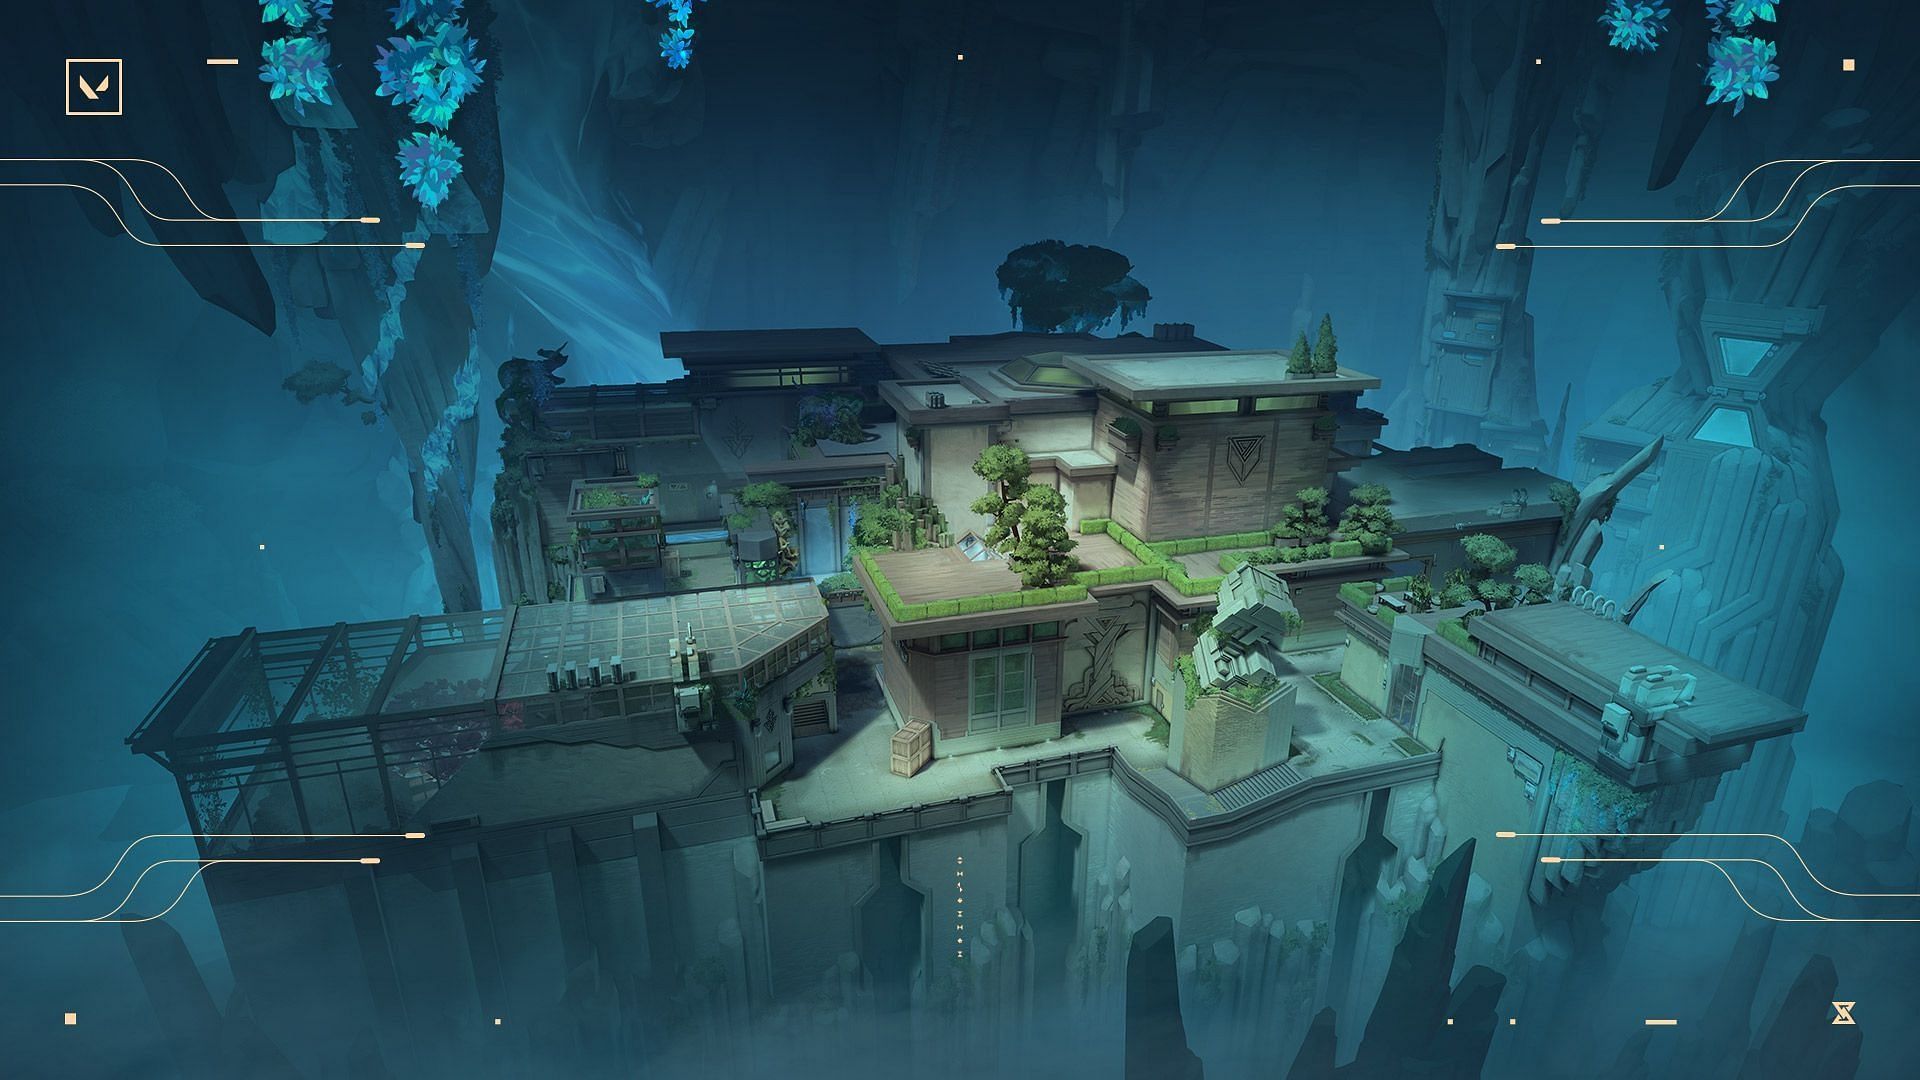
Valorant's Abyss map is the latest one in the game and it introduced the interesting feature of falling right off the designated area of the map with one minor misstep. Understandably, players had to come to grips with the fact that movement is more important on this map than on any other. This Valorant Abyss map guide is intended for players trying to get used to the map.
The map has two sites and a long mid-section, the latter being arguably one of the most interesting parts of the map apart from the falling-off feature. Let's begin the Valorant Abyss map guide by exploring the callouts.
Valorant Abyss map guide: Layout and callouts
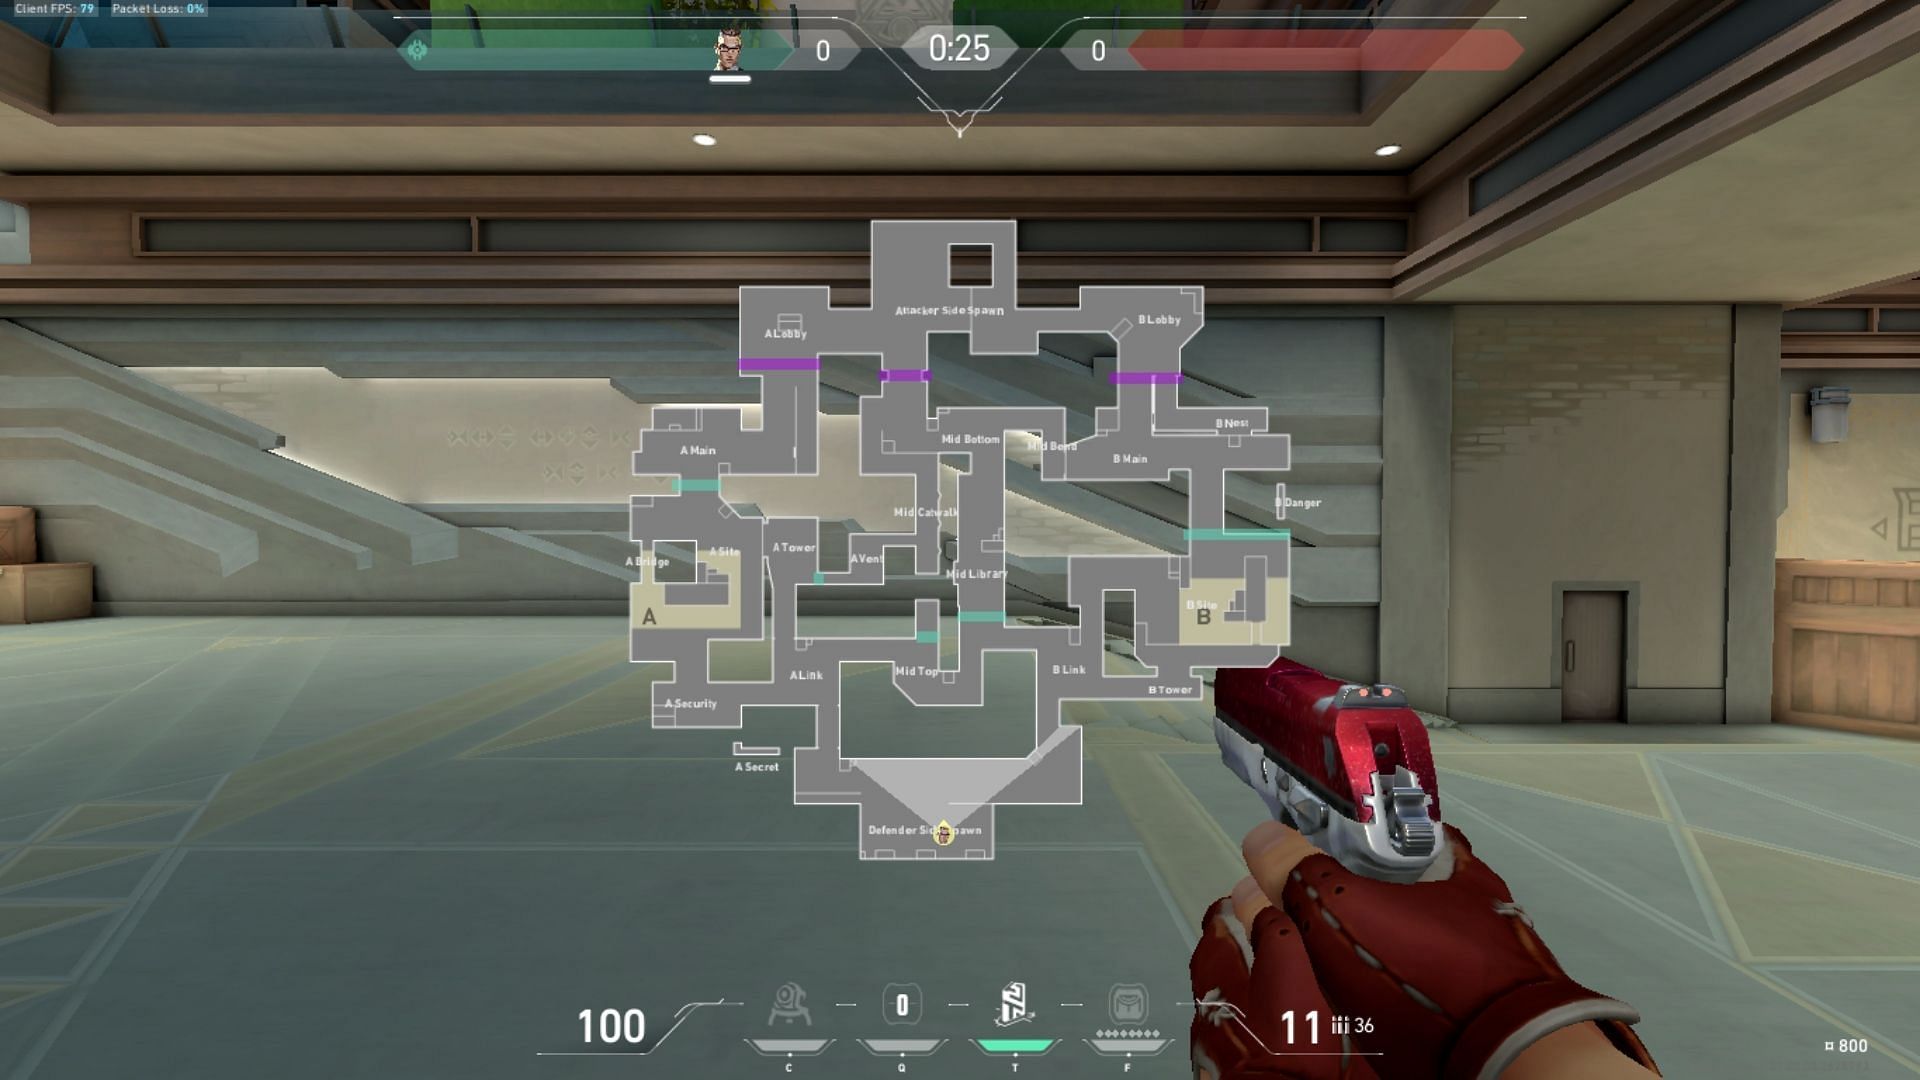
As mentioned before, the Valorant Abyss map has a rather elongated mid-section that allows attackers to directly push past enemy lines and gain access to Defender spawn. However, you need to know important callouts to execute flawless strategies. Here are the most essential ones:
- A Site
- A Back Site
- A Main
- A Tower
- A Bridge
- Mid-Catwalk
- Mid-Library
- Vents
- B Main
- B Backsite
- Danger
- B Link
- B Tower
- B Under
How to play attack and defense on the Valorant Abyss map
Playing attack on Abyss A site
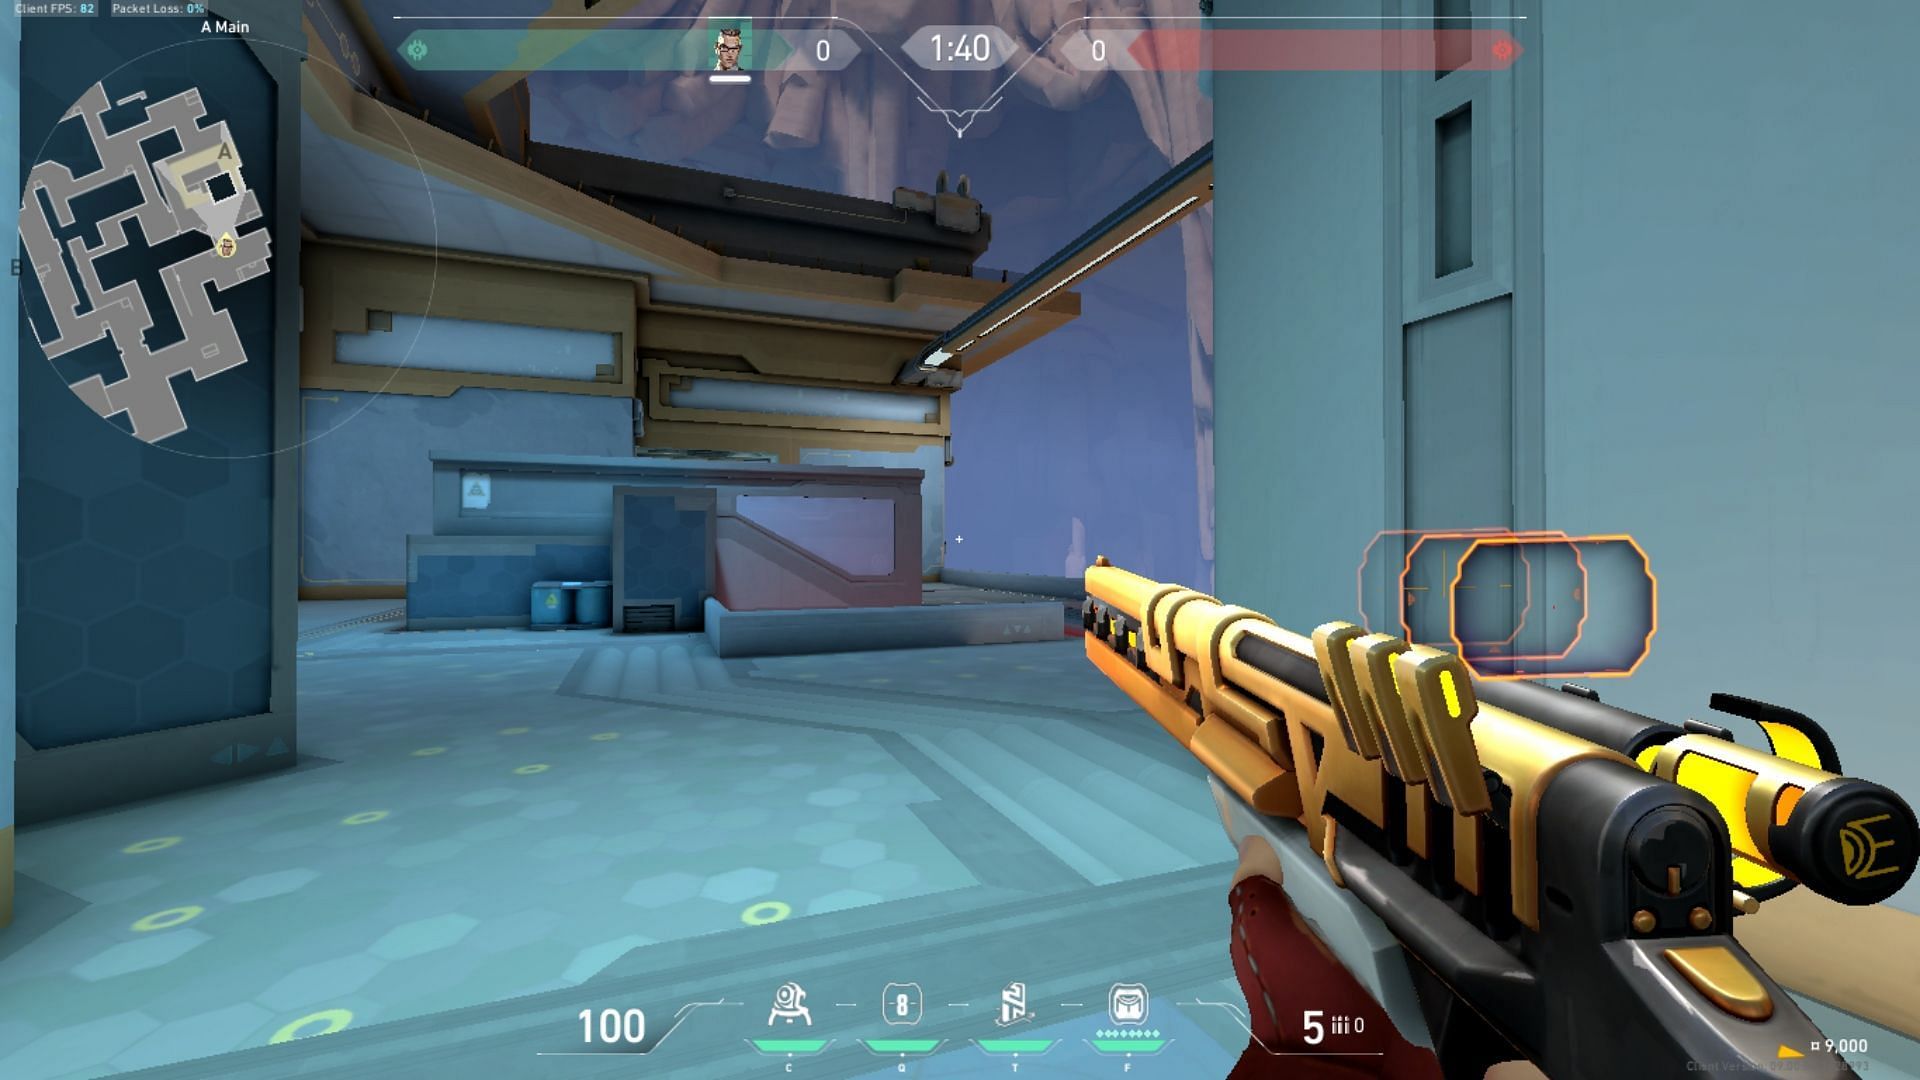
Attacking on Valorant Abyss A Site is rather straightforward. The main entrance is considerably wide allowing all five members enough space to push in easily. So attackers must prioritize taking care of Sentinel util. Use abilities such as Shock Bolts or Aftershock to destroy any Trapwire or Nanobot setup in your way before entering.
Taking a slower approach to sense the Sentinel's setup can also be helpful. Players can split into groups of three and two with the group of two entering from A Vents to take the opponent by surprise. Use Valorant Agents' signature abilities such as the Rendevouz to get out of trouble if caught by a Trapwire.
Playing attack on Abyss B site
Attacking on the Valorant Abyss map on the B site gives players a little more room for creativity while having its challenges. You may use B Danger to get closer to the Site faster but Sentinel util could cause a misstep ensuring your fall into the abyss.
Use flashes and abilities such as Sova's Recon Dart to identify enemy positions. Next, launch a focused attack where one player uses B Danger while the others use B Main. Alternatively, two players could come through mid and attack the opponents rotating to B Site.
Playing defense on Abyss A site

Defending on Valorant Abyss map A Site is somewhat complicated. You may need an intricate Cypher Setup, an aggressive Operator user, and good smoke support. The wide open entrance proves to be a problem for Sentinels such as Cypher or Killjoy. It is advisable to place deep Trapwires or set the Turret up towards the edge on the left side of the entrance.
The basic idea is to make it difficult for opponents to shoot down util. Use Nanoswarms in default plant locations to delay the Spike or have a Cypher Camera high up on a beam or wall so that it cannot be seen by opponents easily.
Ensure a team member has eyes on mid to keep your team aware of any mid-lurks or surprise attacks. Cypher setups on Abyss are easy and can help win rounds, the same goes for Killjoy. Use them accordingly.
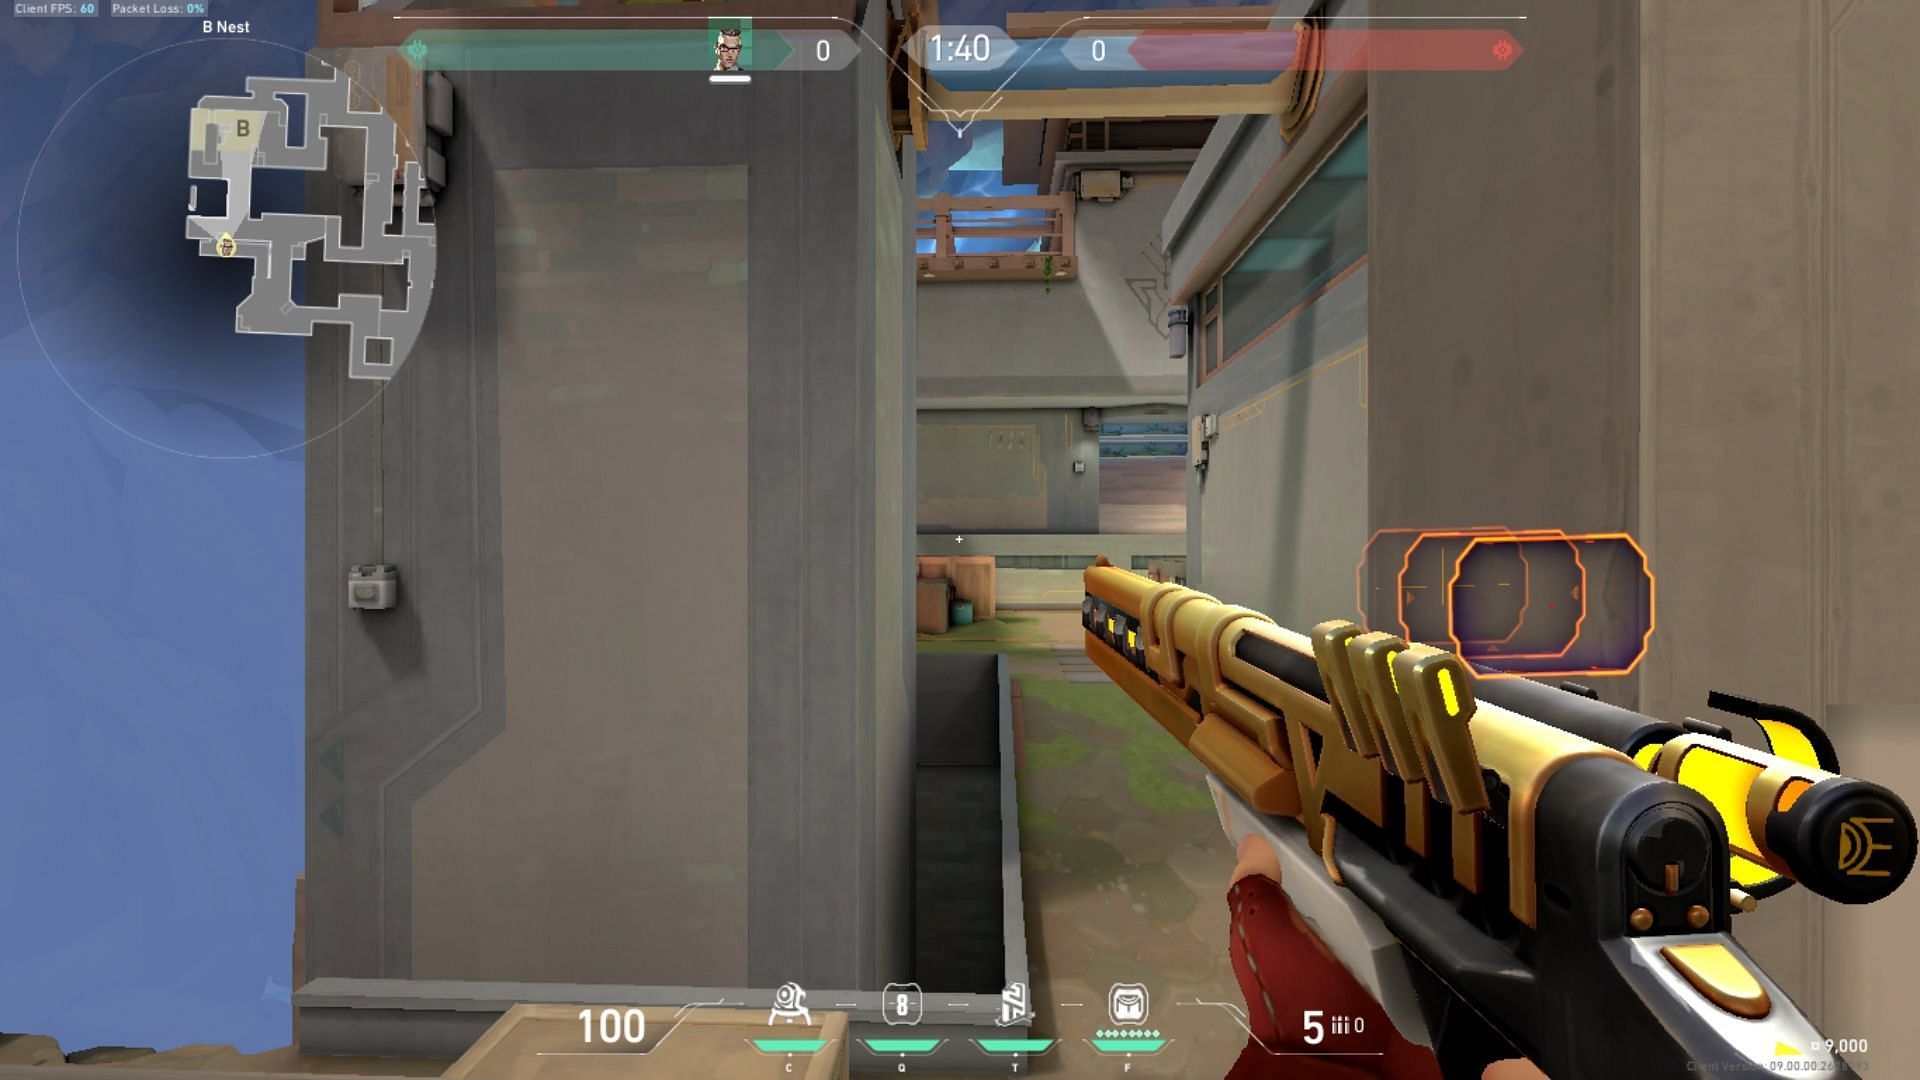
Playing defense on Abyss B site
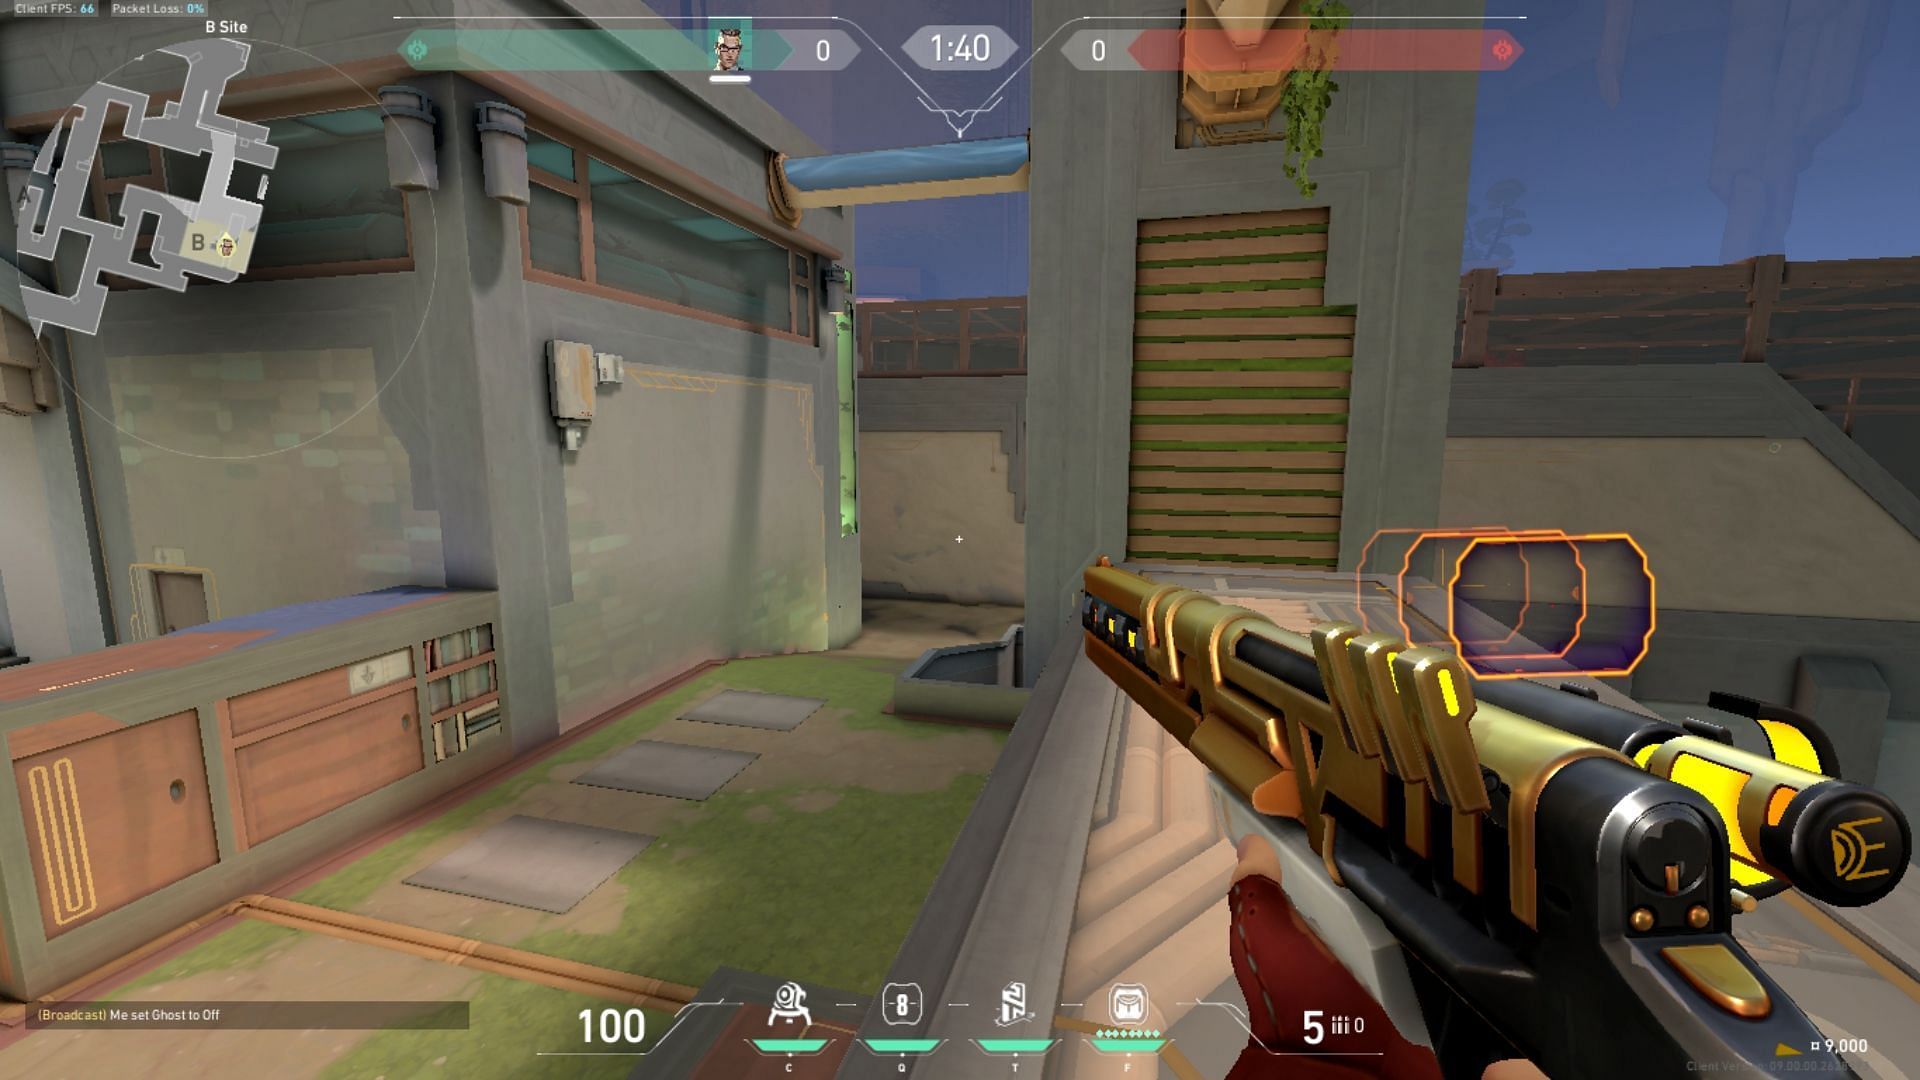
Playing defensively on B Site yet again calls for an Operator player. Abyss has wide entryways and long corridors and passages, making it one of the most ideal maps to use the sniper rifle on.
Yet again, rely on wall bang setups with deep Trapwires around the wooden panels visible in the image above. Even the bridge over B Under provides players with a wall bang surface, and can be used effectively to defeat enemies.
Use your setups effectively around B Danger to eliminate attackers by making them misstep. Deadlock Sonic Sensors and Cypher Trapwires can be effective in this situation.
Most importantly, use the correct team compositions for the Valorant Abyss map. Here's an Agent tier list for Abyss to help you make better picks during Agent Selection.
