Deadlock is one of the more creative Sentinel Agents to use on Valorant’s Abyss. Her Sonic Sensors can knock enemies off the map, and her GravNet is an excellent weapon against big rushes. Her Barrier Mesh can even block off main entryways or pathways and stop opponents from flanking effectively. Executing the right strategies with this character will help you get more frags and round wins.
With this Deadlock Abyss guide, you can explore interesting ways to use the Agent to her maximum potential.
Note: This article is subjective and solely reflects the writer's opinion.
Complete Deadlock Abyss setup guide in Valorant
Barrier Mesh
Barrier Mesh is one of Deadlock's strongest abilities in Valorant. It is a wall that cannot be penetrated by other players and can significantly delay enemy rushes. However, just like Sage's Barrier Orb, this wall can also be broken by damaging it. For this reason, it is important to deploy the mesh in a way that opponents cannot easily take it down.
You should also prioritize blocking off as many angles as possible with the Barrier Mesh. This Deadlock Abyss guide will go through a few optimal and effective wall placements.
A Site Barrier Mesh
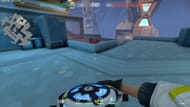
What it looks like
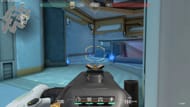
This Barrier Mesh blocks off multiple angles and players off the default plant area. Cover it up by letting down a smoke in A Main. This will help delay opponents for even longer.
B Site Barrier Mesh
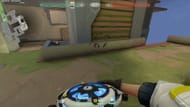
What it looks like
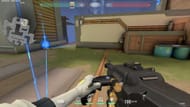
This mesh deployment has a little gap in it. However, the trick is having a Sonic Sensor deployed close by, as shown in the image above. This will slow down any approaching enemies and can help secure a quick frag.
A Vents
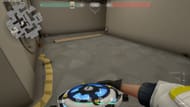
What it looks like
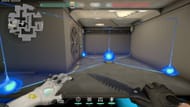
During defensive halves, you may go to A Tower and break through the door to make it to A Vents quickly. Next, line up your reticle, as shown in the image above. It doesn't have to be perfect. Now, aim at the area roughly and deploy the mesh. Remember, take a good position so that the mesh doesn't block your own exit back to A Tower safely.
This Deadlock Abyss guide will now explore Sonic Sensor setups that work well with the featured Barrier Mesh positions.
Sonic Sensor
Sonic Sensors detect sound and affect enemy movement by dazing opponents temporarily. However, enemies can walk past these sensors, so it is vital to set them up in areas where your opponents are forced to move fast.
Listed below are some setups that work well with Deadlock's wall.
Also Read: Cypher Abyss guide
A Site Sonic Sensor setups
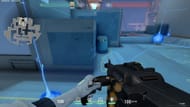
A Site Sonic Sensor 2
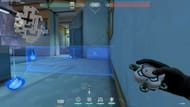
These Sonic Sensors will help delay enemies trying to rush into the site immediately after breaking the wall. Moreover, the sensor right behind the mesh on the default plant position will stun opponents as they plant. You can easily spam this location from A Tower to secure a frag.
B Site Sonic Sensor
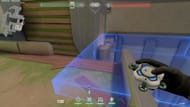
B Site Sonic Sensor 2
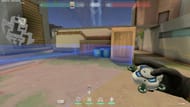
This sensor is difficult to shoot down since the angle is not easy to guess and spam on. It will slow down enemies passing through the gap in the B wall shown in the previous section. This is another good location to get spam kills from.
GravNet
It is best to use GravNet with other abilities or spam an area from behind a smoke. Listed below are a few ways you can use the net to catch opponents and hold them in one place. Feel free to try new angles and throw the grenade in default plant locations once you hear the Spike getting tapped.
A Site GravNet execute
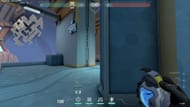
A Default
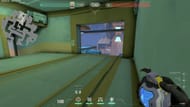
These are some of the best GravNet executes on and from the A Site. Bounce the grenade off the walls and pair it up with Raze's Paintshells for maximum damage. You may also release a Molotov in the affected area right to secure some easy frags on unsuspecting opponents. Do a running throw to better hit the target area.
Also Read: Valorant: Complete Killjoy Abyss guide
B Site GravNet executes
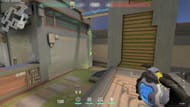
B Under
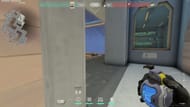
These are the GravNet executes on B Site. Try to be creative around these throws and use movement to better the trajectory on the grenades.
The Valorant Abyss map has many interesting locations where opponents can be caught by surprise. Use Deadlock's abilities to the maximum in order to win rounds.
