
'%20x='0'%20y='0'%20height='100%25'%20width='100%25'%20%0A%20%20%20%20%20%20%20%20%20%20xlink%3Ahref='data:image/jpg;base64,/9j/2wBDAAYEBQYFBAYGBQYHBwYIChAKCgkJChQODwwQFxQYGBcUFhYaHSUfGhsjHBYWICwgIyYnKSopGR8tMC0oMCUoKSj/2wBDAQcHBwoIChMKChMoGhYaKCgoKCgoKCgoKCgoKCgoKCgoKCgoKCgoKCgoKCgoKCgoKCgoKCgoKCgoKCgoKCgoKCj/wgARCAAGAAoDASIAAhEBAxEB/8QAFgABAQEAAAAAAAAAAAAAAAAAAAYH/8QAFQEBAQAAAAAAAAAAAAAAAAAABAX/2gAMAwEAAhADEAAAAJHJSuP/xAAiEAACAQMCBwAAAAAAAAAAAAABAwIABAYFEQcSMkJRkdH/2gAIAQEAAT8AzhNweH60PRZTZpzedjIbxOw7Y+eqp4veiRBcj2flf//EABgRAAIDAAAAAAAAAAAAAAAAAAACAwQR/9oACAECAQE/ALMa6f/EABcRAQADAAAAAAAAAAAAAAAAAAIAAxL/2gAIAQMBAT8ArazP/9k='%3E%3C/image%3E%3C/svg%3E)
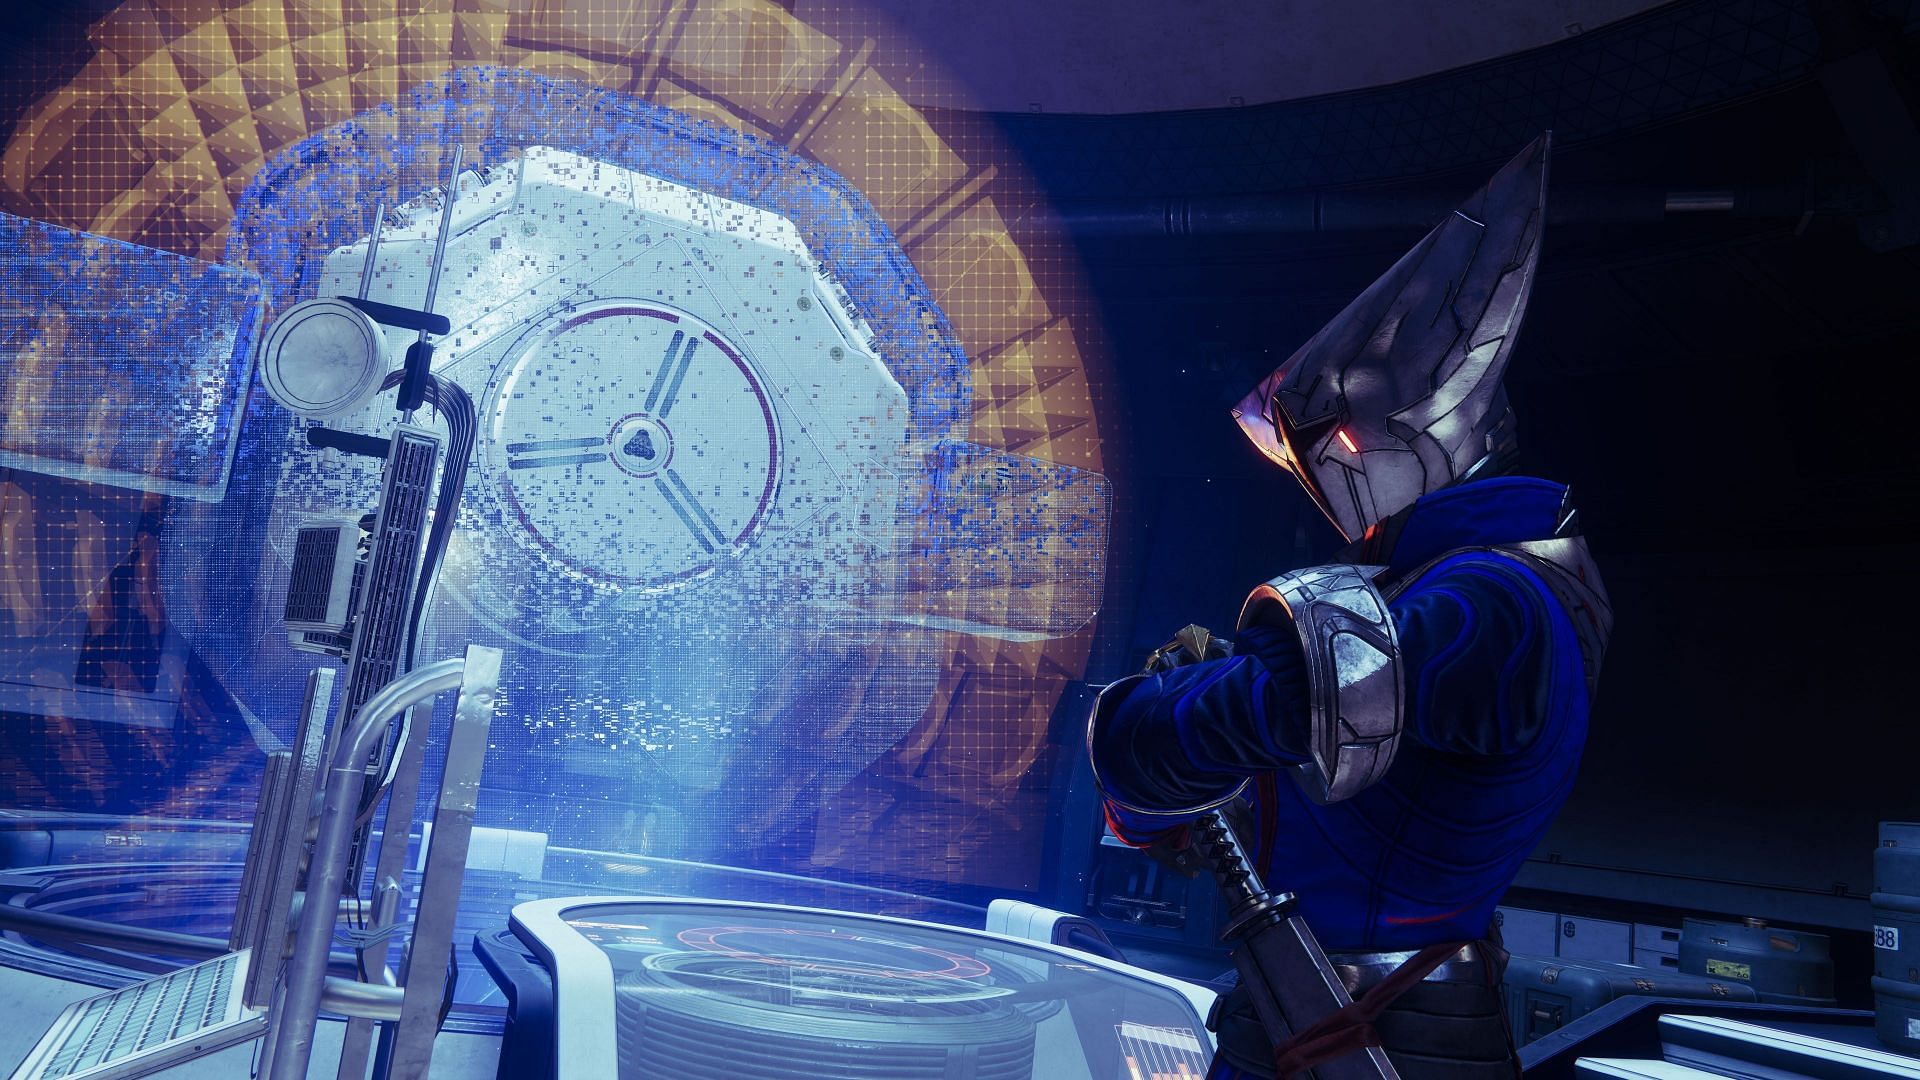
Destiny 2's A Rising Chorus Quest is the seasonal storyline of Episode Echoes. Players must follow the quest steps that started from the June 11, 2024 reset, featuring the likes of Failsafe and Saint-14 in the comms. Most of this season's activities will take place on Nessus, with the Vex enemy acting out of their usual self. Hence, it falls on the Guardian to look for any hostility on the crimson planet.
This article lists every step of the "A Rising Chorus" seasonal quest, containing 25 steps for Act I. Note that these quests usually remain time-gated every week, with each reset unlocking the subsequent steps to progress the story.
Note: This article will be updated as more steps get unlocked soon.
A Rising Chorus Quest step guide in Destiny 2 Episode Echoes Act I
Here is an overview of steps you must go through to catch up to the "A Rising Chorus" quest steps:
- Echoes Act I: A Familiar Voice (prologue)
- A Rising Chorus: Act I (gather three samples)
- Collect the final Specimen
- Analyze the final Specimen
- Discuss your research with Failsafe
- Deposit samples in HELM
This list contains all the quest steps within the "A Rising Chorus" quest, starting from Week 1 of Act I to Act II. Time-gated objectives will be added here and below, once they become available.
Prologue
To complete the prologue, look for a quest called "Echoes Act I: A Familiar Voice." Visit the Helm, and follow all the steps as asked by the mission. The prologue will end when Failsafe appears at the HELM and gives you a green rarity item called "Standard Radiolite Sampler." This will activate the seasonal quest "A Rising Chorus."
A Rising Chorus Week 1
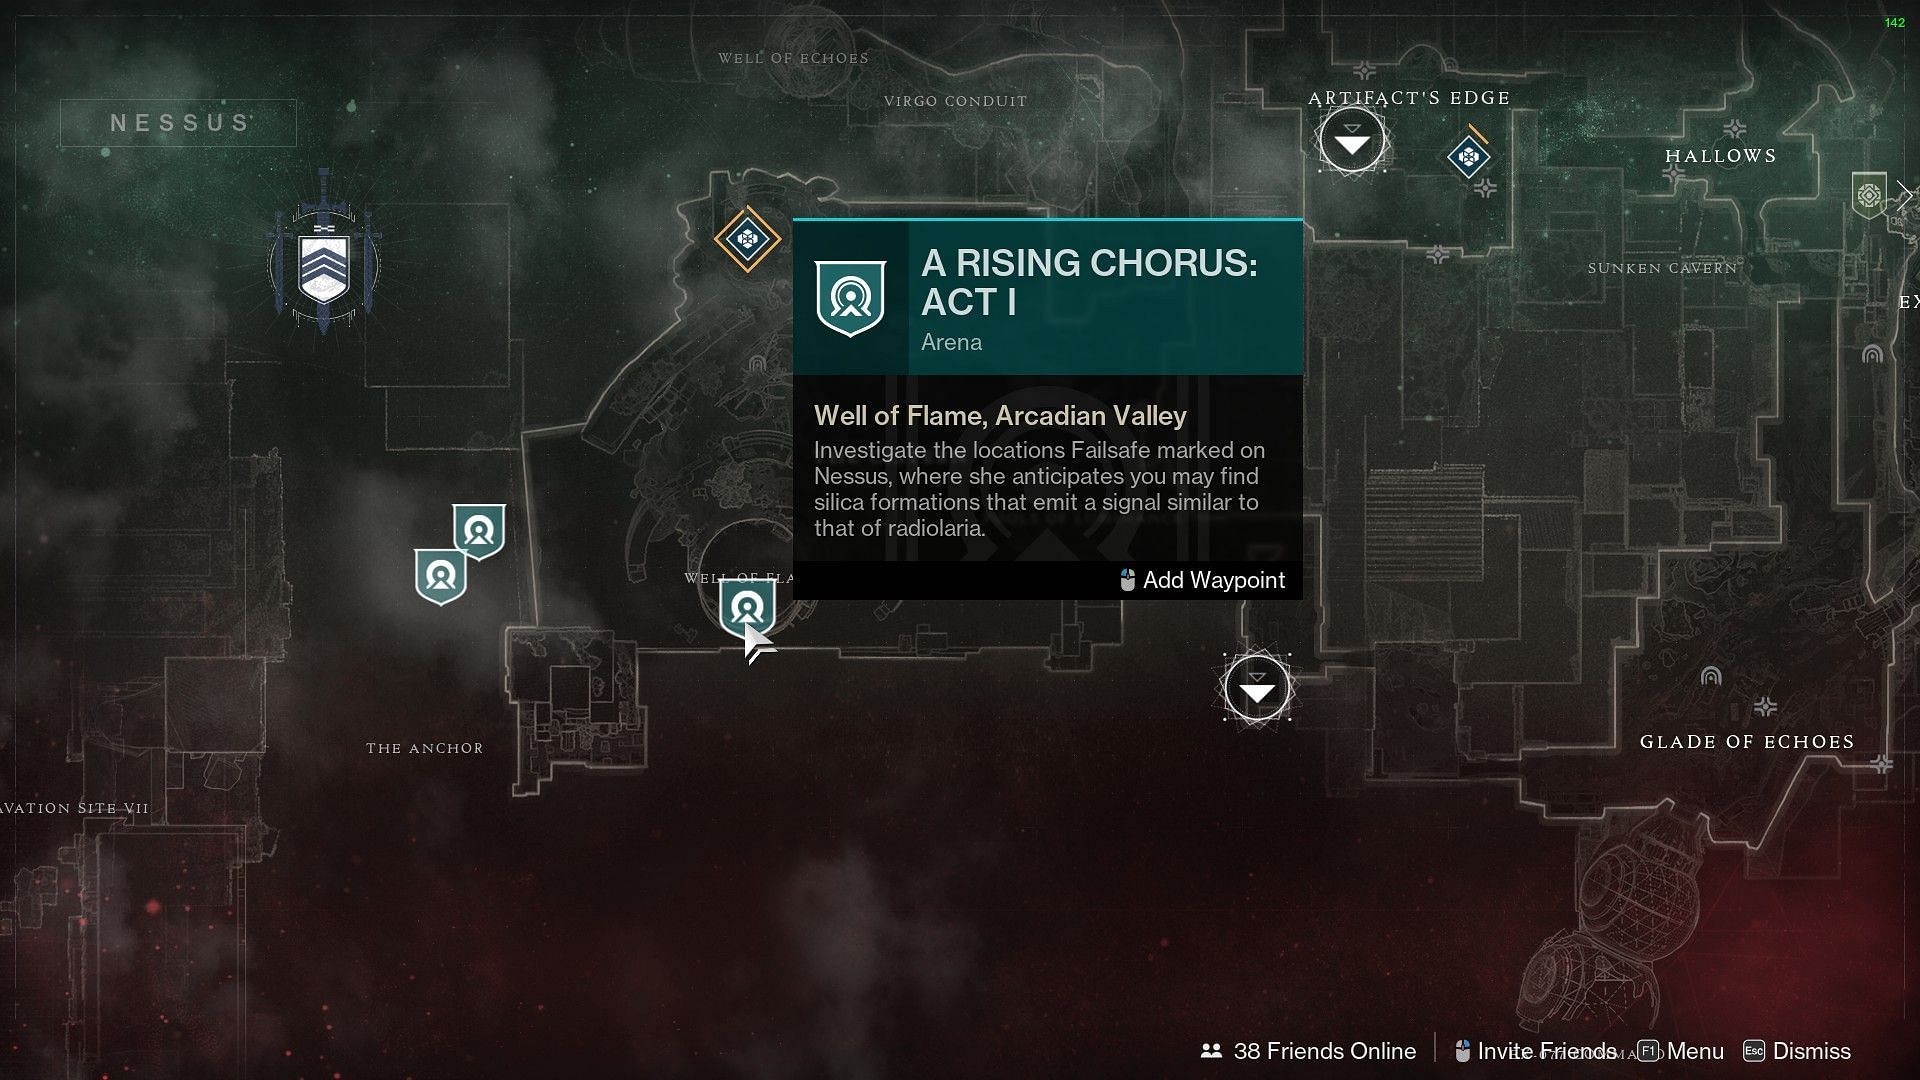
For the first step in "A Rising Chorus" for Week 1, you must collect three samples from three different locations at Nessus. Here is a list of all three sample locations:
- Teleport on the Cistern waypoint and head inside the "Well of Flame." After heading in, go left and jump down to find the first sample.
- From the first sample location, go through the Vex portal in front of you and keep going straight until you notice an objective marker for the second sample.
- The third sample can be found by going straight from the second sample location.
Once all three samples have been collected, you will be tethered in a Vex comb. Shoot to release yourself and defeat the Wyvern and other Vex enemies that spawn in the area. Interact with the final sample and return to HELM.
Speak with Failsafe at the HELM to receive another research instrument alongside a Legendary seasonal weapon, the Timeworn Wayfarer.
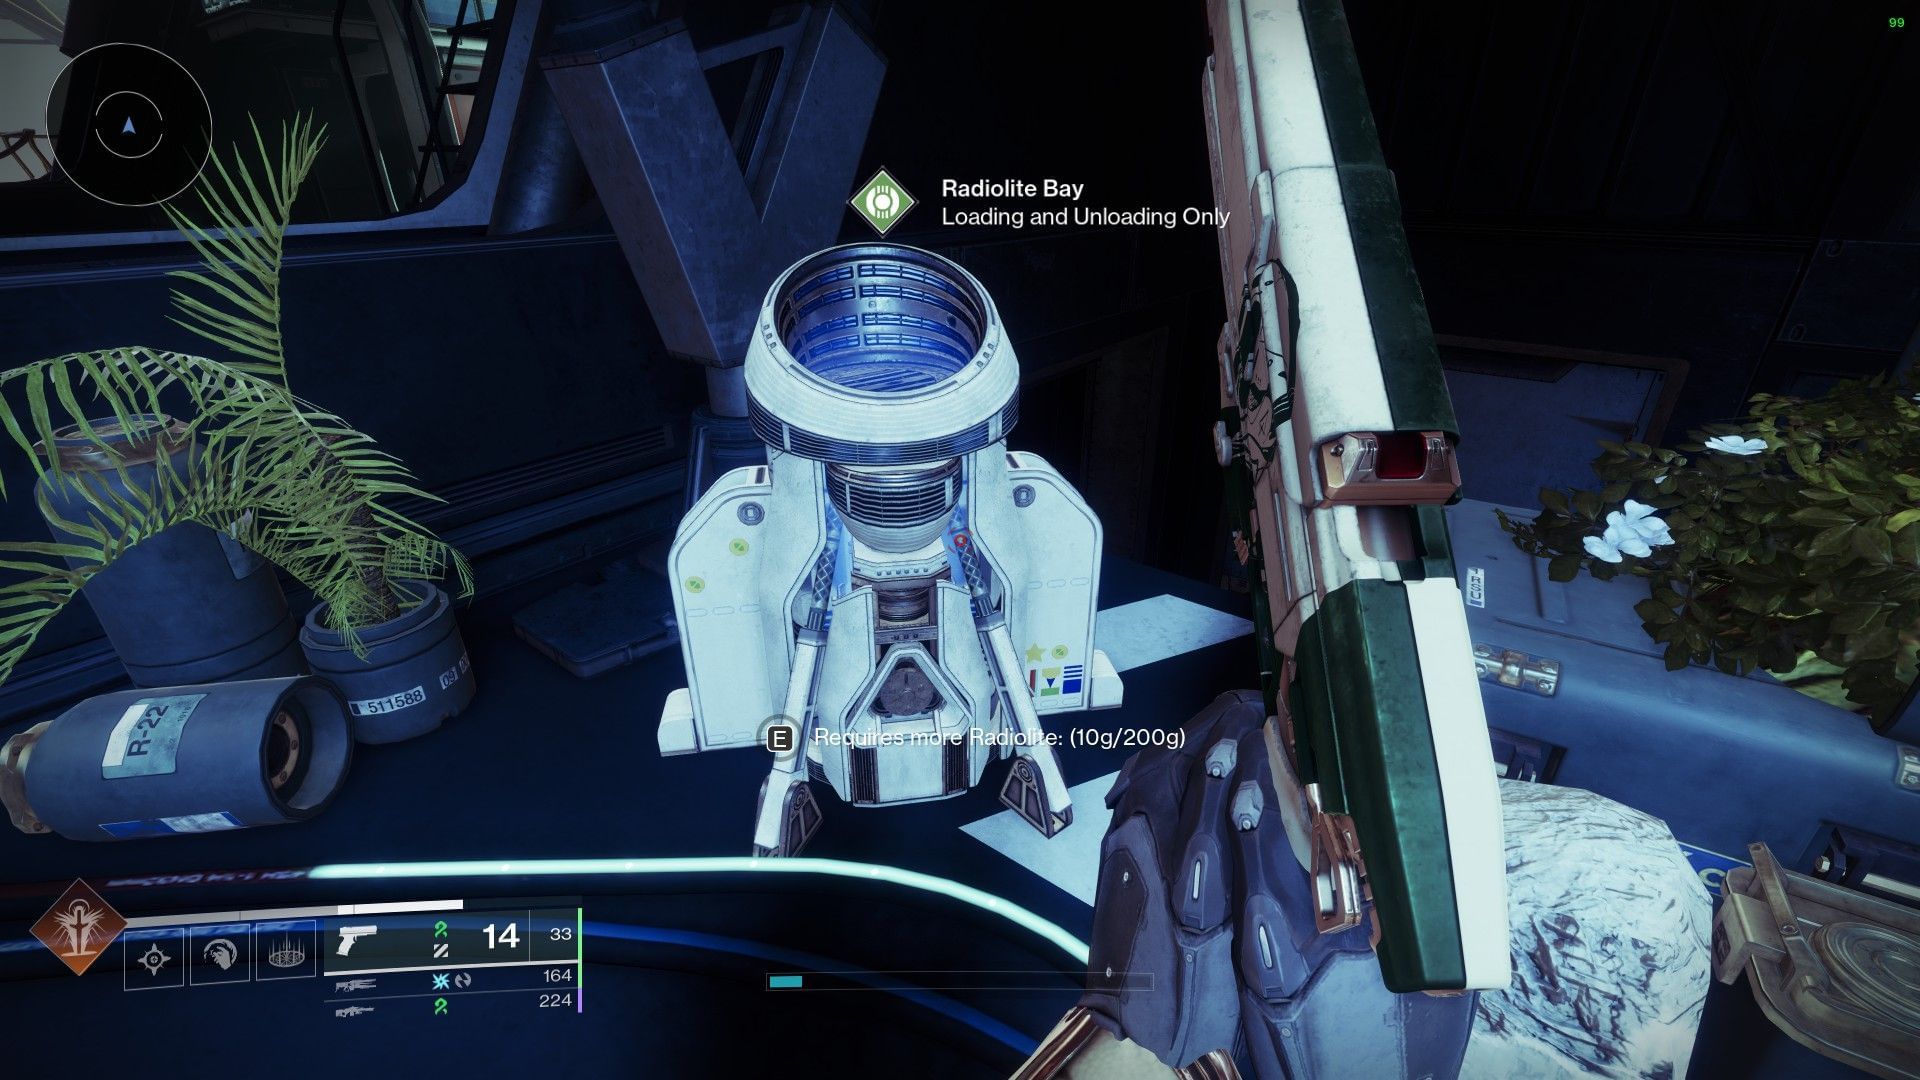
Lastly, you can choose to deposit the Specimen in the Radiolite Bay, located just beside the Failsafe AI at the HELM. This will provide you with another seasonal weapon alongside additional research instruments for more rewards.
A Rising Chorus Week 2
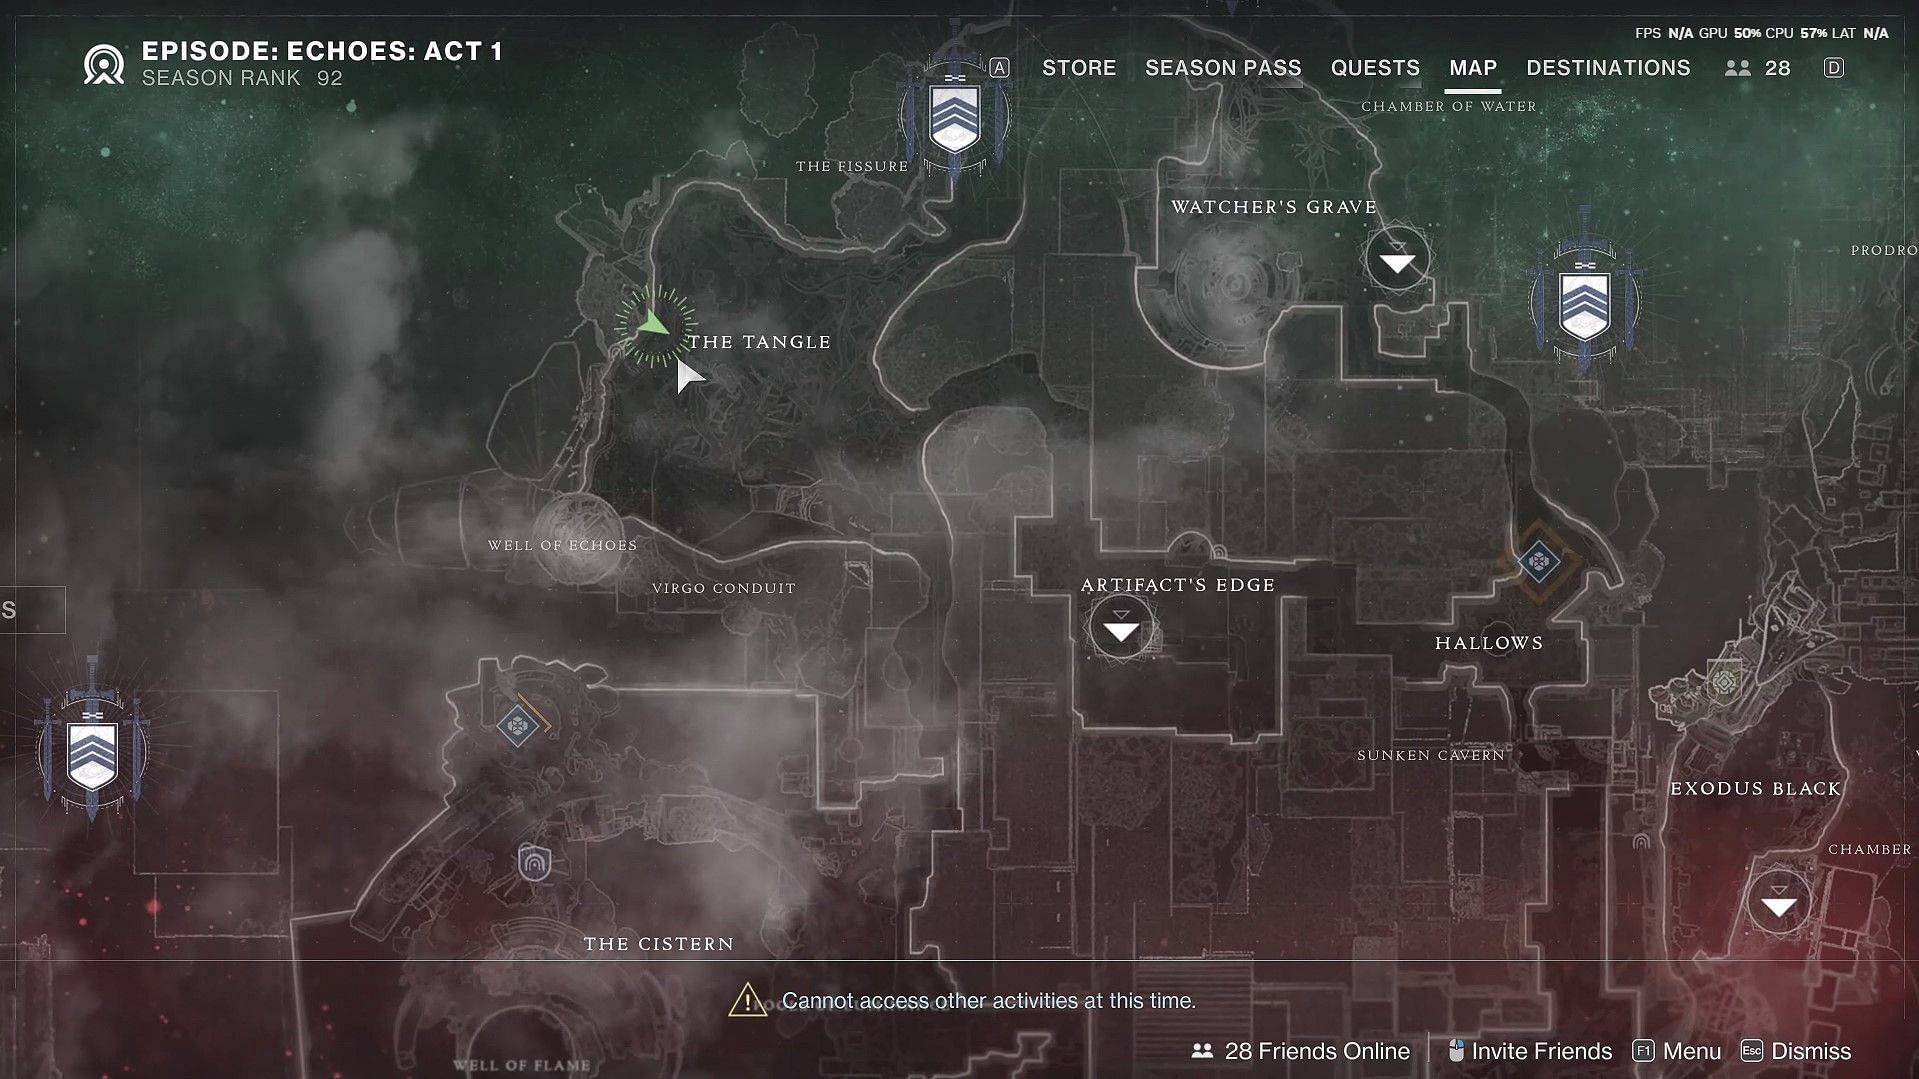
For Week 2, the quest will ask you to head to Failsafe at the HELM, which in turn, will trigger a few dialogues, followed by another quest step. This will be step number 8 out of 25, where you must head to the Exodus Black area in Nessus. For a shortcut, you can open the "Quest" tab and click on the quest to get a "Launch" option, shown in the image below.

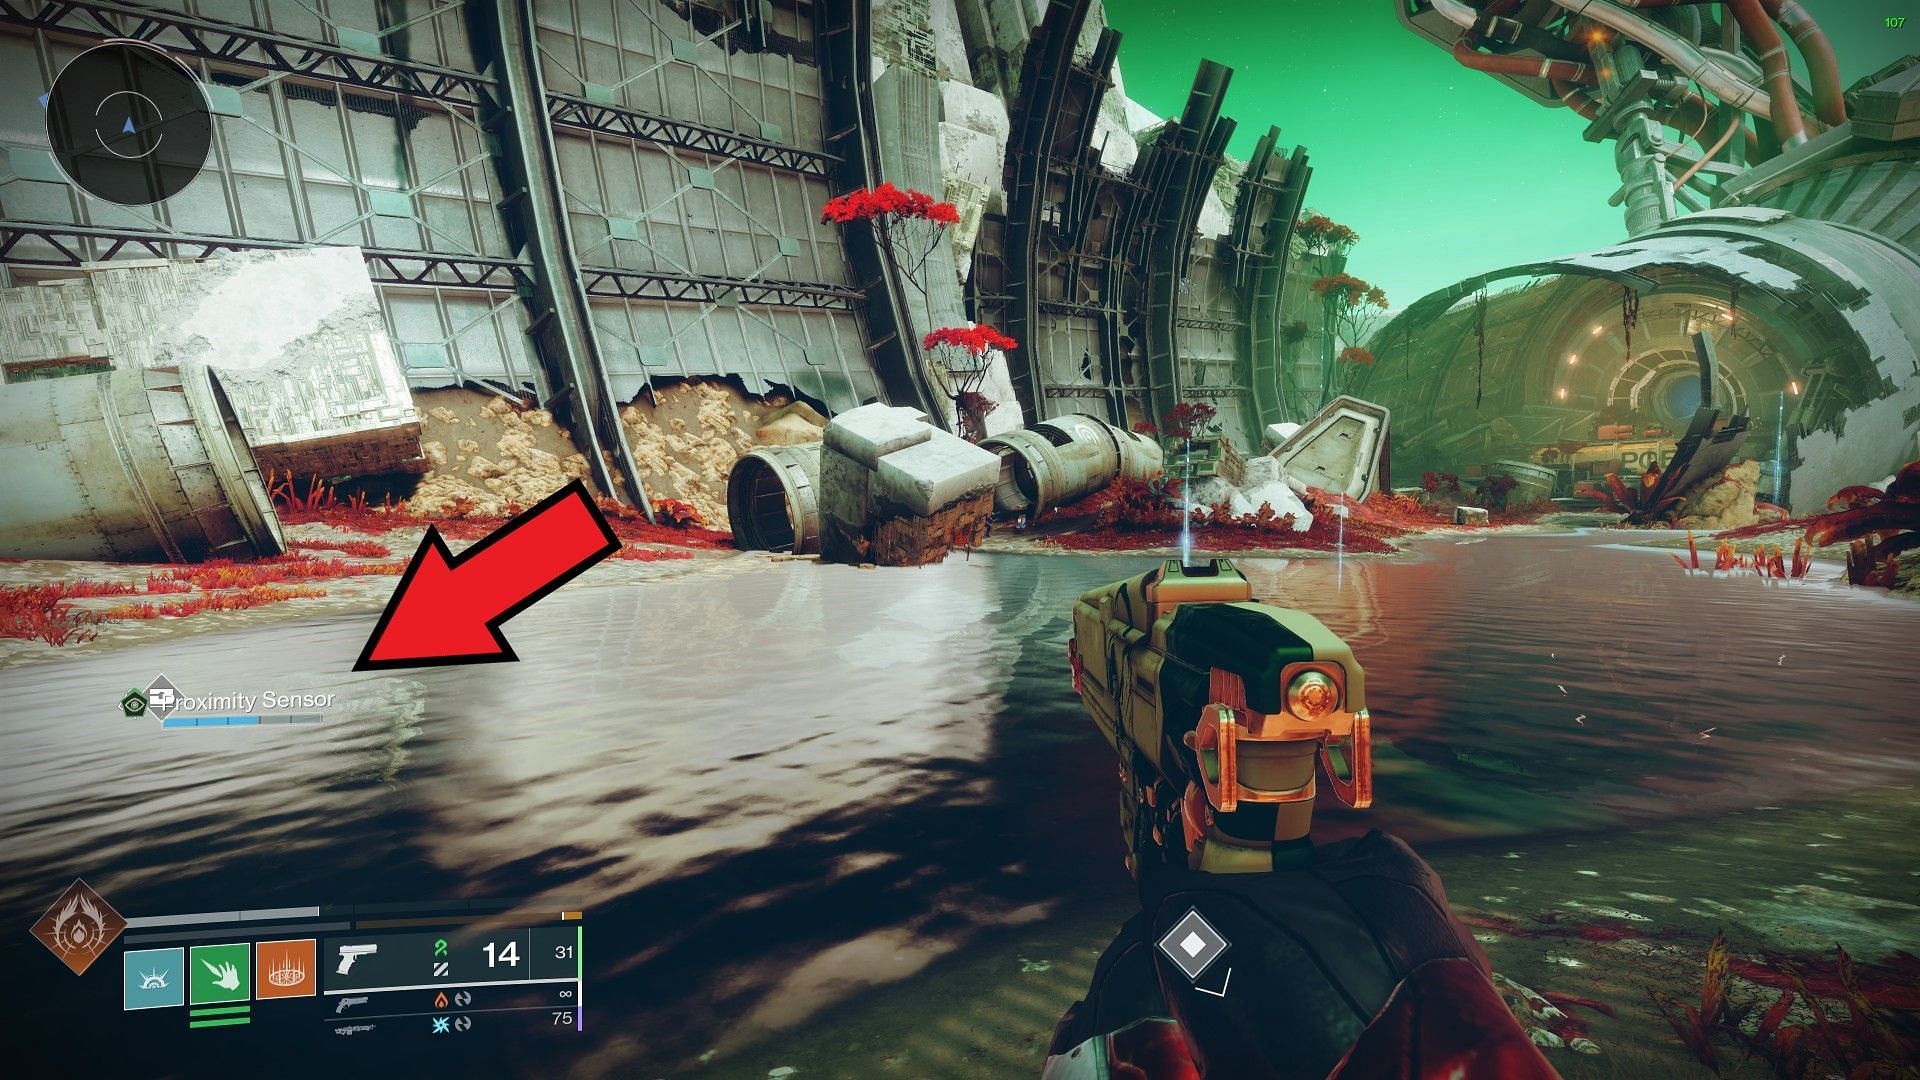
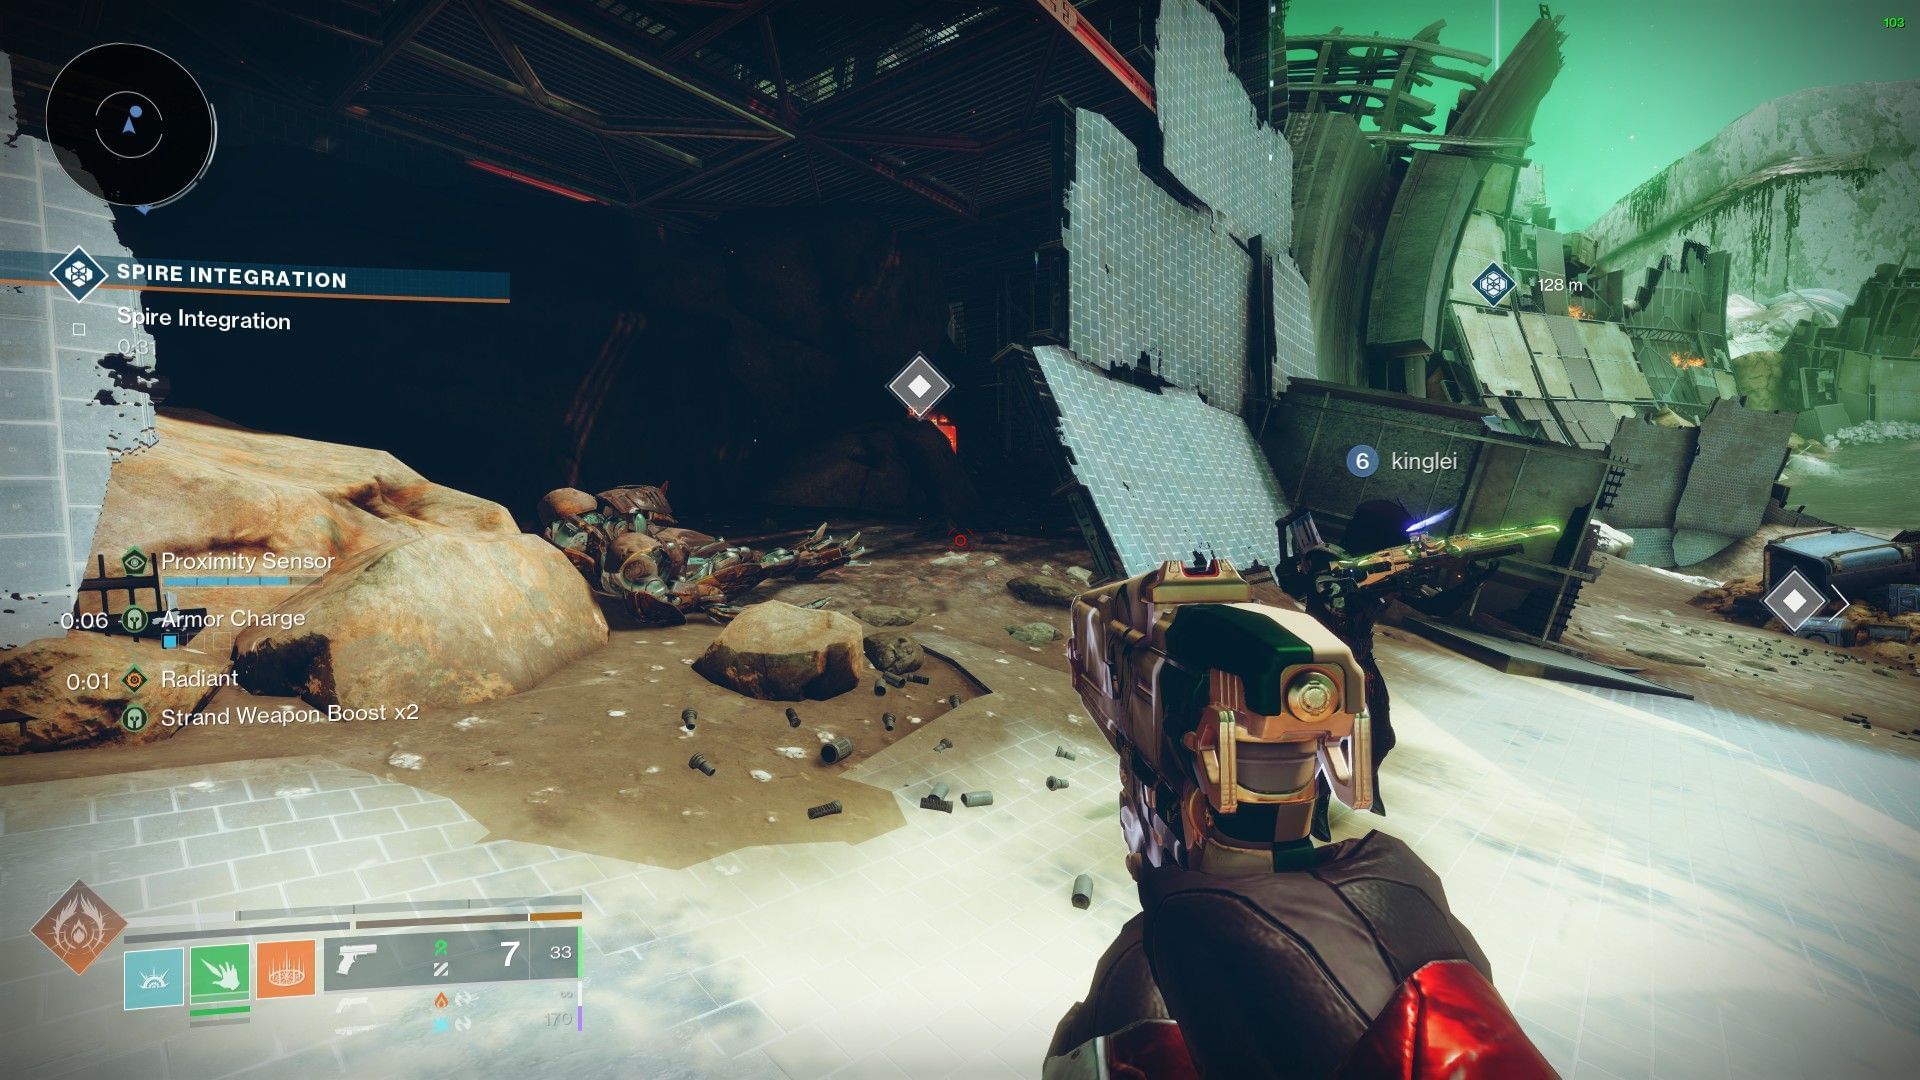
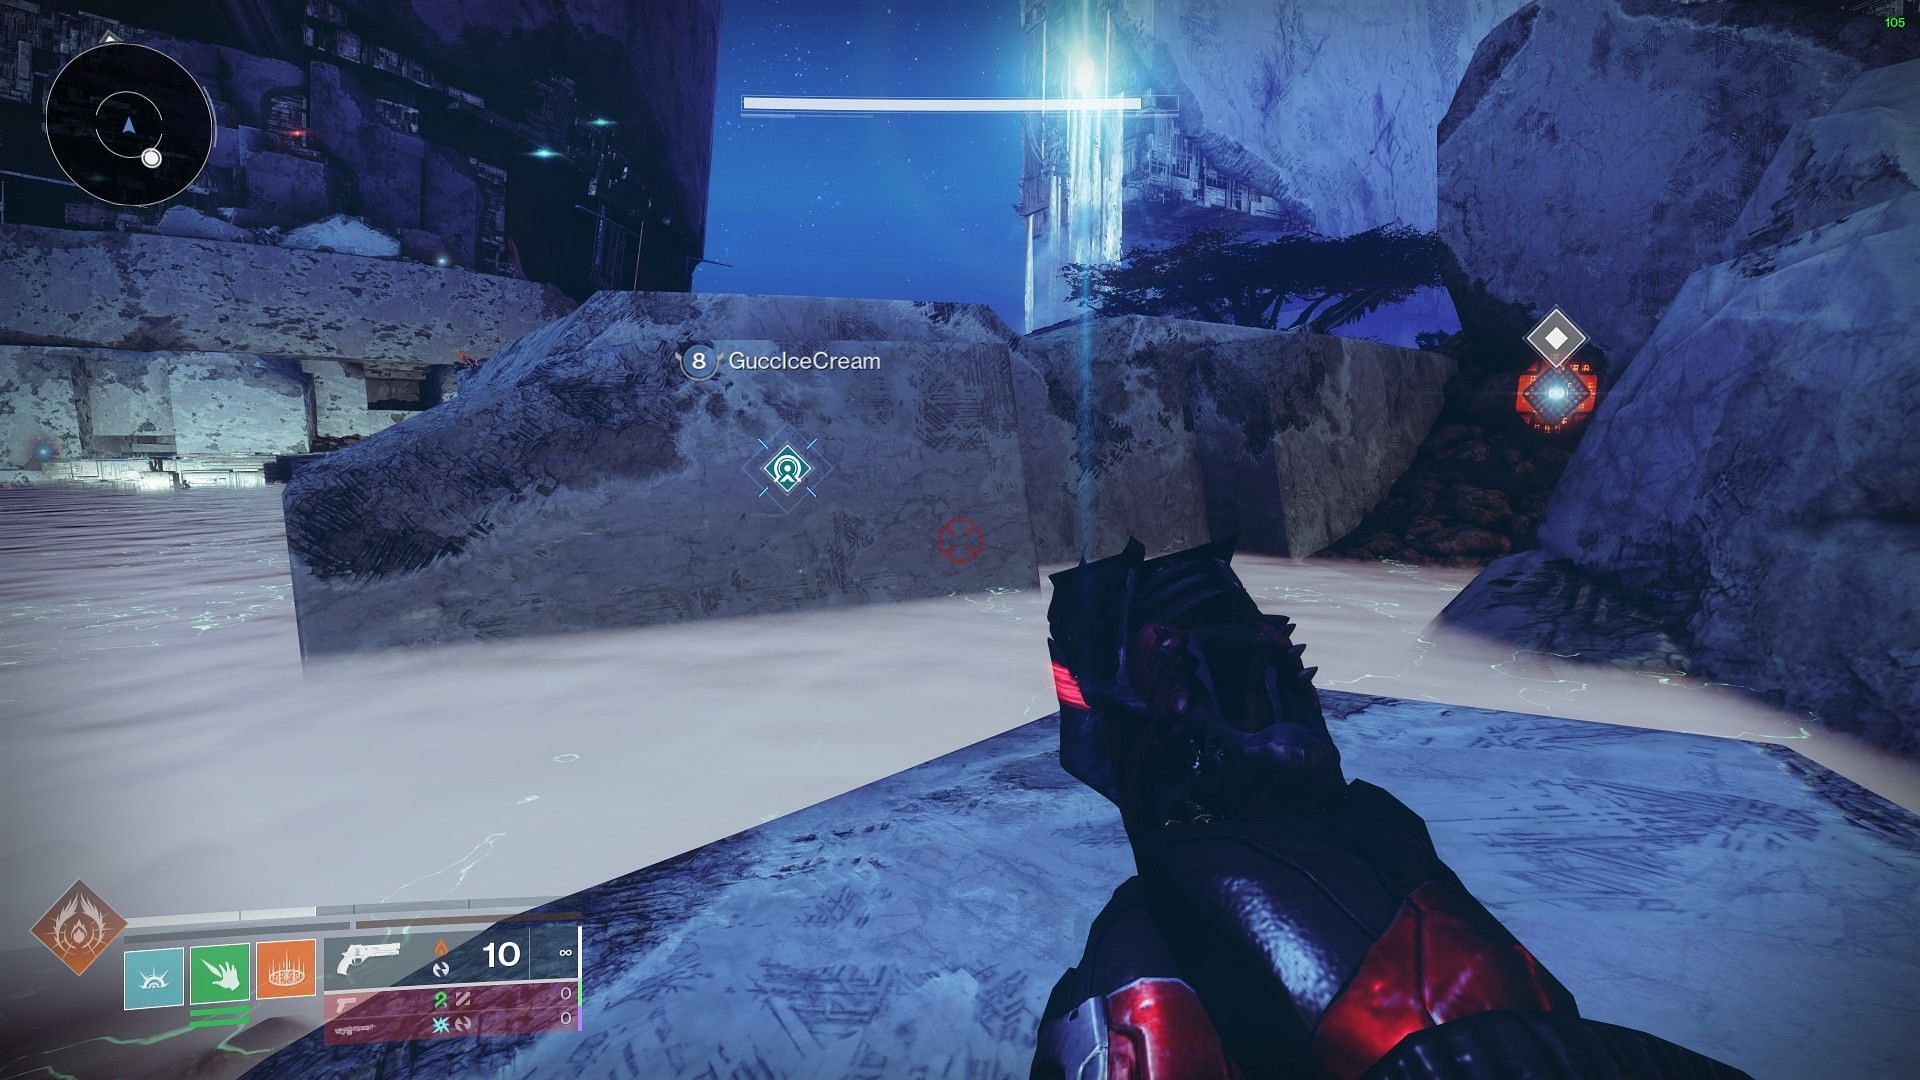
You will be spawned in the Exodus Black area of Nessus, where you will see the objective marker with the seasonal icon. Simply head over to trigger a small buff called "Proximity Sensor" on the left side of your screen. Notice a blur bar that will increase and reduce depending on the direction you are going.
From the first marked location, head straight and look for a small broken ship part lying on the ground. The first object should be located there.
Head to the Glade of Echoes from the first location and follow along the same mechanic with the "Proximity Sensor" buff.
Lastly, head to the Hallows from Artifact's Edge and do one last scan to trigger the next step.
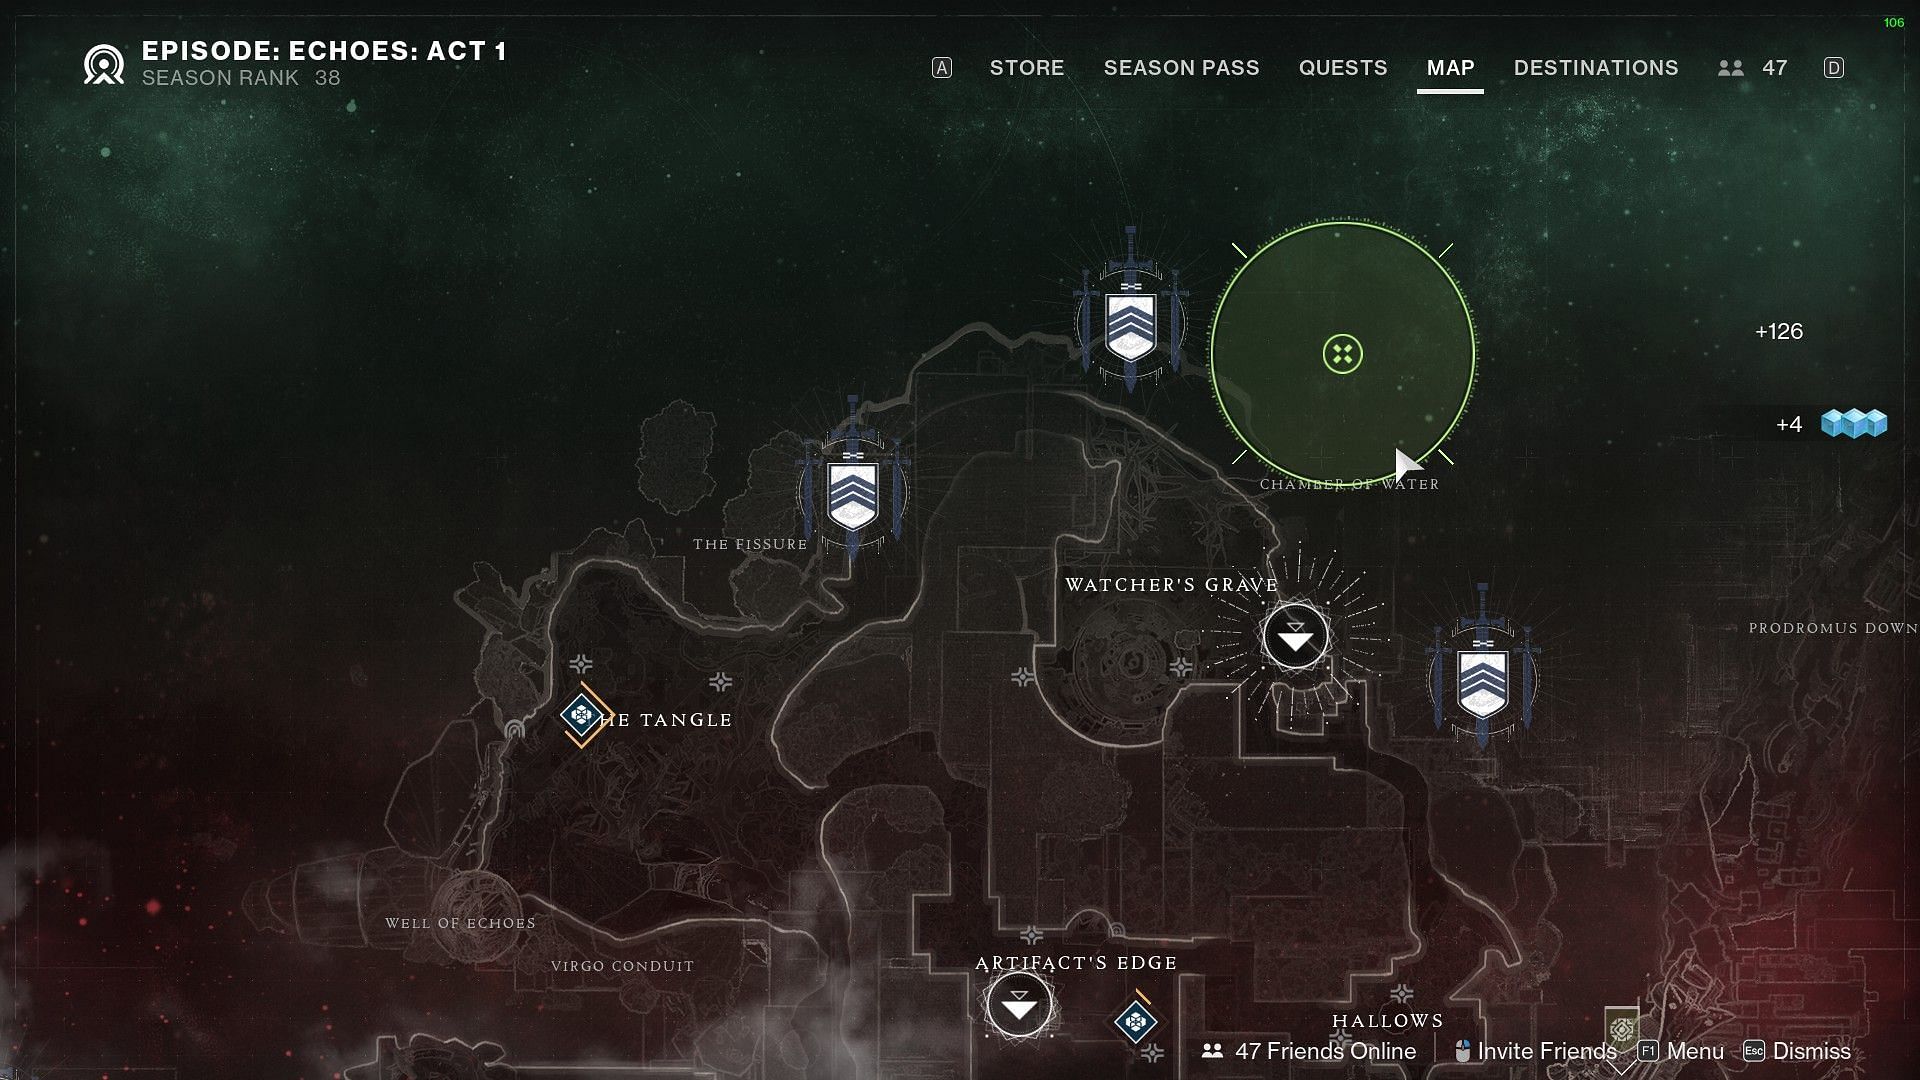
For the next step, finish the "Exodus Crash" Strike from Nessus. Simply open the map and look at the starting node on the right side. For the specimen, look for a scannable object in the dark room located just before the boss encounter.

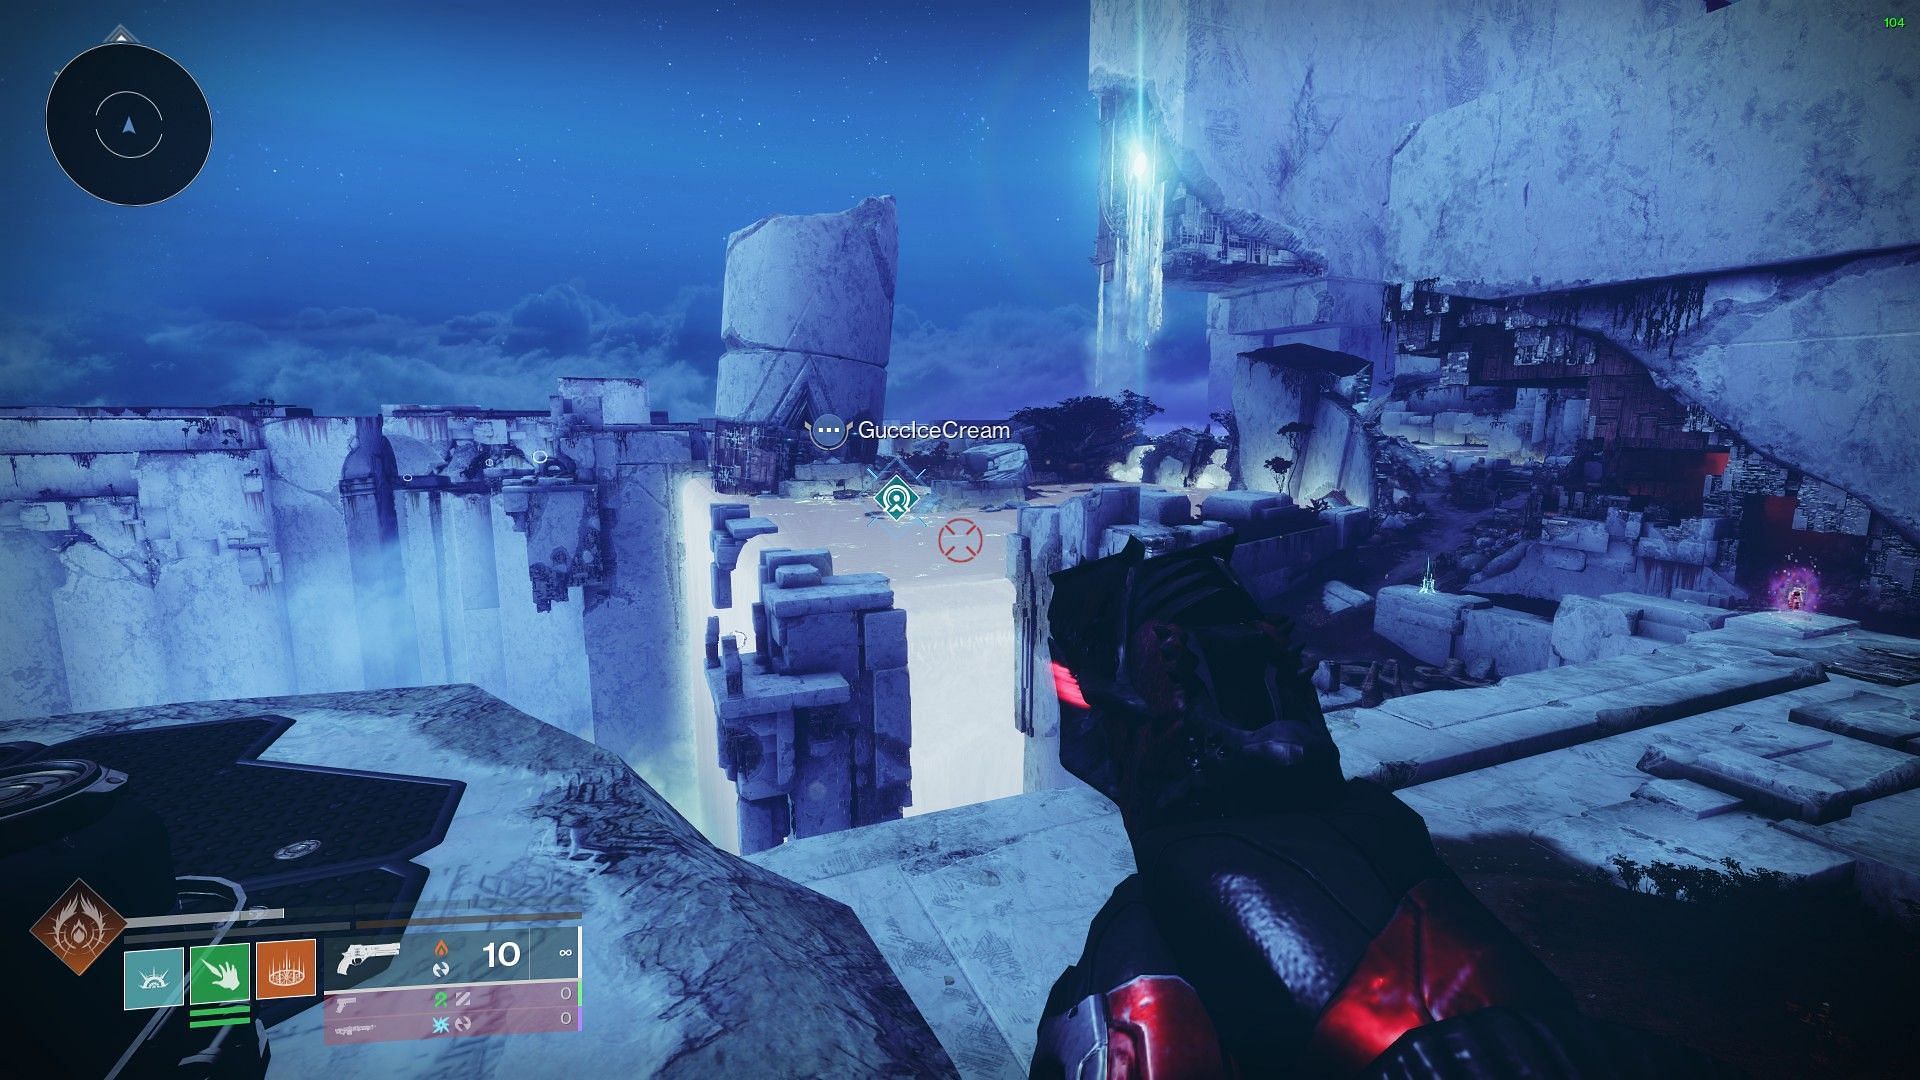
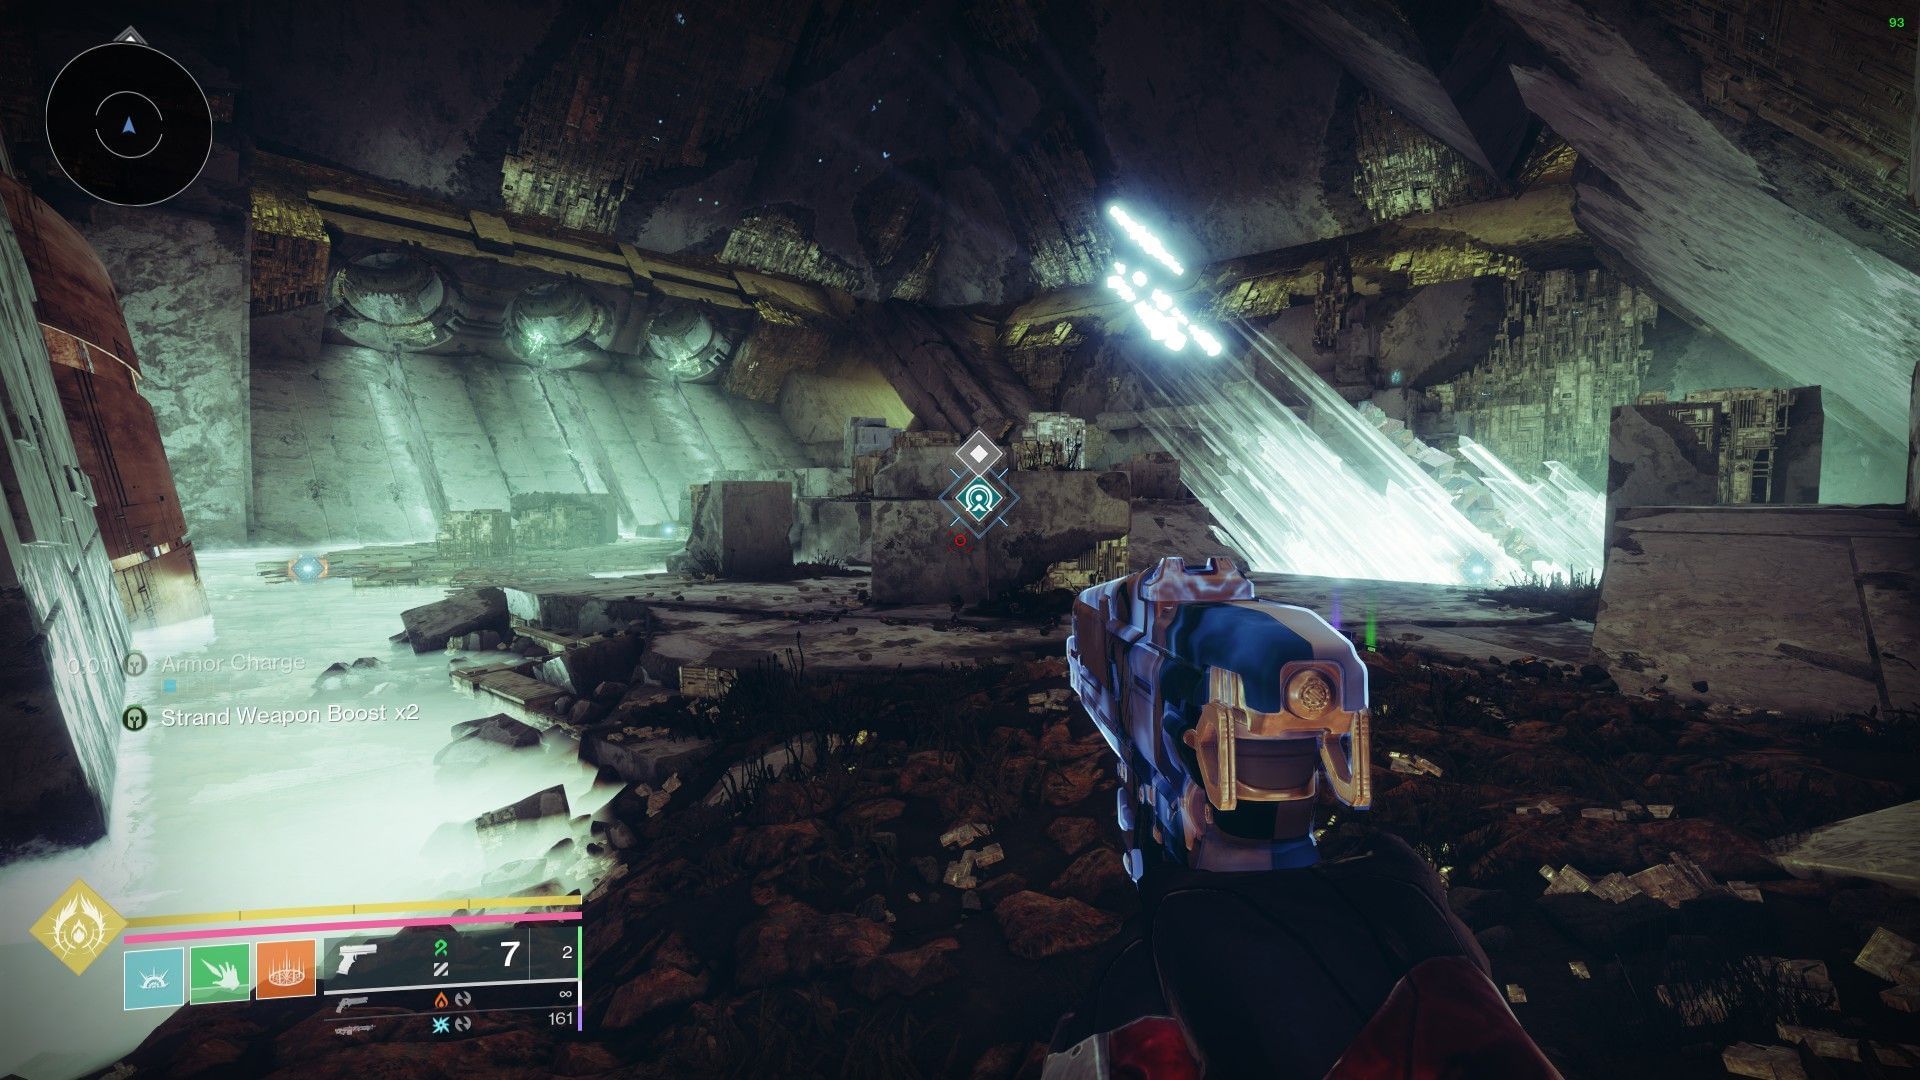
The final quest step will ask you to do two steps in total. First, look for Specimen NES002-C within the seasonal activity, and complete a Breach Executable run. To locate the specimen, keep an eye on the "Proximity Sensor" buff on the left, and head to the location shown in the image below.
Once done, complete the Breach Executable activity, head to the HELM, and talk to Failsafe twice to complete Week 2 A Rising Chorus. Your progress now should be 16 out of 25.
A Rising Chorus Week 3:
Start by going to the HELM and talk to Failsafe for the Week 3 steps of "A Rising Chorus." The next step will ask you to extract five Radiolaria samples from three different corners of Nessus.
For the first site, teleport on "The Cistern" waypoint and travel towards the Well of Echoes. It is recommended you track the quest at all times, as it makes things easier to see on the map and in the overworld. If you have the quest tracked, you will see a marker after spawning on "The Cistern."
Here, look for scannable samples similar to Week 2. You will find five samples throughout the location, all marked by an objective marker when you get close to them. All five can be found within the vicinity of the radiolaria fluid outside the Well of Echoes
For the second site, teleport to the "Watcher's Grave," go straight, and look for a Vex portal on the right side. Enter the portal and go straight to find the samples. All five scannable samples can be found within the vicinity, alongside hoards of Vex enemies lurking in the area.

For the final site, teleport on The Cistern waypoint, head straight, and take the first right that leads into a cave. Follow the linear path until you arrive in "Pools of Luminance," followed by the huge room shown in the image below.
Scan the objects present within the room to trigger the next step in the quest.
Head to HELM once you are done picking up the samples from all three locations. Wait for Osiris and Failsafe to finish talking, and then open Nessus' map to initiate the newly unlocked "Mesmerize" mission.
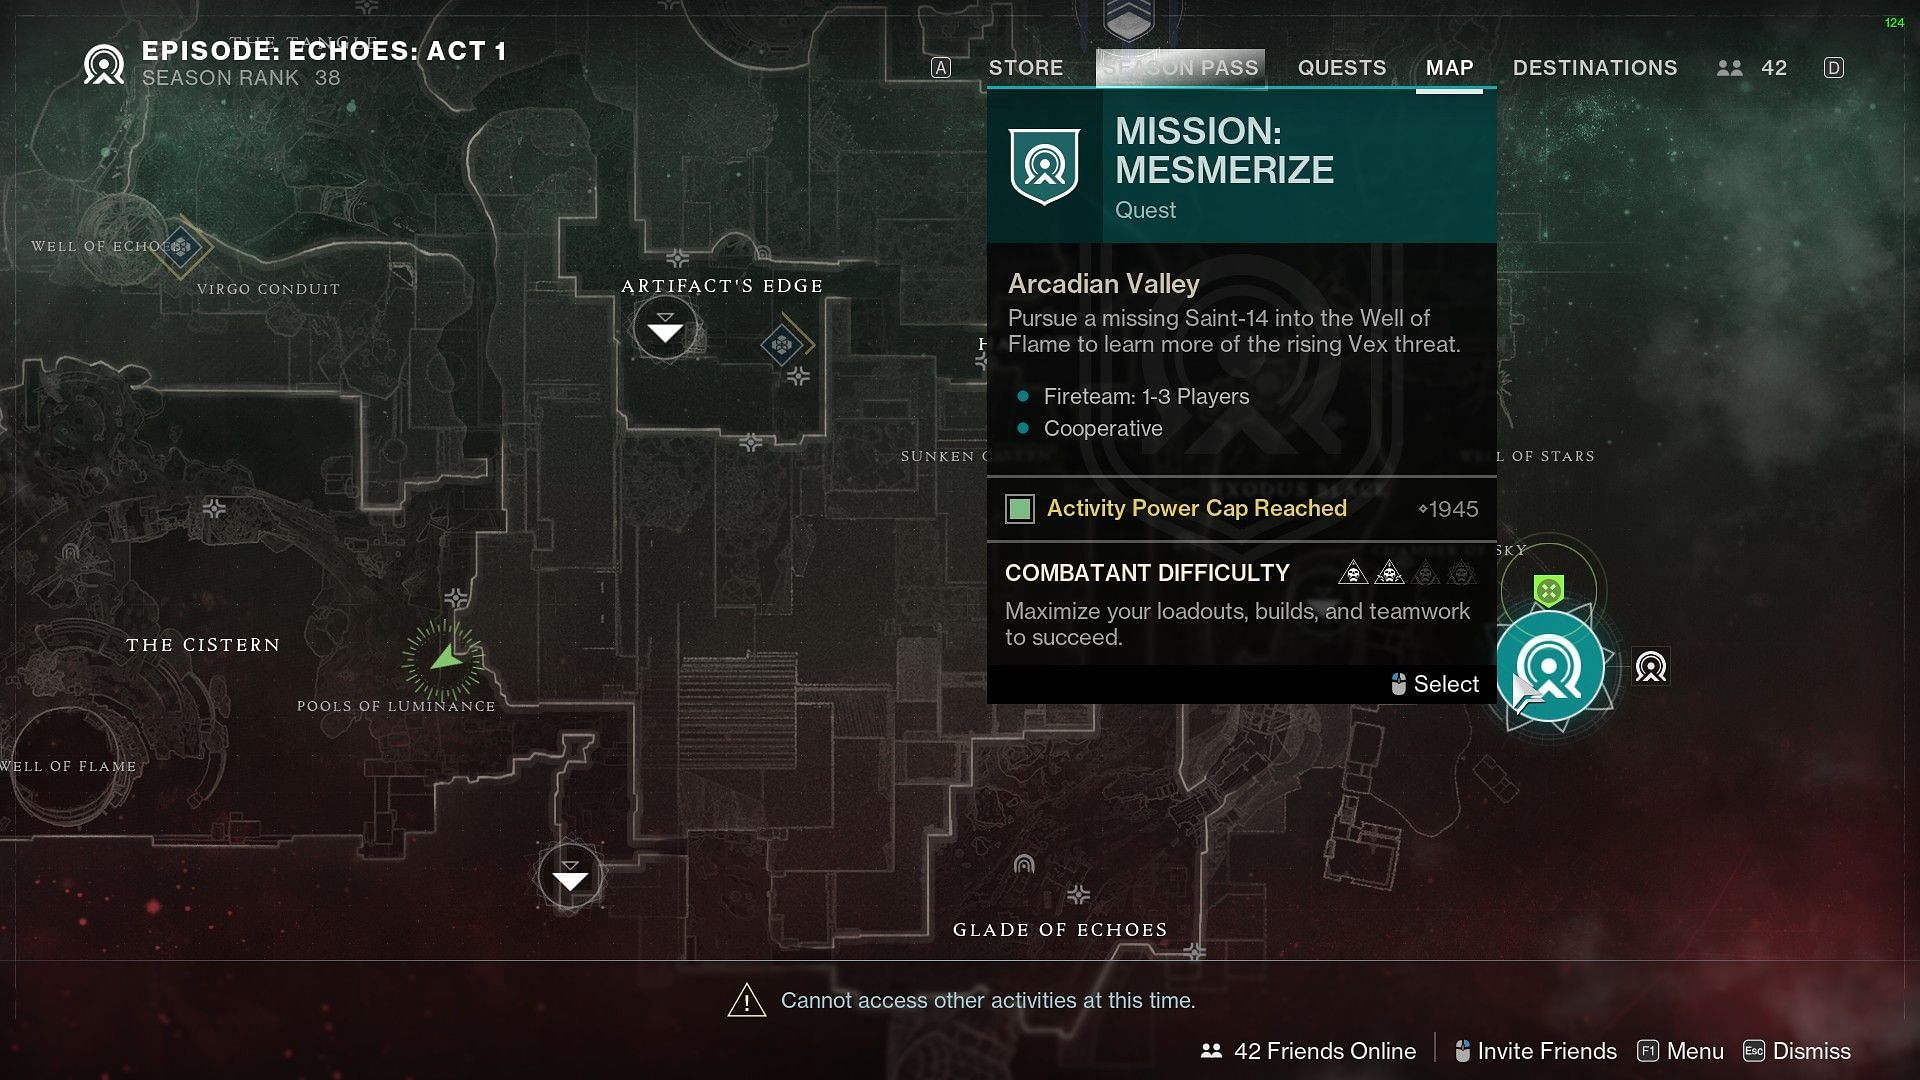
After completing the mission, meet Saint-14 at the HELM, and then talk to Failsafe one last time to complete "A Rising Chorus" quest for Act I.
Follow Sportskeeda for more Destiny 2 guides:
- All Visions of the Traveler locations guide
- How to get Khvostov 7G-0X Exotic Auto Rifle
- Salvation's Edge first encounter guide
- Salvation's Edge Herald of Finality boss fight guide
- Salvation's Edge secret chest locations
- Destiny 2 Episode Echoes weekly reset