
'%20x='0'%20y='0'%20height='100%25'%20width='100%25'%20%0A%20%20%20%20%20%20%20%20%20%20xlink%3Ahref='data:image/jpg;base64,/9j/2wBDAAYEBQYFBAYGBQYHBwYIChAKCgkJChQODwwQFxQYGBcUFhYaHSUfGhsjHBYWICwgIyYnKSopGR8tMC0oMCUoKSj/2wBDAQcHBwoIChMKChMoGhYaKCgoKCgoKCgoKCgoKCgoKCgoKCgoKCgoKCgoKCgoKCgoKCgoKCgoKCgoKCgoKCgoKCj/wgARCAAGAAoDASIAAhEBAxEB/8QAFgABAQEAAAAAAAAAAAAAAAAAAAYH/8QAFQEBAQAAAAAAAAAAAAAAAAAAAAH/2gAMAwEAAhADEAAAAMLkSv/EABsQAAMAAwEBAAAAAAAAAAAAAAECAwQREgAx/9oACAEBAAE/ABhTjh1pXmkprMFSmt9MF+A+yJNO9U2p5Yr7/8QAGBEAAgMAAAAAAAAAAAAAAAAAAAECESL/2gAIAQIBAT8Ak9Uf/8QAGhEAAQUBAAAAAAAAAAAAAAAAAgABERITQf/aAAgBAwEBPwABbK3ZX//Z'%3E%3C/image%3E%3C/svg%3E)
Derealize is the newest Exotic mission for the Destiny 2 Barrow-Dyad Submachine Gun. Players must go through several pre-requisite steps to get this mission on the Last City map. This mission can either be done solo, or in a fireteam, and contains specific elemental Surges, weapon buffs, and enemy buffs to keep things engaging.
Readers are requested to refer to the complete guide on how to get the Barrow-Dyad quest and how to complete The Taken Path quest to unlock the Derealize Exotic mission on the map.
This article lists details for the Derealize mission, how to do the mechanics, the best pathways, and more.
Complete walkthrough of Derealize Exotic mission in Destiny 2
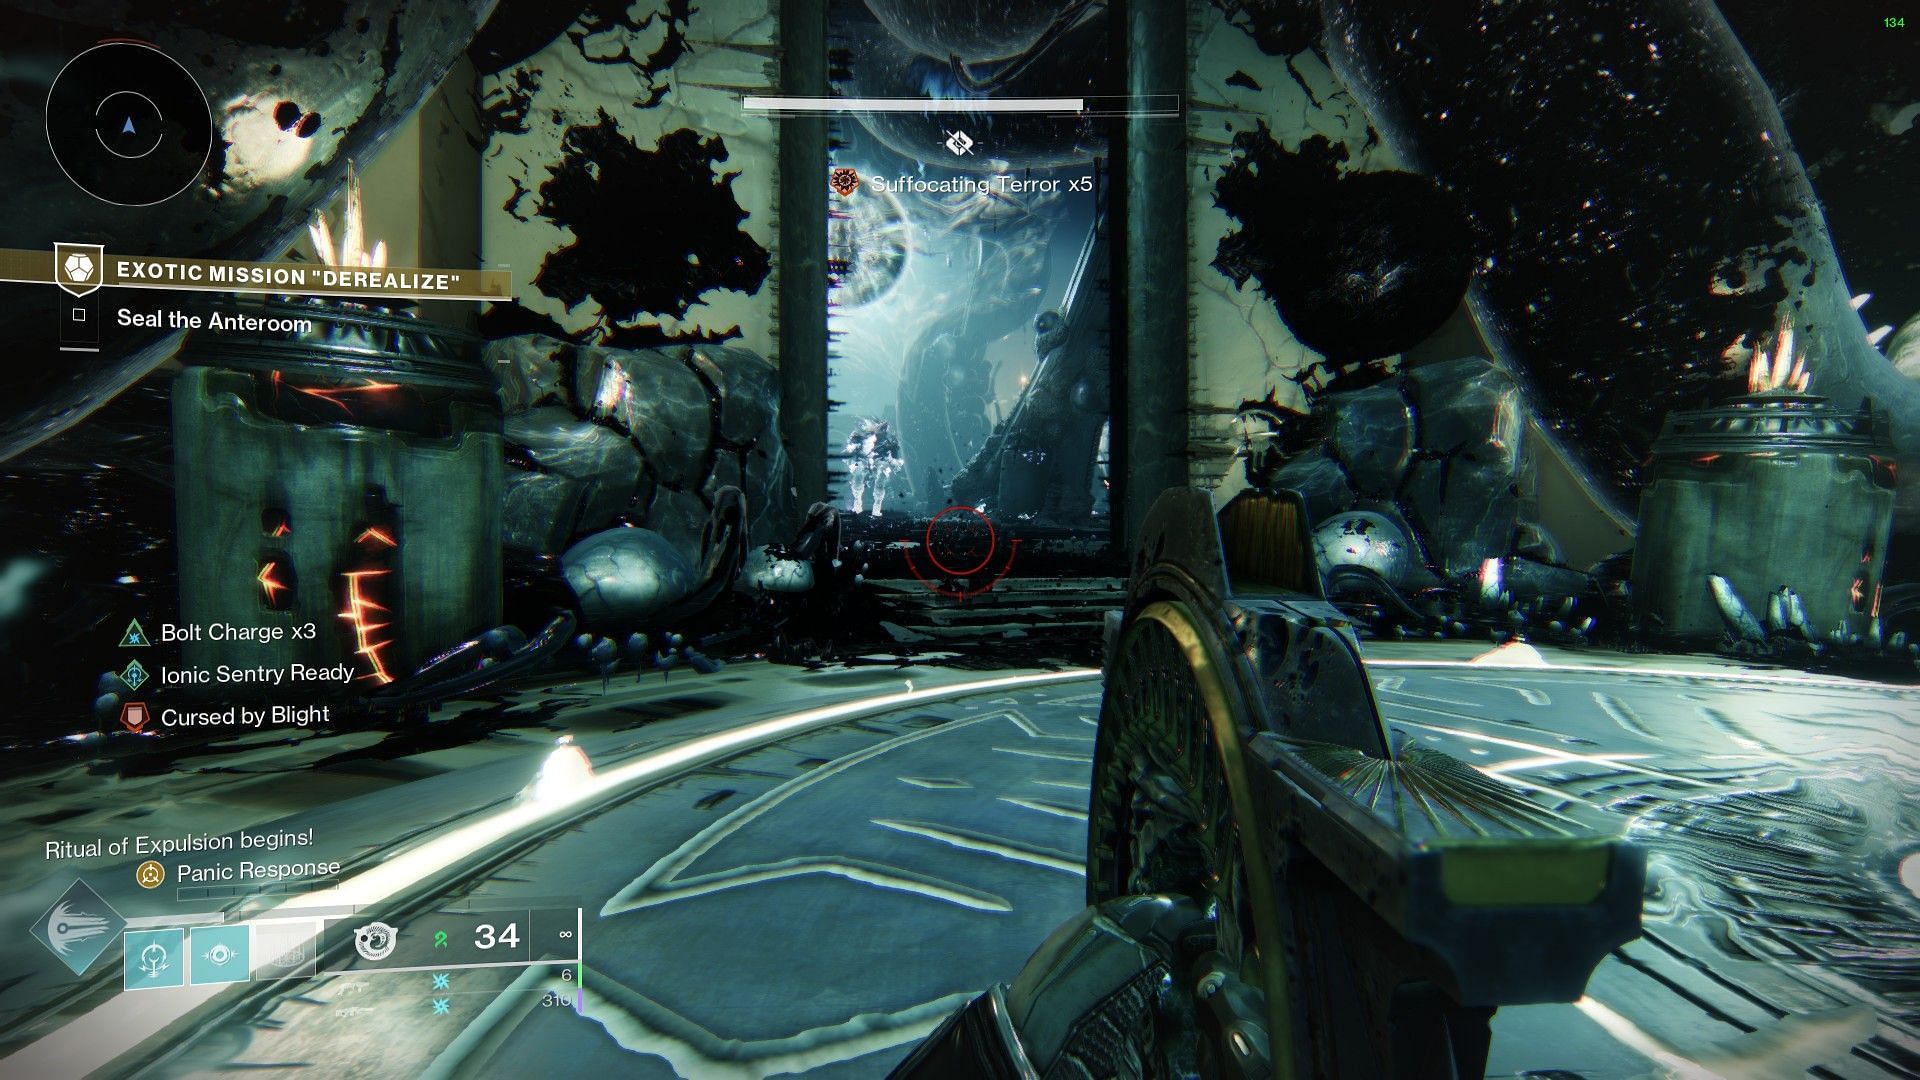
1) Defeat Tormentors and Subjugators
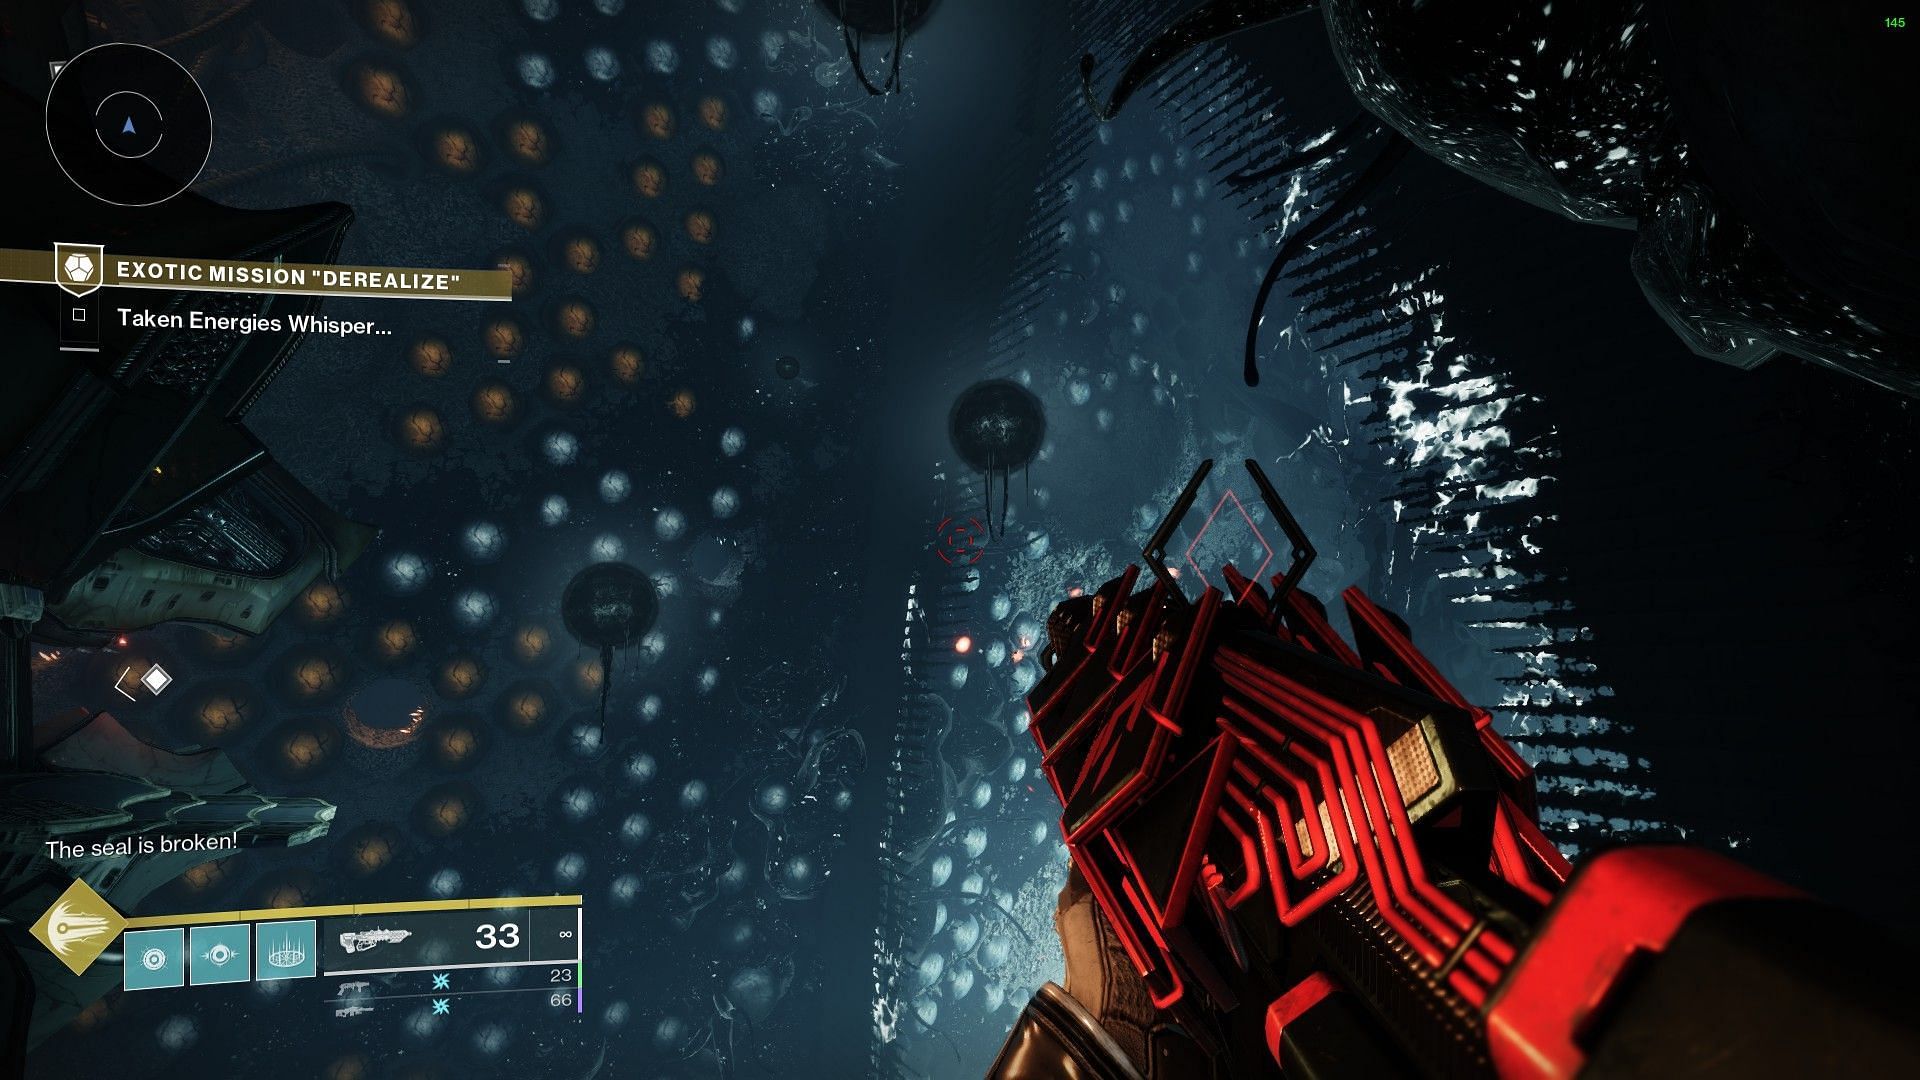
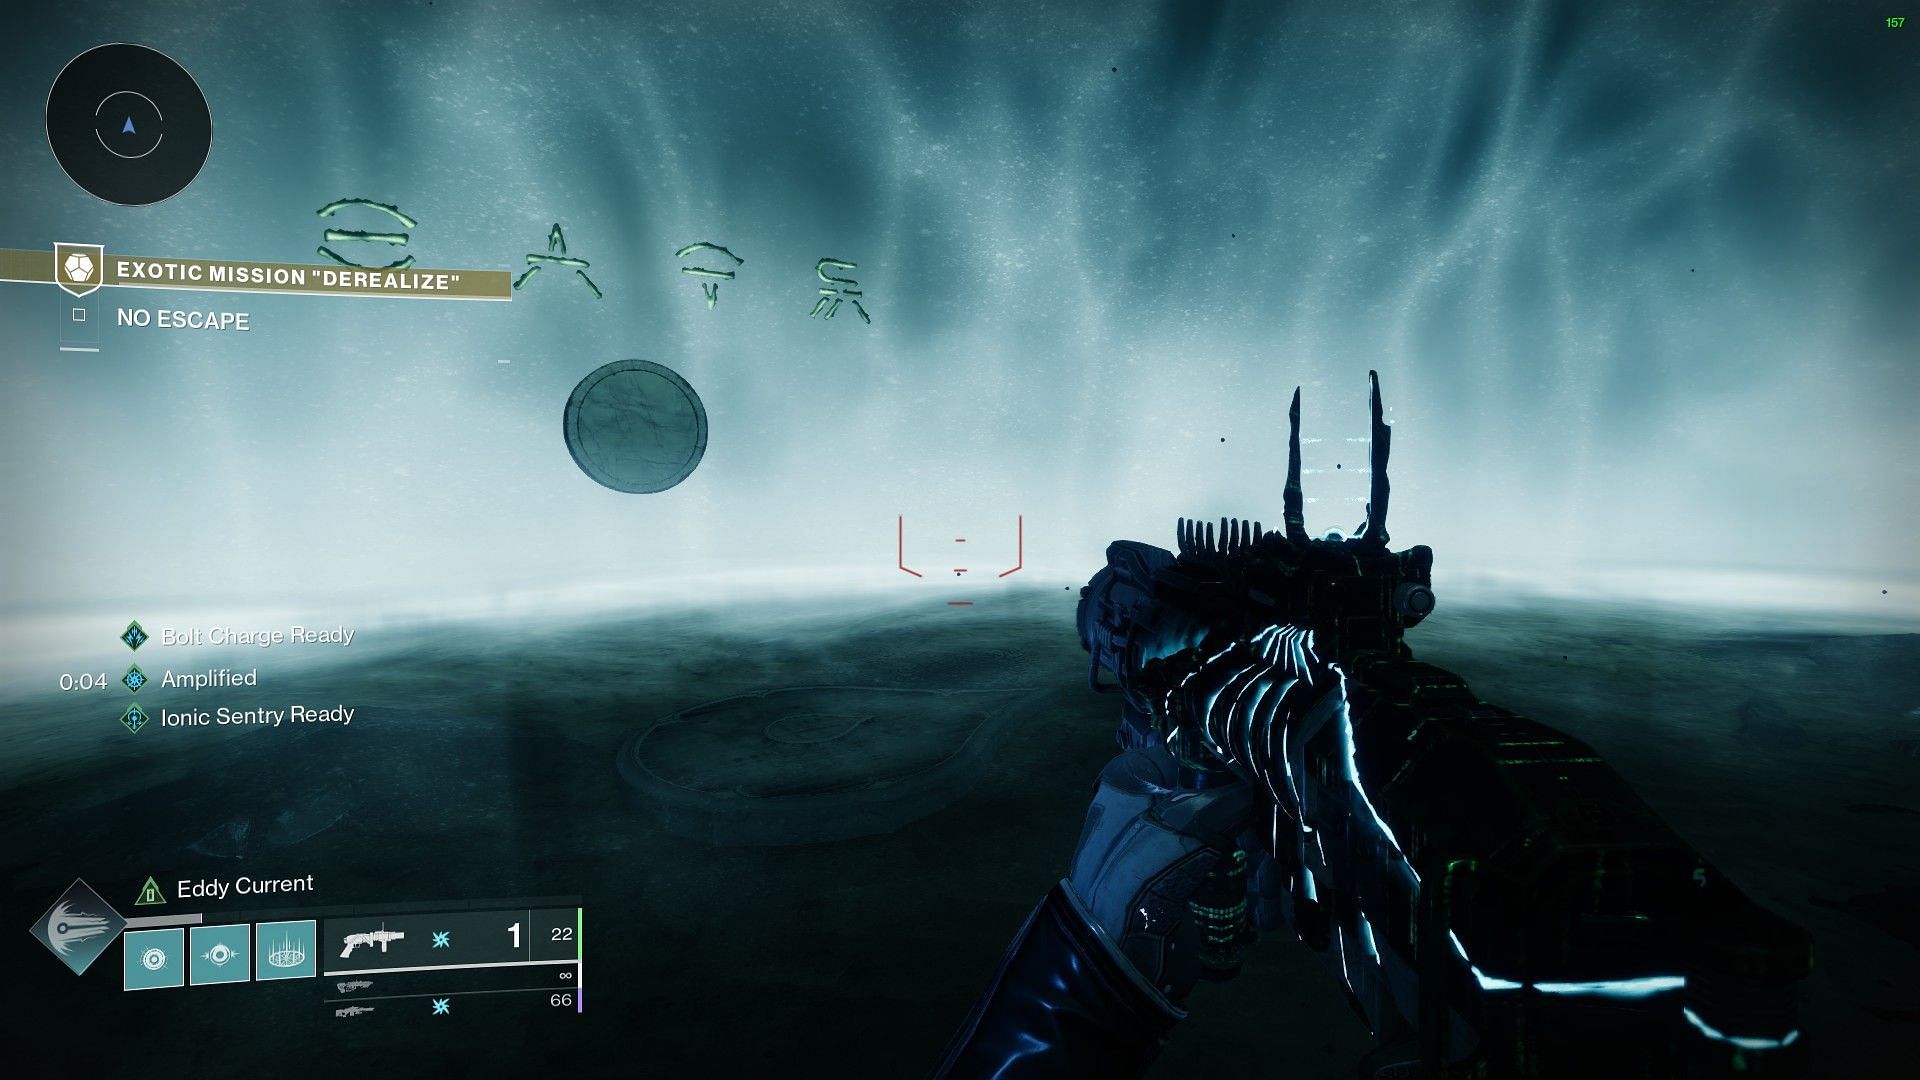
The first fight will be at the main boss arena of Dreadnaught's Mausoleum. Here, you must go through Dread enemies, defeat Tormentors, and save yourself from the Suffocating Terror debuff. The debuff can be erased by hiding from the huge eye's sight.
Progress through the section, defeat all enemies and go through the Taken portal. Cross the Ascendant Plane until you find another portal, taking you to the Trenchway of Dreadnaught.
2) Vrhiisk, Seeker of Power boss fight
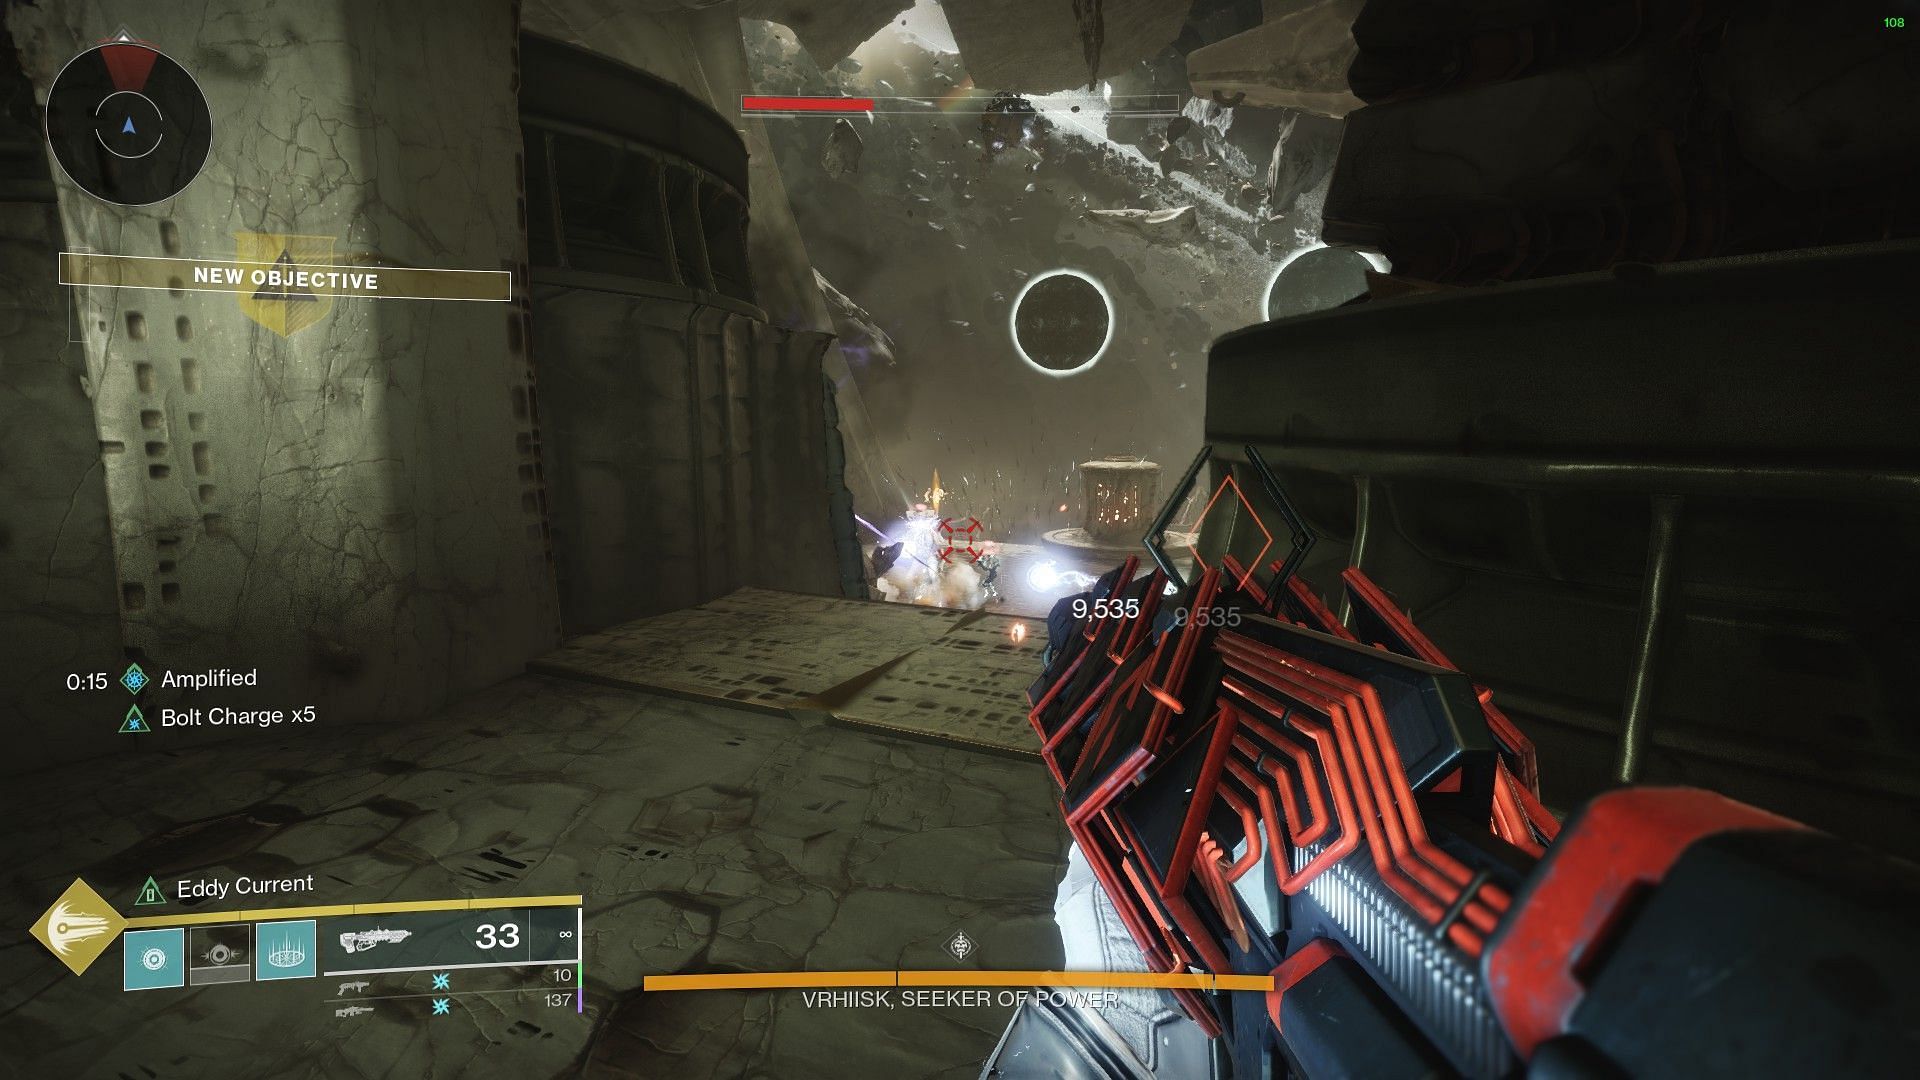
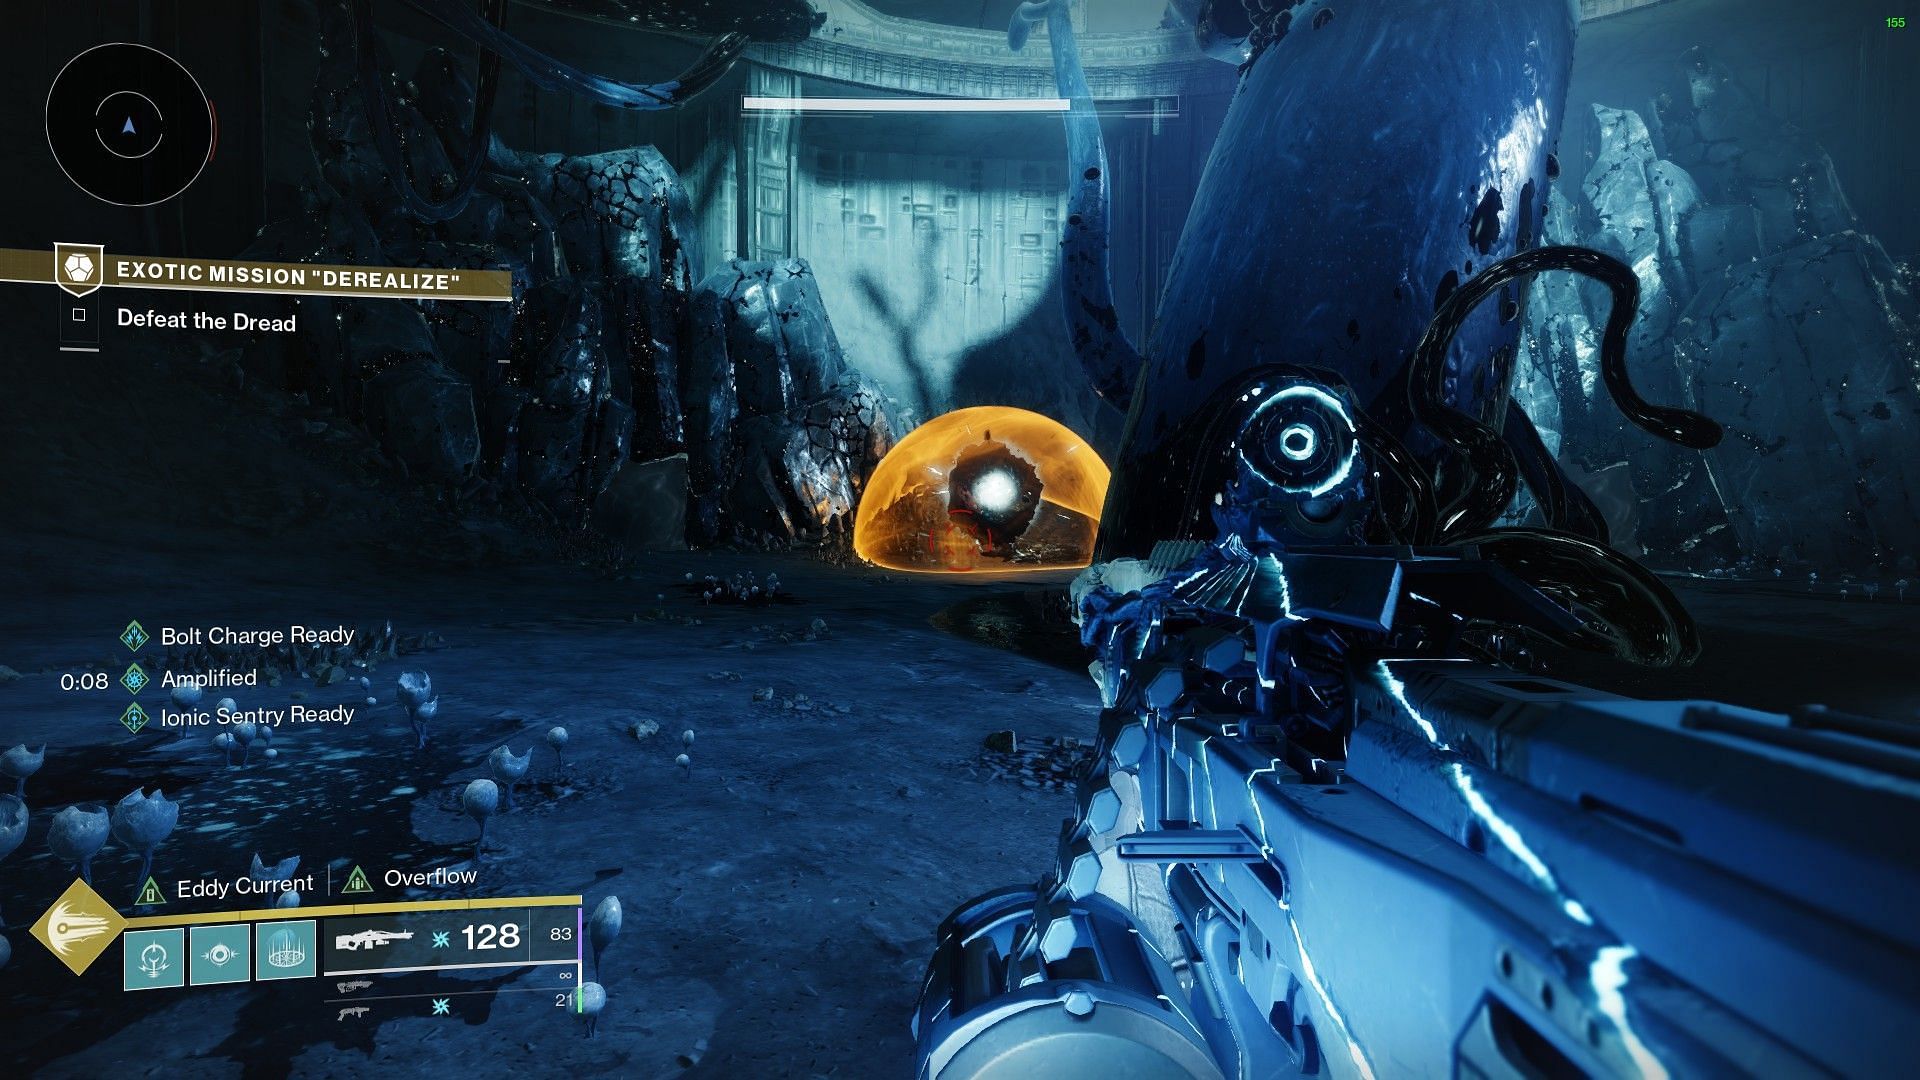
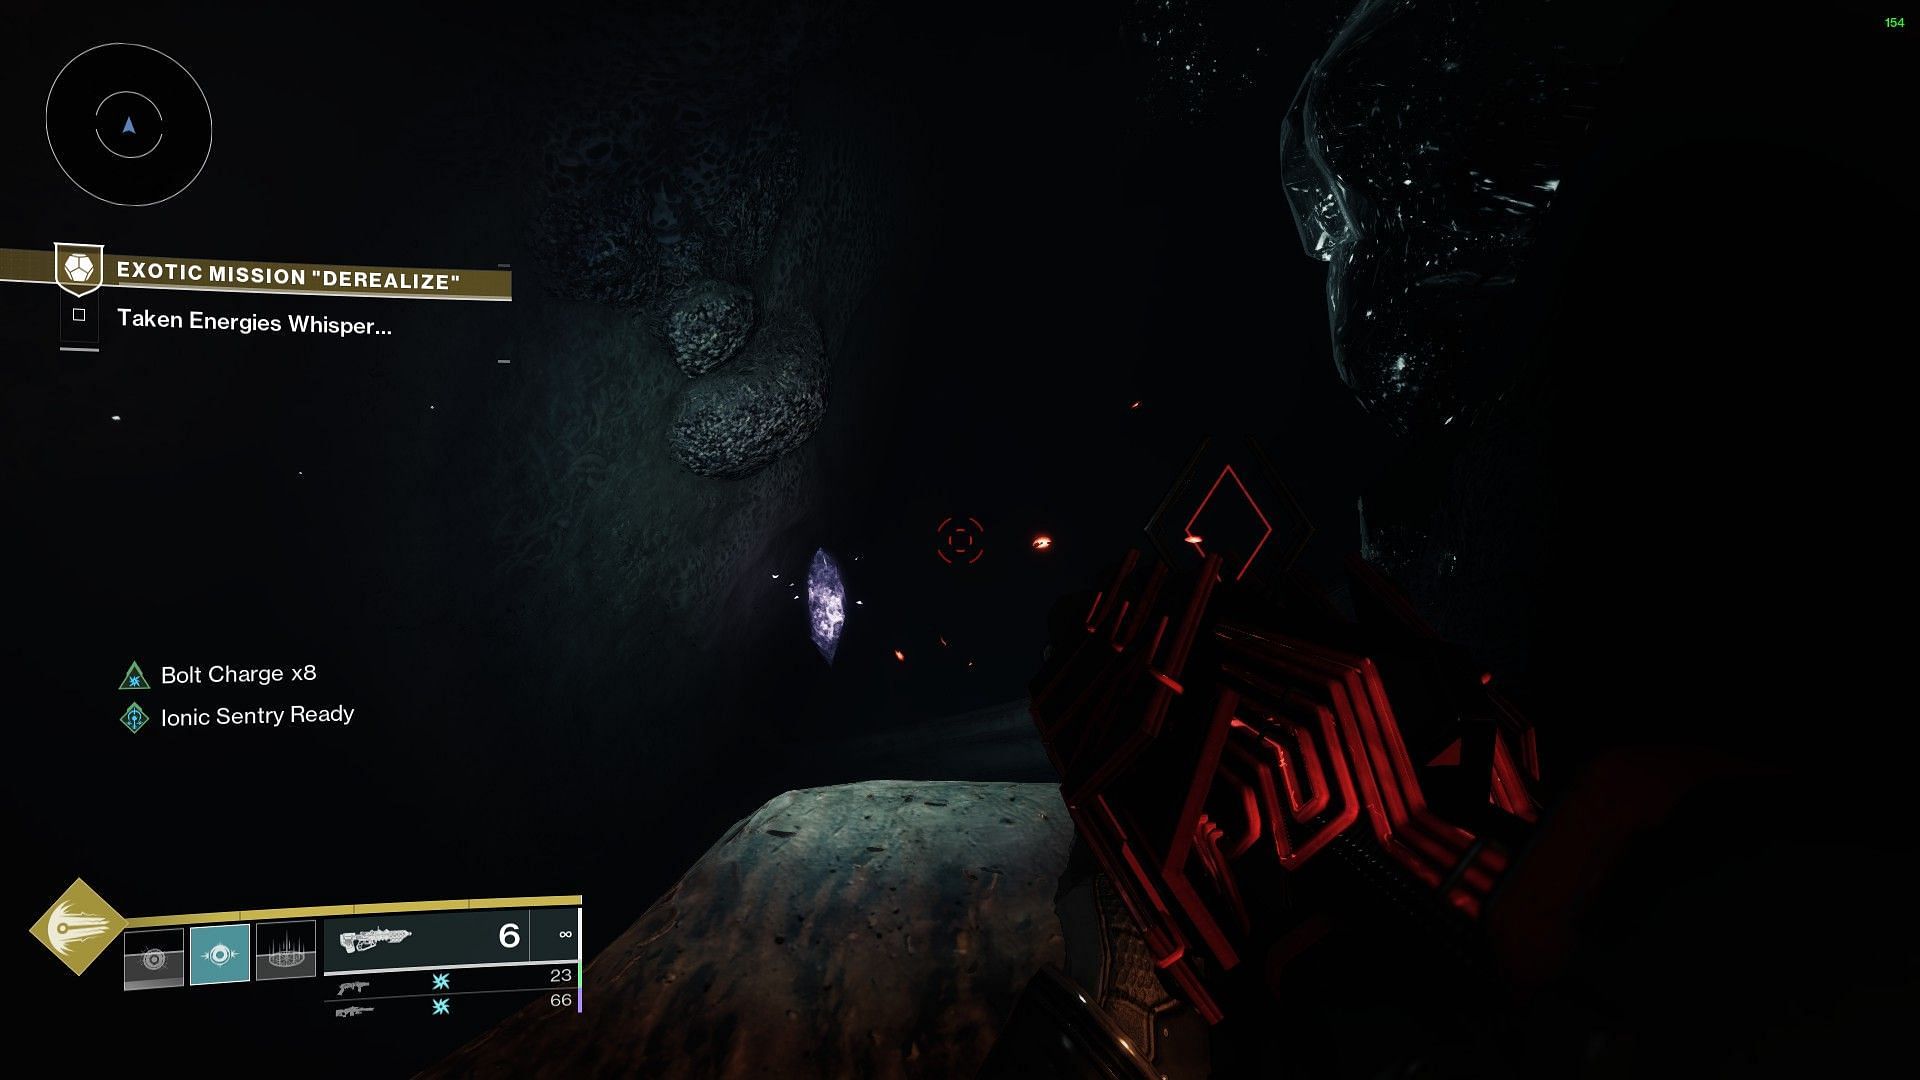
Head deep within the Trenchway, where the usual Tormentor boss spawns. However, this time, you will encounter a Subjugator. Here's how the mechanics work for the boss:
- The boss has three stages to the health bar.
- Every time the boss becomes invulnerable, six Sentinels spawn in the arena. Defeat them.
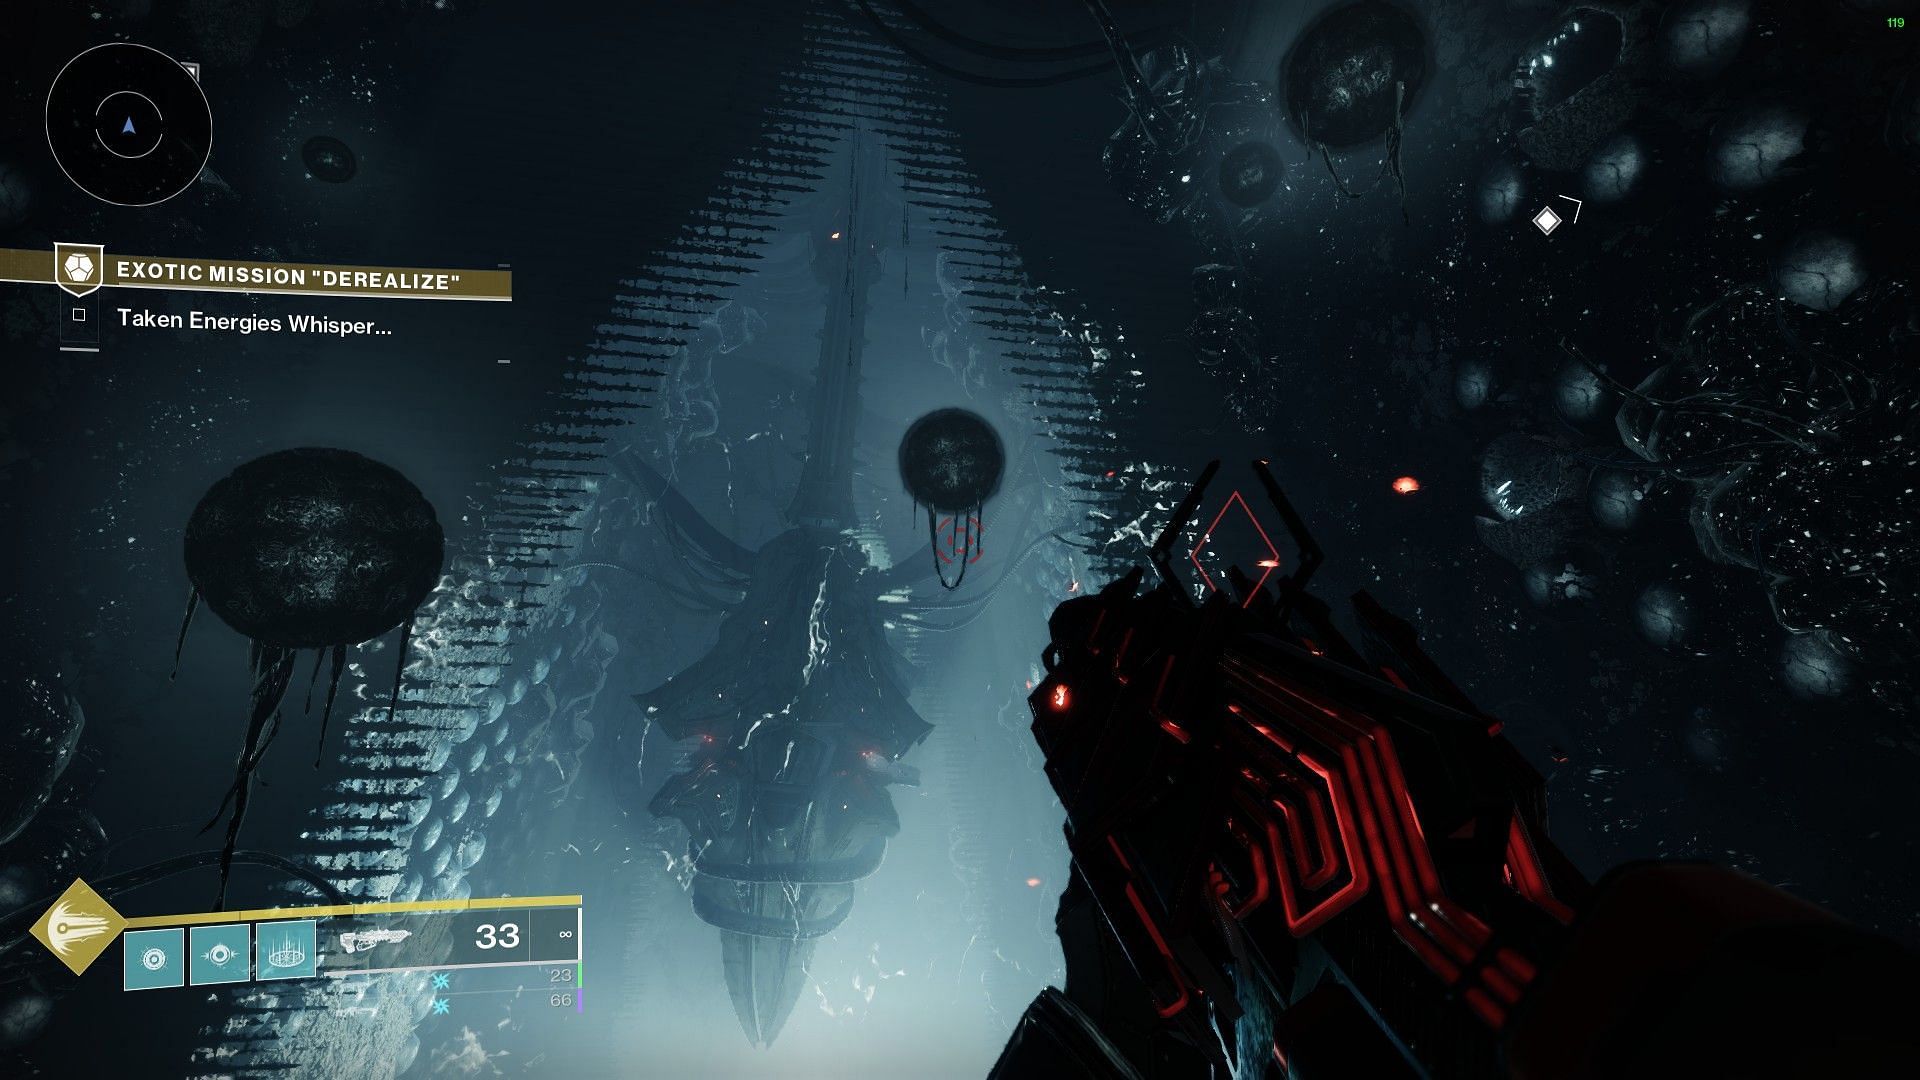
- Defeating the Sentinels will further spawn two Taken Ogres. Defeating the Ogres will drop Taken Artifacts, similar to the ones for "The Taken Path" quest.
- Pick up one Artifact, defeat Taken enemies, charge it, and deposit when the "downward arrow" icon pops up.
- Depositing the first Artifact will grant you a buff called "Torn between Dimensions." Players accustomed to the King's Fall Raid will be familiar.
- With the buff, pick up the second Artifact, defeat Taken, charge, and deposit.
- Depositing both Artifacts after charging will weaken the boss, allowing you to damage.
- Repeat the process one more time.
With its final health bar, the boss will run away inside a Taken Blight. Get inside the Blight and kill the boss to end the fight.
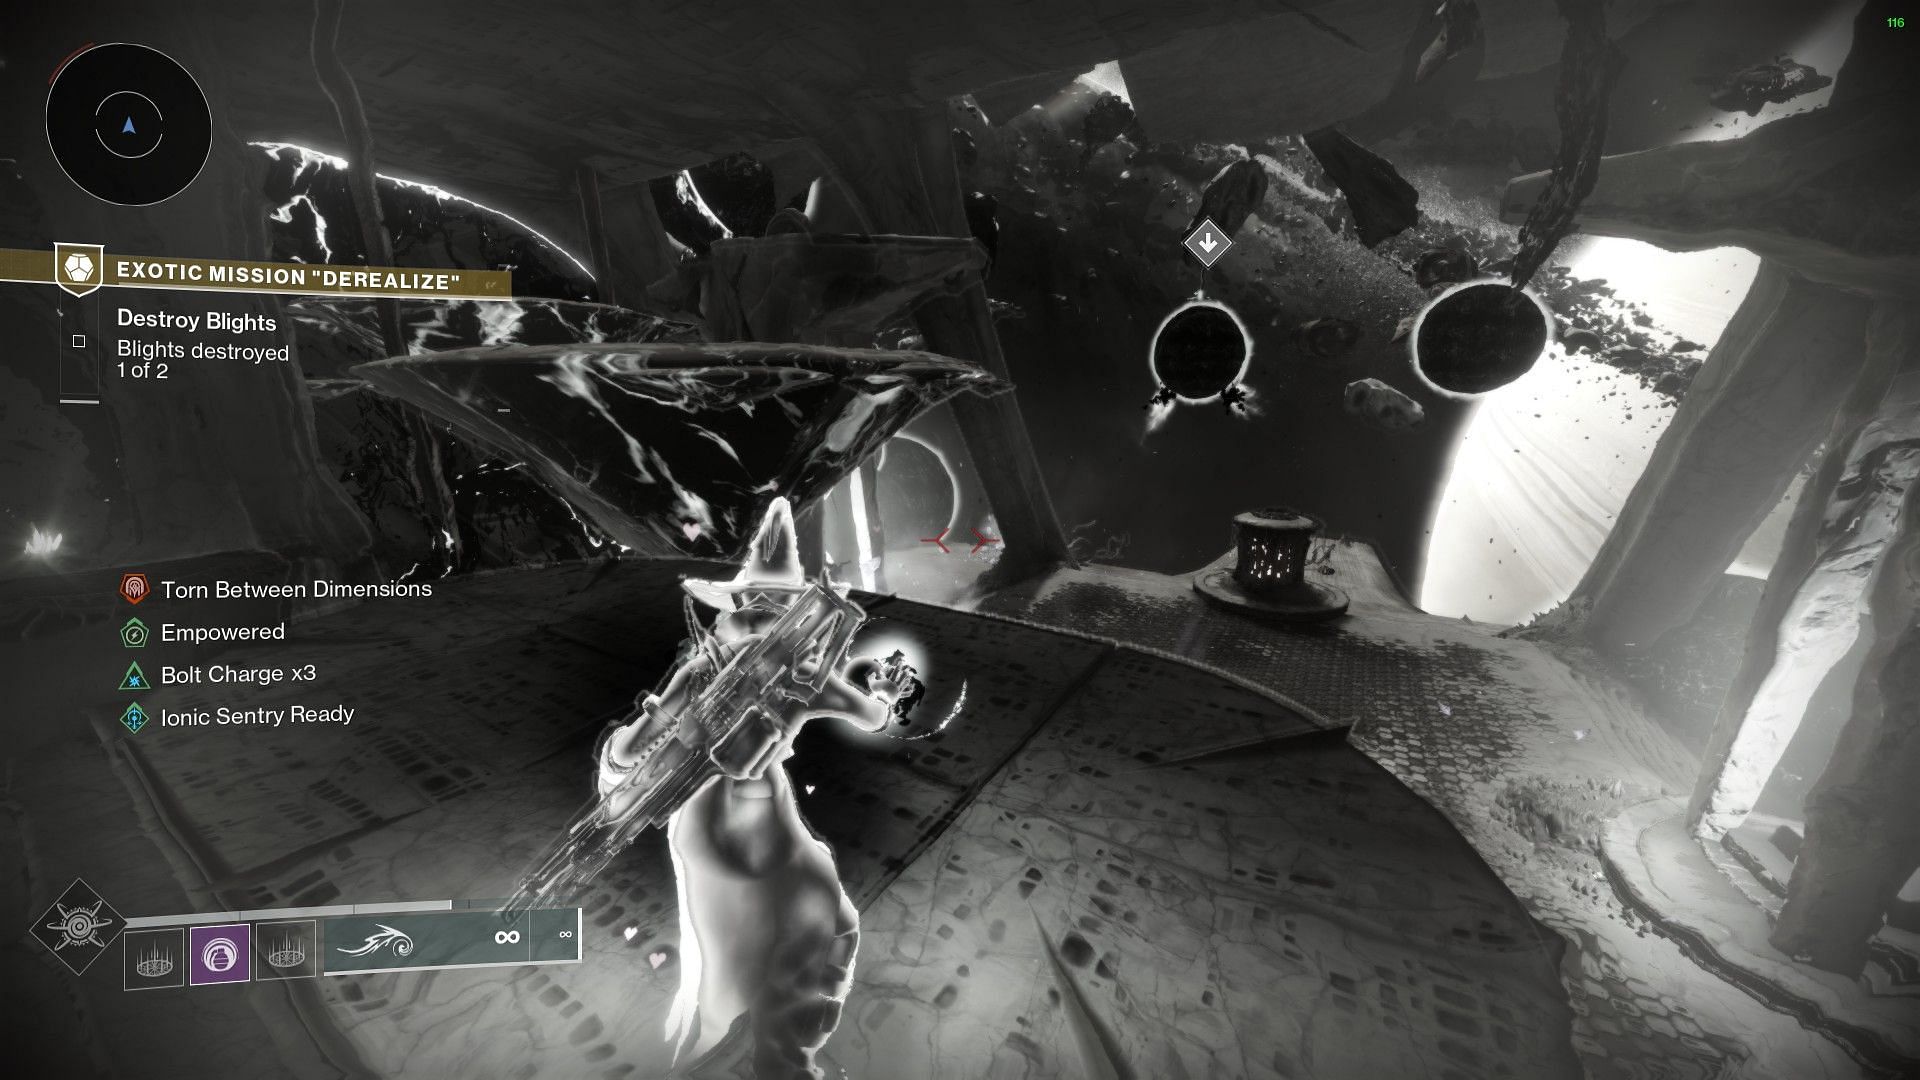
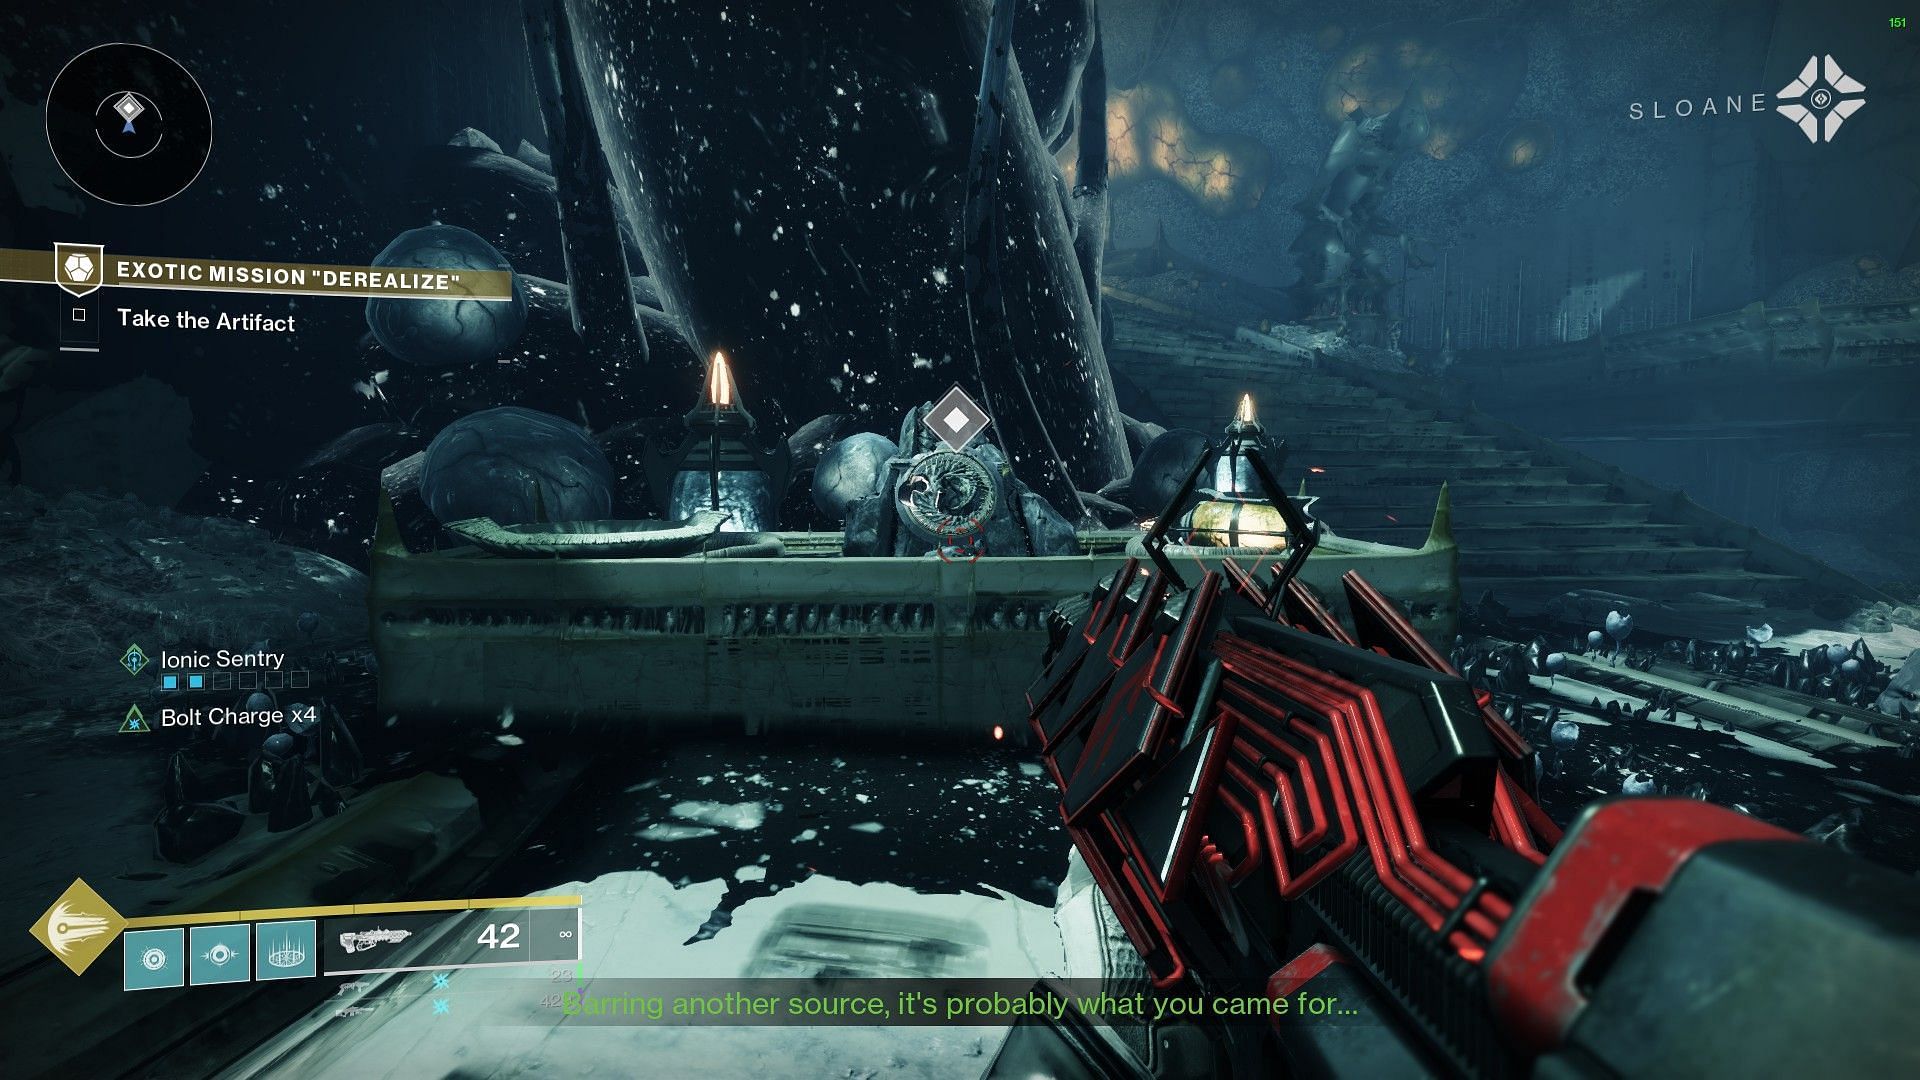
3) Hive symbol mechanic
Inside the Blight, you will find four Hive symbols and an arrow platform. Similar to The Taken Path, you must hop on the platform, look at the rune for a symbol, and then walk off the platform in the direction it is pointing. Only this time, you must follow the symbols in an order, from left to right.
For example, the order in which the symbols are placed in the image above is Burger>A>Ice Cream>Turret. Additionally, the platform is pointing toward the right. Hence, your task is to get on the platform, wait for the rune in front of you to show Burger, and then get off the platform by pressing the "right movement key."
Similarly, if the rune shows anything aside from "Burger," you shouldn't do anything, and wait for a 10-second counter to teleport you to a different location. Once "Burger" is done, follow the similar process with A, Ice Cream, and Turret, until all symbols are done.
The Hive symbol callouts mentioned above are general callouts used by the majority of the community. However, in this Exotic mission, you do not need to familiarize yourself with these callouts; just follow the on-screen display of the symbols.
4) Jumping puzzle
Once you are done with the four runes, head to the objective marker. This will open up a path to a jumping puzzle. Here, your objective is to stick to the narrow ledges, avoid the moving spiked traps, and find three Crystals to open up a path.
Upon coming to the huge open area, you will see that there are two sections divided by a Taken wall. Head to the second location, and you will find the three crystals there. Keep an eye for the Taken balls floating in the air. Use them to traverse between both sides and find the three crystals.
Once destroyed, continue forward by following the marker, and you will find yourself in the final arena.
5) Final boss
In the final boss arena, you can use a Rally banner and pick up the Barrow-Dyad Submachine Gun. Doing so will spawn three Taken orbs. Shoot them to start the fight. You can also do the entire fight with the newly acquired Barrow-Dyad.
This boss fight is simple enough but requires your attention, as the death of all fireteam members will mean a wipe.
There are two bosses here, who will fight the players one by one. Start by draining the health of the boss' normal version, who will then spawn its Taken form. Repeat until it spawns its normal form again.
When both forms have their health at minimum, the boss will fuse with full health again.
Escape the arena and stand on the Hive plate outside. Care for the boss' hits and wait until the door in front of you closes. Loot the chest to finish the quest.
You can also check out our other Destiny 2 articles:
- All Destiny 2 Exotic weapon changes in Heresy Act I
- Imminence Destiny 2 god roll guide
- Psychopomp god roll guide
- Adamantite god roll guide
- Patron of Lost Causes god roll guide
- Critical Anomaly god roll guide
- Episode Heresy weekly reset
- Essence of Desire farm guide
- Best ways to heal in The Nether
- Easiest way to get The Queenbreaker Catalyst
