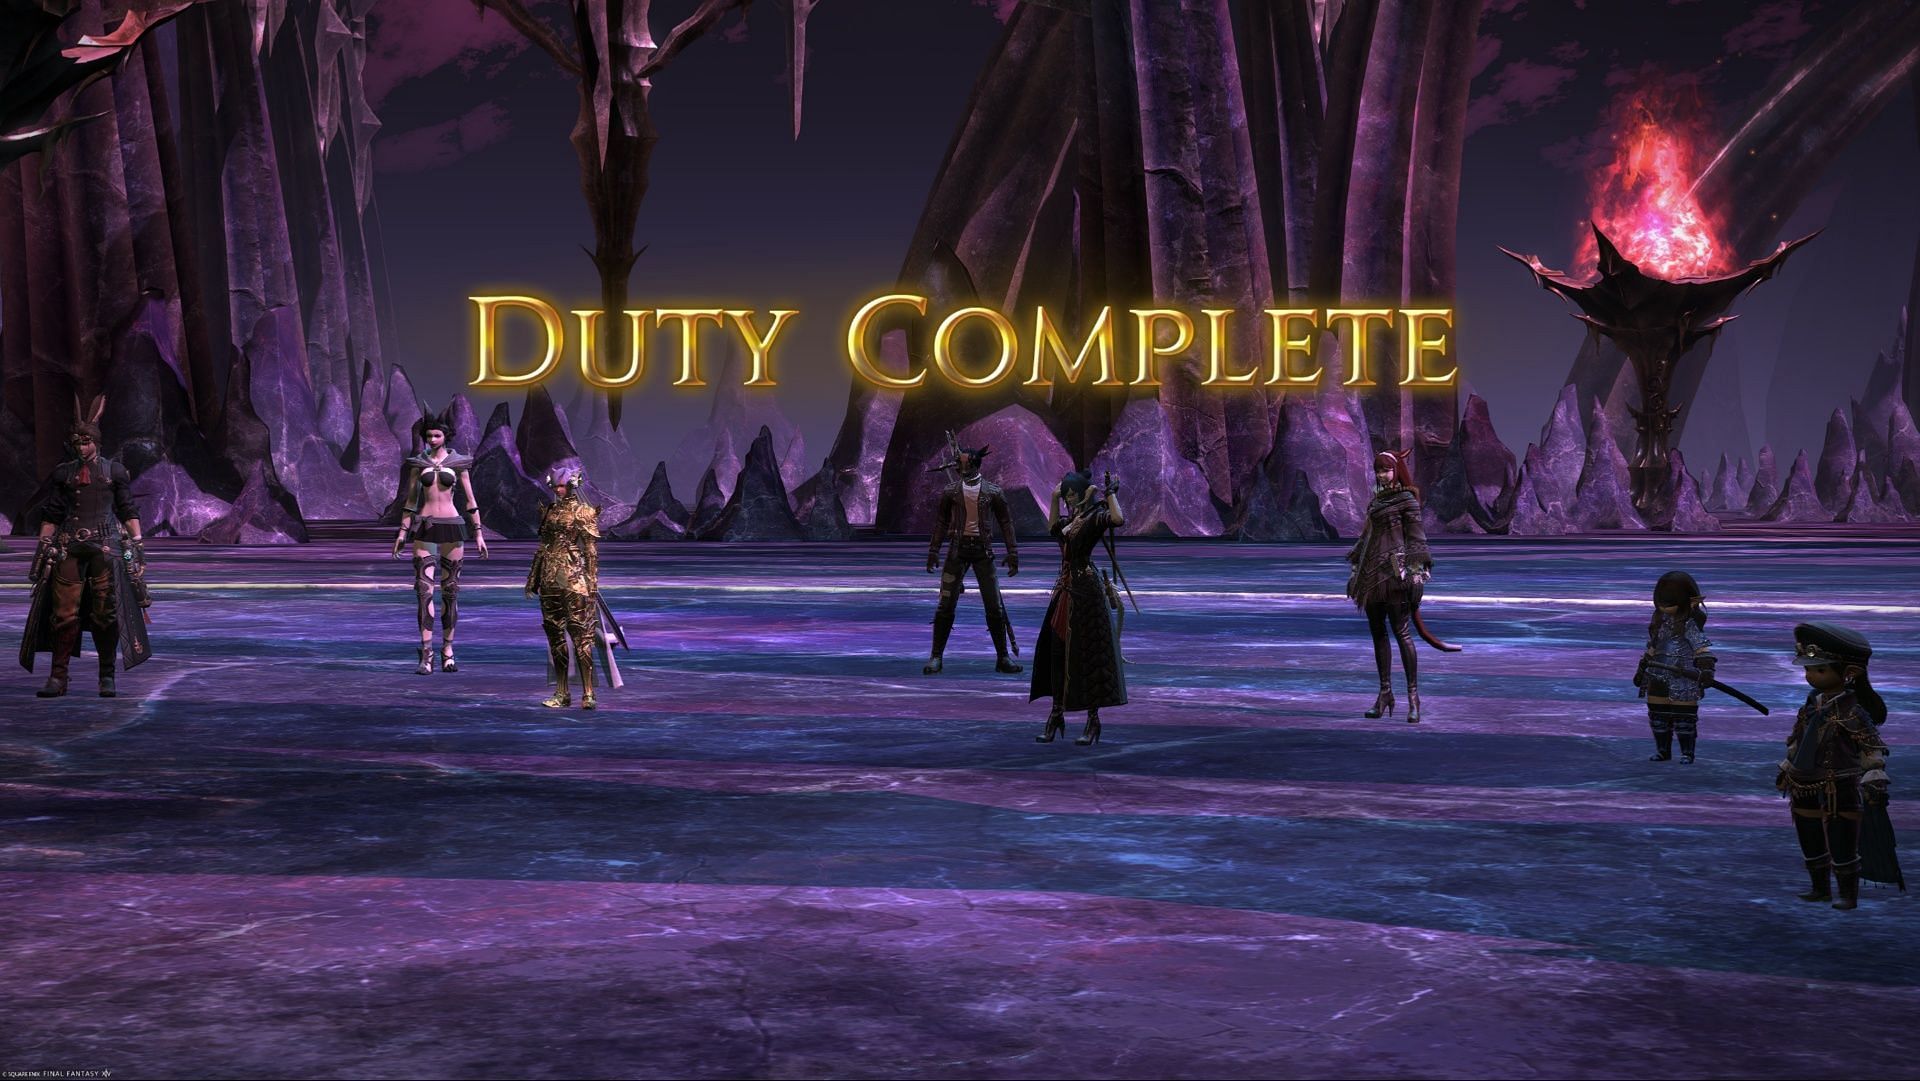
The First Walk is the beginning of Final Fantasy XIV's Echoes of Vana'diel Alliance Raid — here's how to deal with each boss (Image via Square Enix)
Final Fantasy XIV’s Jeuno The First Walk Alliance Raid is the first of the Final Fantasy 11 raids we’re going to get in the Dawntrail expansion. Filled with familiar music, faces, and encounters, it’s a real trip back in time for players like me who actively played FF11 back in the day — or even recently! It can be a challenging raid if you aren’t paying attention, but the rewards are equally great.
Ad
Now that the FF14 update 7.1 has launched and this raid is live, you can pick up item level 720 gear, though only one piece per run, and some great minions/cards. That said, while you can only get one piece of gear a run, you can farm this one until you have everything you want, instead of only doing it once a week.
Here is an overview of every boss you'll encounter in Final Fantasy XIV's Jeuno The First Walk Alliance Raid.
Ad
Trending
All bosses in Jeuno The First Walk Alliance Raid in Final Fantasy XIV
While there are eight sections of Jeuno The First Walk in Final Fantasy XIV, there are only four bosses to deal with. Trust us though, these bosses are more than enough to test you. In the guide below, you'll find tips to deal with them, as well as their most potent attacks.
Ad
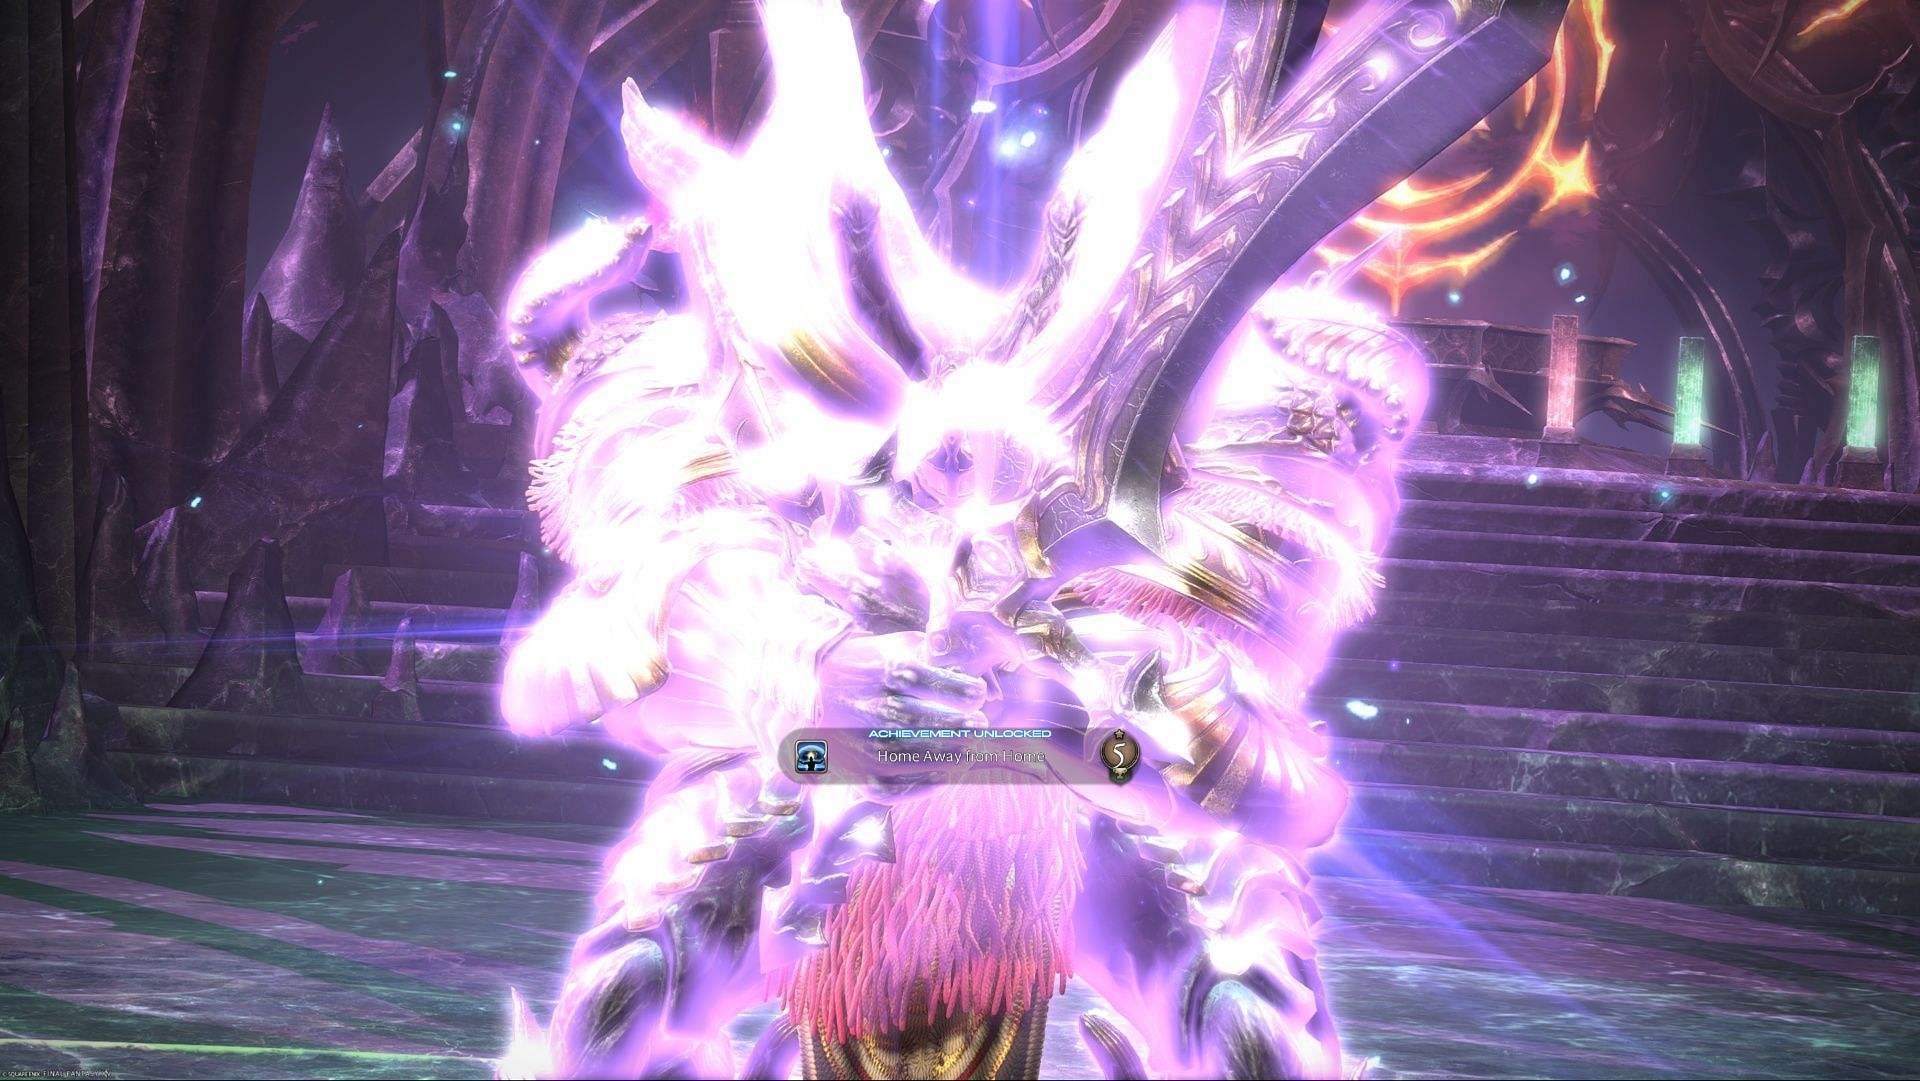
Pay attention during Jeuno The First Walk in Final Fantasy XIV, and you too will see "Duty Complete" (Image via Square Enix)
The later ones present tons of ground mechanics to navigate around. While the bosses are challenging, it’s nothing you can’t deal with. As long as you’ve unlocked the raid, are level 100 in a combat class, and have an average 695 item level, you can take part.
Ad
All bosses in Jeuno The First Walk
Prishe of the Distant Chains
Fafnir the Forgotten
The Ark Angels
Shadow Lord
1) Prishe of the Distant Chains
Prishe has some annoying attacks, but if you listen closely to her, you can avoid them (Image via Square Enix)
Prishe of the Distant Chains is the first boss in Final Fantasy XIV's Jeuno The First Walk. She's also incredibly interesting, to boot. As you fight her, she’ll display three telegraphs for her abilities. Depending on how many times she says “Wait for it…” will determine where you need to stand to not get hit.
Ad
Later in the fight, you’ll also have to deal with her dropping AOE attacks at the same time. So, you’ll not only have to watch where you’re standing, but also how far away from her you need to be standing. The most interesting part of this fight is when she sets out Crystalline Thorns and then calls out for Auroral Uppercut — the attack with the launch trajectory.
You’ll have to determine how far away she plans to hit you, so you can land safely on the ground, and not in the spikes, as I did the first time this happened.
Ad
Attack
Explanation
Knuckle Sandwich
Three circles will appear on the ground, and depending on how many times Prishe says "Wait for it..." will determine where you stand. Stand outside of the closest circle depending on how many times she says the line.
Nullifying Dropkick
Tank Buster - all three tanks converge for this one. Use mitigations to not get flavor-blasted by her attack.
Banish Storm
Staves hit the ground and have directional arrows coming from them. After a delay, AOEs will travel down that line. Just don't be in the way.
Crystalline Thorns
Huge sections of the ground will turn red. After a delay, spikes will pop up. This teases Auroral Uppercut.
Auroral Uppercut
Players get a knockback targeting icon with three trajectories. Depending on how many times she says "Wait for it.." will determine how far you go. Position yourself to land on something that isn't spikes.
Banishga IV
Lots of orbs fill the screen. Stay close to the smaller ones - the large ones will detonate into AOEs. Then move to safe spots.
Ad
2) Fafnir the Forgotten
Fafnir the Forgotten will certainly be remembered after this fight (Image via Square Enix)
At first, this can feel like an incredibly frustrating boss fight. There’s lots of AOE and stuff to move out of, and you’ll have to do it quickly. However, this Final Fantasy XIV boss fight in Jeuno The First Walk isn’t too bad. There are some relatively simple things to keep an eye out for. Early in the fight, for example, he’ll show you all three of his Offensive Posture moves, with a dialogue line on screen.
Ad
That way, you can see what the boss is about to do in Final Fantasy XIV before it triggers the next deadly attack. Fafnir will also occasionally summon adds that will need to be dealt with, so keep an eye out for friends.
The hardest part about Fafnir during Final Fantasy XIV’s Jeuno The First Walk is Hurricane Wing. It’s a chaotic blend of hurricanes and wind that can knock you up and drop you hard. You have to be very careful about where you stand in this fight.
Ad
Attack
Explanation
Offensive Posture
This attack can be three different attacks and he may cycle through them back to back. Keep an eye on the boss.
Head Charged: Flame breath in a clockwise motion. Follow the circle closely, but get ready for a potential follow up attack from one of the others.
Tail Charged: Swipes the area behind him - 270 degree AOE. Get in his face to avoid it.
Feet Charged: Slams the ground and drops an AOE around himself. Get to the edge of the battlefield quickly.
Baleful Breath
Stack together as a group and healers should stay on top of this one. Multiple hits for decent damage. Don't unstack until its over.
Winged Terror
The boss moves to the edge of the screen and makes its wings glow purple. Everywhere is danger town, except the center of the arena in front of Fafnir's head.
Absolute Terror
Also at the edge of the screen, but his body glows this time. Opposite of Winged Terror, get to one of the sides of the screen.
Ad
3) Ark Angels
This fight seems really hard, but it's not too bad. Just make sure to not get caught in raid wipe damage (Image via Square Enix)
The Ark Angels look like a group of players, clad in black. They each have their own annoying attacks to deal with, and constantly move and flood the screen with dangerous things to avoid. Some players tend to pull the Ark Angels into two different groups, while others prefer to AOE them down together.
Ad
It’s faster to separate them and deal with two groups, one at a time, but either strategy works. In my experience, we kept them mostly split apart during Final Fantasy XIV’s Jeuno The First Walk. Tanks also have to keep an eye out for Cloudsplitter, which is an AOE Magical Tankbuster.
It’s really just a matter of hitting hard and not standing in stuff. The most important thing is knowing when to use Interject as a tank, to not get caught in one of two raid-wipe attacks.
Ad
Attack
Explanation
The Decisive Battle
When the fight starts each tank gets connected to one of the bosses. This grants Epic Hero. Players can only harm the Ark Angel with the matching effect - stay with your Alliance's tank.
Meikyo Shisui
AOE Gauntlet time:
* Checkerboard AOE (stand in safe spot) * Look away from the glowing orb * Large Aoe Flower Attack * Head to the tiny safe zone for part two of the previous attack * Six cones of lightning from the center of battlefield
Meteor
Deals massive, potential wipe-levels of damage - A tank must use Interject to stop this from triggering. (Ark Angel TT)
Guillotine
Ark Angel TT heads to one side of the screen and cleaves. Stand to the side to evade.
Utsusemi
Four clones of Ark Angel HM appear that will link to targets in the raid. Run from them, and if you aren't targeted, do not get cuaght in the tether.
Mijin Gakure
Most important part of the fight: Ark Angel HM casts this, but Ark Angel EV makes an Ark Shield. Break the shield fast, and then Interject Mijin Gakure.
Rampage
Ark Angel MR dashes around and creates linear AOE attacks. Then they jump and smash the ground to create one more huge circular AOE.
Ad
4) Shadow Lord
Keep on your toes, and you'll complete this trial and get your achievement (Image via Square Enix)
The final part of Final Fantasy XIV’s Jeuno The First Walk is no joke — the Shadow Lord. This battle is very much like a game of SIMON. You have to remember what went on in order, especially towards the end of the fight.
Ad
There are lots of AOE attacks going off, thanks to the Shadow Lord, which is frustrating enough. Then, he’ll start doing them concurrently, and then, later in the fight, summon Shadow Clones to also perform huge sweeping AOE attacks. If that weren’t frustrating enough, he periodically walls off the map, locking players into a tiny space of the battlefield.
He can also use Echoes of Agony to hit a player with five hits of magical damage in an AOE. It's a multi-stack though, so get ready for it.
Ad
Then, you’ll have to position yourself in the right places at the right times so you don’t get pushed deep into the fire. This is not incredibly difficult — provided you’re paying attention to where you are on the map. Classes with movement abilities will do quite well here.
Attack
Explanation
Giga Slash
Two large sword attacks will appear, but will leave a safe zone to stand in. These hit left or right, and then again in the opposite direction. Move quickly from safe spot to safe spot.
Giga Slash: Nightfall
Same as the first, but now with a third attack added on for extra damage.
Umbral Smash
Shadow Lord smashes the ground, creating AOEs that come from him. Stay moving and find a safe spot after an AOE has passed through.
Implosion
The boss creates an orb in each hand, to make circular AOEs. One of these will grow - so move to the other side of the battleground to avoid damage.
Chthonic Fury
Phase Change: Raid-wide damage, and a new place to stand in.
Dark Nebula
A knockback will be triggered into each of the new passageways. Stand somewhere where you won't get knocked into fire. Towards the end of the fight, you'll have four of these knockbacks happen at once. You'll need to memorize the order to safely get knocked about and not die.
Dark Sigils
Shadow Lord uses Shadow Clone Jutsu to create two clones of himself. They'll use Giga Slash or Implosion, depending on what the boss does.
Binding Sigil
Three sigils will pop up on the ground, which will, after a time, detonate. Watch the order in which they appear and move to the appropriate safe spot, after a detonation occurs.
Ad
Check out our other Final Fantasy XIV guides and features
Jason is an Esports and Gaming journalist at Sportskeeda holding an amazing 11 years of experience under his belt. Having put out 4000-plus articles and amassing over 15 million reads for Sportskeeda, he is among the company’s most experienced writers. Jason holds a Bachelor's degree in English from UNC Pembroke and was inspired to become a gaming journalist very early on in life after reading Nintendo Power.
Jason is a jack of all trades when it comes to gaming journalism. He’s a key writer in Sportskeeda's MMO department, but he also likes to help out in other categories, like streamers, RPG, card games, and whatever else is needed. A solo gamer at heart, Jason's favorite titles include Earthbound and Dragon Warrior.
Jason places high value on accuracy and relevance in his write-ups. He achieves this with thorough research to sift facts from rumors. One of the biggest highlights of his career is his interview with Canadian pro wrestler Kenny Omega about his inclusion in the Like a Dragon game series. He is also good friends with journalist Kazumo Hashimoto, who he admires for the kind of stories he works on and his deep ethics.
A true cinephile, one of Jason’s primary hobbies involves enjoying cinematic experiences. He also loves reading, be it fiction or manga, when not working. Additionally, he streams on Twitch and posts his gaming insights on YouTube.

'%20x='0'%20y='0'%20height='100%25'%20width='100%25'%20%0A%20%20%20%20%20%20%20%20%20%20xlink%3Ahref='data:image/jpg;base64,/9j/2wBDAAYEBQYFBAYGBQYHBwYIChAKCgkJChQODwwQFxQYGBcUFhYaHSUfGhsjHBYWICwgIyYnKSopGR8tMC0oMCUoKSj/2wBDAQcHBwoIChMKChMoGhYaKCgoKCgoKCgoKCgoKCgoKCgoKCgoKCgoKCgoKCgoKCgoKCgoKCgoKCgoKCgoKCgoKCj/wgARCAAGAAoDASIAAhEBAxEB/8QAFQABAQAAAAAAAAAAAAAAAAAAAAf/xAAUAQEAAAAAAAAAAAAAAAAAAAAE/9oADAMBAAIQAxAAAACbB5f/xAAgEAACAQQBBQAAAAAAAAAAAAACAwEABRIhBAYRExRR/9oACAEBAAE/AOhrad1tLzWjhQ1jMfI0CkhgT1j8nVO4LEtNZet3ApGcVar/xAAYEQACAwAAAAAAAAAAAAAAAAACEwABEf/aAAgBAgEBPwBQLG8n/8QAGREAAQUAAAAAAAAAAAAAAAAAAQACAxES/9oACAEDAQE/ADI/ZFr/2Q=='%3E%3C/image%3E%3C/svg%3E)